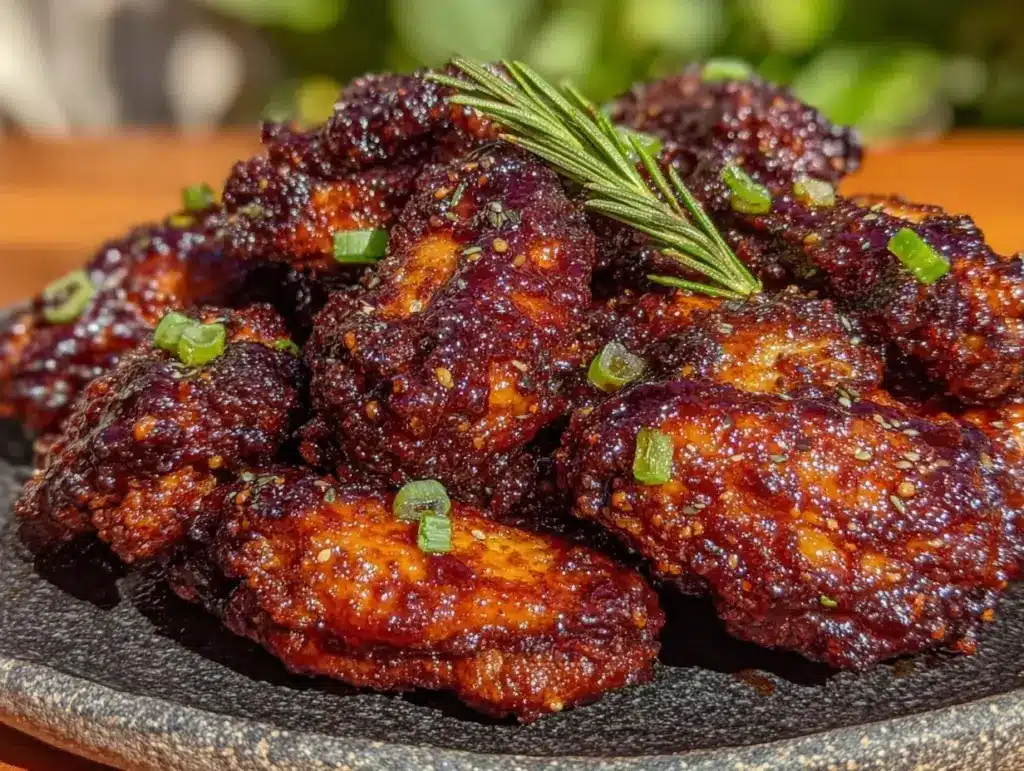
I still remember the year I decided to host the Super Bowl party. Not just watch it—actually host it. My apartment was tiny, my budget was non-existent, and my social circle consisted mostly of people who ate like birds. I panicked. I stared at my empty fridge, then at the football schedule, and realized I had no idea what to feed twelve hungry adults. I could do pizza. I could do wings. But store-bought wings? They were soggy by the time the second quarter ended. Dry by halftime. Disappointing from the very first bite.
So I did what I always do when I’m stressed: I threw ingredients in a pan and hoped for the best. I had honey, I had a ton of garlic (I’m obsessed with it, don’t judge), and I had a pack of chicken wings that needed to be used up. I tossed them in a crispy oven-baked method, then glazed them with this sticky, sweet, savory honey garlic sauce. The smell hit my neighbors before it hit my friends. By the time the kickoff happened, the wings were gone. Well, most of them. I had to sneak into the kitchen for seconds while everyone was arguing about a penalty call.
That was five years ago. Since then, I’ve made these honey garlic chicken wings for every game day, every BBQ, and every time someone says, “I’m craving something salty and sweet.” They are hands-down the best appetizer I know. And the best part? They’re stupidly simple. You don’t need a deep fryer, you don’t need a special marinade that sits for 24 hours, and you definitely don’t need to leave your house. Just five steps, one sheet pan, and a whole lot of happy guests.
Why You’ll Love This Recipe
Look, there are a million wing recipes out there. Buffalo, Nashville hot, Korean fried, lemon pepper. But honey garlic wings occupy this perfect sweet spot that makes people lose their minds. Here’s why this specific version has earned a permanent spot in my game day rotation:
- Crispy Without the Deep Fryer — We’re using a little baking powder trick to get that crackly, restaurant-quality skin without the mess of oil splattering all over your kitchen. It’s healthier, easier, and just as good.
- The Sauce is Addictive — It’s not just sweet. It’s garlicky, salty, and tangy all at once. I’ve watched people eat six wings in one sitting and then immediately ask for more. It’s that good.
- Feeds a Crowd on a Budget — Chicken wings are one of the most affordable ways to feed a group. This recipe stretches further than you think, and the sauce makes even the smaller drumettes feel like a feast.
- Make-Ahead Friendly — You can bake the wings up to 24 hours in advance. Just re-crisp them in the oven right before tossing in the sauce. This is a lifesaver when you’re trying to watch the game and cook at the same time.
- Gluten-Free Friendly — If you have gluten-free friends coming over, this recipe works perfectly as-is (just check your soy sauce). No need for a separate batch.
These wings are the ultimate crowd-pleaser. They look impressive piled high on a platter, they’re easy to eat while standing around the TV, and they disappear faster than you can say “touchdown.” Plus, the aroma of garlic and honey roasting in the oven? It makes your whole house smell like a high-end Asian fusion restaurant.
Ingredients You’ll Need
Here’s the thing about this recipe: the ingredient list is short, but the quality matters. You don’t need fancy stuff, but you do need the right basics. I’m particular about a few things here, so pay attention.
For the Wings
Chicken wings (3 pounds / 1.36 kg) — I use a mix of flats and drumettes. If you can find them, wingettes are great too. Avoid “wing tips” unless you’re making stock—they’re mostly bone and skin. Look for plump, fresh wings, not frozen ones if you can help it.
Baking powder (1 tablespoon / 15g) — This is the secret weapon. Not baking soda! Baking powder changes the pH of the skin, helping it crisp up in the oven. Make sure it’s aluminum-free for the best taste.
Salt (1 teaspoon / 6g) — Kosher salt is best. It seasons the meat evenly without being too sharp.
Black pepper (½ teaspoon / 2g) — Freshly cracked. Pre-ground pepper just doesn’t have the same punch.
For the Honey Garlic Sauce
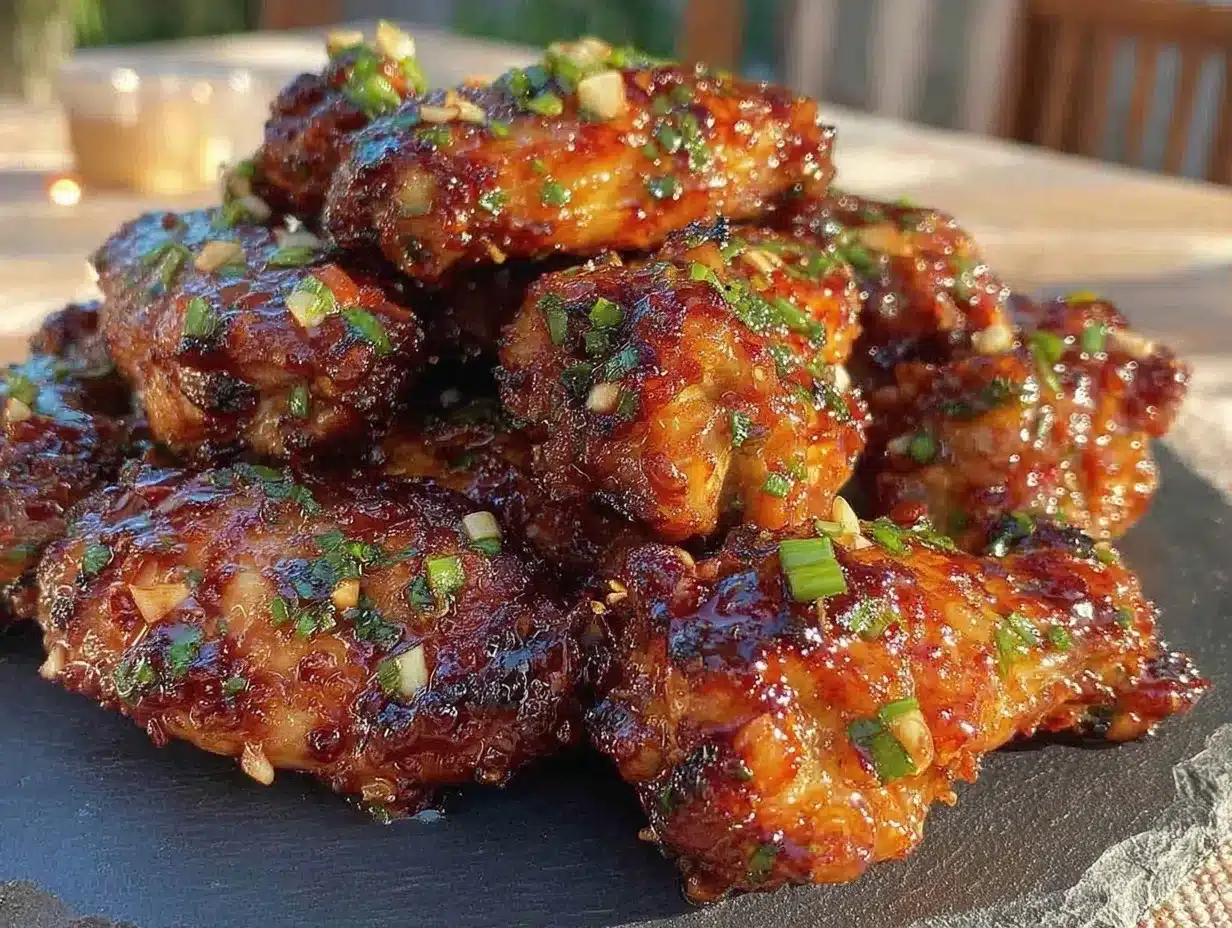
Garlic (6-8 cloves, minced / about 3 tablespoons) — Yes, that many. And please, please use fresh garlic. Jarred garlic has a metallic aftertaste that ruins the sweetness of the honey. If you’re lazy, buy fresh cloves peeled in a bag, but mince them yourself.
Honey (½ cup / 170g) — I use clover honey for its mild floral notes. Manuka is too strong. Local honey works great too. Don’t use “honey-flavored” syrup; it’s just sugar water.
Soy sauce (¼ cup / 60ml) — Regular soy sauce is fine, but if you can find tamari (gluten-free) or a low-sodium version, that’s better. We want salty umami, not saltiness.
Rice vinegar (2 tablespoons / 30ml) — This cuts the sweetness. You can use apple cider vinegar in a pinch, but rice vinegar is the traditional choice for a reason—it’s milder.
Sesame oil (1 tablespoon / 15ml) — Toasted sesame oil. The dark kind. It adds that nutty aroma that makes Asian-inspired dishes smell so good. Don’t skip it.
Red pepper flakes (½ teaspoon / 1g) — Optional, but recommended. It adds a little heat to balance the sugar. If you’re making these for kids, cut it back to ¼ teaspoon.
Green onions (2 stalks, sliced) — For garnish. Adds color and a fresh onion bite to cut through the richness.
Sesame seeds (1 tablespoon) — Optional, but pretty. Adds a nice crunch and visual appeal.
Equipment Needed
You don’t need fancy gadgets for this. Here’s what I actually use:
Baking sheet — I use a rimmed half-sheet pan. The rim catches any drips so you don’t have to scrub your oven later.
Wire rack — This is crucial. Place the rack inside the baking sheet. The wings sit on the rack, allowing air to circulate underneath. This ensures even crisping. If you don’t have a rack, you can bake them directly on the pan, but you’ll need to flip them halfway through.
Small saucepan — For heating the sauce. A small skillet works too.
Tongs — For flipping wings and tossing them in the sauce.
Measuring cups and spoons — Standard stuff.
Cutting board and knife — For mincing garlic and slicing green onions.
How to Make It: Step-by-Step
Alright, let’s make these honey garlic chicken wings. I’m walking you through exactly how I do it, including the little tricks I’ve picked up over the years.
Step 1: Prep the Wings (10 minutes)
Pat your wings completely dry with paper towels. This is non-negotiable. If the skin is wet, it will steam instead of crisp. Use fresh paper towels—don’t be stingy. Once they’re dry, toss them in a large bowl with the baking powder, salt, and pepper. Toss until every wing is lightly coated. The baking powder should be invisible, just a fine dusting.
Step 2: Arrange on the Rack (5 minutes)
Line your baking sheet with parchment paper (for easy cleanup) and place the wire rack on top. Arrange the wings in a single layer on the rack. Make sure they aren’t touching. Crowding them will make them soggy. If you have a small oven, you might need two pans. Do not skip this step.
Step 3: Bake Until Crispy (45-50 minutes)
Preheat your oven to 400°F (200°C). Place the wings in the oven and bake for 45-50 minutes. Flip them halfway through (around the 25-minute mark) to ensure even browning. You want them golden brown and crispy. The skin should look like crackling. If you want them extra crispy, you can broil them for the last 2 minutes, but watch them closely—they burn fast.
Step 4: Make the Sauce (5 minutes)
While the wings bake, make the sauce. In a small saucepan over medium heat, combine the honey, soy sauce, rice vinegar, sesame oil, and red pepper flakes. Whisk together and let it simmer for 3-4 minutes until it thickens slightly. It should coat the back of a spoon. Remove from heat and stir in the minced garlic. The residual heat will cook the garlic without burning it.
Step 5: Toss and Serve (5 minutes)
Remove the wings from the oven. While they’re still hot, toss them in the honey garlic sauce. Use tongs to coat every wing evenly. The sauce will stick to the crispy skin and create this amazing sticky glaze. Transfer to a serving platter and garnish with sliced green onions and sesame seeds. Serve immediately.
Total Time: About 1 hour (15 minutes active, 45 minutes baking)
Expert Tips & Tricks
Here’s everything I’ve learned from making this dozens of times. These tips will save you from my mistakes.
- Dry Skin is Key — I can’t stress this enough. Wet wings = steamed wings. Pat them dry, then pat them dry again. If you have time, leave the uncovered wings in the fridge for an hour to air-dry the skin. This is a pro move.
- Don’t Skip the Rack — Baking directly on the pan works, but the rack gives you that all-around crispiness. It’s worth the extra dish.
- Add Garlic at the End — Never cook minced garlic in the oven with the wings. It will burn and turn bitter. Add it to the sauce off-heat. The hot sauce will cook it just enough.
- Sauce Temperature Matters — Toss the wings in the sauce while they’re hot. The heat helps the sauce adhere to the crispy skin. If the wings are cold, the sauce will slide off.
- Double the Sauce — If you’re serving these with other appetizers like loaded sweet potato skins, you might want to double the sauce. Everyone loves dipping wings.
Variations & Substitutions
Once you’ve nailed the basic version, here’s how you can mix it up. I’ve tried all of these.
Spicy Honey Garlic
Add 1 tablespoon of gochujang (Korean chili paste) or sriracha to the sauce. It adds a deep, fermented heat that pairs perfectly with the sweetness. This is my favorite version for game day.
Soy-Ginger Variation
Swap half the honey for maple syrup and add 1 tablespoon of freshly grated ginger. It’s a bit more savory and less sweet. Great with crispy baked ravioli bites as a side.
Glaze Instead of Toss
For a glossier finish, brush the sauce onto the wings during the last 5 minutes of baking. This creates a caramelized exterior. Just be careful not to burn the sugar.
Dietary Modifications
Gluten-Free: Use tamari instead of soy sauce. Everything else is naturally gluten-free.
Dairy-Free: This recipe is already dairy-free. Perfect if you’re serving people with allergies.
Lower Sugar: Reduce honey to ¼ cup and add a splash of apple cider vinegar to balance the flavor. It’s still delicious, just less sweet.
Serving & Storage
How to Serve: I usually pile these wings high on a large platter or in a foil-lined tray. They look rustic and abundant. Serve with extra sauce on the side for dipping, and maybe some celery sticks and blue cheese dressing for those who want it (though honestly, you don’t need it here).
Side Dishes: These wings pair beautifully with air fryer sweet potato wedges or a simple green salad. If you’re doing a full game day spread, they also go well with loaded cheeseburger casserole or spicy habanero lime salsa for dipping.
Storage: Store leftovers in an airtight container in the fridge for up to 3 days. The wings will lose some crispiness, but they’re still good.
Reheating: Reheat in the oven at 400°F for 10 minutes to restore crispiness. Avoid the microwave—it makes them chewy and soggy. If you’re meal-prepping, bake the wings ahead, store them plain, and toss in fresh sauce when ready to serve.
Freezing: You can freeze cooked wings for up to 2 months. Thaw in the fridge and reheat in the oven. Do not freeze wings with the sauce on them—the texture will suffer.
Nutrition Information
I’m not a nutritionist, but here’s the breakdown if you’re tracking. Keep in mind, these are estimates based on average wing sizes.
| Per Serving (2 wings) | Amount |
|---|---|
| Calories | 280 |
| Protein | 18g |
| Carbs | 12g |
| Fat | 16g |
| Sugar | 10g |
| Sodium | 450mg |
These wings are higher in sugar due to the honey, but they’re also high in protein. If you’re watching your sugar, go easy on the sauce or use the lower-sugar variation. Otherwise, enjoy them as a treat!
Final Thoughts
So that’s my go-to honey garlic chicken wings recipe! I’ve probably talked your ear off at this point, but when you make a recipe this often, you have a lot to say about it. These wings have saved me from buying soggy restaurant wings more times than I can count. They’re my answer to “what’s for game day?” when I want something impressive but don’t want to spend hours cooking.
Make them yours! Try different chilies, add more garlic, or serve them with a cool dipping sauce. The best recipes are the ones you adapt to your taste. If you make this, drop a comment and let me know what you think! I love hearing how recipes turn out in your kitchen.
Happy cooking! And I hope your kitchen smells half as good as mine does right now.
Frequently Asked Questions
Can I use an air fryer instead of the oven?
Absolutely! Air fryer wings are amazing. Cook them at 400°F for 20-25 minutes, shaking the basket halfway through. They’ll be crispy in no time. Just keep an eye on them—they cook faster than in the oven. Toss in the sauce after cooking, just like the oven method.
Why are my wings not crispy?
Usually, this means the skin wasn’t dry enough, or the wings were crowded on the pan. Make sure you pat them dry thoroughly and leave space between each wing. Also, check your baking powder—it needs to be fresh to work effectively.
Can I make the sauce ahead of time?
Yes! Make the sauce up to 3 days ahead and store it in the fridge. Reheat it gently before tossing with the wings. The flavors actually meld and get better over time.
What’s the best way to reheat leftovers?
Reheat in the oven or air fryer at 400°F for 5-10 minutes. This restores the crispiness. Avoid the microwave, as it makes the skin chewy.
Can I freeze these wings?
You can freeze the cooked wings without sauce for up to 2 months. Thaw in the fridge and reheat in the oven. Do not freeze wings with the sauce on them, as the texture will become soggy.
Is this recipe gluten-free?
Yes, if you use tamari instead of regular soy sauce. Everything else is naturally gluten-free. Double-check your honey and vinegar labels to be sure.
How spicy are these wings?
They’re mildly spicy thanks to the red pepper flakes, but mostly sweet and savory. If you want them hotter, add more red pepper flakes or use sriracha. If you want them milder, omit the flakes entirely.
Pin This Recipe!
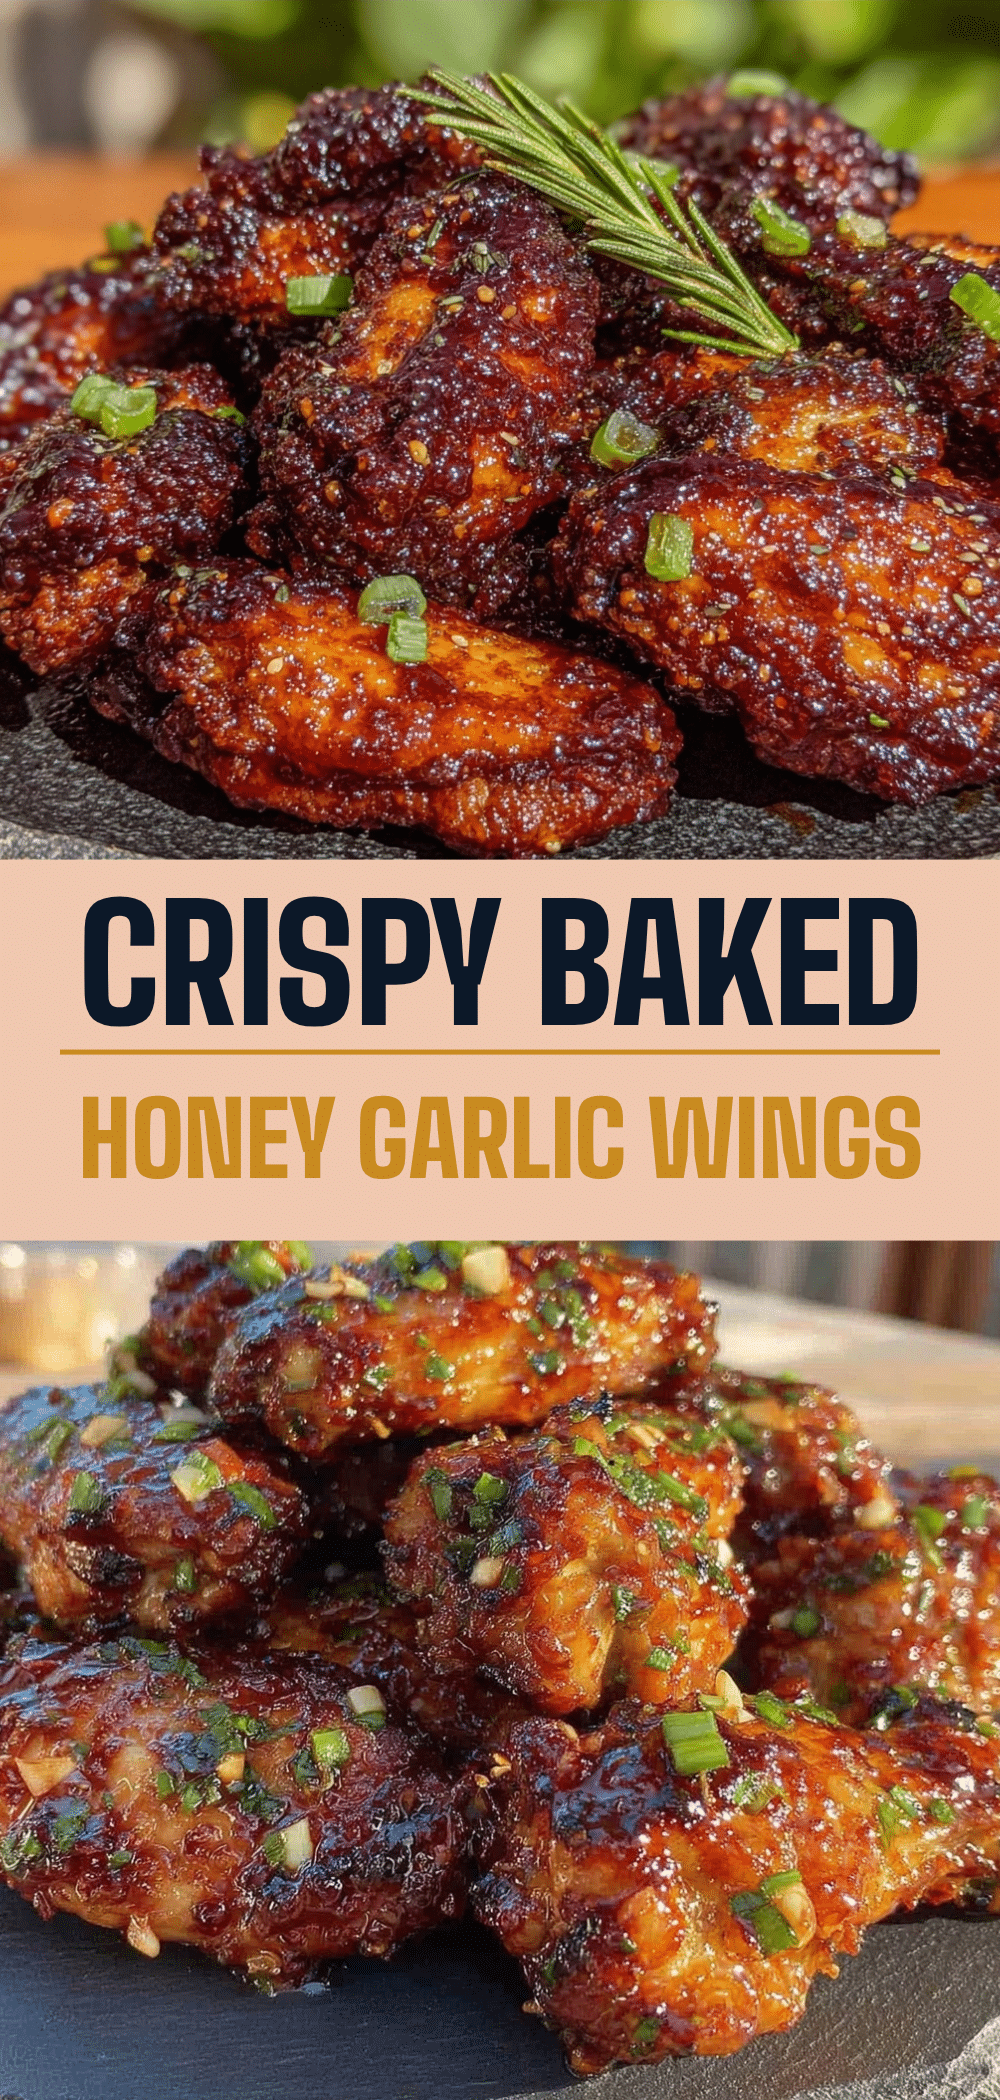
Honey Garlic Chicken Wings: 5-Step Game Day Appetizer
- Total Time: 1 hour
- Yield: 4 servings 1x
Description
Crispy oven-baked chicken wings tossed in a sticky, sweet, and savory honey garlic sauce. This easy, gluten-free friendly appetizer is perfect for game day and requires no deep frying.
Ingredients
- 3 pounds chicken wings (mix of flats and drumettes)
- 1 tablespoon baking powder (aluminum-free)
- 1 teaspoon kosher salt
- ½ teaspoon freshly cracked black pepper
- 6–8 cloves garlic, minced
- ½ cup honey
- ¼ cup soy sauce (or tamari for gluten-free)
- 2 tablespoons rice vinegar
- 1 tablespoon toasted sesame oil
- ½ teaspoon red pepper flakes
- 2 stalks green onions, sliced (for garnish)
- 1 tablespoon sesame seeds (optional, for garnish)
Instructions
- Preheat oven to 400°F (200°C). Pat chicken wings completely dry with paper towels.
- In a large bowl, toss dried wings with baking powder, salt, and pepper until lightly coated.
- Line a baking sheet with parchment paper and place a wire rack on top. Arrange wings in a single layer on the rack, ensuring they are not touching.
- Bake for 45-50 minutes, flipping halfway through (around 25 minutes), until golden brown and crispy. Optionally broil for 2 minutes for extra crispiness.
- While wings bake, combine honey, soy sauce, rice vinegar, sesame oil, and red pepper flakes in a small saucepan over medium heat. Simmer for 3-4 minutes until slightly thickened.
- Remove sauce from heat and stir in minced garlic.
- Remove wings from oven and immediately toss in the warm honey garlic sauce until evenly coated.
- Transfer to a serving platter and garnish with sliced green onions and sesame seeds. Serve immediately.
Notes
Ensure wings are completely dry before baking to achieve crispiness. Use a wire rack to allow air circulation. Add garlic to the sauce off-heat to prevent burning. Toss wings in sauce while hot for better adhesion. For gluten-free, use tamari instead of soy sauce.
- Prep Time: 15 minutes
- Cook Time: 45 minutes
- Category: Appetizer
- Cuisine: Asian Fusion
Nutrition
- Serving Size: 2 wings
- Calories: 280
- Sugar: 10
- Sodium: 450
- Fat: 16
- Saturated Fat: 4
- Carbohydrates: 12
- Protein: 18
Keywords: honey garlic chicken wings, game day appetizer, oven baked wings, crispy wings, gluten free appetizer, easy chicken wings, party food


