I’ll be honest with you. For years, I treated potatoes like background noise. They were the quiet, starchy filler on the plate that made the steak or chicken feel like a complete meal. I boiled them, I mashed them, I roasted them whole, and they were fine. Just fine. Boring, even.
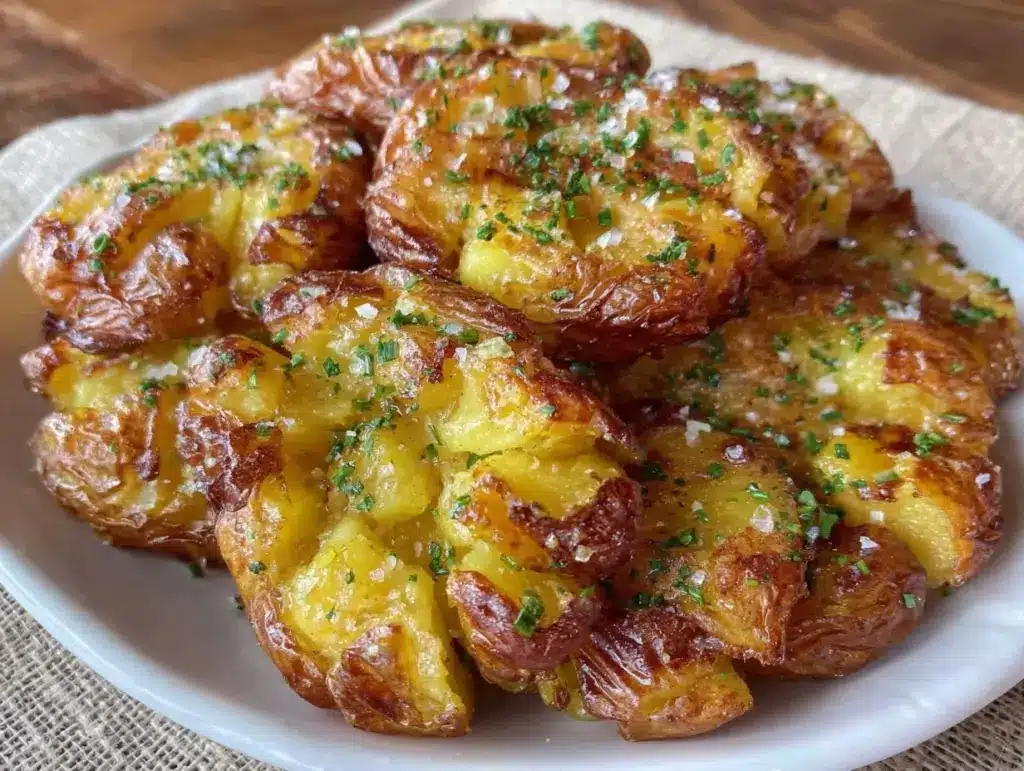
Then, last Thanksgiving, I made a mistake. I didn’t have time to mash the potatoes properly, so I boiled them, smashed them flat on a baking sheet, and tossed them in the oven while I panicked about the turkey. I came back to the kitchen expecting soggy, sad potato pancakes. Instead, I found a tray of golden, crunchy, shattering discs that smelled like garlic and heaven.
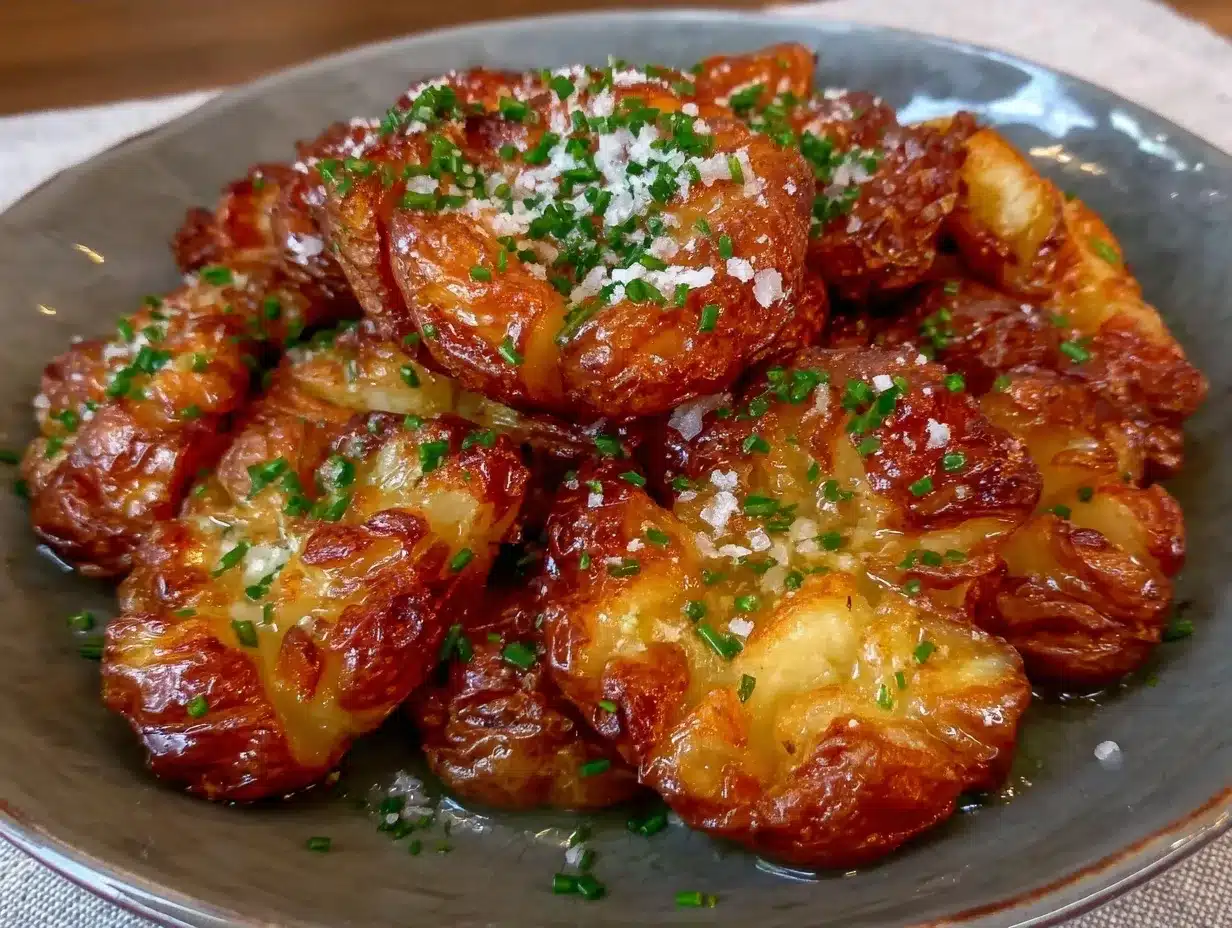
My mother-in-law, who judges my cooking with the scrutiny of a food critic, took one bite and stopped talking. She just kept eating. That was the moment I realized I had stumbled onto something special. These crispy smashed potatoes with garlic herb butter aren’t just a side dish. They are a texture experience. They give you the fluffy interior of a baked potato with the shattering crunch of a potato chip, all held together by a garlic herb butter that seeps into every nook and cranny.
I’ve tested this method dozens of times, tweaking the boil time, the smash technique, and the herb blend. The result? A recipe that is stupidly simple but tastes like you spent hours in the kitchen. It’s the kind of side dish that disappears before the main course is even finished. And once you try the crispy air fryer potato skins as a snack, you’ll realize that smashed potatoes are just the next level of potato obsession.
Why You’ll Love This Recipe
There are about ten reasons I keep making these smashed potatoes, but let’s be real—you’re here because you want dinner to work, and you want people to be impressed without you breaking a sweat. Here’s why this recipe is a winner:
- Texture Explosion — This is the main event. You get the creamy, fluffy center of a Yukon Gold potato contrasted against a crust so crispy it practically sings when you bite into it. It’s the best of both worlds.
- Zero Stress Cooking — Unlike mashed potatoes, which require constant stirring and can turn gluey if you overwork them, smashed potatoes are forgiving. You boil them, you smash them, you bake them. You can’t really mess this up.
- Flavor Infusion — Most roasted potatoes just have salt on them. By smashing them, you create more surface area for the garlic herb butter to soak into. Every bite is flavored, not just seasoned.
- Impressive Presentation — They look rustic and homemade but fancy enough for a holiday dinner or a dinner party. They’re colorful, golden, and smell amazing. Guests always ask for the recipe.
- Budget Friendly — Potatoes are cheap. Butter and herbs are pantry staples. You can feed a crowd for less than the cost of appetizers at a restaurant.
This is my go-to when I need a side dish that feels special but requires almost no effort. It’s reliable, delicious, and universally loved by kids and adults alike.
Ingredients You’ll Need
Here’s the best part: you probably have most of this already in your pantry. I’m particular about a few things here, but mostly, this is about quality ingredients and simple techniques.
For the Potatoes
Yukon Gold potatoes (3 lbs / 1.4 kg) — I swear by Yukon Golds. They have a naturally buttery flavor and a medium starch content, which means they get creamy inside but hold their shape when smashed. Russets are too mealy, and red potatoes are too waxy. If you can’t find Yukons, Kennebecs are a good second choice.
Water (enough for boiling) — Just enough to cover the potatoes by an inch. Don’t overfill the pot.
Kosher salt (2 tablespoons) — For the boiling water. This is crucial. You want the water to taste like the ocean. It seasons the potato from the inside out.
For the Garlic Herb Butter
Unsalted butter (½ cup / 115g) — Room temperature. I know, softening butter is a pain, but it mixes easier with the herbs. Use good quality butter here—it’s a big part of the flavor. I like Kerrygold or Plugra.
Garlic (4-5 cloves, minced) — Fresh only. Please, do not use jarred garlic. It has a metallic aftertaste that clashes with the butter. Fresh garlic roasted in the butter is sweet and mellow.
Fresh rosemary (2 tablespoons, finely chopped) — Rosemary is the classic partner for potatoes. It’s piney and strong. If you hate rosemary, you can swap it for thyme, but I think rosemary is non-negotiable for that “roasted” flavor.
Fresh parsley (2 tablespoons, chopped) — Adds a fresh, grassy note that cuts through the richness of the butter. Flat-leaf parsley is better than curly for flavor, though curly looks prettier.
Black pepper (1 teaspoon, freshly cracked) — Freshly cracked pepper adds a nice heat and aroma. Pre-ground pepper is dusty and weak.
Sea salt flakes (for finishing) — Flaky salt on top adds a nice crunch and visual appeal. Kosher salt works too, but flakes look fancy.
Equipment Needed
You don’t need fancy gadgets for this. Here’s what I actually use:
Large pot with lid — I use a 6-quart stockpot. It needs to be big enough to hold the potatoes comfortably so they cook evenly. My old enamel pot works perfectly fine.
Baking sheets — Two standard half-sheet pans. You’ll need enough space to smash the potatoes so they aren’t touching. If you have small pans, just use more of them.
Parchment paper — Essential. It prevents sticking and makes cleanup a breeze. I don’t bother greasing the parchment because the butter does the job.
Mason jar lid or potato masher — To smash the potatoes. I use the bottom of a heavy mason jar lid because it has a nice flat surface. A potato masher works too, but you have to be gentle so you don’t pulverize them.
Small bowl — For mixing the garlic herb butter.
How to Make It: Step-by-Step
Alright, let’s make these! I’m walking you through exactly how I do it, including the little tricks I’ve picked up over the years.
Step 1: Prep the Potatoes (10 minutes)
Wash the potatoes thoroughly. You don’t need to peel them—the skin adds texture and nutrients. Cut the potatoes in half if they are large, or leave them whole if they are small (about the size of a golf ball). Uniform size helps them cook evenly.
Step 2: Boil Until Tender (15-20 minutes)
Place the potatoes in your large pot and cover with cold water by about an inch. Add 2 tablespoons of kosher salt. Bring to a boil over high heat, then reduce to a simmer. Cook for 15-20 minutes, or until a fork slides in and out with zero resistance. They should be tender all the way through. This is the most important step—if they aren’t fully cooked, they won’t smash properly and will be crunchy in the middle, which is not what we want.
Step 3: Drain and Dry (5 minutes)
Drain the potatoes in a colander. Let them sit for a minute to steam off excess water. This step is often skipped, but it helps the skins crisp up later. If they’re too wet, they’ll steam instead of roast.
Step 4: Smash Them Flat (5 minutes)
Line your baking sheets with parchment paper. Place the warm potatoes on the sheets. Using the bottom of a mason jar lid (or a potato masher), gently press down on each potato. You want them to flatten to about ½-inch thickness. Don’t press so hard that they break apart—just flatten them. Create some rough edges; those crispy bits are the best part.
Step 5: Make the Garlic Herb Butter (2 minutes)
While the potatoes are cooling slightly, mix the softened butter, minced garlic, chopped rosemary, parsley, and black pepper in a small bowl. If the butter is too cold, microwave it for 10 seconds to soften it. You want a spreadable consistency.
Step 6: Top and Bake (20-25 minutes)
Spread a generous layer of the garlic herb butter over each smashed potato. Make sure you get it into the cracks and crevices. Bake in a preheated 425°F (220°C) oven for 20-25 minutes. You’re looking for golden brown edges and crispy tops. The butter should be bubbling and fragrant.
Step 7: Finish and Serve
Remove from the oven and immediately sprinkle with flaky sea salt. Serve hot. The crunch will start to soften if they sit too long, so get them on the table quickly.
Expert Tips & Tricks
Here’s everything I’ve learned from making this dozens of times. These tips will save you from my mistakes.
The Boil Test
Don’t guess on the boil time. Use a fork. If the fork meets resistance, they need more time. Undercooked potatoes are the enemy of smashed potatoes.
Warm Potatoes Smash Easier
If you let the potatoes cool completely, they get hard and rubbery, making them hard to smash. Smash them while they are still warm. If you’re prepping ahead, you can boil them, drain them, and let them cool, then reheat them in the microwave for 30 seconds before smashing.
Don’t Skimp on the Butter
It sounds rich, but the butter renders into the oven and creates the crispiness. If you use too little, they’ll dry out. If you use too much, they’ll be greasy. The ratio I’ve given is the sweet spot.
Garlic Mincing
Mince your garlic finely so it doesn’t burn in the oven. Big chunks of garlic will char and turn bitter. You want the garlic flavor infused in the butter, not burnt bits.
Crispy Edges
When you smash, try to create irregular shapes. The jagged edges have more surface area and get extra crispy. That’s where the magic happens.
Variations & Substitutions
Once you’ve nailed the basic version, here’s how you can mix it up. I’ve tried all of these.
Cheesy Version
Sprinkle shredded cheddar or parmesan cheese over the potatoes after smashing, then add the butter. Bake until the cheese is melted and bubbly. This is a crowd-pleaser.
Spicy Kick
Add a pinch of cayenne pepper or red pepper flakes to the garlic butter. It adds a nice heat that balances the richness.
Herb Swap
No rosemary? Use thyme or sage. Sage is particularly good with butter and potatoes, giving an earthy, autumnal flavor. I love it in the fall.
Dairy-Free
Use vegan butter or olive oil instead. Olive oil works well, but it won’t have the same rich, creamy texture as butter. It’s still delicious, just lighter.
Gluten-Free
This recipe is naturally gluten-free. Just make sure your butter and herbs are certified gluten-free if you have celiac disease.
Serving & Storage
How to Serve
I usually serve these straight from the baking sheet at the dinner table—it looks rustic and stays warm. They pair beautifully with slow cooker white chicken chili or roasted meats. They’re also great with maple Dijon chicken thighs for a complete fall meal.
Side Dishes
– A simple green salad with vinaigrette
– Roasted asparagus or green beans
– Grilled steak or pork chops
Storage
Store leftovers in an airtight container in the fridge for up to 3 days. They will lose some crispiness, but they’re still good.
Reheating
Reheat in a 400°F oven for 10 minutes to restore crispiness. Do not microwave—they will get soggy. If you must microwave, do it for 30 seconds and then finish in the toaster oven or air fryer for 2 minutes.
Nutrition Information
I’m not a nutritionist, but here’s the breakdown if you’re tracking.
Per Serving (based on 6 servings):
- Calories: 280
- Protein: 4g
- Carbs: 35g
- Fiber: 3g
- Sugar: 2g
- Fat: 14g
- Saturated Fat: 8g
- Cholesterol: 30mg
- Sodium: 350mg
This is comfort food, so it’s not a diet recipe. But it’s better than takeout, and you control the ingredients. When I want to make it lighter, I use less butter and more herbs, but usually, I just enjoy a reasonable portion and move on.
Final Thoughts
So that’s my go-to crispy smashed potatoes! I’ve probably talked your ear off at this point, but when you make a recipe this often, you have a lot to say about it. This has saved weeknight dinners more times than I can count. It’s my answer to “what’s for dinner” when I’m tired, don’t want takeout, and still want something that tastes really good.
Make it yours! Try different herbs, add cheese, or drizzle with hot sauce. The best recipes are the ones you adapt to your family’s tastes. If you make this, drop a comment and let me know what you think! I love hearing how recipes turn out in your kitchen. And if something doesn’t work, tell me that too—I’m here to help troubleshoot.
Happy cooking! And I hope your kitchen smells half as good as mine does right now.
Frequently Asked Questions
Can I use Russet potatoes instead of Yukon Gold?
You can, but the texture will be different. Russets are higher in starch and fluffier, so they might fall apart when you smash them. Yukon Golds have a waxy skin and creamy interior, which holds up better. If you use Russets, be very gentle when smashing and let them cool slightly first.
Why are my smashed potatoes not crispy?
Usually, this means they weren’t boiled long enough, or they were too wet when you smashed them. Make sure they are fork-tender before draining. Also, ensure your oven is fully preheated to 425°F. If the oven isn’t hot enough, they’ll steam instead of roast.
Can I make these ahead of time?
You can boil and smash them ahead of time, but don’t add the butter until you’re ready to bake. Store the smashed potatoes in the fridge on a parchment-lined tray. When you’re ready to cook, take them out, add the butter, and bake. They won’t be as crispy if you reheat fully cooked ones, so it’s best to bake fresh.
Can I freeze smashed potatoes?
I don’t recommend freezing them. The texture of the potato changes when frozen and thawed, becoming grainy and watery. They’re best made fresh. If you have leftovers, freeze them for up to a month, but reheat in the oven to try to restore some texture.
What’s the best way to smash the potatoes?
I use the bottom of a heavy mason jar lid. It’s flat, heavy, and easy to grip. A potato masher works too, but you have to be careful not to press too hard. The goal is to flatten the potato, not turn it into mash.
Can I use olive oil instead of butter?
Yes, but the flavor will be different. Olive oil is lighter and less rich. It still works well, especially with herbs, but you won’t get that creamy, rich garlic butter flavor. If you use oil, brush it on generously instead of spreading it like butter.
Pin This Recipe!
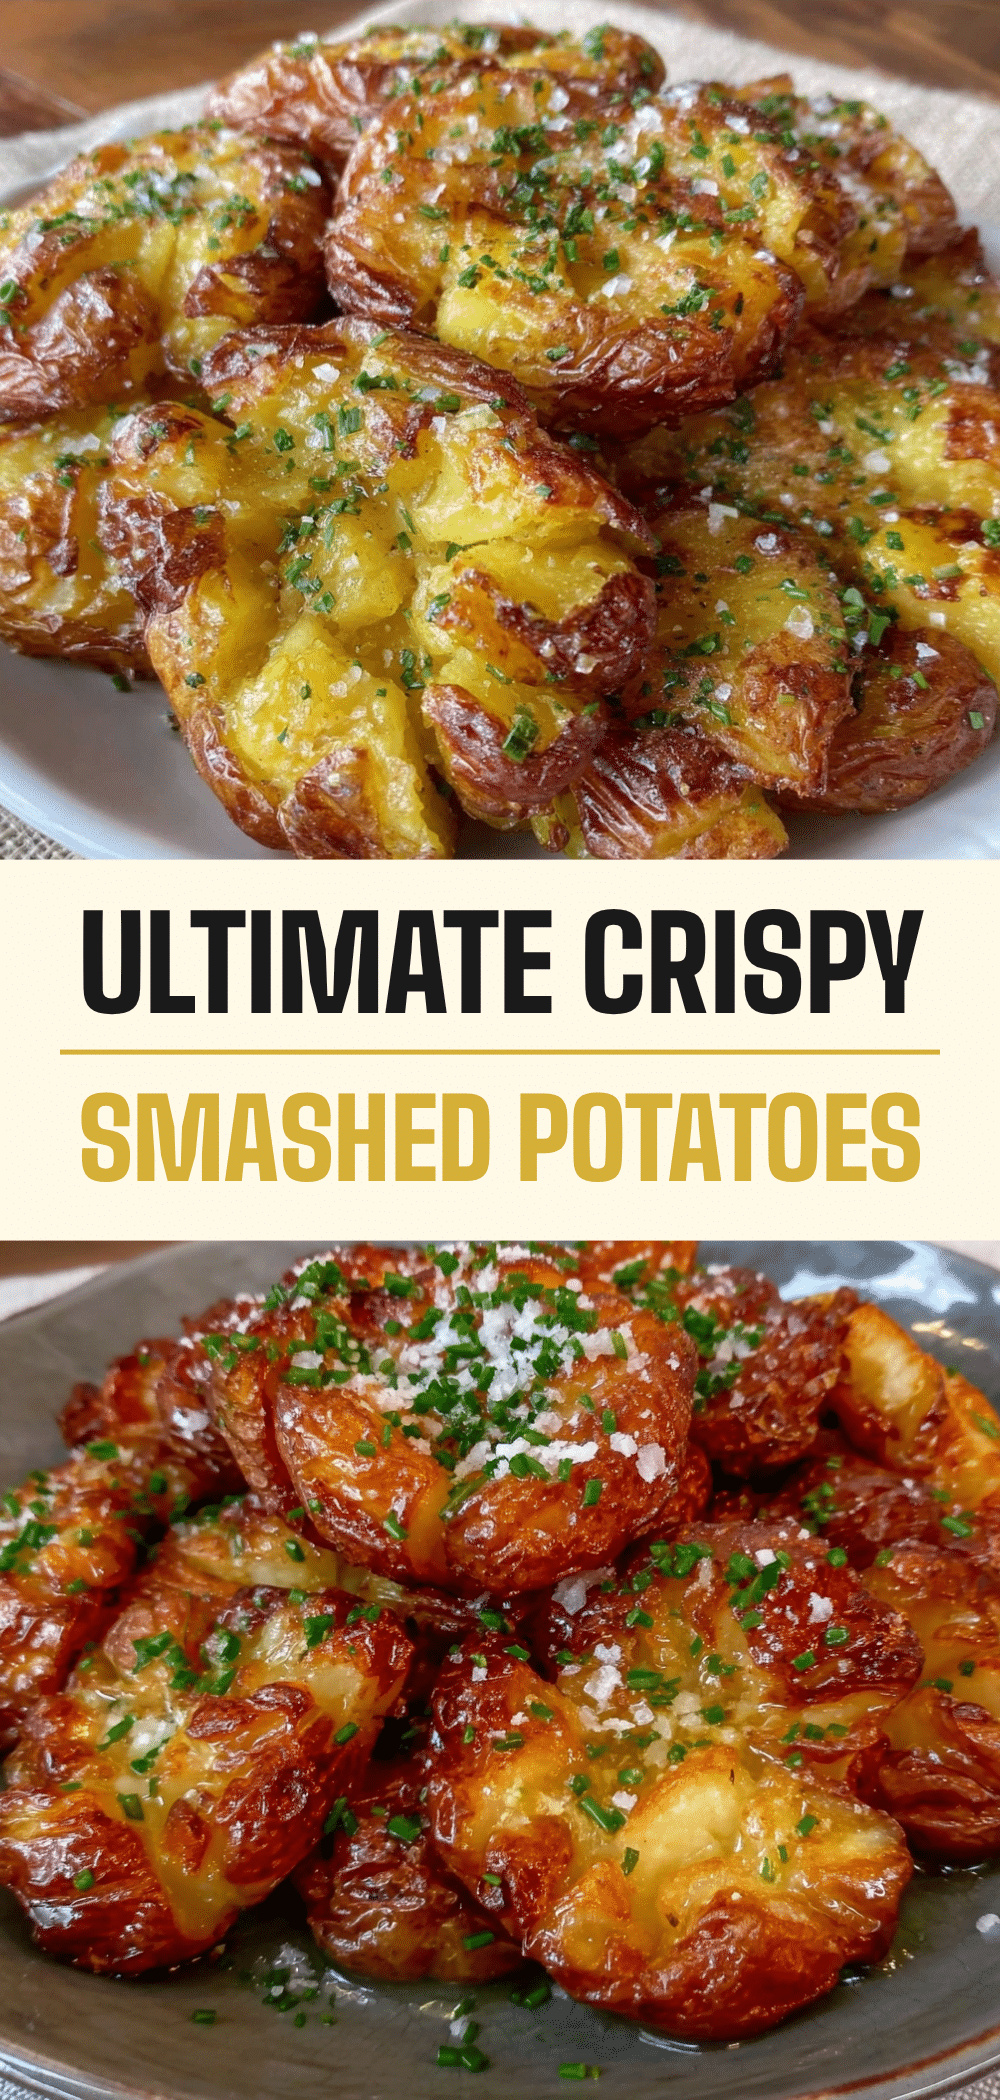

Crispy Smashed Potatoes: 1 Trick for Perfect Garlic Herb Butter
- Total Time: 50 minutes
- Yield: 6 servings 1x
Description
These crispy smashed potatoes feature a fluffy interior and a shattering crunch, topped with a rich garlic herb butter. It’s a simple, forgiving side dish that delivers impressive flavor and texture.
Ingredients
- 3 lbs Yukon Gold potatoes
- Water (enough to cover potatoes by an inch)
- 2 tablespoons Kosher salt (for boiling)
- ½ cup Unsalted butter (room temperature)
- 4–5 cloves Garlic (minced)
- 2 tablespoons Fresh rosemary (finely chopped)
- 2 tablespoons Fresh parsley (chopped)
- 1 teaspoon Black pepper (freshly cracked)
- Sea salt flakes (for finishing)
Instructions
- Wash potatoes thoroughly. Cut large potatoes in half or leave small ones whole for uniform cooking.
- Place potatoes in a large pot and cover with cold water by an inch. Add 2 tablespoons of kosher salt.
- Bring to a boil over high heat, then reduce to a simmer. Cook for 15-20 minutes until fork-tender.
- Drain potatoes in a colander and let them sit for a minute to steam off excess water.
- Line baking sheets with parchment paper. Place warm potatoes on the sheets.
- Using the bottom of a mason jar lid or potato masher, gently press each potato to flatten to about ½-inch thickness, creating rough edges.
- In a small bowl, mix softened butter, minced garlic, chopped rosemary, parsley, and black pepper.
- Spread a generous layer of the garlic herb butter over each smashed potato, ensuring it gets into the cracks.
- Bake in a preheated 425°F (220°C) oven for 20-25 minutes until golden brown and crispy.
- Remove from oven and immediately sprinkle with flaky sea salt. Serve hot.
Notes
Use Yukon Gold potatoes for the best texture; they are creamy inside but hold their shape. Ensure potatoes are fork-tender before smashing. Smash while warm for easier handling. Do not microwave leftovers as they will become soggy; reheat in the oven to restore crispiness.
- Prep Time: 10 minutes
- Cook Time: 40 minutes
- Category: Side Dish
- Cuisine: American
Nutrition
- Serving Size: 1 smashed potato
- Calories: 280
- Sugar: 2
- Sodium: 350
- Fat: 14
- Saturated Fat: 8
- Carbohydrates: 35
- Fiber: 3
- Protein: 4
Keywords: crispy smashed potatoes, garlic herb butter, side dish, roasted potatoes, easy dinner, gluten-free side


