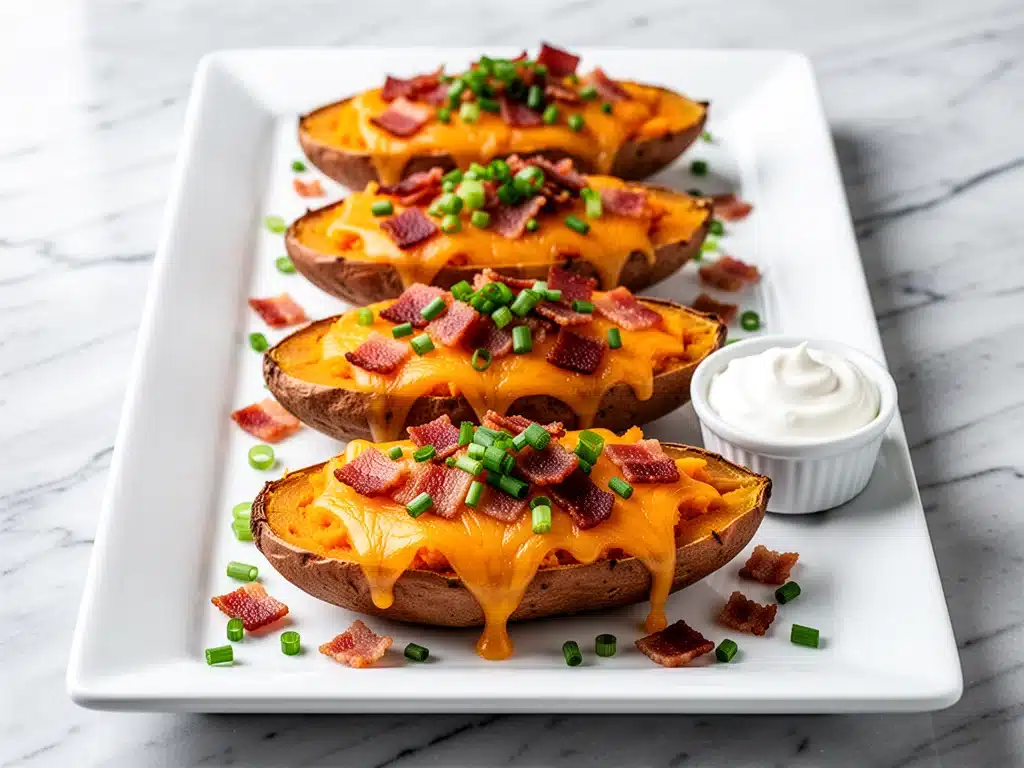
It was 2018, and I was standing in my living room watching my husband’s college friends devour an entire tray of appetizers in under twenty minutes. I had spent the afternoon making these loaded sweet potato skins, and I was worried they wouldn’t be enough. They were. By the time the football game ended, we were scraping the last bits of cheese and bacon out of the crispy shells. That was the moment I realized something important: you don’t need fancy ingredients to make people happy. You just need crispy edges, melty cheddar, and enough bacon to make them close their eyes.
I’ve made this loaded sweet potato skins recipe more times than I can count over the last few years. What started as a lazy Sunday snack has become the go-to dish for every gathering, from Super Bowl parties to casual Tuesday dinners. It’s simple, it’s comforting, and it’s genuinely delicious. The best part? You probably have most of these ingredients in your pantry right now.
This isn’t one of those complicated recipes that requires special techniques or hard-to-find spices. It’s about taking humble sweet potatoes and turning them into something crispy, cheesy, and totally addictive. I’ve tweaked this recipe over the years, but the core remains the same: crisp the skins, load them up, and bake until bubbly. It’s the kind of food that brings people together, and it’s why my whole family craves it.
Why You’ll Love This Recipe
There are about a dozen reasons I keep coming back to this loaded sweet potato skins recipe, but here are the big ones that make it a staple in our house:
- Crispy Texture Magic — The secret is par-baking. Getting those skins crispy before adding the toppings makes all the difference. I’ve tried shortcuts, but nothing beats that crunch.
- Five Ingredients Only — Seriously, that’s it. Sweet potatoes, bacon, cheddar, green onions, and sour cream. Simple, accessible, and delicious. No weird pantry staples required.
- Make-Ahead Friendly — I can prep these skins hours before guests arrive. They just need a quick reheat in the oven before serving. This is a lifesaver when I’m hosting.
- Perfect for Any Crowd — Whether you’re feeding a football party or a quiet family dinner, these are a hit. Even my picky eater kids love them, especially when I add extra bacon.
- Budget-Smart — Sweet potatoes are cheap, and bacon is often on sale. This recipe feeds a crowd for less than $10, which is a steal for something this good.
This recipe is my answer to “what should I bring?” for any potluck. It’s reliable, it’s tasty, and it’s always the first thing to disappear. I make it because it just works.
Ingredients You’ll Need
Here’s the best part: you probably have most of this already. I’m particular about two things here—the type of sweet potato and the cheese—but everything else is pretty standard.
The Base
Sweet potatoes (4 large) — I prefer larger, uniform potatoes so they cook evenly. Look for ones that are firm and heavy for their size. Yam and sweet potato are often used interchangeably, but for this recipe, stick with true sweet potatoes for that sweet, tender interior.
Vegetable oil (2 tablespoons) — I use olive oil or avocado oil. Just enough to coat the skins so they get crispy in the oven. Don’t skip this step; it’s crucial for texture.
The Filling
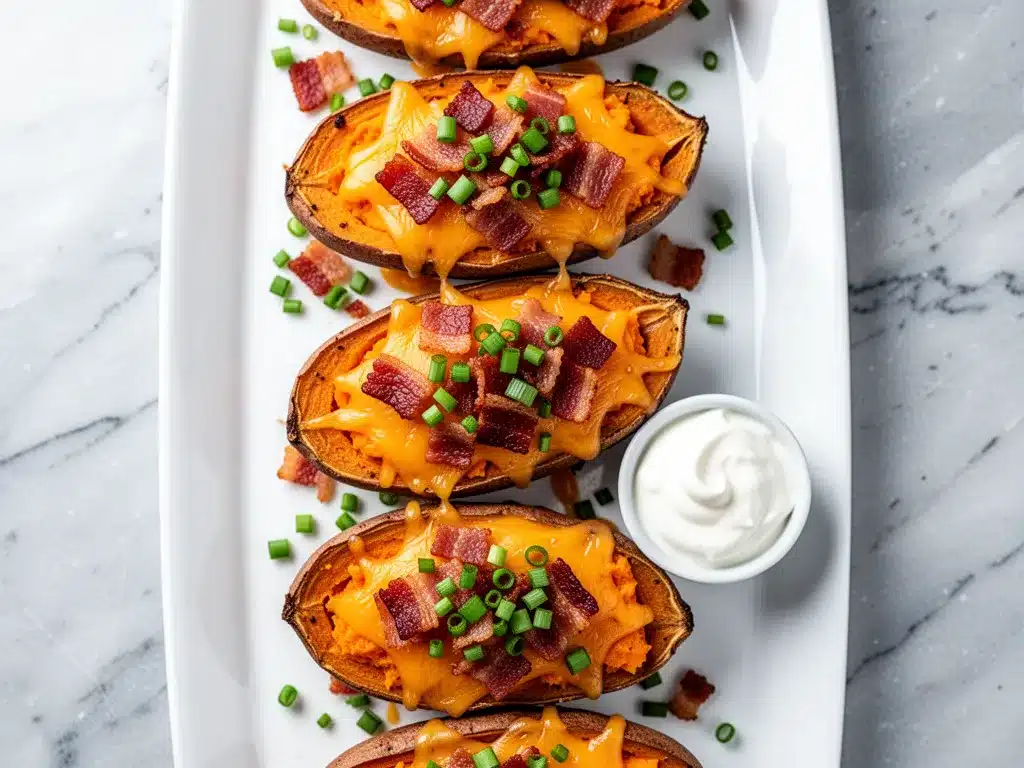
Bacon (6 slices) — I use thick-cut bacon because it holds up better when crumbled. Cook it until it’s crispy, then crumble it into small pieces. You want little bits of salty crunch in every bite.
Sharp cheddar cheese (2 cups, shredded) — Buy a block and shred it yourself. Pre-shredded cheese has anti-caking agents that prevent it from melting smoothly. Sharp cheddar has a stronger flavor that stands up to the sweet potatoes.
The Toppings
Green onions (3 stalks, sliced) — Adds a fresh, oniony bite that cuts through the richness. White onions work too, but green onions look prettier and have a milder flavor.
Sour cream (½ cup) — For drizzling. I like to dollop it on right before serving. Greek yogurt works as a lighter alternative if you want to cut some calories.
Salt and black pepper — To taste. A little goes a long way because the bacon and cheese are already salty.
Optional Add-ins — I sometimes add jalapeños for heat, or use Monterey Jack cheese for a milder melt. Feel free to experiment!
Equipment Needed
You don’t need fancy equipment for this. Here’s what I actually use:
- Baking sheet — I use a large rimmed baking sheet. Make sure it’s big enough to hold all the potato skins in a single layer. I line it with parchment paper for easy cleanup.
- Sharp knife — For slicing the potatoes lengthwise. A dull knife will mash the potato, so keep it sharp.
- Small spoon — I use a tablespoon to scoop out the insides. It’s easier than a knife and gives you a nice even layer.
- Microwave — I use this to par-bake the potatoes, which speeds up the process significantly. It’s a game-changer.
- Oven — For crisping the skins and melting the cheese. A standard oven works perfectly.
- Small bowl — For mixing the bacon and cheese filling.
That’s it. No special gadgets required. Just basic kitchen tools you already have.
How to Make It: Step-by-Step
Alright, let’s make this! I’m walking you through exactly how I do it, including the little tricks I’ve picked up.
Step 1: Prep the Potatoes (5 minutes)
Wash the sweet potatoes thoroughly and pat them dry. Pierce each potato a few times with a fork to let steam escape. This prevents them from exploding in the microwave.
Step 2: Par-Bake (5-7 minutes)
Place the potatoes on a microwave-safe plate and microwave on high for 5-7 minutes, flipping halfway through. They should be soft but still hold their shape. This step is crucial because it cooks the potato through without drying it out.
Step 3: Scoop the Insides (5 minutes)
Let the potatoes cool slightly until they’re safe to handle. Slice them lengthwise in half. Use a spoon to scoop out most of the inside flesh, leaving about a quarter-inch layer attached to the skin. Don’t make the skins too thin, or they’ll break. Save the scooped-out flesh for another use (like mashed potatoes or soup).
Step 4: Crisp the Skins (10 minutes)
Brush the inside of each skin with vegetable oil. Place them on a parchment-lined baking sheet. Bake at 400°F (200°C) for 10 minutes. This step crisps up the skins, which is the most important part of the recipe. If you skip this, they’ll be soggy.
Step 5: Add the Filling (2 minutes)
While the skins are baking, cook the bacon until crispy. Crumble it into small pieces. In a small bowl, mix the crumbled bacon with the shredded cheddar cheese. Once the skins are crisp, remove them from the oven.
Step 6: Melt the Cheese (5 minutes)
Spoon the bacon and cheese mixture evenly into each potato skin. Return the baking sheet to the oven and bake for another 5 minutes, or until the cheese is melted and bubbly. Keep an eye on them so the cheese doesn’t burn.
Step 7: Garnish and Serve
Remove from the oven and immediately garnish with sliced green onions and a dollop of sour cream. Serve hot. The skins will start to soften as they cool, so get them to the table quickly.
Total Time: About 30 minutes (15 minutes active, 15 minutes hands-off)
Troubleshooting Tips
- Skins are soggy? You didn’t par-bake them long enough, or you skipped the crisping step. Make sure they’re crisp before adding toppings.
- Cheese isn’t melting? Your oven might be running cool. Try an extra 2-3 minutes, or use a lower-shelf position for more direct heat.
- Skins are breaking? You scooped out too much flesh. Leave a thicker layer attached to the skin for structural integrity.
Expert Tips & Tricks
Here’s everything I’ve learned from making this dozens of times. These tips will save you from my mistakes.
Par-Baking is Non-Negotiable — I used to skip this step and wonder why my skins were mushy. Microwaving them first ensures the inside is tender and the outside crisps up properly. It’s a shortcut that actually improves the texture.
Shred Your Own Cheese — Pre-shredded cheese contains cellulose to prevent clumping, which stops it from melting smoothly. Shredding a block of cheddar takes two minutes and makes a huge difference in the final texture.
Don’t Overfill — It’s tempting to pile on the toppings, but if you overload the skins, they’ll become heavy and break. Stick to a generous but manageable amount of filling.
Use Thick-Cut Bacon — Thin bacon gets too greasy and doesn’t provide the same crunch. Thick-cut bacon holds its shape and adds a better texture contrast.
Serve Immediately — These skins are best hot. As they sit, the skins absorb moisture from the filling and lose their crunch. If you need to hold them, keep them warm in a low oven and re-crisp them for a minute before serving.
Variations & Substitutions
Once you’ve nailed the basic version, here’s how you can mix it up. I’ve tried all of these:
Spicy Version — Add diced jalapeños to the filling or sprinkle with cayenne pepper. Great for those who like a kick.
BBQ Chicken — Add shredded cooked chicken and drizzle with BBQ sauce after baking. This turns the skins into a full meal.
Broccoli Cheddar — Mix chopped steamed broccoli into the filling. Adds a veggie boost and pairs well with the sharp cheddar.
Guacamole Top — Skip the sour cream and top with fresh guacamole. Adds a creamy, tangy element that’s different from traditional toppings.
Gluten-Free — This recipe is naturally gluten-free, as long as you check your bacon and cheese labels for hidden additives. Sweet potatoes are inherently safe.
Dairy-Free — Use dairy-free cheese shreds and coconut cream instead of sour cream. The texture won’t be exactly the same, but it’s still delicious.
Serving & Storage
How to Serve: I usually serve these straight from the baking sheet at the party. They look rustic and are easy to grab. Pair them with a simple green salad or some corn on the cob for a complete meal.
Storage: Store leftovers in an airtight container in the refrigerator for up to 3 days. The skins will soften over time, which is normal.
Reheating: Reheat in the oven at 350°F (175°C) for 10-15 minutes to restore crispness. Avoid the microwave, as it will make the skins soggy. If you must use the microwave, do it in short bursts and finish in a toaster oven.
Freezing: I don’t recommend freezing these. The texture of the skins changes significantly after freezing and thawing. It’s best to make them fresh.
Nutrition Information
I’m not a nutritionist, but here’s the breakdown if you’re tracking. Note that these are estimates based on standard ingredients.
Per Serving (based on 8 skins):
- Calories: 280
- Protein: 12g
- Carbs: 35g
- Fiber: 4g
- Fat: 12g
- Saturated Fat: 6g
- Cholesterol: 30mg
- Sodium: 450mg
Look, this is comfort food. It’s not a diet recipe. But it’s way better than takeout, and you control the ingredients. When I want to make it lighter, I use less cheese and more veggies. But usually? I just eat a reasonable portion and enjoy it.
Final Thoughts
So that’s my loaded sweet potato skins recipe! I’ve probably talked your ear off at this point, but when you make a recipe this often, you have a lot to say about it. These skins have saved me from last-minute party panic more times than I can count. They’re my go-to when I want to impress without stressing. My family loves them, my friends beg for the recipe, and I love making them because they’re just that good.
Make it yours! Try different cheeses, add some jalapeños, or top it with pulled pork. The best recipes are the ones you adapt to your tastes. If you make this, drop a comment and let me know how it turned out. I love hearing how recipes work in your kitchen. And if something doesn’t work, tell me that too—I’m here to help.
Happy cooking! And I hope your kitchen smells half as good as mine does right now.
Frequently Asked Questions
Can I make these ahead of time?
Yes! You can par-bake and scoop the skins up to 24 hours in advance. Store them in the fridge. When ready to serve, add the toppings and bake as directed. This is my favorite way to host because it reduces day-of stress.
Why are my skins soggy?
This usually happens if you skip the crisping step or if the skins aren’t dry before oiling. Make sure to pat them dry and bake them until they’re firm and crisp before adding any wet ingredients like cheese or sour cream.
Can I use regular potatoes instead?
You can, but sweet potatoes have a natural sweetness that balances the salty bacon and cheese. Regular potatoes will work, but the flavor profile will be different. I recommend sticking with sweet potatoes for this specific recipe.
How do I reheat leftovers?
The oven is best. Reheat at 350°F for 10-15 minutes to restore crispness. The microwave will make them soggy, so avoid it if you want to maintain texture. If you must use the microwave, add a paper towel to absorb excess moisture.
Can I freeze these?
I don’t recommend freezing. The skins lose their crispness and become mushy after thawing. It’s better to make them fresh. If you have leftovers, store them in the fridge and reheat in the oven.
What cheese is best?
Sharp cheddar is my favorite because it has a strong flavor that stands up to the sweet potatoes. Monterey Jack or Pepper Jack also work well. Avoid mild cheeses, as they can get lost in the flavor profile.
Pin This Recipe!
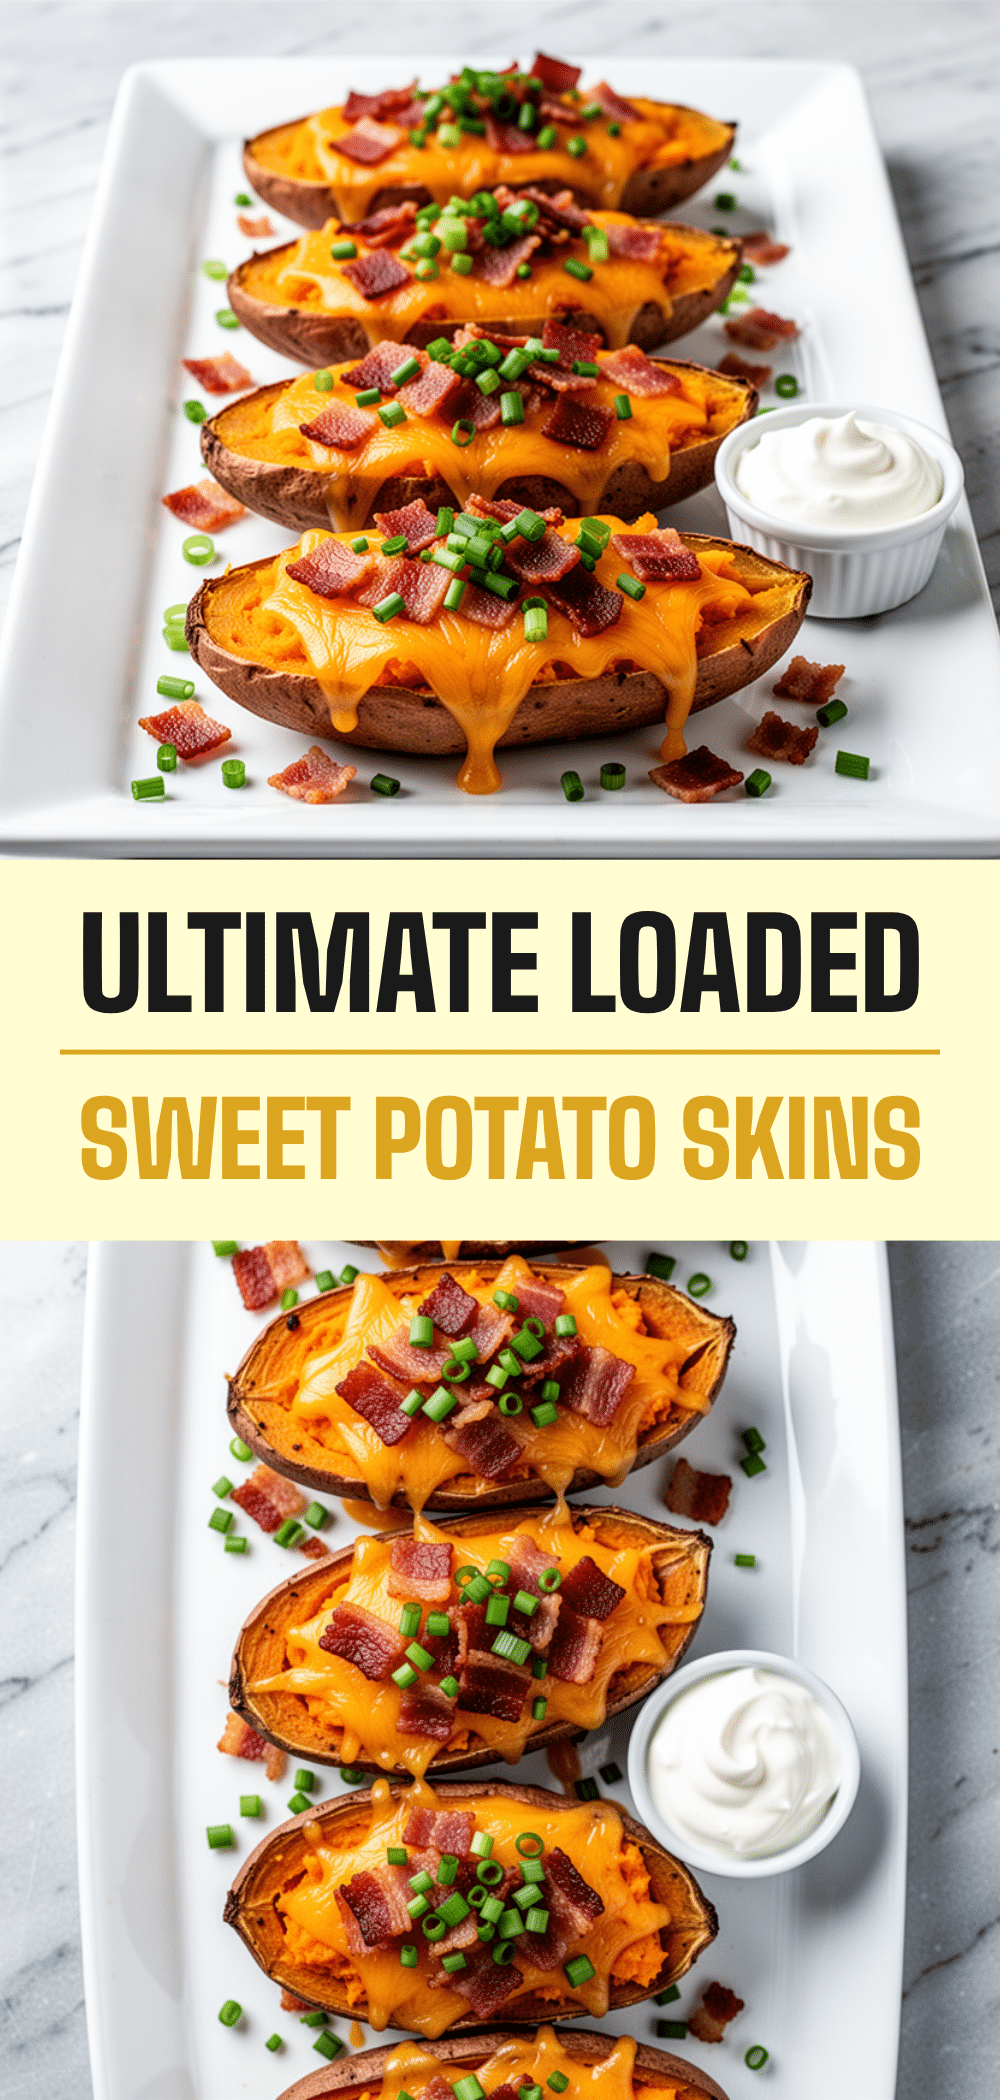

Loaded Sweet Potato Skins: 5-Ingredient Easy Recipe
- Total Time: 30 minutes
- Yield: 8 servings 1x
Description
Crispy, cheesy, and addictive sweet potato skins loaded with bacon, cheddar, and green onions. This simple 5-ingredient recipe is perfect for parties, game days, or a comforting weeknight snack.
Ingredients
- 4 large sweet potatoes
- 2 tablespoons vegetable oil (or olive/avocado oil)
- 6 slices thick-cut bacon
- 2 cups sharp cheddar cheese, shredded
- 3 stalks green onions, sliced
- ½ cup sour cream
- Salt and black pepper to taste
Instructions
- Wash sweet potatoes thoroughly, pat dry, and pierce with a fork.
- Microwave potatoes on high for 5-7 minutes, flipping halfway, until soft but holding shape.
- Let cool slightly, slice lengthwise, and scoop out most of the flesh, leaving a ¼-inch layer attached to the skin.
- Brush the inside of each skin with vegetable oil and place on a parchment-lined baking sheet.
- Bake at 400°F (200°C) for 10 minutes to crisp the skins.
- While skins bake, cook bacon until crispy, then crumble into small pieces.
- Mix crumbled bacon with shredded cheddar cheese in a small bowl.
- Remove skins from oven, spoon the bacon and cheese mixture evenly into each skin.
- Return to oven and bake for another 5 minutes until cheese is melted and bubbly.
- Garnish with sliced green onions and a dollop of sour cream. Serve immediately.
Notes
Par-baking in the microwave is crucial for texture. Shred your own cheese to ensure smooth melting. Serve immediately as skins soften as they cool. Do not freeze as texture will become mushy. Reheat in oven at 350°F to restore crispness.
- Prep Time: 15 minutes
- Cook Time: 15 minutes
- Category: Appetizer
- Cuisine: American
Nutrition
- Serving Size: 1 skin
- Calories: 280
- Sodium: 450
- Fat: 12
- Saturated Fat: 6
- Carbohydrates: 35
- Fiber: 4
- Protein: 12
Keywords: sweet potato skins, bacon, cheddar cheese, appetizer, party food, easy recipe, 5 ingredients, game day food, comfort food


