I have a confession to make: I used to think frozen ravioli was the ultimate sign of defeat. You know the kind. It’s that box you grab at 6:30 PM when you’re exhausted, your kids are hangry, and you swear to yourself you’ll meal prep properly next Sunday. But last Tuesday, I was staring at a half-empty pantry with zero motivation to cook anything real. I had a box of cheese ravioli, some marinara sauce, and a desperate need for dinner that didn’t involve takeout.
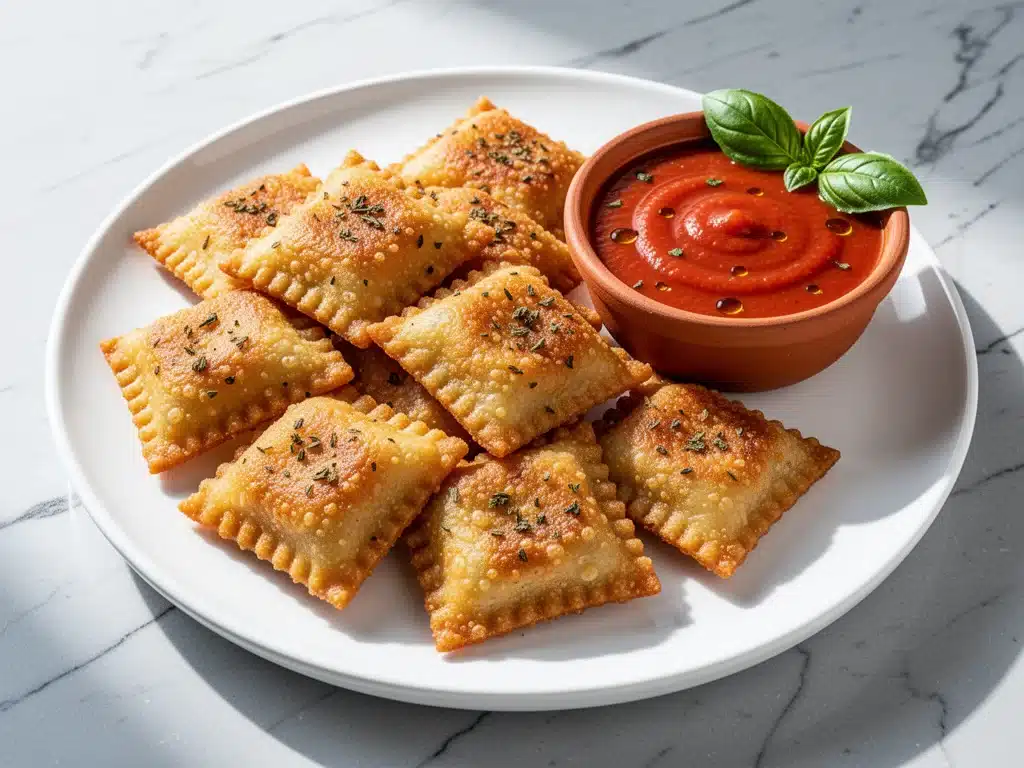
So, I did something stupid. I threw the uncooked ravioli directly onto a baking sheet, drizzled them with oil, tossed them in parmesan, and baked them. I expected a soggy, bland disaster. Instead, I got something that looked like little golden nuggets of joy. They were crispy on the outside, soft and melty on the inside, and honestly? Better than the boxed version. I ate three of them while they were still hot, burning my fingers in the process (learned that lesson the hard way).
That accidental discovery turned into a weekly ritual. My kids now ask for these “fried” ravioli as a snack, and I’ve been making them for dinner more often than I care to admit. They’re essentially crispy baked ravioli bites, but calling them that makes them sound like an appetizer at a fancy bar. These are just… life-savers. They take 15 minutes from start to finish, use ingredients you already have, and satisfy that craving for something cheesy and crunchy without the grease or the cleanup of deep frying.
If you’re tired of the same old pasta night or the same old boxed dinner, you need to try this. It’s simple, it’s cheap, and it tastes like a treat. I’ve tested this method with at least ten different brands of frozen ravioli, and they all work. Some work better than others, but the technique is foolproof. Let me show you how to turn a basic pantry staple into your new favorite weeknight hack.
Why You’ll Love This Recipe
There are about a dozen reasons I keep making these crispy baked ravioli bites, but let’s get to the ones that actually matter when you’re trying to get dinner on the table. This isn’t just about convenience; it’s about the fact that this recipe actually delivers on the promise of comfort food without the guilt or the hassle.
- Stupid Simple — Seriously, if you can boil water and chop an onion, you can make this. There’s no complex technique here. You toss, you bake, you eat. I’ve walked my teenage son through it over FaceTime while he was at college, and he nailed it on the first try.
- Lightning Fast — 15 minutes from start to finish, and only 5 of those are active cooking. I make these on weeknights when I get home at 7pm, I’m starving, and I don’t have the mental energy to sauté vegetables or marinate meat. It’s the ultimate “I give up” meal that still tastes amazing.
- Pantry-Friendly — You probably have 80% of these ingredients already. I keep frozen ravioli in the freezer specifically for these nights. The rest is just olive oil, parmesan, and maybe some breadcrumbs if I’m feeling fancy. It’s a true “use what you have” recipe.
- Crowd-Pleaser — I’ve served these to my vegetarian sister, my gluten-free neighbor (using GF pasta), and my I-only-eat-chicken dad (who actually asked for seconds). The crispy texture wins people over every time. It’s like a healthier version of fried ravioli.
- Makes Amazing Leftovers — Actually tastes better the next day. I deliberately make extra for lunch throughout the week. When I reheat them in the air fryer, they get even crispier. It’s like getting a second meal for free.
- Budget-Smart — Feeds 4-6 people for under $10. That’s less than one meal at a fast-food place, and it’s way more satisfying. Frozen ravioli is one of the cheapest proteins you can buy if you buy the right kind.
This is my go-to when I need dinner to just work. No complicated techniques, no weird ingredients, just reliable, delicious food that makes everyone happy. It’s the kind of recipe that reminds you why cooking can be fun again.
Ingredients You’ll Need
Here’s the best part: you probably have most of this already. I’m particular about three ingredients here, and I’ll tell you exactly why they matter. Don’t skip the steps for the good stuff, but feel free to get lazy with the rest.
For the Base:
Frozen Cheese Ravioli (1 box / 24oz) — This is your star. I use the refrigerated section if I can find it, but frozen works perfectly. Look for ones with ricotta and spinach or just plain cheese. Avoid the meat-filled ones for this specific method unless you’re okay with a heavier bite. The key is to keep them frozen until you’re ready to bake them.
Italian Seasoning (2 teaspoons) — Or use equal parts dried basil, oregano, and thyme. This gives that classic pizza flavor profile. I buy the small jars because I use them often, but if you have a bulk container, this is the time to use it.
Olive Oil (3 tablespoons) — Use good quality here—it makes a difference. I keep both regular and extra virgin; use extra virgin for this. You’re tossing the ravioli in it, so you want it to taste good. Don’t use butter; it burns too fast in the oven.
Panko Breadcrumbs (½ cup / 50g) — This is the secret to the crunch. Regular breadcrumbs are too dense and get soggy. Panko stays light and crispy. If you don’t have panko, you can pulse regular breadcrumbs in a food processor to break them up, but panko is worth the trip to the store.
For the Flavor:
Grated Parmesan Cheese (½ cup / 50g) — Buy the block and grate it yourself. Pre-grated doesn’t melt the same and has that weird anti-caking powder taste. Grate your own while you’re prepping. It takes 2 minutes and makes a huge difference in flavor.
Garlic Powder (1 teaspoon) — Not fresh garlic. Fresh garlic will burn in the oven at 400°F. Garlic powder gives you that savory punch without the risk of bitter bits. If you really want fresh garlic, mince it super fine and mix it into the oil, but powder is safer.
Red Pepper Flakes (½ teaspoon) — Optional but adds nice kick. Start with less if you’re sensitive to spice. I like a little heat to cut through the richness of the cheese.
Salt (½ teaspoon) — Ravioli comes pre-seasoned, so go easy on the salt. Taste a piece of the ravioli after cooking to decide if you need more. Usually, the parmesan and the pasta water (if you boil first) provide enough salt.
For Serving:
Marinara Sauce (1 cup / 240ml) — I use a good quality jarred sauce like Rao’s or Prego. Don’t make your own sauce for this; you just want a dip. Warm it up in the microwave before serving so it’s hot and ready for dipping.
Fresh Basil (1 tablespoon, chopped) — Optional garnish. Adds a pop of color and freshness. I usually skip this when I’m in a rush, but it looks pretty on Pinterest.
Equipment Needed
You don’t need fancy equipment for this. Here’s what I actually use.
Baking Sheet — I use a standard half-sheet pan. It needs to be big enough to hold the ravioli in a single layer. If you have a small oven, you might need two pans. Don’t overcrowd the pan, or they’ll steam instead of crisp.
Parchment Paper — I line my baking sheet with parchment. It makes cleanup a breeze. You can use foil, but the cheese sticks to foil like crazy. Parchment is worth the few cents.
Large Bowl — For tossing the ravioli with oil and seasonings. Any bowl works, but make it big enough to toss without spilling. I use a mixing bowl.
Measuring Spoons — Pretty standard stuff. Dollar store versions work fine.
Small Saucepan or Microwave-Safe Bowl — For warming the marinara sauce. I usually just use a microwave-safe bowl and zap it for 30 seconds.
Optional but nice:
- Air Fryer — If you have an air fryer, use it! It makes them even crispier in less time. I’ll share the adjustments below.
- Pastry Brush — For brushing oil on the ravioli if you’re being extra precise. Tossing works fine.
How to Make It: Step-by-Step
Alright, let’s make these crispy baked ravioli bites! I’m walking you through exactly how I do it, including the little tricks I’ve picked up so you don’t end up with soggy pasta.
Step 1: Preheat and Prep (2 minutes)
Preheat your oven to 400°F (200°C). If you’re using an air fryer, preheat to 375°F (190°C). Line a baking sheet with parchment paper. This is crucial for easy cleanup and preventing sticking. I usually do this while the oven is heating up.
Step 2: Toss the Ravioli (3 minutes)
Take the frozen ravioli out of the box. Do not thaw them. Toss them directly into a large bowl. Add the olive oil, Italian seasoning, garlic powder, red pepper flakes, and half of the parmesan cheese. Toss everything together until the ravioli are evenly coated. You want every piece to have a little bit of oil and seasoning. This step is where the flavor happens.
Step 3: Coat with Breadcrumbs (2 minutes)
Transfer the tossed ravioli to a shallow dish or plate. Sprinkle the remaining parmesan cheese and the panko breadcrumbs over them. Gently toss again to coat. You don’t need a thick crust; you just want a light dusting. The goal is to get the breadcrumbs to stick to the oily surface of the ravioli. If they’re not sticking, add a tiny bit more oil.
Step 4: Arrange on Pan (2 minutes)
Lay the ravioli in a single layer on the prepared baking sheet. Make sure they’re not touching. If they’re touching, they’ll steam each other and get soggy. This is the most common mistake people make. Give them space. If you have too many, bake in batches.
Step 5: Bake (8-10 minutes)
Place the baking sheet in the oven. Bake for 8-10 minutes, or until the ravioli are golden brown and crispy. Keep an eye on them around the 8-minute mark. The breadcrumbs can go from golden to burnt in seconds. They’re done when the edges are crisp and the center is hot.
Step 6: Cool and Serve (2 minutes)
Remove from the oven and let them cool for 1-2 minutes. They will continue to crisp up as they cool. Serve immediately with warm marinara sauce for dipping. Garnish with fresh basil if you’re feeling fancy.
Total Time: About 15 minutes (5 minutes active, 10 minutes hands-off)
Troubleshooting Tips:
- Sauce too thin? Let the ravioli cool for a minute before dipping. Hot ravioli can break apart if dipped immediately.
- Breadcrumbs falling off? You didn’t use enough oil. Next time, add a bit more oil in Step 2.
- Not crispy enough? Your oven might be underperforming. Try broiling for the last 1-2 minutes, but watch it like a hawk.
Expert Tips & Tricks
Here’s everything I’ve learned from making this dozens of times. These tips will save you from my mistakes.
Don’t Thaw the Ravioli
This is the #1 tip. If you thaw the ravioli, they get mushy and fall apart. Bake them straight from the freezer. The outside crisps up before the inside thaws completely. It’s a texture miracle.
Use Panko, Not Regular Breadcrumbs
I learned this the hard way. Regular breadcrumbs absorb the oil and get heavy. Panko stays light and airy. It’s the difference between a snack and a carb bomb.
Single Layer is Non-Negotiable
If you crowd the pan, you’re steaming pasta. I’ve made this mistake twice, and the result was sad, soggy lumps. Use two pans if you have to. Give them room to breathe.
Warm Your Sauce
Cold marinara sauce on hot ravioli is a weird temperature contrast. Warm the sauce up. It makes the dipping experience so much better. I just zap it in the microwave for 30 seconds.
Add a Pinch of Sugar
If your marinara is too acidic, add a pinch of sugar to the sauce before serving. It balances the flavor and makes it taste more like pizza sauce.
Pro Trick: The Air Fryer Method
If you have an air fryer, cook at 375°F for 6-8 minutes. Shake the basket halfway through. They come out even crispier and faster. I use this method when I’m in a huge rush.
Variations & Substitutions
Once you’ve nailed the basic version, here’s how you can mix it up. I’ve tried all of these.
Spicy Version
Add 1 teaspoon of cayenne pepper to the oil mixture. Or use a spicy marinara sauce. Great if you like heat.
Herb Garden
Skip the Italian seasoning and use fresh chopped parsley, thyme, and rosemary. Adds a fresh, bright flavor.
Meat Lover’s
Use meat-filled ravioli (like sausage or pepperoni). Bake as directed. The meat adds a savory depth that’s delicious.
Vegan Option
Use vegan ravioli (check labels, some cheese ravioli have egg). Use nutritional yeast instead of parmesan. Use olive oil as normal. Dip in vegan marinara.
Gluten-Free
Use gluten-free ravioli and gluten-free panko breadcrumbs. Everything else is naturally gluten-free. I’ve used Barilla GF ravioli and it works great.
Different Cheeses
Try mozzarella instead of parmesan for a stretchier bite. Or mix parmesan with pecorino for a sharper flavor.
Serving & Storage
How to Serve:
I usually serve these straight from the pan at the dinner table. They look rustic and stay warm. But here are other ways I’ve enjoyed them:
- With Salad: A simple green salad with balsamic vinaigrette cuts through the richness.
- With Garlic Bread: Obviously. You can’t go wrong.
- As an Appetizer: Make them smaller by using mini ravioli. Perfect for parties.
Storage Instructions:
Refrigerator: Store in an airtight container for up to 3 days. They will lose some crispiness, but they’re still good.
Reheating: Best method: Air fryer or toaster oven at 375°F for 3-4 minutes. This restores the crispiness. Microwave method: Works okay, but they’ll get soft. Use only if you’re in a huge rush.
Freezing: You can freeze uncooked ravioli on a baking sheet, then transfer to a bag. Bake from frozen, adding 2-3 minutes to the cook time. I do this for meal prep.
Nutrition Information
I’m not a nutritionist, but here’s the breakdown if you’re tracking.
| Nutrient | Per Serving (approx. 6-8 pieces) |
|---|---|
| Calories | 280 |
| Protein | 12g |
| Carbs | 35g |
| Fat | 10g |
| Fiber | 2g |
| Sodium | 450mg |
What’s Good: Decent protein from the cheese and pasta. Can add vegetables to boost nutrition. More filling than it looks.
What to Know: Higher in calories from oil and breadcrumbs. Contains dairy and gluten. Moderate sodium.
My Take: Look, this is comfort food. It’s not a diet recipe. But it’s way better than takeout, costs less, and I know exactly what’s in it. When I want to make it lighter, I use less oil and skip the breadcrumbs. But usually? I just eat a reasonable portion and enjoy it.
Final Thoughts
So that’s my go-to crispy baked ravioli bites! I’ve probably talked your ear off at this point, but when you make a recipe this often, you have a lot to say about it.
This has saved weeknight dinners more times than I can count. It’s my answer to “what’s for dinner” when I’m tired, don’t want takeout, and still want something that tastes really good. My kids are happy, my husband’s happy, and I’m happy because I’m not stressed about cooking.
Make it yours! Try different add-ins, swap in your favorite vegetables, adjust the garlic (though more is always better in my opinion). The best recipes are the ones you adapt to your family’s tastes.
If you make this, drop a comment and let me know what you think! I love hearing how recipes turn out in your kitchen. And if something doesn’t work, tell me that too—I’m here to help troubleshoot.
Happy cooking! And I hope your kitchen smells half as good as mine does right now.
Frequently Asked Questions
Can I use fresh ravioli instead of frozen?
You can, but the texture will be different. Fresh ravioli is more delicate and might break apart. If you use fresh, bake at a lower temperature (375°F) for less time (6-8 minutes). But frozen is definitely easier and holds its shape better.
Why did my ravioli get soggy?
Usually means you overcrowded the pan. The ravioli need space to crisp up. If they’re touching, they steam each other. Also, make sure you’re using panko breadcrumbs, not regular ones. Regular breadcrumbs absorb too much moisture.
Can I make this ahead for a dinner party?
Sort of. You can prep the ravioli and set them on the baking sheet, then cover and refrigerate for up to 4 hours. Bake just before serving. If you bake them ahead, they’ll lose crispiness. Reheat in the air fryer or toaster oven to restore crunch.
Can I use regular breadcrumbs?
You can, but they won’t be as crispy. Regular breadcrumbs are denser and absorb more oil. If you must use them, toast them in the oven first, then toss with the ravioli. But panko is worth the extra step.
How do I reheat leftovers without them getting dry?
Add a splash of oil to a skillet, add your leftover ravioli, and heat gently over medium heat. Or use an air fryer at 375°F for 3 minutes. Microwave will make them soft. If you do microwave, definitely add a splash of water and cover with a damp paper towel.
Can I double this recipe?
Absolutely! Double everything and use two baking sheets. Bake at the same temperature. Just make sure your oven has enough space for both sheets. Rotate the pans halfway through for even browning.
What kind of ravioli works best?
Cheese ravioli (ricotta and spinach or plain cheese) works best. Meat-filled ravioli can work but might be heavier. Avoid delicate varieties like mushroom or pumpkin unless you’re careful. Stick to the basics for the best texture.
Pin This Recipe!
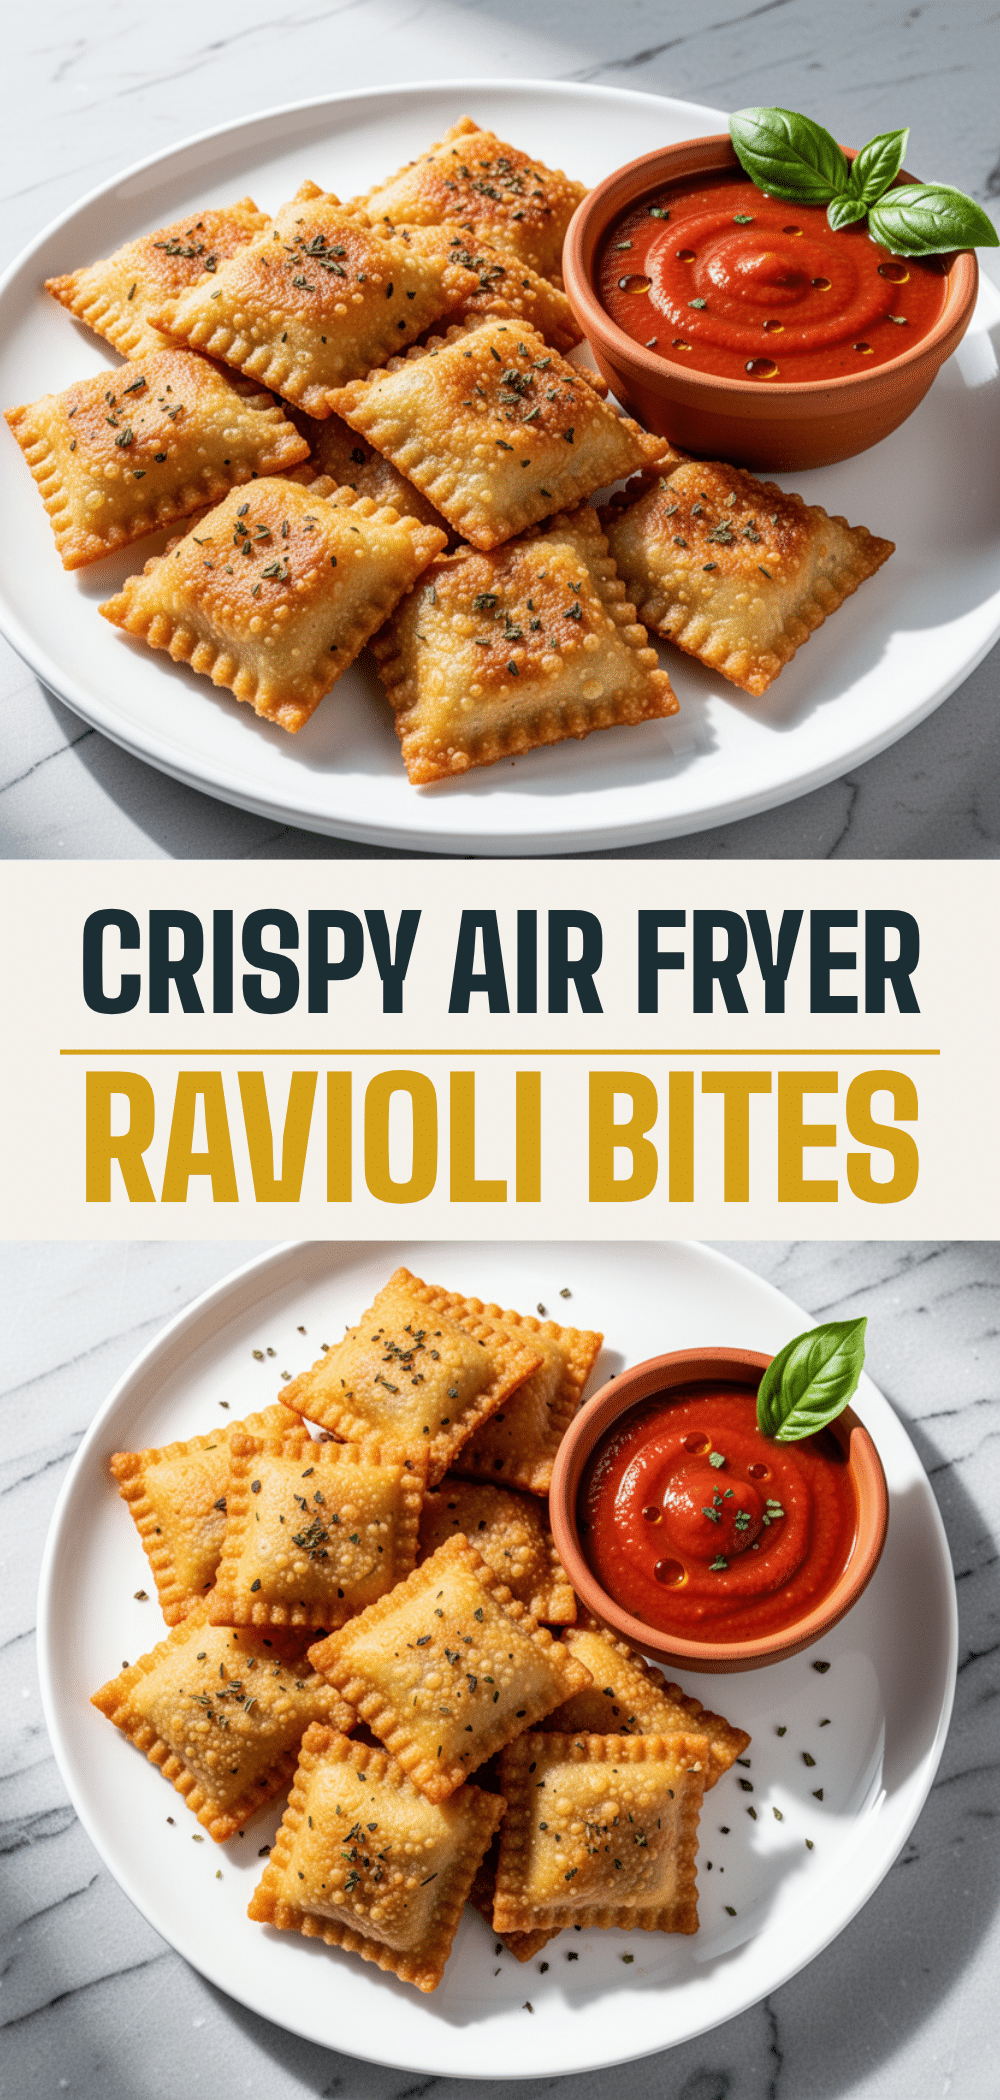

Crispy Baked Ravioli Bites: Easy 15-Minute Weeknight Snack
- Total Time: 15 minutes
- Yield: 4-6 servings 1x
Description
A quick and easy weeknight snack or dinner made by tossing frozen cheese ravioli with olive oil, seasonings, and panko breadcrumbs, then baking until golden and crispy. Served with warm marinara sauce for dipping.
Ingredients
- 1 box (24oz) frozen cheese ravioli
- 3 tablespoons extra virgin olive oil
- 2 teaspoons Italian seasoning
- 1 teaspoon garlic powder
- 1/2 teaspoon red pepper flakes (optional)
- 1/2 teaspoon salt
- 1 cup panko breadcrumbs
- 1/2 cup grated parmesan cheese
- 1 cup marinara sauce (for serving)
- 1 tablespoon fresh basil, chopped (optional garnish)
Instructions
- Preheat oven to 400°F (200°C). Line a baking sheet with parchment paper.
- In a large bowl, toss frozen ravioli (do not thaw) with olive oil, Italian seasoning, garlic powder, red pepper flakes, and half of the parmesan cheese until evenly coated.
- Transfer coated ravioli to a shallow dish. Sprinkle remaining parmesan cheese and panko breadcrumbs over them. Gently toss again to ensure breadcrumbs stick to the oily surface.
- Arrange ravioli in a single layer on the prepared baking sheet, ensuring they are not touching to prevent steaming.
- Bake for 8-10 minutes, or until golden brown and crispy. Keep an eye on them around the 8-minute mark to prevent burning.
- Remove from oven and let cool for 1-2 minutes to allow them to crisp up further.
- Serve immediately with warm marinara sauce for dipping. Garnish with fresh basil if desired.
Notes
Do not thaw the ravioli before baking; bake them straight from the freezer to maintain texture. Use panko breadcrumbs for maximum crispiness, as regular breadcrumbs can become soggy. Ensure ravioli are in a single layer on the pan to avoid steaming. For air fryer method, cook at 375°F for 6-8 minutes, shaking halfway through.
- Prep Time: 5 minutes
- Cook Time: 10 minutes
- Category: Snack
- Cuisine: Italian-American
Nutrition
- Serving Size: Approximately 6-8 pi
- Calories: 280
- Sugar: 2
- Sodium: 450
- Fat: 10
- Saturated Fat: 3
- Carbohydrates: 35
- Fiber: 2
- Protein: 12
Keywords: crispy baked ravioli, weeknight dinner, easy snack, frozen ravioli recipe, baked appetizer, quick meals, family friendly


