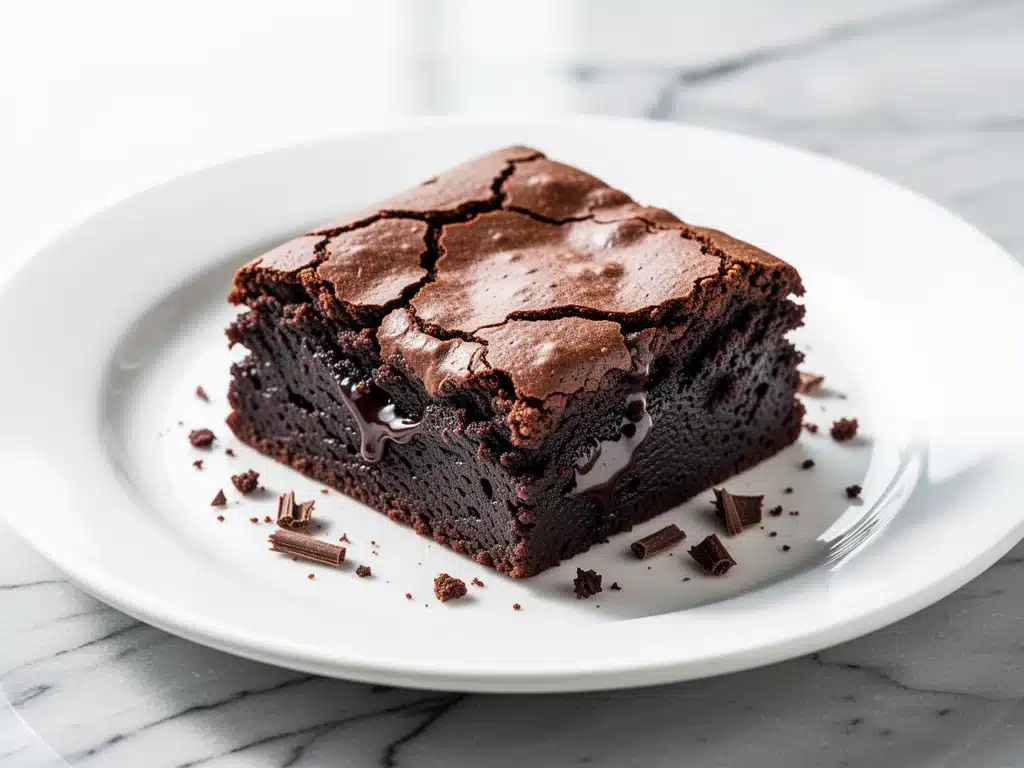
There was a Tuesday last November when I realized I had exactly 20 minutes before my kids would be home from school, the house was quiet for once, and I needed something to satisfy a craving that felt almost physical. It wasn’t a salad craving. It wasn’t a fruit craving. It was a deep, primal need for chocolate that tasted like it was cooked in a copper pot in a Parisian bakery.
I opened the pantry, stared at the dwindling bag of flour, the half-empty jar of sugar, and the box of cocoa powder I’d bought three months ago and forgot about. I didn’t want to make cake. Cake requires separating eggs, whipping whites, and waiting for layers to cool. I didn’t have time for patience. I wanted something dense, dark, and fudgy. I wanted those crackly, paper-thin tops that you can peel off like a candy wrapper.
So I threw everything into one bowl. Just one. No mixer, no mess, no excuses. I stirred it with a wooden spoon, dumped it into a pan, and waited. When they came out of the oven, the smell alone was enough to make my husband walk into the kitchen barefoot, looking for answers. They were better than any brownie I’d ever bought at a bakery. They were ultra-fudgy, deeply chocolatey, and had that signature crackly top that makes you look like a baking genius.
This ultra-fudgy one-bowl brownies with crackly tops recipe has since become my emergency dessert. I’ve made it so many times that I can do it with one hand tied behind my back (metaphorically, please don’t actually do that). It’s the kind of recipe that doesn’t just fill your stomach; it fills that little empty space in your soul where comfort lives. And the best part? You probably have everything you need right now. No special trips to the store. No fancy equipment. Just real chocolate, real butter, and a whole lot of flavor.
Why You’ll Love This Recipe
I know there are a thousand brownie recipes out there. Some are chewy, some are cakey, some are gluten-free, and some take six hours to prep. But this one? This one hits different. It’s the holy grail of lazy baking. Here’s why it’s permanently parked in my rotation.
One Bowl, Zero Mess — Seriously. Mix the wet ingredients, mix the dry ingredients, combine them, and you’re done. No stand mixer needed. No messy counters. I’ve made these while holding a crying toddler in one arm and stirring with the other. It’s that simple.
That Crackly Top — You know the ones. The thin, shiny, crinkly layer on top that shatters when you cut into it? It’s not magic; it’s science (and a little bit of sugar). Getting that texture right is what separates a good brownie from an unforgettable one. This recipe nails it every single time.
Deep, Intense Chocolate Flavor — These aren’t light, airy cocoa puffs. These are dark, rich, almost bitter-sweet chocolate bombs. They taste like they were made by a chocolatier who doesn’t mess around. The combination of melted chocolate and cocoa powder gives them a depth you just can’t get from chocolate chips alone.
Fudgy Texture, Not Cakey — If you hate brownies that taste like dry sponge cake, this is your salvation. These are dense. They’re moist. They’re the kind of brownie that sticks to your teeth in the best way possible. I call them “edible fudge squares.”
Quick and Easy — From start to finish, including cooling time (though you’ll want to eat them warm), it’s under an hour. But the active time? Maybe 10 minutes. That’s it. It’s faster than ordering takeout, and it tastes way better.
This is my go-to when I need to impress guests without stressing, when I need to cheer up a rainy afternoon, or when I just need a hug in dessert form. It’s reliable, delicious, and incredibly satisfying.
Ingredients You’ll Need
Here’s the beautiful part: this recipe is built on pantry staples. You don’t need exotic flours or rare spices. You just need quality basics. I’m particular about a few things here, but for the most part, you’re good to go.
Unsalted Butter (1 cup / 226g) — I use high-quality butter like Kerrygold or Plugra. The flavor matters here since it’s a major component. Melted, not browned. Just melted until it’s liquid gold.
Granulated Sugar (2 cups / 400g) — This is key for the crackly top. The sugar dissolves into the melted butter and creates that shiny crust. Don’t swap this for brown sugar if you want that specific texture, though you can for a chewier result.
Eggs (4 large, room temperature) — Room temperature eggs emulsify better with the butter and sugar, creating a smoother batter. If you’re in a rush, run them under warm water for 5 minutes.
Vanilla Extract (2 teaspoons) — Use real vanilla. I’m not a fan of imitation vanilla in desserts like this where it’s a prominent flavor. It adds that warm, aromatic background note.
Bittersweet Chocolate (8 ounces / 225g, chopped) — I use 60-70% cocoa chocolate. Bars are better than chips because they melt more evenly. If you can’t find bars, chop up a high-quality chocolate bar from the grocery store. Avoid chocolate chips; they have stabilizers that prevent proper melting.
Cocoa Powder (½ cup / 45g, unsweetened) — I prefer Dutch-processed cocoa for a darker, mellower flavor, but regular natural cocoa works too. Just make sure it’s not expired; old cocoa tastes flat.
All-Purpose Flour (1 cup / 125g) — Just standard flour. Don’t over-measure it! Scoop and level. Too much flour makes brownies cakey instead of fudgy.
Salt (½ teaspoon) — Essential. Salt amplifies the chocolate flavor. Don’t skip it. If you’re using salted butter, reduce to ¼ teaspoon.
Optional Add-ins — I love adding a cup of semi-sweet chocolate chips folded in at the end for pockets of melty chocolate. You can also add walnuts or pecans if you like a crunch, but honestly? The pure chocolate experience is hard to beat.
Pro Tip: I always grate my chocolate bars before melting them if they’re large chunks. It helps them melt faster and more evenly. And please, for the love of all things good, measure your flour correctly. A cup of flour that’s packed down can ruin the fudgy texture.
Equipment Needed
You don’t need a fancy kitchen for this. Here’s what I actually use, along with some honest opinions on what’s necessary.
Large Mixing Bowl — I use a 4-quart stainless steel bowl. It needs to be big enough to whisk the eggs and sugar vigorously. A glass bowl works too, but metal conducts heat better if you’re warming the bowl slightly.
Medium Saucepan or Microwave-Safe Bowl — For melting the butter and chocolate. I prefer the microwave for speed, but a double boiler on the stove gives you more control. Just keep an eye on it.
Whisk — A good, sturdy whisk is essential for whipping air into the egg and sugar mixture. This is what creates the crackly top. A fork will work in a pinch, but it takes longer and doesn’t aerate as well.
9×9 Inch Baking Pan — This is the standard size for this recipe. Line it with parchment paper, leaving an overhang on the sides. This is non-negotiable for easy removal. You’ll thank me later when you’re lifting the brownies out in one clean sheet.
Spatula — A silicone spatula is best for scraping the bowl and folding in the flour. You want to get every bit of batter out of the bowl.
Cooling Rack — Let the brownies cool on a rack so air circulates underneath. This prevents the bottom from getting soggy. I know it’s tempting to cut them straight out of the oven, but patience yields better results.
Optional: A digital kitchen scale is great for accuracy, especially with flour. But if you’re using cups, just be gentle. And if you don’t have parchment paper, grease the pan heavily and dust it with cocoa powder. It works, but parchment is easier.
How to Make It: Step-by-Step
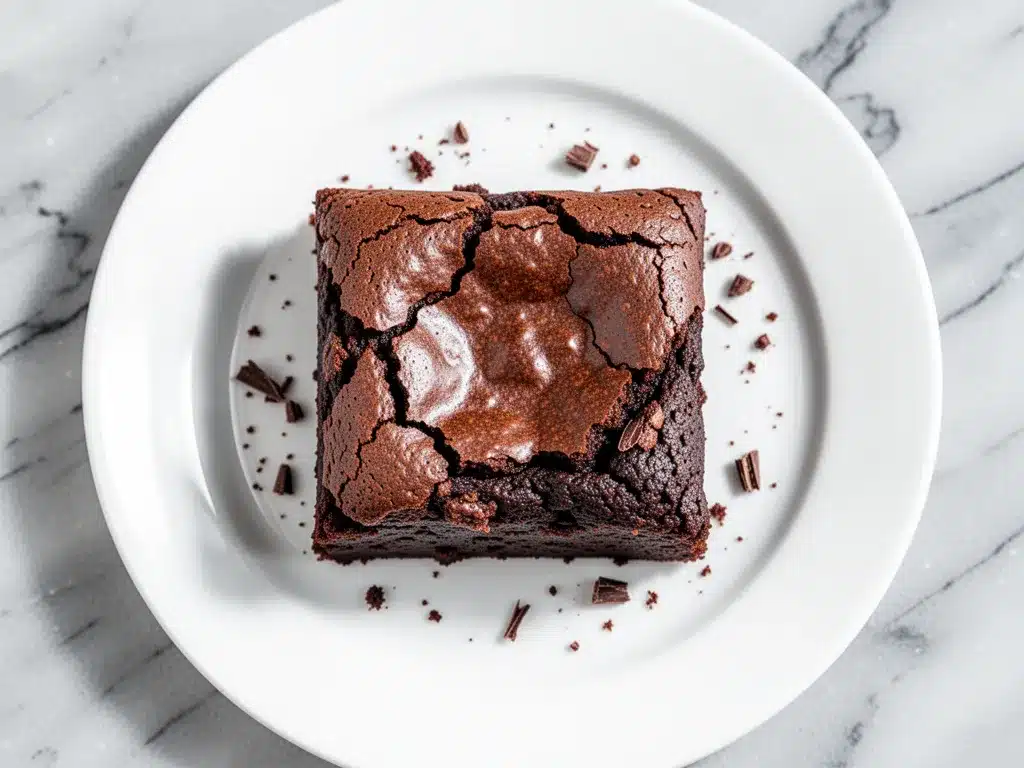
Alright, let’s make these! I’m walking you through exactly how I do it, including the little tricks I’ve picked up over dozens of batches. This is the ultra-fudgy one-bowl brownies with crackly tops method that never fails.
Step 1: Prep Your Pan and Oven (5 minutes)
Preheat your oven to 350°F (175°C). Line your 9×9 inch baking pan with parchment paper. Leave a little overhang on the long sides—this acts as handles to lift the brownies out once they’re done. Grease the parchment lightly with butter or cooking spray. This step is crucial for easy cleanup and clean cuts.
Step 2: Melt the Butter and Chocolate (2-3 minutes)
In a microwave-safe bowl or a small saucepan, melt the butter and chopped chocolate together. If using the microwave, heat in 30-second intervals, stirring between each, until smooth. If using a saucepan, melt over low heat, stirring constantly. Don’t let it boil! You want smooth, glossy melted chocolate. Set it aside to cool slightly for a minute.
Step 3: Whisk Eggs and Sugar (2 minutes)
In your large mixing bowl, whisk the eggs and granulated sugar together vigorously. This is the secret to the crackly top. You’re not just mixing them; you’re whipping air into them. Whisk for about 2 minutes until the mixture looks pale and slightly frothy. It won’t double in volume, but it should look lighter than when you started.
Step 4: Combine Wet Ingredients (1 minute)
Pour the melted chocolate and butter mixture into the egg and sugar mixture. Add the vanilla extract. Whisk until everything is well combined and smooth. The batter will look glossy and rich. Scrape down the sides of the bowl to make sure nothing is left behind.
Step 5: Add Dry Ingredients (2 minutes)
Sift the flour and salt directly into the wet mixture. Sifting helps remove lumps and aerates the flour, but if you’re in a hurry, you can just sprinkle it in. Fold the dry ingredients into the wet using your spatula. Use gentle strokes. Stop as soon as the flour disappears. Overmixing develops gluten, which leads to cakey brownies. We want fudgy, not fluffy.
Step 6: Fold in Add-ins (1 minute)
If you’re adding chocolate chips or nuts, fold them in now. Don’t overdo it; just distribute them evenly. The batter will be thick and dense. This is normal.
Step 7: Bake (25-30 minutes)
Pour the batter into your prepared pan and spread it evenly with your spatula. Bake in the preheated oven for 25-30 minutes. Here’s the tricky part: you want the edges to be set and the center to still look slightly underbaked. Insert a toothpick into the center; it should come out with moist crumbs clinging to it, not wet batter. If it comes out clean, you’ve overbaked them. They’ll continue to cook slightly as they cool.
Step 8: Cool Completely (1 hour)
This is the hardest part. Let the brownies cool in the pan on a wire rack for at least 45 minutes to an hour. If you cut them warm, they’ll be messy and gummy. Once cooled, lift them out using the parchment overhang, place them on a cutting board, and slice into squares. Dust with powdered sugar if you want to look fancy, but they’re perfect as is.
Total Time: About 1 hour (10 minutes active, 50 minutes cooling/baking)
Expert Tips & Tricks
Here’s everything I’ve learned from making these dozens of times. These tips will save you from my mistakes and ensure your brownies are perfect every time.
Don’t Overmix the Flour
This is the #1 reason brownies turn out cakey. Once you add the flour, mix just until it disappears. A few streaks are okay; they’ll disappear as the batter rests. Overmixing is the enemy of fudgy.
Whisk the Eggs and Sugar Well
I can’t stress this enough. The crackly top comes from the sugar dissolving into the eggs and creating a thin crust as it bakes. If you skip this step, you’ll get a matte, cake-like top. Whisk until it looks pale and frothy.
Use Good Chocolate
Since chocolate is the star, cheap chocolate will taste cheap. Use a bar of chocolate you’d actually eat on its own. Lindt, Ghirardelli, or local artisan bars work great. Avoid chocolate chips; they don’t melt the same way.
Check Early
Ovens vary. Start checking at 25 minutes. If the toothpick comes out with wet batter, give it 2 more minutes. If it comes out with moist crumbs, pull it out. The residual heat will finish cooking them.
Let Them Cool
I know, I know. But warm brownies are messy. Cooling allows the structure to set. If you’re impatient, wait at least 30 minutes. Trust me.
Common Mistakes:
- Soggy Bottom: Not lining the pan with parchment. Or cutting them too warm.
- Dry Brownies: Overbaking or too much flour. Measure flour carefully!
- Flat Top: Not whisking the eggs and sugar enough, or using old baking powder (though we don’t use baking powder here, so this is rare).
Pro Trick: For an extra-glossy top, you can brush the top of the brownies with a little melted chocolate right after they come out of the oven. It’s not traditional, but it looks gorgeous.
Variations & Substitutions
Once you’ve nailed the basic version, here’s how you can mix it up. I’ve tried all of these, and they’re delicious.
Nutty Brownies
Fold in 1 cup of chopped walnuts or pecans. Toast the nuts first for extra flavor. My husband loves these; the crunch contrasts with the fudgy center.
Chocolate Chip Explosion
Add 1 cup of semi-sweet chocolate chips to the batter. For even more chocolate, use white chocolate chips too. It’s like a chocolate chip cookie meets a brownie.
Mint Brownies
Add 1 teaspoon of peppermint extract to the wet ingredients. Sprinkle crushed candy canes on top before baking. Perfect for holidays.
Espresso Brownies
Add 1 tablespoon of instant espresso powder to the dry ingredients. It doesn’t make them taste like coffee; it just deepens the chocolate flavor. Coffee lovers, this is for you.
Gluten-Free
Substitute the all-purpose flour with a 1:1 gluten-free flour blend. I’ve used Bob’s Red Mill and it works perfectly. Make sure the blend contains xanthan gum, or add ½ teaspoon.
Dairy-Free
Use vegan butter instead of regular butter and dairy-free chocolate chips. They’re surprisingly good, though the texture might be slightly less fudgy.
Double Chocolate
Use chocolate chips instead of chopped bars, and add ¼ cup of cocoa powder to the dry ingredients. These are for people who think chocolate isn’t chocolate enough.
If you’re looking for other chocolate treats, you might also enjoy my ultra-fudgy one-bowl chocolate chip cookies for a chewier texture, or these brown butter salted caramel blondies for a butterscotch twist.
Serving & Storage
How you serve these matters, and how you store them determines how long they last.
How to Serve:
I usually serve these straight from the pan at room temperature. They’re best with a cold glass of milk or a cup of coffee. For a fancy touch, serve with a dollop of whipped cream and a sprinkle of sea salt. I also love them with a scoop of vanilla ice cream for a warm-cold contrast.
Side Dishes:
Since these are rich and dense, they pair well with light, acidic sides if you’re serving them as part of a larger meal. A simple arugula salad with lemon vinaigrette cuts through the richness. Or serve them with creamy southern coleslaw for a picnic vibe.
Storage Instructions:
Store leftover brownies in an airtight container at room temperature for up to 4 days. They actually seem to get fudgier after a day as the moisture redistributes. If your kitchen is hot, store them in the fridge.
Reheating:
Microwave a brownie for 10-15 seconds to warm it up. It becomes almost like a lava cake. You can also toast them lightly in the oven for 5 minutes.
Freezing:
Yes, these freeze well! Wrap individual brownies in plastic wrap, then place them in a freezer bag. They’ll last for up to 3 months. Thaw at room temperature for an hour before eating. I freeze extras because they’re so good that they disappear quickly.
Pro Tip: If you’re bringing them to a party, cut them into smaller squares. People tend to eat more when the portions are bite-sized. I usually cut mine into 16 squares for parties, but 9 squares for home.
Nutrition Information
I’m not a nutritionist, but here’s the breakdown if you’re tracking. Keep in mind, these are rich, calorie-dense treats, so portion control is key.
Per Serving (1 of 16 brownies):
- Calories: 220
- Protein: 3g
- Carbs: 28g
- Fiber: 1g
- Sugar: 20g
- Fat: 12g
- Saturated Fat: 7g
- Cholesterol: 35mg
- Sodium: 90mg
What’s Good:
They provide a quick energy boost from the sugar and carbs. The dark chocolate offers some antioxidants.
What to Know:
They are high in sugar and saturated fat. Use them as an occasional treat, not a daily snack. If you’re watching sugar, consider reducing the sugar by ¼ cup, though it may affect the crackly top.
My Take:
Look, this is a dessert. It’s meant to be indulgent. I don’t feel guilty eating one (or two) because I know exactly what’s in it. It’s better than anything from a box mix, and it’s made with love. Just enjoy it in moderation.
Final Thoughts
So that’s my go-to ultra-fudgy one-bowl brownies with crackly tops! I’ve probably talked your ear off at this point, but when you make a recipe this often, you have a lot to say about it. These brownies have saved me more times than I can count. They’re my answer to “what’s for dessert?” when I’m tired, don’t want to make a fuss, but still want something that tastes incredible.
My kids are obsessed. My husband requests them weekly. And I’m happy because I’m not stressed about cooking. It’s simple, it’s delicious, and it’s reliable. Make it yours! Try different add-ins, swap in your favorite chocolate, or just enjoy them plain. The best recipes are the ones you adapt to your tastes.
If you make this, drop a comment and let me know what you think! I love hearing how recipes turn out in your kitchen. And if something doesn’t work, tell me that too—I’m here to help troubleshoot. Happy baking! And I hope your kitchen smells half as good as mine does right now.
Frequently Asked Questions
Q: Can I use milk chocolate instead of bittersweet?
A: You can, but the brownies will be sweeter and less chocolate-forward. I recommend sticking with bittersweet or semi-sweet for that classic brownie flavor. If you use milk chocolate, reduce the sugar by ¼ cup to balance the sweetness.
Q: Why didn’t my brownies get a crackly top?
A: This usually happens if you didn’t whisk the eggs and sugar enough, or if you used brown sugar instead of granulated sugar. The crackly top requires granulated sugar and vigorous whisking to dissolve the sugar into the eggs. Also, make sure your oven temperature is accurate; an oven that’s too cool can prevent the crust from forming.
Q: Can I double this recipe?
A: Yes, but you’ll need a 9×13 inch pan. Double all the ingredients and bake for 30-35 minutes. Keep an eye on them, as larger pans can bake unevenly. Rotate the pan halfway through if needed.
Q: Can I make these ahead of time?
A: Absolutely. Bake them 1-2 days ahead and store in an airtight container. They actually taste better the next day as the flavors meld. You can also freeze them for up to 3 months.
Q: Why are my brownies cakey instead of fudgy?
A: This is usually due to overmixing the flour, using too much flour, or overbaking. Measure your flour carefully (spoon and level, don’t scoop), mix just until combined, and pull them from the oven when the toothpick has moist crumbs.
Q: Can I use cocoa powder instead of melted chocolate?
A: Not really. The melted chocolate provides the structure and fudgy texture, while the cocoa powder adds depth of flavor. If you omit the melted chocolate, the brownies will be dry and crumbly. You can increase the cocoa powder to ¾ cup if you want more chocolate flavor, but keep the melted chocolate.
Q: How do I know when they’re done?
A: The edges should be set and pulling away slightly from the sides of the pan. The center should still look slightly soft. Insert a toothpick; it should come out with moist crumbs, not wet batter. If it’s clean, they’re overbaked.
Pin This Recipe!
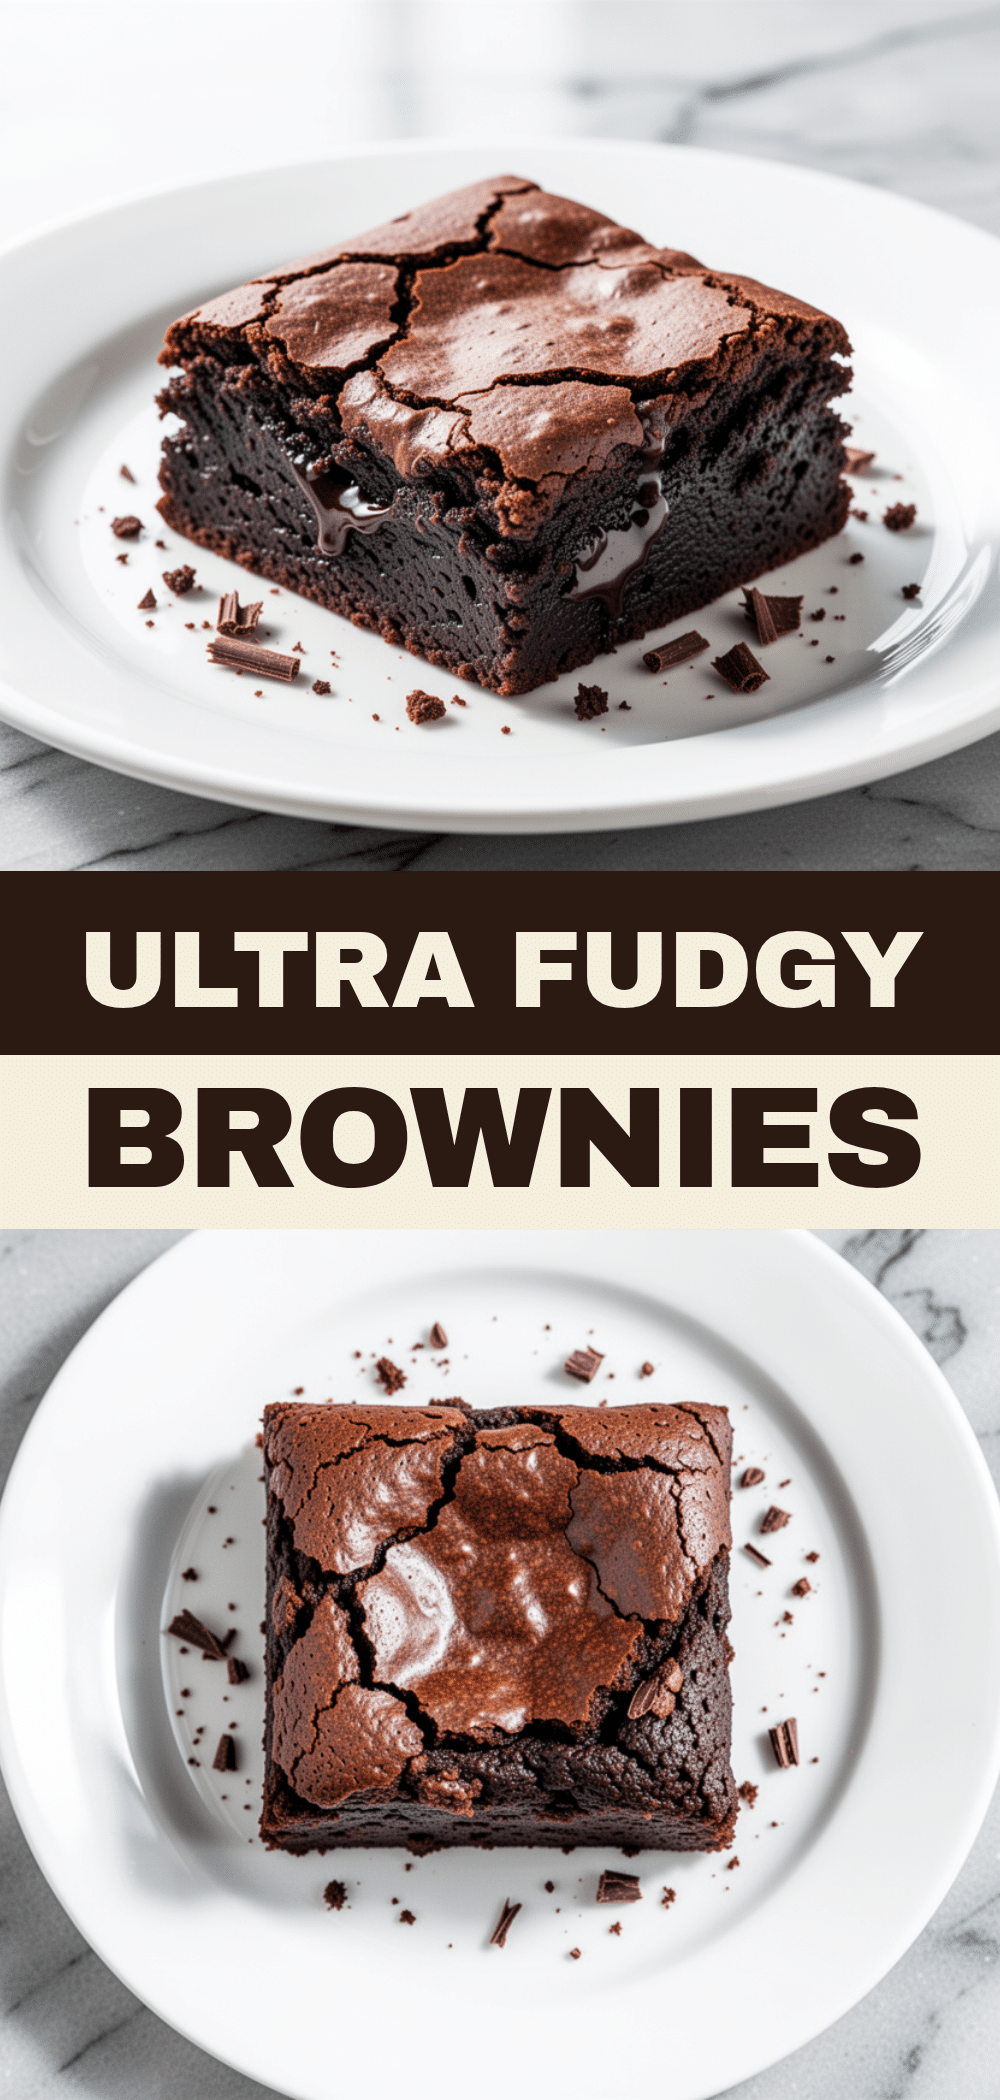
Ultra-Fudgy One-Bowl Brownies: 5-Ingredient Easy Recipe
- Total Time: 1 hour
- Yield: 16 servings 1x
Description
These ultra-fudgy one-bowl brownies feature a crackly top and deep chocolate flavor. Made with just pantry staples, this easy recipe requires no mixer and comes together in under an hour for a dense, moist dessert.
Ingredients
- 1 cup (226g) unsalted butter, melted
- 2 cups (400g) granulated sugar
- 4 large eggs, room temperature
- 2 teaspoons vanilla extract
- 8 ounces (225g) bittersweet chocolate (60-70% cocoa), chopped
- ½ cup (45g) unsweetened cocoa powder
- 1 cup (125g) all-purpose flour
- ½ teaspoon salt
- Optional: 1 cup semi-sweet chocolate chips or chopped nuts
Instructions
- Preheat oven to 350°F (175°C). Line a 9×9 inch baking pan with parchment paper, leaving an overhang on the sides, and grease lightly.
- Melt the butter and chopped chocolate together in a microwave-safe bowl or saucepan until smooth. Set aside to cool slightly.
- In a large mixing bowl, whisk the eggs and granulated sugar vigorously for about 2 minutes until pale and frothy.
- Pour the melted chocolate and butter mixture into the egg mixture. Add vanilla extract and whisk until combined and glossy.
- Sift the flour and salt into the wet ingredients. Fold gently with a spatula until just combined; do not overmix.
- Fold in optional add-ins like chocolate chips or nuts if desired.
- Pour batter into the prepared pan and spread evenly.
- Bake for 25-30 minutes. The edges should be set, but the center should look slightly underbaked. A toothpick inserted should come out with moist crumbs.
- Cool completely in the pan on a wire rack for at least 45 minutes to 1 hour before lifting out and slicing.
Notes
For the best crackly top, whisk the eggs and sugar vigorously. Do not overmix the flour once added to avoid cakey texture. Use high-quality chocolate bars rather than chips for better melting. Ensure flour is measured correctly (spoon and level) to maintain fudgy texture.
- Prep Time: 10 minutes
- Cook Time: 30 minutes
- Category: Dessert
- Cuisine: American
Nutrition
- Serving Size: 1 square (1 of 16)
- Calories: 220
- Sugar: 20
- Sodium: 90
- Fat: 12
- Saturated Fat: 7
- Carbohydrates: 28
- Fiber: 1
- Protein: 3
Keywords: brownies, fudgy brownies, one bowl recipe, easy dessert, chocolate brownies, crackly top brownies, quick baking


