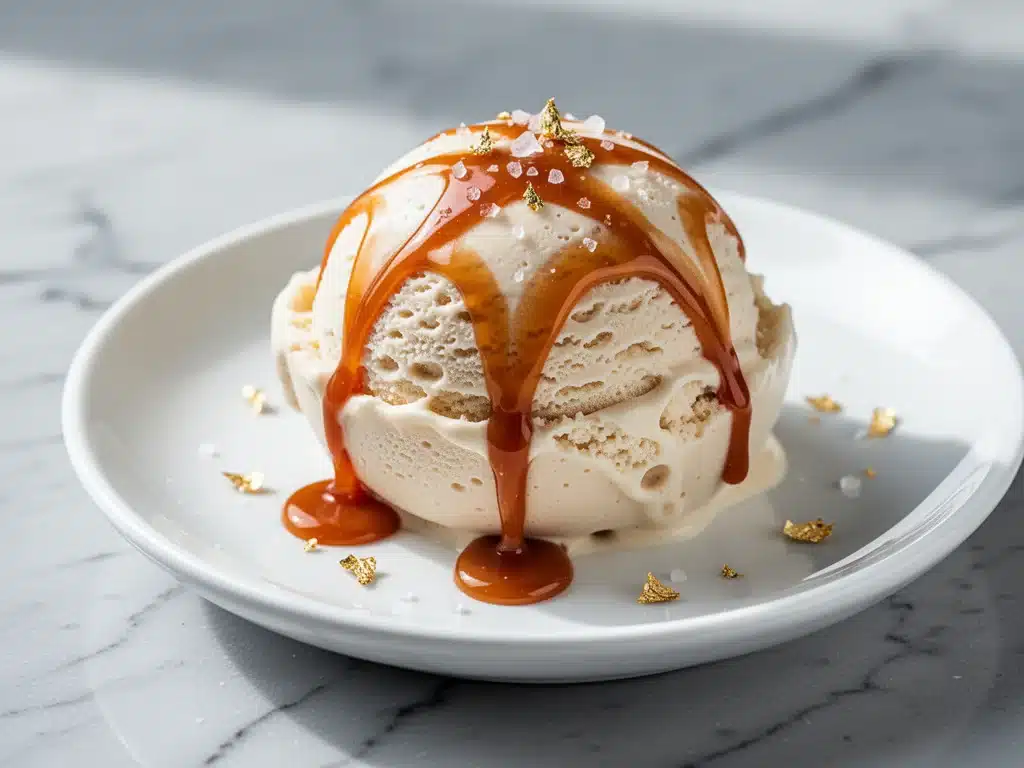
There is a specific kind of panic that sets in when you realize you’re out of dessert and it’s already 7 PM on a Friday night. You’ve had a long week, your feet hurt, and the last thing you want to do is heat up the oven or stand over a stove stirring custard for forty-five minutes. I used to just raid the freezer for whatever frozen treat was left over from a birthday party three weeks ago, but let’s be honest—those ice cream bars are usually just sugar and regret.
Last month, I hit that exact wall. I was tired, I was hungry for something sweet, and I didn’t want to order takeout. I remembered seeing a recipe for no-churn ice cream that promised to be creamy without an ice cream maker. Skeptical but desperate, I threw together what I now call my ultra-creamy no-churn salted caramel ice cream. I used the leftovers from a homemade caramel sauce I’d made earlier that day, mixed it with heavy cream and condensed milk, and popped it in the freezer.
When I dug into it the next morning, I literally stopped mid-bite. It didn’t taste like ice. It didn’t taste like the gritty, icy blocks I’d made before. It was silky, rich, and had these beautiful ribbons of salty-sweet caramel that melted on my tongue. It was the best ice cream I’d ever made, and I didn’t even need a machine.
That was six months ago. Since then, I’ve made this ultra-creamy no-churn salted caramel ice cream at least twelve times. It’s become my secret weapon for last-minute guests, my reward for surviving a tough work week, and honestly, the reason I always keep heavy cream and sweetened condensed milk in the pantry. It’s foolproof, it’s indulgent, and it tastes like you spent hours in the kitchen (even though you only spent fifteen minutes active).
Why You’ll Love This Ultra-Creamy No-Churn Salted Caramel Ice Cream
Let’s be real: ice cream is expensive. A pint of high-quality artisanal ice cream can easily run you $6 to $8. This ultra-creamy no-churn salted caramel ice cream costs about half that to make, tastes better, and lets you control exactly what goes into it. But beyond the price tag, here’s why this recipe has permanently replaced every other dessert in my rotation:
- Zero Special Equipment Needed — Seriously. If you have a mixer and a loaf pan, you can make this. No ice cream maker? No problem. No candy thermometer? You don’t need one if you use my shortcut method. I’ve made this on days when my mixer was in the shop, using a whisk and a lot of elbow grease.
- Ready When You Are (Mostly) — The active time is less than 20 minutes. The rest is just waiting in the freezer. I make this on Sunday nights so it’s ready for Monday dessert, or I whip it up on a Tuesday night for a weekend treat. It’s the ultimate low-effort, high-reward recipe.
- Texture That Actually Works — I’ve tried a lot of no-churn recipes that turned out icy or too hard. This one uses the right ratio of fat to sugar, and the caramel adds liquid fat that keeps it soft and scoopable straight from the freezer. It’s genuinely creamy, not crunchy.
- Endlessly Customizable — Love salted caramel? Perfect. Want to add chocolate chunks? Go for it. Want to swirl in some peanut butter? Done. I’ve made this base recipe with everything from caramel apple cheesecake bars flavors to peanut butter cup swirls. The base is just a canvas.
- Makes a Great Gift — Wrap the loaf pan in plastic wrap and twine, add a handwritten note, and you’ve got the best homemade gift ever. I gave this to my neighbor last Christmas, and she asked for the recipe immediately. It’s way more impressive than store-bought.
This isn’t just a recipe; it’s a hug in a bowl. It’s the dessert that says, “I care about you, and I want you to have something really good, but I also value my sanity.”
Ingredients You’ll Need for Ultra-Creamy No-Churn Salted Caramel Ice Cream
Here’s the beauty of this recipe: you probably have most of these ingredients already. It’s not a grocery list that requires a special trip to three different stores. Here’s what you need and why each piece matters.
For the Ice Cream Base
Heavy whipping cream (2 cups / 480ml) — This is the engine of your ice cream. You need cold, full-fat heavy cream with at least 35% fat content. Light cream or half-and-half won’t whip up properly, and your ice cream will be icy. I buy the expensive kind because it’s worth it for the texture. Make sure it’s cold—straight from the fridge.
Sweetened condensed milk (1 can / 14oz or 397g) — This is the sugar and the creamy texture all in one. Don’t confuse this with evaporated milk! Evaporated milk is unsweetened and thin. Condensed milk is thick, syrupy, and sweet. It’s the secret to that dense, creamy mouthfeel without an ice cream maker.
Vanilla extract (2 teaspoons) — Use real vanilla extract, not imitation. The flavor of the ice cream is simple, so the vanilla needs to shine. I use a good-quality bourbon vanilla extract for a deeper flavor.
Salt (½ teaspoon) — Just a pinch to balance the sweetness. You’ll add more salt in the caramel, but this base needs a little bit to make the flavors pop.
For the Salted Caramel Swirl
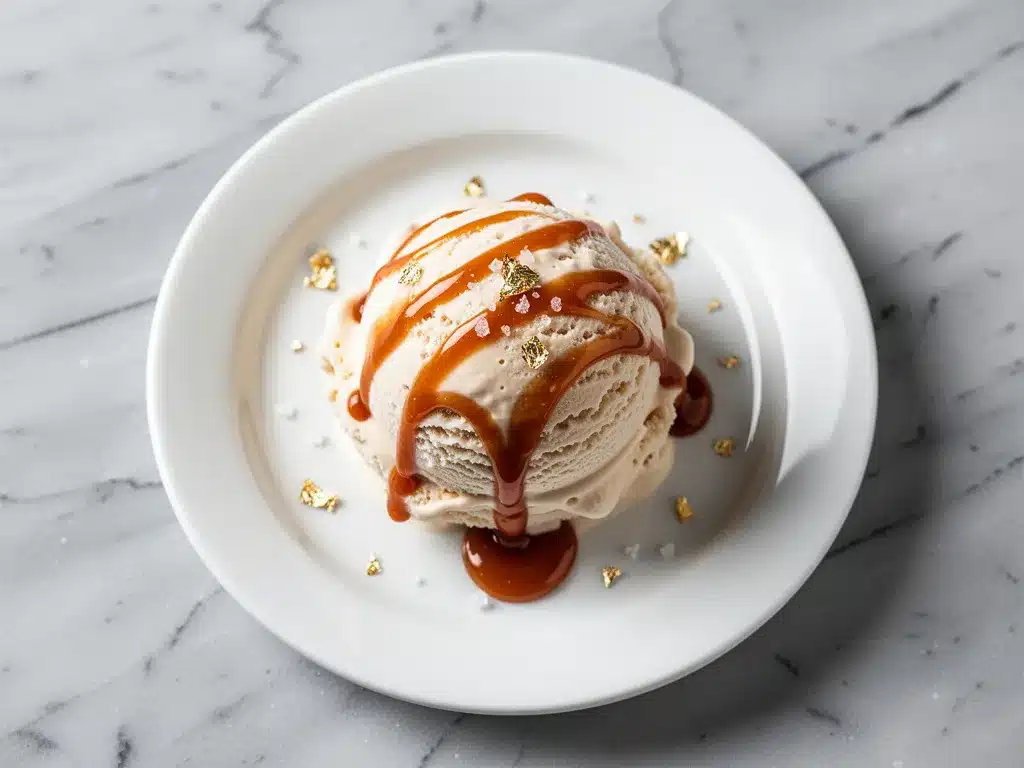
Granulated sugar (1 cup / 200g) — This is what you’ll caramelize. Don’t use brown sugar here; we want that clear, amber color.
Unsalted butter (½ cup / 113g) — Cut into cubes and room temperature. This adds richness and helps the caramel stay smooth.
Heavy cream (½ cup / 120ml) — For the caramel sauce. Yes, you’re using more cream. It’s worth it. Make sure it’s warm or room temperature to prevent seizing when you add it to the hot sugar.
Flaky sea salt (1 teaspoon) — Maldon is my favorite, but any flaky salt works. This is what makes it “salted” caramel. It adds those crunchy, savory bursts that cut through the sweetness.
Pro Tip: I usually make the caramel sauce a day ahead. It thickens up in the fridge and is easier to swirl into the ice cream when it’s cool. But if you’re in a rush, you can make it fresh—just let it cool completely before using.
Equipment Needed
You don’t need fancy gadgets for this. Here’s what I actually use in my kitchen:
Stand mixer or hand mixer — A stand mixer makes this easy, but a hand mixer works fine too. I use my KitchenAid because it’s reliable, but a cheap hand mixer from the dollar store does the job just as well. You need something that can whip cream to stiff peaks.
Large mixing bowl — Metal or glass works best. Make sure it’s big enough to hold the whipped cream and condensed milk without splattering.
Medium saucepan — For making the caramel. A light-colored pan is helpful so you can see the sugar turning amber. Stainless steel is my go-to.
Loaf pan — A standard 9×5 inch loaf pan is perfect. It fits in most freezers. I line mine with parchment paper or plastic wrap so the ice cream comes out easily later.
Spatula — A silicone spatula is essential for folding the ingredients gently. You don’t want to deflate the whipped cream.
How to Make It: Step-by-Step
Alright, let’s make this! I’m walking you through exactly how I do it, including the little tricks I’ve picked up over dozens of batches.
Step 1: Make the Salted Caramel Sauce
Start by pouring the sugar into your saucepan over medium heat. Don’t stir it! Just let it melt. You’ll see it start to clump and then turn into a liquid amber color. This takes about 5-7 minutes. Keep a close eye on it—if it gets too dark, it will taste bitter.
Once it’s a deep amber color, carefully add the butter. It will bubble up violently, so step back. Stir until the butter is melted. Then, slowly pour in the warm heavy cream while stirring constantly. It will bubble again, so be careful. Stir in the flaky sea salt. Let it cool completely. It will thicken as it cools. If you’re in a hurry, put it in the fridge for 20 minutes.
Step 2: Whip the Cream
Take your cold heavy cream and pour it into the mixing bowl. Whip it on medium-high speed until you see stiff peaks. This means when you lift the beaters, the cream stands up straight and doesn’t droop. This usually takes 3-5 minutes. Don’t over-whip it into butter, but don’t under-whip it either. Stiff peaks are the goal.
Step 3: Fold in the Condensed Milk
Pour the sweetened condensed milk and vanilla extract over the whipped cream. Now, the magic happens: folding. Use your spatula to gently cut through the mixture and turn it over. Do this until the milk is just incorporated. You want to keep as much air in the cream as possible. This air is what makes the ice cream fluffy instead of icy.
Step 4: Swirl in the Caramel
Here’s the fun part. Take about half of your caramel sauce and stir it into the ice cream base. Then, dollop the remaining half on top in random spots. Take a knife and gently swirl it through. Don’t overmix—you want ribbons of caramel, not a uniform brown color. It should look like a marbled cake batter.
Step 5: Freeze
Pour the mixture into your prepared loaf pan. Smooth the top with a spatula. Cover tightly with plastic wrap or a lid. Freeze for at least 6 hours, but overnight is best. The longer it freezes, the better the texture.
Step 6: Serve
When you’re ready to eat, take the pan out of the freezer. Let it sit at room temperature for 5-10 minutes to soften slightly. Scoop it out and serve. It’s that simple.
Expert Tips & Tricks
Here’s everything I’ve learned from making this dozens of times. These tips will save you from my mistakes.
- Cold Cream is Non-Negotiable — If your cream isn’t cold, it won’t whip. I even chill my mixing bowl and beaters in the freezer for 15 minutes before starting. It sounds like overkill, but it makes a huge difference.
- Don’t Skip the Salt — Salted caramel is all about the balance. If you use salted butter in the caramel, reduce the added salt. But don’t leave it out entirely. The salt makes the caramel taste like caramel, not just burnt sugar.
- Fold, Don’t Stir — When combining the cream and condensed milk, use a gentle folding motion. Stirring vigorously will deflate the air you worked so hard to whip in, and your ice cream will be dense.
- Use High-Quality Caramel — If you’re lazy, you can use store-bought caramel sauce. But homemade is so much better. If you do use store-bought, warm it up slightly so it swirls easily. Cold caramel will just clump.
- Let It Soften Before Scooping — No-churn ice cream can be hard straight from the freezer. Let it sit on the counter for 5-10 minutes before scooping. It will be much easier to serve.
Variations & Substitutions
Once you’ve nailed the basic version, here’s how you can mix it up. I’ve tried all of these.
Chocolate Chip Cookie Dough
Instead of caramel, fold in 1 cup of mini chocolate chips and ½ cup of cookie dough chunks. It’s like eating a cookie dough ice cream bar. This is my kids’ favorite version.
Peanut Butter Swirl
Swarm in ½ cup of warmed peanut butter instead of caramel. It’s rich, salty, and perfect for peanut butter lovers. If you like brown butter salted caramel blondies, you’ll love this combo.
Mint Chocolate Chip
Add 1 teaspoon of peppermint extract to the base and fold in 1 cup of dark chocolate chips. It’s refreshing and classic.
Strawberry Swirl
Make a quick strawberry puree by blending fresh strawberries with a little sugar. Swirl it in like the caramel. It’s bright and summery.
Serving & Storage
How to Serve
I usually serve this straight from the loaf pan with a simple scoop. It looks rustic and homemade. But here are other ways I’ve enjoyed it:
- On top of warm brownies — The contrast of hot and cold is amazing.
- In a waffle cone — For a classic ice cream treat.
- With fresh fruit — Berries or sliced peaches go beautifully with salted caramel.
Storage Instructions
Refrigerator: Store in an airtight container for up to 2 weeks. The caramel might soften slightly, but it will stay creamy.
Freezer: This is meant to be frozen. Keep it in the freezer for up to 1 month. After that, it might develop ice crystals, but it’s still safe to eat.
Reheating: You don’t need to reheat this. Just let it sit on the counter for 5-10 minutes to soften for scooping.
Nutrition Information
I’m not a nutritionist, but here’s the breakdown if you’re tracking. This is a rich, indulgent dessert, so portion control is key.
Per Serving (based on 8 servings):
| Nutrient | Amount |
|---|---|
| Calories | 380 |
| Protein | 4g |
| Carbs | 42g |
| Fiber | 0g |
| Sugar | 38g |
| Fat | 22g |
| Saturated Fat | 14g |
What’s Good: It’s made with real ingredients, no artificial colors or flavors. The heavy cream provides healthy fats.
What to Know: It’s high in sugar and calories. This is a treat, not a health food. But it’s way better than processed ice cream because you know exactly what’s in it.
Final Thoughts
So that’s my go-to ultra-creamy no-churn salted caramel ice cream! I’ve probably talked your ear off at this point, but when you make a recipe this often, you have a lot to say about it.
This has saved my dessert game more times than I can count. It’s my answer to “what’s for dessert” when I’m tired, don’t want to bake, and still want something that tastes really good. My family is happy, my friends are happy, and I’m happy because I’m not stressed about cooking.
Make it yours! Try different add-ins, swap in your favorite flavors, adjust the salt (though more is always better in my opinion). The best recipes are the ones you adapt to your family’s tastes.
If you make this, drop a comment and let me know what you think! I love hearing how recipes turn out in your kitchen. And if something doesn’t work, tell me that too—I’m here to help troubleshoot.
Happy cooking! And I hope your kitchen smells half as good as mine does right now.
Frequently Asked Questions
Can I use light cream instead of heavy cream?
You can, but the ice cream will be icy and won’t whip up properly. Heavy cream has the fat content needed to create that creamy texture. If you must use light cream, add a tablespoon of cornstarch to help stabilize it, but it won’t be the same.
Why did my ice cream turn out icy?
This usually means you didn’t whip the cream enough, or you stirred too vigorously when folding in the condensed milk. Make sure you have stiff peaks and fold gently. Also, make sure your freezer is cold enough—below 0°F is ideal.
Can I make this ahead for a party?
Absolutely! This is perfect for make-ahead. Make it 2-3 days before the party and keep it in the freezer. Just let it sit on the counter for 10 minutes before serving.
Can I use salted butter in the caramel?
Yes, but reduce the added salt in the caramel recipe. Salted butter varies in salt content, so taste the caramel before adding extra salt. If it’s salty enough, skip the flaky salt on top.
How do I store leftovers?
Keep it in an airtight container in the freezer for up to 1 month. If it gets too hard, let it sit on the counter for 5-10 minutes to soften before scooping.
Pin This Recipe!
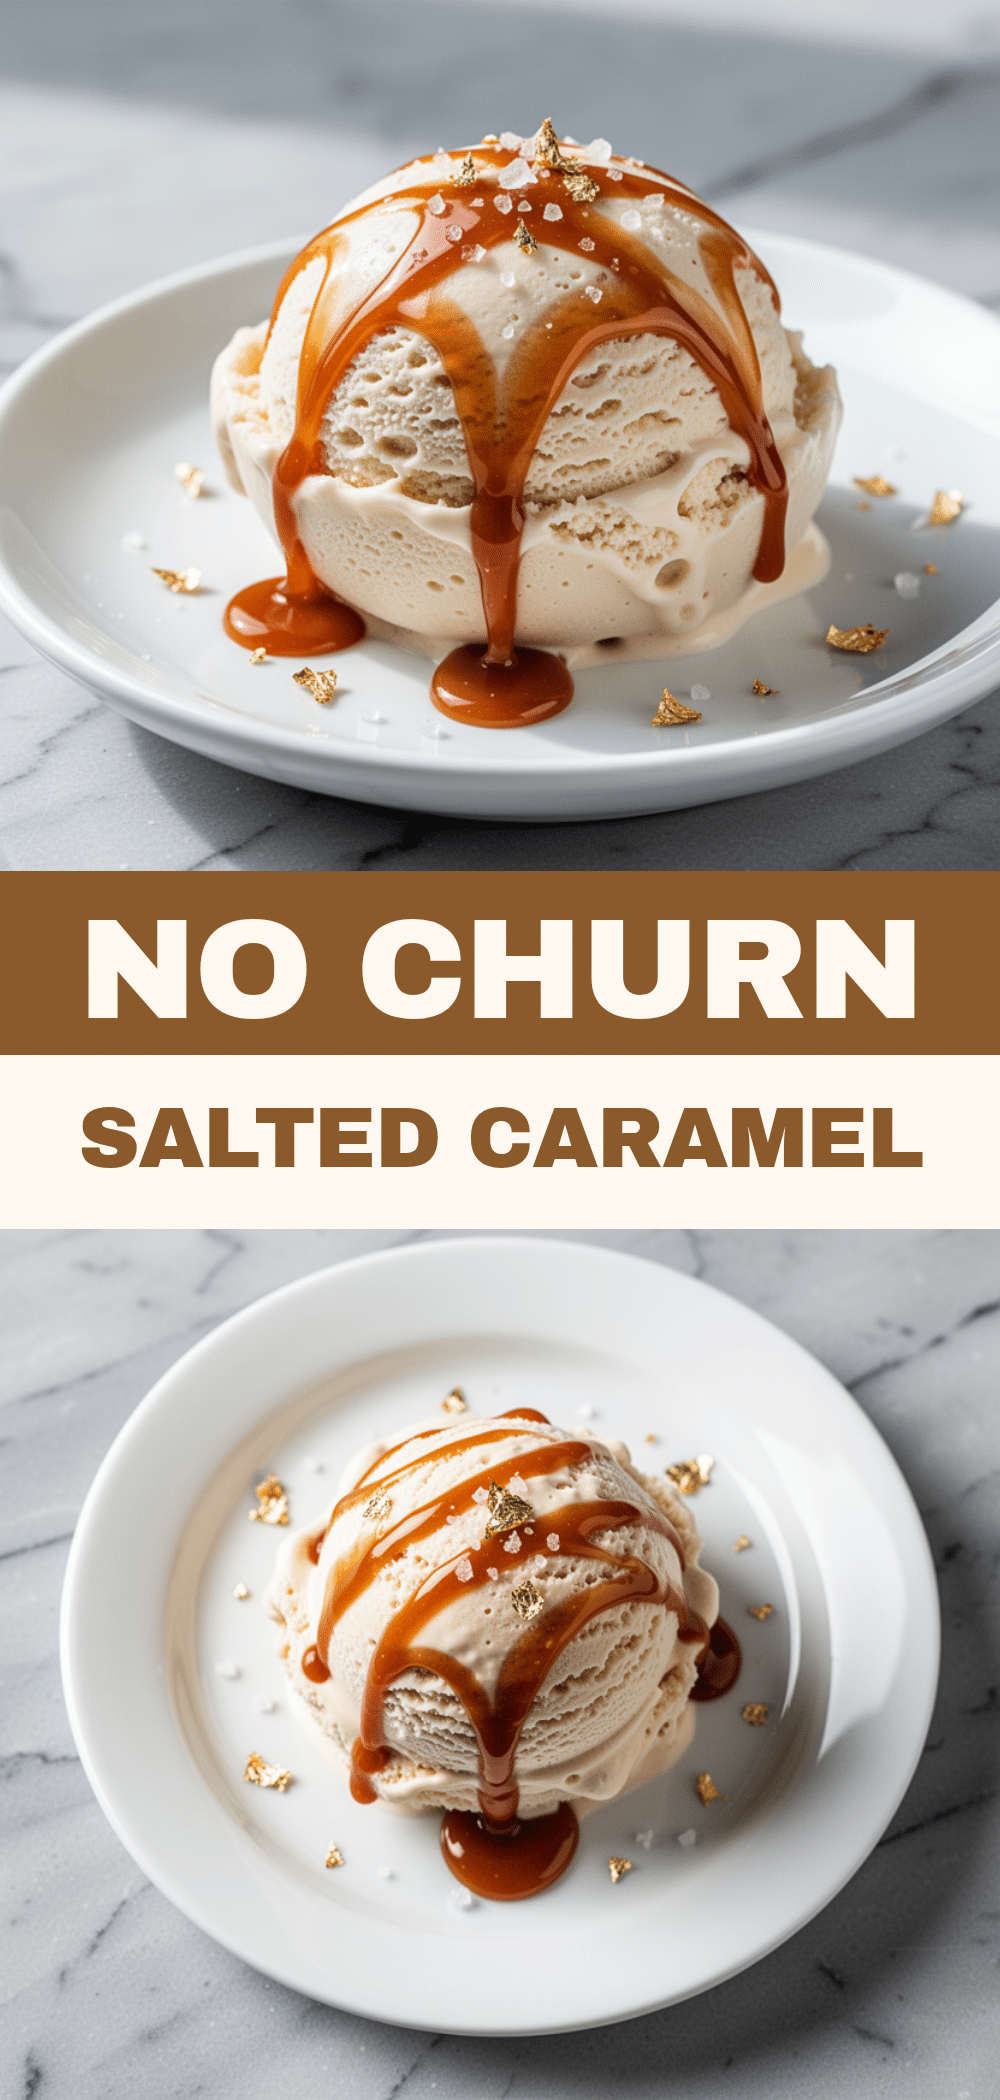
Ultra-Creamy No-Churn Salted Caramel Ice Cream
- Total Time: 6 hours 35 minutes
- Yield: 8 servings 1x
Description
A rich, silky no-churn ice cream made with heavy cream, sweetened condensed milk, and homemade salted caramel swirls. It requires no ice cream maker and delivers a creamy texture with minimal active effort.
Ingredients
- 2 cups heavy whipping cream (cold)
- 1 can (14oz) sweetened condensed milk
- 2 teaspoons vanilla extract
- 1/2 teaspoon salt
- 1 cup granulated sugar
- 1/2 cup unsalted butter (cubed, room temperature)
- 1/2 cup heavy cream (warm or room temperature)
- 1 teaspoon flaky sea salt
Instructions
- Pour granulated sugar into a medium saucepan over medium heat. Let it melt without stirring until it turns a deep amber color (5-7 minutes).
- Carefully add the cubed butter to the caramelized sugar; it will bubble violently. Stir until the butter is melted.
- Slowly pour in the warm heavy cream while stirring constantly. It will bubble again. Stir in the flaky sea salt.
- Let the caramel sauce cool completely. It will thicken as it cools. Refrigerate for 20 minutes if in a rush.
- Pour the cold heavy whipping cream into a large mixing bowl. Whip on medium-high speed until stiff peaks form (3-5 minutes).
- Pour the sweetened condensed milk and vanilla extract over the whipped cream.
- Gently fold the mixture with a spatula until just incorporated, being careful not to deflate the air in the cream.
- Stir half of the cooled caramel sauce into the ice cream base. Dollop the remaining half on top in random spots.
- Gently swirl the remaining caramel into the base with a knife to create ribbons. Do not overmix.
- Pour the mixture into a prepared 9×5 inch loaf pan lined with parchment or plastic wrap. Smooth the top.
- Cover tightly and freeze for at least 6 hours, preferably overnight.
- Before serving, let the ice cream sit at room temperature for 5-10 minutes to soften slightly for scooping.
Notes
Ensure the heavy cream is very cold for best whipping results. Chilling the mixing bowl and beaters in the freezer beforehand can help. Do not skip the salt, as it balances the sweetness. If using salted butter for the caramel, reduce the added flaky sea salt. Store in an airtight container in the freezer for up to 1 month.
- Prep Time: 20 minutes
- Cook Time: 15 minutes
- Category: Dessert
- Cuisine: American
Nutrition
- Serving Size: 1 slice (approx. 1/8
- Calories: 380
- Sugar: 38
- Fat: 22
- Saturated Fat: 14
- Carbohydrates: 42
- Protein: 4
Keywords: no-churn ice cream, salted caramel ice cream, homemade ice cream, easy dessert, frozen dessert, caramel swirl, heavy cream, sweetened condensed milk


