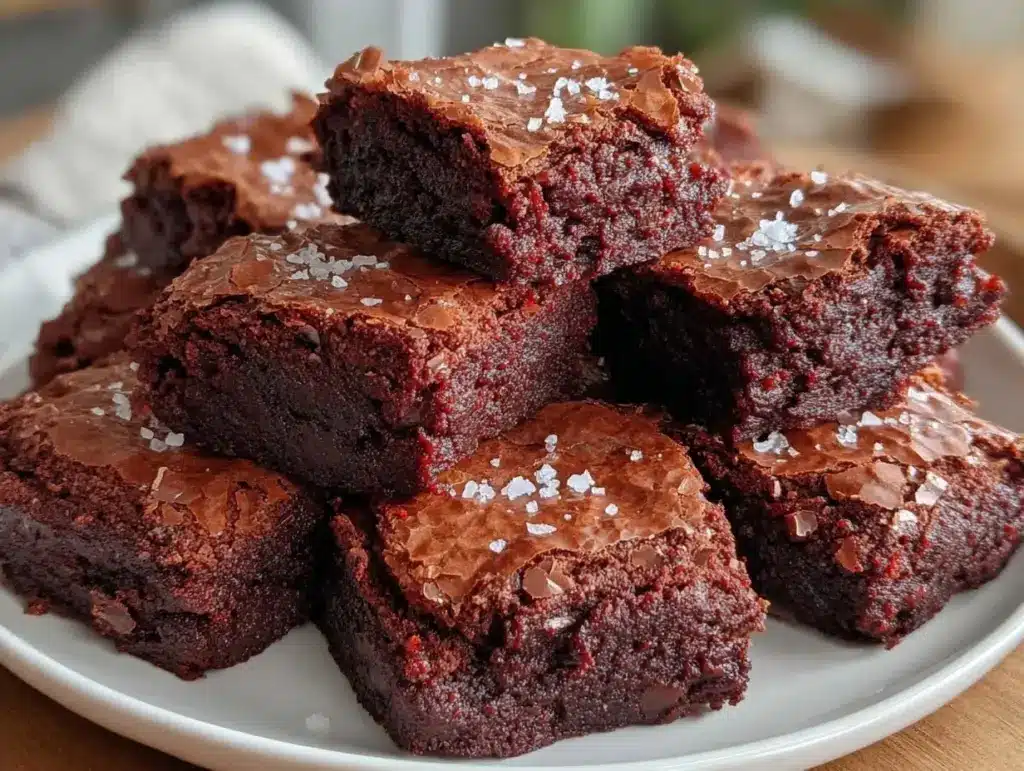
Last Tuesday, around 7:30 PM, I was standing in my kitchen staring at a nearly empty pantry, feeling that specific brand of exhaustion that comes from a long workday. I wanted something sweet. Not a light, airy snack. I wanted something dense, chocolatey, and deeply satisfying. Something that would hit the spot without leaving me feeling sluggish an hour later. My eyes drifted to the giant, greased 9×13 pan I’d used for a party two weeks ago. It was still sitting there, waiting.
And then I realized: I didn’t want to bake a whole pan. I didn’t want to eat brownies for breakfast, lunch, and dinner for the next ten days. I didn’t want to freeze half of it in little squares to thaw later. I just wanted one or two perfect, fudgy brownies. Right now.
So, I grabbed a small 6-inch square pan (or you can use a mug) and threw together what I thought would be a compromise. I was wrong. It wasn’t a compromise at all. It was better. These small batch fudgy brownies are richer, easier to control, and honestly? They’re the only way I bake desserts anymore. They’re my secret weapon for busy weeknights when I want to feel good—physically and emotionally—without the guilt or the cleanup.
This recipe uses just five ingredients. No weird protein powders that taste like chalk, no hours of prep. Just real, whole-food ingredients that happen to pack a protein punch. If you’ve tried my keto chocolate lava cake, you know I’m a fan of quick, high-quality desserts, but these brownies take it a step further by being genuinely fudgy without the heavy dairy load.
Why You’ll Love This 5-Ingredient Protein Brownie Recipe
There are about ten reasons I keep coming back to this small batch method, but here are the big ones that changed my dessert game completely.
Zero Guilt, All Fuel — Seriously, these aren’t “diet” food. They taste like a decadent treat, but they’re built on protein and fiber. I’ve had one of these after dinner and felt satisfied, not stuffed. It’s the difference between a sugar crash and steady energy. It fuels your day without feeling like diet food.
Stupid Simple — You can make this in a mug or a tiny loaf pan in under 15 minutes of active time. I’ve made these while my kids were doing homework at the table. One bowl, one spoon, one bake. No mixer, no melting chocolate on the stove, no tempering eggs.
Perfectly Portioned — The biggest lie in baking is that you need a whole pan to make a “real” dessert. These are perfectly sized for one person (or two if you’re sharing). No more staring at a half-eaten pan wondering if you should eat the rest. You eat what you make.
Pantry-Friendly — You probably have the base ingredients already. Canned black beans (yes, really), cocoa powder, maple syrup, almond flour, and chocolate chips. If you don’t have black beans, you can swap them, but I’ll explain why they’re the secret weapon later.
Makes Amazing Leftovers (If You’re Self-Controlled) — Honestly? There are rarely leftovers. But if you make a small loaf and save one square for lunch the next day, it’s the perfect pick-me-up. It’s sweet enough to satisfy a craving but substantial enough to keep you going.
This is my go-to when I need a dessert to just work. No complicated techniques, no weird ingredients I have to order online, just reliable, delicious food that makes everyone happy. And it pairs beautifully with a cup of coffee, similar to how I enjoy my fall pumpkin cream cold brew on weekends.
Ingredients You’ll Need
Here’s the best part: you probably have most of this already. I’m particular about three ingredients here, and I’ll tell you exactly why. This isn’t just a chocolate dessert; it’s a fuel source disguised as a treat.
Canned Black Beans (1 can / 15 oz or 425g) — I know, I know. You’re thinking, “Black beans in brownies?” Trust me. They don’t taste like beans. They provide the fudgy, dense texture that makes these brownies so satisfying, plus a massive protein and fiber boost. Use low-sodium if you can find it. Rinse and drain them well—this is crucial so the batter isn’t watery.
Almond Flour (½ cup / 50g) — This is your dry base. It adds healthy fats and keeps the brownies moist. You can use oat flour if you’re nut-free, but the texture will be slightly crumblier. I buy mine in bulk to save money.
Unsweetened Cocoa Powder (¼ cup / 20g) — Use high-quality dutched cocoa if you have it. It gives a deeper, richer chocolate flavor. Regular cocoa powder works too, but it’s lighter. Don’t use hot chocolate mix—it has sugar in it.
Maple Syrup (¼ cup / 85ml) — Real maple syrup, not pancake syrup. It adds natural sweetness and a subtle vanilla note. If you prefer less sweetness, reduce to 3 tablespoons. Honey works too, but it changes the flavor profile slightly.
Dark Chocolate Chips (¼ cup / 40g) — For the actual chocolatey bits. I use semi-sweet or dark chocolate chips with at least 60% cacao. They melt into pockets of gooeyness. You can chop up a chocolate bar if you prefer.
Optional but Recommended:
Vanilla Extract (1 teaspoon) — Enhances the chocolate flavor. Don’t skip it.
Salt (¼ teaspoon) — A pinch of sea salt amplifies the chocolate. Essential.
Walnuts or Pecans (2 tablespoons, chopped) — For crunch. I add these sometimes for texture, but they’re optional.
Shopping Tips
Black Beans — Look for BPA-free cans. Rinse them in a fine-mesh strainer until the water runs clear. This removes the “beany” taste and excess starch.
Almond Flour — Make sure it’s blanched almond flour (no skins) for a smoother texture. If you grind your own almonds, pulse them until fine but not butter.
Cocoa Powder — I always keep ultra-fudgy one-bowl brownies in mind when I pick cocoa, and I’ve found that brands like Ghirardelli or Valrhona make a huge difference in depth.
Equipment Needed
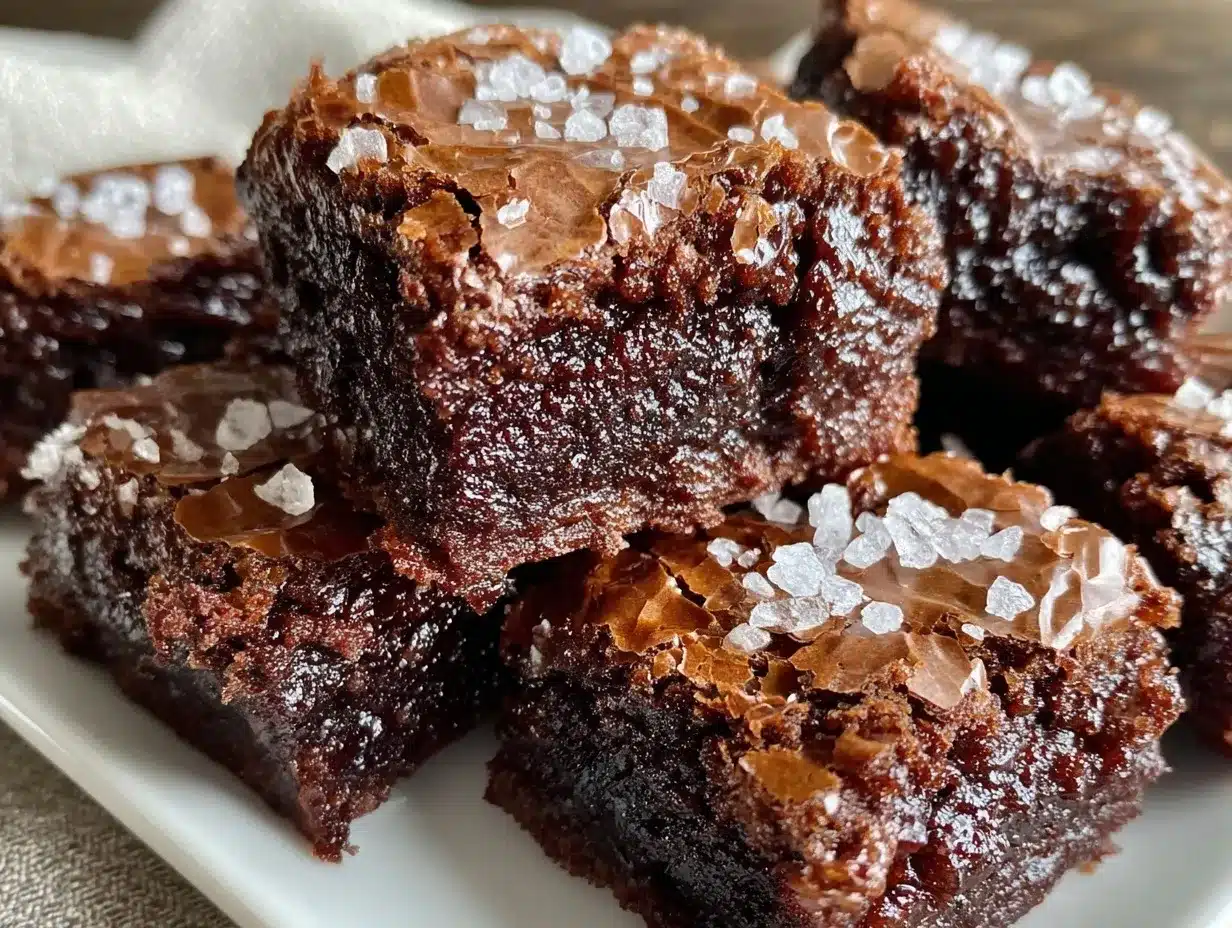
You don’t need fancy equipment for this. Here’s what I actually use.
Small Blender or Food Processor — This is the only non-negotiable. You need to puree the black beans until completely smooth. A hand blender works too, but it takes longer. I use my Ninja blender—it’s powerful and easy to clean.
6-Inch Square Pan or Large Mug — A small 6×6 inch baking pan is ideal. It makes 4-6 brownies. If you want individual portions, use 4 large ramekins or microwave-safe mugs.
Mixing Bowl — Medium size. Just big enough to hold everything.
Spatula — For stirring. Silicone works best.
Parchment Paper — Line your pan with it. This makes cleanup instant and helps the brownies release easily.
Measuring Cups and Spoons — Standard stuff. Dollar store versions work fine.
How to Make It: Step-by-Step
Alright, let’s make this! I’m walking you through exactly how I do it, including the little tricks I’ve picked up.
Step 1: Prep Your Pan and Oven (2 minutes)
Preheat your oven to 350°F (175°C). Line your 6-inch square pan with parchment paper, leaving an overhang on the sides for easy removal. This is key—brownies stick, and you’ll thank me later. If you’re using mugs, lightly grease them with butter or cooking spray.
Step 2: Puree the Beans (3 minutes)
Add the rinsed and drained black beans to your blender. Blend on high for 60-90 seconds until completely smooth and creamy. There should be no visible bean pieces. This might seem weird, but it creates that fudgy texture. If you’re using a hand blender, it’ll take 2-3 minutes. Scrape down the sides as needed.
Step 3: Mix the Wet Ingredients (2 minutes)
Transfer the bean puree to your mixing bowl. Add the almond flour, cocoa powder, maple syrup, vanilla extract, and salt. Stir with a spatula until combined. The batter will be thick and dark, like a thick cake batter. Don’t worry if it looks a bit dense—that’s the protein and fiber doing their job.
Step 4: Fold in the Chocolate (1 minute)
Stir in the chocolate chips. If you’re adding nuts, fold them in now. Be gentle—you don’t want to crush the chips. The batter should be uniform and glossy.
Step 5: Bake (12-15 minutes)
Pour the batter into your prepared pan. Spread it evenly. Bake for 12-15 minutes for a 6-inch pan. If using mugs, bake for 10-12 minutes. The edges should be set, but the center should still look slightly soft. It will firm up as it cools. Do not overbake, or they’ll be dry. A toothpick inserted into the center should come out with a few moist crumbs, not clean.
Step 6: Cool and Serve (10 minutes)
Let the brownies cool in the pan for at least 10 minutes. They’re fragile when hot. Once cooled, lift them out using the parchment paper and slice into squares. Dust with a little sea salt or serve with a dollop of Greek yogurt for extra protein.
Total Time: About 20 minutes (5 minutes active, 15 minutes baking)
Expert Tips & Tricks
Here’s everything I’ve learned from making this dozens of times. These tips will save you from my mistakes.
Rinse Those Beans Well
The #1 mistake people make is not rinsing the beans enough. The liquid from the can (aquafaba) can make the batter watery. Rinse until the water runs clear. This ensures a thick, fudgy texture.
Don’t Overbake
These brownies continue to cook in the pan after you take them out. If you wait until they look completely dry in the center, they’ll be cakey. Slightly underbaked is better than overbaked. We want fudgy, not dry.
Use High-Quality Cocoa
The cocoa powder is a major flavor component. Cheap cocoa tastes metallic. Spend the extra dollar on good cocoa powder. It makes a world of difference.
Adjust Sweetness to Taste
Maple syrup varies in sweetness. Taste your batter before baking (it’s safe since there’s no raw egg). If you like it sweeter, add an extra tablespoon. If you prefer less sweet, reduce it.
Storage Hack
Store leftover brownies in an airtight container in the fridge for up to 5 days. They actually taste better the next day as the flavors meld. You can also freeze them for up to 3 months. Thaw in the fridge overnight.
Variations & Substitutions
Once you’ve nailed the basic version, here’s how you can mix it up. I’ve tried all of these.
Nut-Free Version
Swap almond flour for oat flour or sunflower seed flour. The texture will be slightly different but still delicious. I’ve made this for my nut-allergic friend, and she loved it.
Gluten-Free
This recipe is naturally gluten-free if you use certified gluten-free oats (for oat flour) and ensure your baking powder is GF. Almond flour is naturally GF.
Vegan
This recipe is already vegan! No eggs, no dairy. Just plant-based ingredients. It’s a great option for vegan chocolate avocado mousse lovers who want something more substantial.
Protein Boost
Add 1 scoop of vanilla or chocolate protein powder for an extra protein punch. You may need to add 1-2 tablespoons of almond milk if the batter gets too thick.
Flavor Variations
– Mint Chip: Add ½ teaspoon peppermint extract and use mint chocolate chips.
– Orange Chocolate: Add the zest of one orange to the batter.
– Peanut Butter: Swirl 1 tablespoon of peanut butter into the batter before baking.
– Espresso: Add ½ teaspoon instant espresso powder to enhance the chocolate flavor.
Serving & Storage
How to Serve:
I usually serve these warm, straight from the oven. They’re incredible with a scoop of vanilla ice cream or a dollop of Greek yogurt. But here are other ways I’ve enjoyed them:
Side Dishes:
– A cup of hot tea or coffee
– A handful of berries on the side
– A glass of almond milk
Storage Instructions:
– Refrigerator: Store in an airtight container for up to 5 days.
– Freezer: Freeze individual squares in a freezer bag for up to 3 months. Thaw in the fridge or microwave for 30 seconds.
– Reheating: Microwave for 15-20 seconds to soften them up. They’re best fresh, but reheating works well.
Nutrition Information
I’m not a nutritionist, but here’s the breakdown if you’re tracking. This is per brownie (based on 6 servings).
| Nutrient | Amount |
|---|---|
| Calories | 180 |
| Protein | 8g |
| Carbs | 22g |
| Fiber | 6g |
| Sugar | 14g |
| Fat | 9g |
What’s Good:
– High in protein and fiber from beans and almond flour
– No refined sugar (uses maple syrup)
– Healthy fats from almonds
What to Know:
– Contains nuts (almonds)
– Naturally gluten-free
– Vegan-friendly
My Take:
Look, this is a dessert with real ingredients. It’s not a diet recipe, but it’s way better than a store-bought brownie. It fuels your day without feeling like diet food. When I want to make it lighter, I reduce the chocolate chips. But usually? I just eat a square and enjoy it.
Final Thoughts
So that’s my go-to small batch fudgy brownie recipe! I’ve probably talked your ear off at this point, but when you make a recipe this often, you have a lot to say about it.
This has saved weeknight desserts more times than I can count. It’s my answer to “what’s for dessert” when I’m tired, don’t want takeout, and still want something that tastes really good. My kids are happy, my husband’s happy, and I’m happy because I’m not stressed about cooking.
Make it yours! Try different add-ins, swap in your favorite nuts, adjust the sweetness. The best recipes are the ones you adapt to your family’s tastes. And if you’re looking for more quick, healthy desserts, check out my fall cinnamon sugar apple fritter bread for a similar vibe.
If you make this, drop a comment and let me know what you think! I love hearing how recipes turn out in your kitchen. And if something doesn’t work, tell me that too—I’m here to help troubleshoot.
Happy cooking! And I hope your kitchen smells half as good as mine does right now.
Frequently Asked Questions
Why do these brownies have black beans?
Black beans provide the fudgy texture and a huge boost of protein and fiber. They don’t taste like beans when pureed and mixed with cocoa. It’s the secret to making them dense and moist without using a lot of fat or sugar.
Can I use a different type of bean?
You can try white beans (cannellini or navy), which have a milder flavor. But black beans are my favorite because they’re readily available and puree beautifully. Kidney beans might be too strong-tasting.
Can I make these in the microwave?
Yes! Use microwave-safe mugs. Mix the batter in the mug and microwave on high for 60-90 seconds. Check after 60 seconds—they cook fast in the microwave. They’ll be more cake-like than fudgy, but still delicious.
How do I store these brownies?
Store them in an airtight container in the fridge for up to 5 days. They freeze well too—wrap individual squares in plastic wrap and freeze for up to 3 months.
Can I double this recipe?
Absolutely! Double everything and use a 9×9 inch pan. Bake for 20-25 minutes. Keep an eye on them to avoid overbaking.
What if I don’t have almond flour?
You can use oat flour, sunflower seed flour, or even all-purpose flour. The texture will be slightly different—oat flour makes them more cake-like, while all-purpose flour makes them denser. Almond flour is best for moisture and protein.
Are these brownies gluten-free?
Yes, they are naturally gluten-free if you use certified gluten-free oats (for oat flour) and ensure your baking powder is GF. Almond flour is naturally GF.
Pin This Recipe!
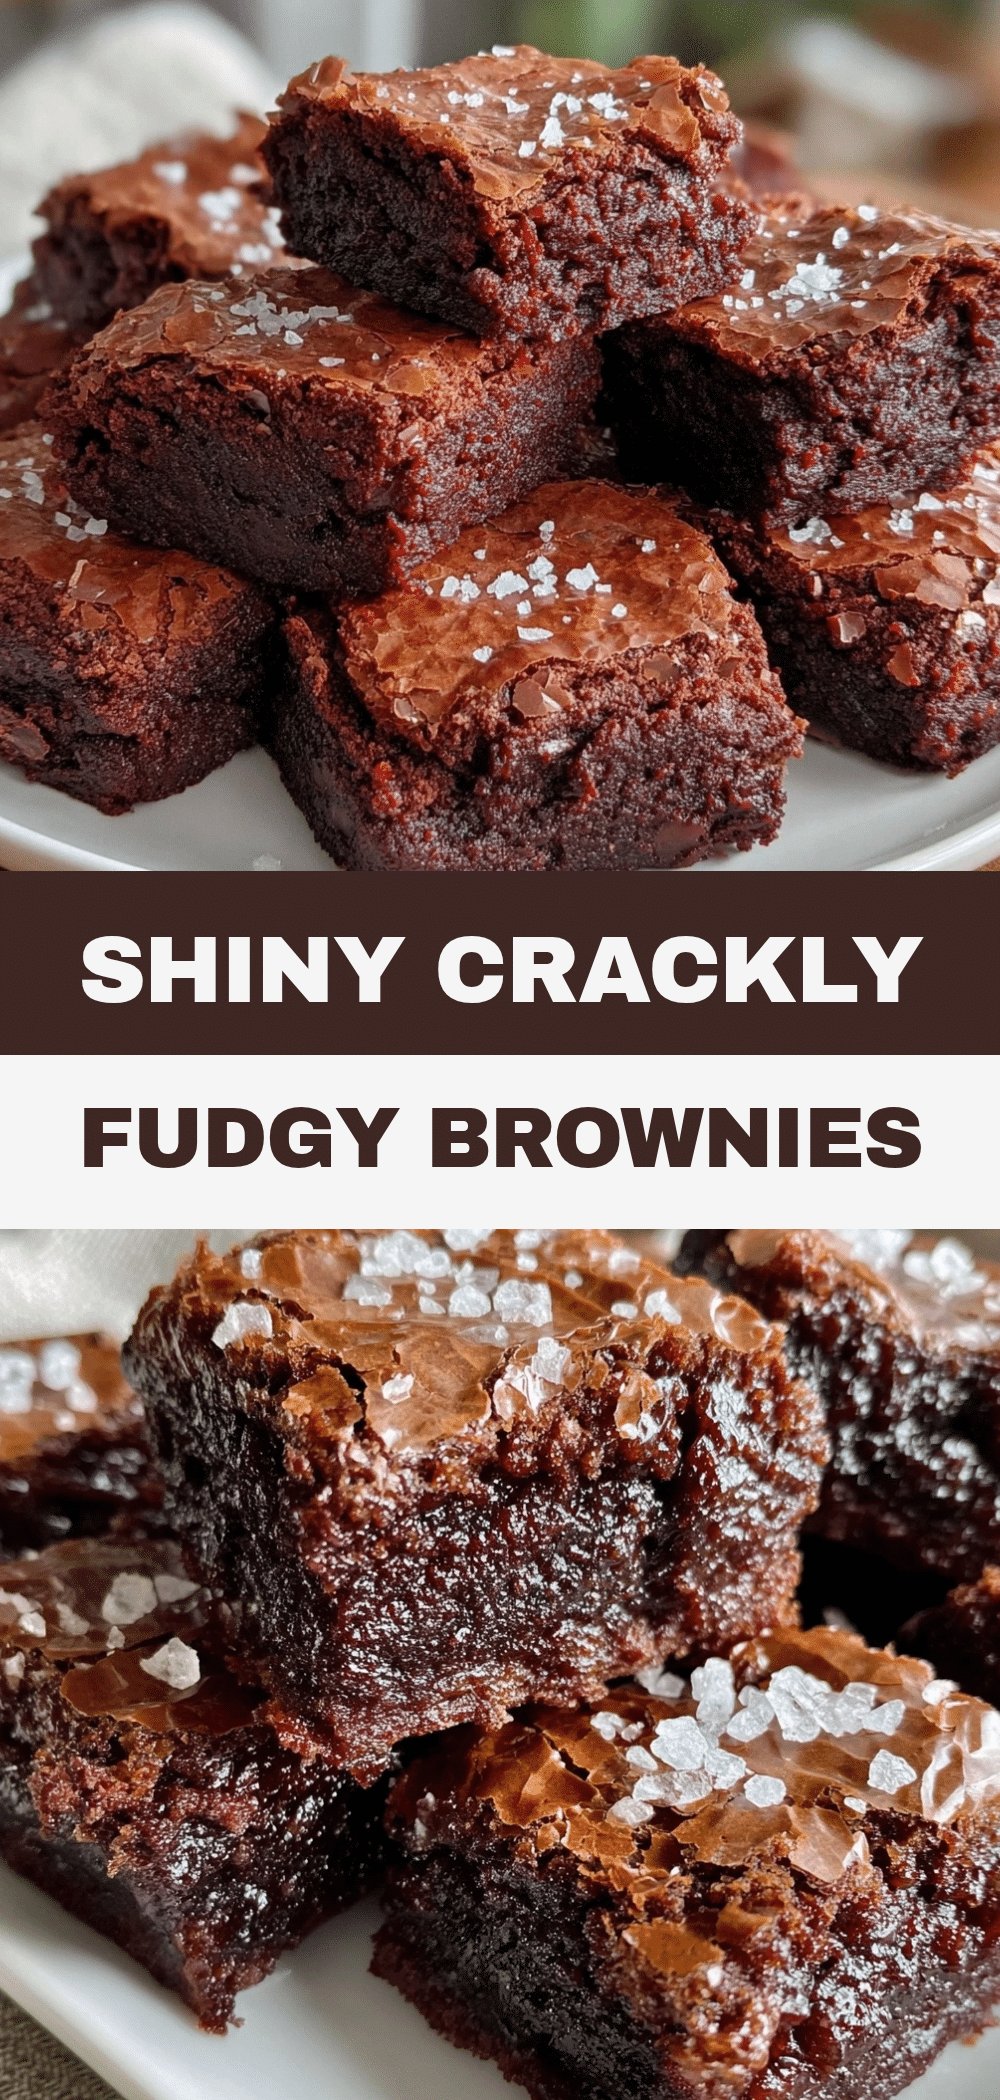
Small Batch Fudgy Brownies: Best 5-Ingredient High-Protein Fuel
- Total Time: 20 minutes
- Yield: 4-6 servings 1x
Description
These small batch fudgy brownies are a high-protein, vegan dessert made with just five simple ingredients including black beans. They are dense, chocolatey, and perfect for a quick, guilt-free treat.
Ingredients
- 1 can (15 oz / 425g) canned black beans, rinsed and drained
- ½ cup (50g) almond flour
- ¼ cup (20g) unsweetened cocoa powder
- ¼ cup (85ml) real maple syrup
- ¼ cup (40g) dark chocolate chips (semi-sweet or dark)
- 1 teaspoon vanilla extract
- ¼ teaspoon salt
- 2 tablespoons walnuts or pecans, chopped (optional)
Instructions
- Preheat oven to 350°F (175°C). Line a 6-inch square pan with parchment paper, leaving an overhang on the sides for easy removal.
- Add the rinsed and drained black beans to a blender or food processor. Blend on high for 60-90 seconds until completely smooth and creamy with no visible bean pieces.
- Transfer the bean puree to a mixing bowl. Add the almond flour, cocoa powder, maple syrup, vanilla extract, and salt. Stir with a spatula until combined.
- Fold in the chocolate chips and optional nuts. The batter should be uniform and glossy.
- Pour the batter into the prepared pan and spread evenly. Bake for 12-15 minutes. The edges should be set, but the center should still look slightly soft.
- Let the brownies cool in the pan for at least 10 minutes before lifting them out and slicing into squares.
Notes
Rinse black beans thoroughly until water runs clear to remove excess starch and beany taste. Do not overbake as they continue to cook in the pan; slightly underbaked is better for a fudgy texture. Store in an airtight container in the fridge for up to 5 days or freeze for up to 3 months.
- Prep Time: 5 minutes
- Cook Time: 15 minutes
- Category: Dessert
- Cuisine: American
Nutrition
- Serving Size: 1 brownie square
- Calories: 180
- Sugar: 14
- Sodium: 150
- Fat: 9
- Saturated Fat: 3
- Carbohydrates: 22
- Fiber: 6
- Protein: 8
Keywords: high protein brownies, black bean brownies, small batch dessert, vegan brownies, gluten-free dessert, healthy brownies, 5 ingredient recipe


