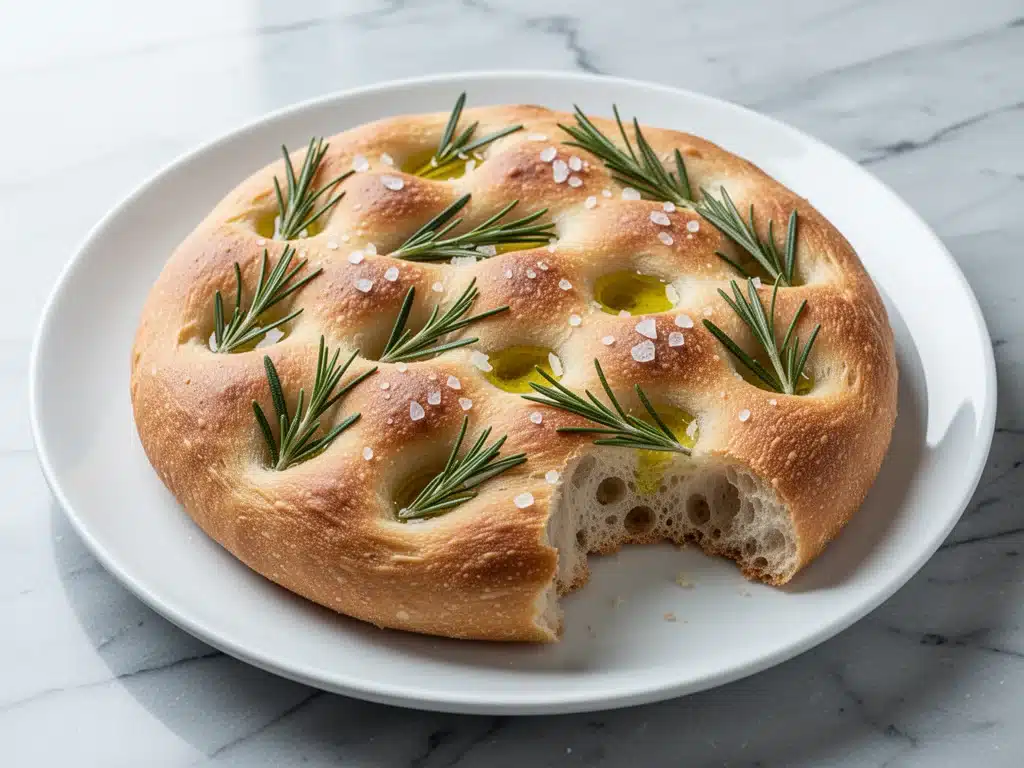
I still remember the exact moment I realized I had finally cracked the code on sourdough focaccia. It was a rainy Saturday in late October, the kind of day where the house feels quiet and the only sound is the hum of the refrigerator. I had been staring at my active sourdough starter for an hour, wondering if it was ready, while my oven preheated to a blazing 450°F. I was nervous. Previous attempts had resulted in dense bricks or bread that tasted more like vinegar than yeast. But this time? This time smelled different. It smelled like rosemary, warm butter, and victory.
When I pulled that golden, dimpled pan out of the oven, the aroma hit me so hard my husband walked into the kitchen with his eyes closed, just trying to locate the source of the magic. He didn’t even ask what it was. He just grabbed a piece, tore into it while it was still hot enough to burn his fingers, and whispered, “We need to make this every week.” That was three months ago. Since then, this homemade sourdough focaccia has become the anchor of our weekend brunches, the star of our charcuterie boards, and the reason my kids now beg for “bread night” instead of pizza night.
There is something deeply satisfying about making bread from scratch. It’s slow, it’s tactile, and it demands your attention. But here’s the secret: once you understand the rhythm of the dough, it’s actually easier than you think. You don’t need fancy equipment or years of experience. You just need a few simple ingredients, a bit of patience, and the willingness to let the dough do its thing. This recipe uses my active sourdough starter, which adds that signature tangy flavor and airy crumb that store-bought bread just can’t mimic. Paired with fresh rosemary and a generous sprinkle of flaky sea salt, it’s not just bread. It’s comfort food in its purest form.
I’ve tested this recipe dozens of times, tweaking the hydration levels and proving times until I found the sweet spot that guarantees success every single time. Whether you’re a seasoned sourdough pro or you’ve never touched dough before, this homemade sourdough focaccia is designed to be forgiving and forgivingly delicious. Let’s get baking.
Why You’ll Love This Recipe
There are about a dozen reasons I keep making this bread, but if I’m being honest, it’s mostly because it’s the only thing that gets my teenage son to put down his phone and sit at the table. Here’s why this homemade sourdough focaccia has earned a permanent spot in our kitchen rotation:
- It’s Surprisingly Simple — Seriously, if you can mix flour and water, you can make this. There’s no kneading. No complex folding techniques. You just mix it up, let it rise, and stretch it into the pan. It’s the perfect entry point for sourdough beginners.
- Zero Waste with Your Starter — If you’ve been feeding a sourdough starter, you know the guilt of throwing away the discard. This recipe uses a full cup of active starter, so you’re using your “babe” in its prime. It’s sustainable, economical, and delicious.
- Restaurant-Quality Texture — I’m not exaggerating when I say this tastes better than anything from a bakery. The crust is crisp and golden, the interior is pillowy soft with big, irregular air pockets, and the olive oil soaks into every nook and cranny. It’s moist, flavorful, and addictive.
- Endlessly Versatile — Sure, rosemary and salt are classic, but this dough is a blank canvas. I’ve made it with caramelized onions, cherry tomatoes, garlic, and even garlic parmesan blends. It’s the perfect vehicle for whatever veggies or cheeses you have lying around.
- It Smells Incredible — I know this sounds trivial, but baking bread changes the entire atmosphere of your home. The smell of rising dough and roasting rosemary makes your house feel like a cozy Italian bistro. It’s basically free therapy.
- Perfect for Leftovers — Focaccia actually tastes better the next day. The flavors meld together, and it holds up well for sandwiches or toasted with butter for breakfast. I often make a double batch because I know I’ll want it for lunch the following day.
This is my go-to when I want to feel like a culinary genius without actually trying hard. It’s reliable, impressive, and makes everyone happy. Plus, it pairs beautifully with almost anything, from a simple southern coleslaw to a hearty soup.
Ingredients You’ll Need
Here’s the best part: you probably have most of this already in your pantry. The beauty of focaccia is its simplicity. You don’t need exotic flours or specialty ingredients. Just good quality basics and your trusty sourdough starter.
For the Dough
Active Sourdough Starter (1 cup / 240g) — This needs to be at its peak activity. It should be bubbly, double in size, and have a pleasant tangy smell. If you don’t have a starter, you can use a biga or poolish, but this recipe is optimized for active levain. See my post on fluffy sourdough discard pancakes if you’re looking for other ways to use your starter!
All-Purpose Flour (3 cups / 375g) — I prefer unbleached all-purpose flour for a tender crumb. Bread flour works too if you want a chewier texture, but AP is foolproof for this style. Measure it by weight if you can; it’s much more accurate.
Warm Water (1 ½ cups / 360ml) — Around 85-90°F (29-32°C). Not too hot, or you’ll kill the yeast. Not too cold, or the dough won’t rise efficiently. Room temperature tap water usually works fine in summer.
Extra Virgin Olive Oil (½ cup / 120ml) — Yes, half a cup. This is crucial. The oil keeps the dough moist and creates that signature crispy, golden crust. Don’t skimp. Use a good quality oil here; it’s one of the main flavor drivers. I use a robust Italian oil for this.
Sea Salt (2 teaspoons / 12g) — Fine sea salt for the dough. This balances the flavor and strengthens the gluten structure.
Honey (1 tablespoon / 21g) — Optional, but it helps feed the yeast and adds a subtle sweetness that balances the salt. I always add it.
For the Toppings
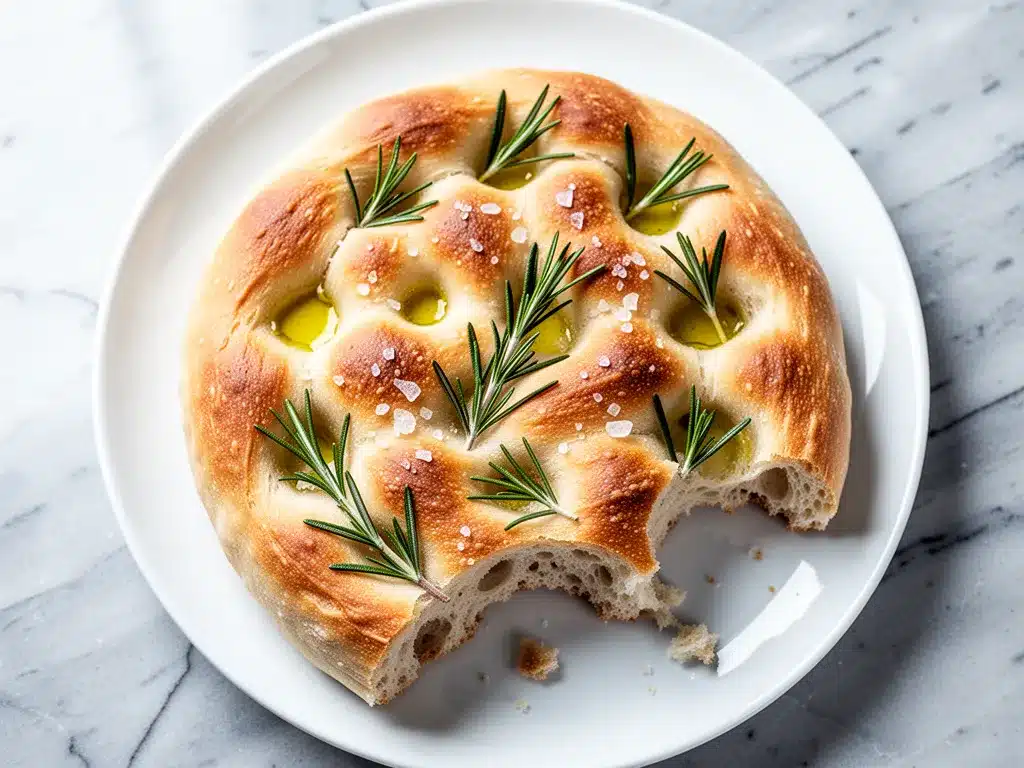
Extra Virgin Olive Oil (¼ cup / 60ml) — More oil for the pan and the top. This is where the magic happens during baking.
Fresh Rosemary (2-3 sprigs, needles chopped) — Fresh is non-negotiable here. Dried rosemary doesn’t have the same aromatic punch. If you don’t have fresh, you can use 1 tablespoon dried, but fresh is best.
Flaky Sea Salt (1 tablespoon / 15g) — Maldon is my go-to. The large crystals provide a satisfying crunch and bursts of salty flavor that contrast with the soft bread. Kosher salt works too, but flaky is prettier and more flavorful.
Optional Add-ins: Grated Parmesan cheese, cherry tomatoes, caramelized onions, or sliced olives. I love adding a handful of grated parmesan before baking for a savory crust.
Common Substitutions
No Sourdough Starter? You can use 2 teaspoons of active dry yeast and reduce the water to 1 ¼ cups. The flavor will be milder, but the texture will still be great.
Gluten-Free? This is tricky with focaccia because the high hydration relies on gluten development. A 1:1 gluten-free flour blend can work, but you’ll need to add xanthan gum if your blend doesn’t have it. The texture will be denser.
Equipment Needed
You don’t need fancy gadgets for this. Here’s what I actually use, along with some honest opinions on what’s necessary.
9×13 Inch Baking Pan — I use a metal pan. Glass or ceramic pans heat slower and can result in a softer crust. Metal gives you that crisp, golden edge I love. If you don’t have a 9×13, two 8-inch square pans work, but you’ll need to adjust the baking time slightly.
Stand Mixer or Hand Mixer — Optional. I usually mix this by hand in a large bowl because I like to feel the dough come together. But if you’re lazy (like me on busy days), a stand mixer with a dough hook works perfectly on low speed.
Plastic Wrap or Damp Towel — To cover the dough while it rises. Plastic wrap is easier, but a damp kitchen towel works too. Just make sure it’s not touching the dough, or it will stick.
Pastry Brush — For applying the olive oil to the pan and the top of the dough. Silicone brushes are easier to clean than natural bristle ones.
Offset Spatula or Your Fingers — To dimple the dough. I use my fingers because it’s more fun, but a spatula works if you want precision. This step is crucial for trapping the oil and toppings.
Instant Read Thermometer — Helpful but not essential. I use it to check the internal temperature of the bread (aim for 190-200°F / 88-93°C) to ensure it’s fully baked.
How to Make It: Step-by-Step
Alright, let’s make this! I’m walking you through exactly how I do it, including the little tricks I’ve picked up over the years. This process takes about 4-5 hours total, mostly waiting, but only 20 minutes of active work.
Step 1: Mix the Dough (10 minutes)
In a large mixing bowl, combine your active sourdough starter, warm water, honey, and olive oil. Whisk until the starter is dissolved and the mixture is smooth. Add the flour and salt. Mix until a shaggy dough forms. If using a mixer, beat on low for 5 minutes. If mixing by hand, just stir until no dry flour remains. The dough will be very wet and sticky at this stage—that’s good. Don’t add more flour. See my guide on sourdough discard cinnamon sugar pancakes for more tips on handling wet doughs!
Step 2: Bulk Fermentation (4-6 hours)
Cover the bowl with plastic wrap and let it sit at room temperature for 4-6 hours. Every hour, do a “stretch and fold”: wet your hands, grab the dough from one side, stretch it up, and fold it over the center. Repeat for all four sides. Do this 3-4 times total. This builds strength without kneading. After the final fold, cover and let it rise until it’s puffy, jiggly, and has roughly doubled in size. It should look alive with bubbles.
Step 3: Prepare the Pan (5 minutes)
Generously coat your 9×13 pan with olive oil. Use about 2-3 tablespoons. Make sure to get into all the corners. Sprinkle a little flour over the oil and shake it around to coat the pan. This prevents sticking and adds a crispy layer to the bottom.
Step 4: Transfer and Stretch (5 minutes)
Scrape the dough into the pan. It will be sticky, so use oiled hands or a spatula. Gently press and stretch the dough toward the corners. Don’t worry if it tears or springs back. Let it rest for 10 minutes, then try stretching again. It should eventually reach the edges. If it’s too tight, just let it rest longer. The gluten needs to relax.
Step 5: Final Rise (1-2 hours)
Cover the pan loosely with plastic wrap and let it rise again until it’s puffy and fills the pan. This usually takes 1-2 hours, depending on your kitchen temperature. The dough should jiggle like gelatin when you shake the pan. Preheat your oven to 425°F (220°C) during the last 30 minutes of rising.
Step 6: Dimple and Top (5 minutes)
Drizzle the remaining olive oil over the top of the dough. Use your fingers to press deep dimples into the surface. Go all the way to the bottom of the pan. This is the iconic focaccia look. Sprinkle the chopped rosemary and flaky sea salt over the top. Press them gently into the oil so they stick.
Step 7: Bake (25-30 minutes)
Place the pan in the preheated oven. Bake for 25-30 minutes, rotating the pan halfway through. The bread is done when it’s deep golden brown on top and bottom, and the internal temperature reads 190-200°F. If the top is browning too fast, tent it loosely with foil.
Step 8: Cool and Serve
Let the focaccia cool in the pan for 10 minutes, then turn it out onto a wire rack. Let it cool for another 10-15 minutes before slicing. This allows the crumb to set. Tear it apart with your hands for the best texture.
Expert Tips & Tricks
Here’s everything I’ve learned from making this dozens of times. These tips will save you from my mistakes.
The Dough Should Be Sticky — If your dough feels like bread dough (smooth and non-sticky), you’ve added too much flour. High hydration is key for open, airy focaccia. Wet your hands when handling it.
Patience with the Stretch — If the dough keeps snapping back when you’re trying to stretch it to the edges, stop. Let it rest for 10 minutes. Forcing it will tear the gluten and create holes. Patience is your best tool here.
Don’t Skip the Oil — I know it sounds like a lot, but the oil is what makes focaccia focaccia. It creates the crust, keeps the interior moist, and carries the flavor of the rosemary. Use good olive oil.
Check the Starter — Make sure your starter is truly active. If it doesn’t float in water (the float test), it’s not ready. A weak starter means a dense loaf. Feed it a few hours before you plan to bake.
Use Flaky Salt — Regular table salt will dissolve and disappear. Flaky sea salt stays crunchy and provides those salty bursts that make you keep eating. It’s worth the extra few dollars.
Variations & Substitutions
Once you’ve nailed the basic version, here’s how you can mix it up. I’ve tried all of these.
Tomato & Mozzarella — Press halved cherry tomatoes and fresh mozzarella slices into the dough before baking. Add a drizzle of balsamic glaze after baking. This is my favorite savory version.
Caramelized Onion & Gruyère — Spread caramelized onions and grated Gruyère cheese over the dough before the final rise. The cheese gets crispy and golden, and the onions add sweetness.
Garlic & Herb — Add minced garlic and chopped thyme to the dough along with the rosemary. Great with pasta or soup.
Sweet Focaccia — Skip the rosemary and salt. Add dried cranberries and white chocolate chips. Drizzle with a lemon glaze after baking. Perfect for dessert or breakfast.
Vegan Option — This recipe is already vegan! Just ensure your sourdough starter doesn’t contain dairy (some people feed it milk, which is rare but happens).
Serving & Storage
How to Serve: I usually serve this warm, torn into rustic pieces. It’s perfect as a side dish with wild rice soup or alongside a simple green salad. It’s also amazing for dipping in olive oil and balsamic vinegar.
Storage: Store leftover focaccia in an airtight container at room temperature for up to 2 days. It stays soft and moist. For longer storage, wrap tightly in plastic and freeze for up to 1 month. Thaw at room temperature.
Reheating: To revive day-old focaccia, warm it in a 350°F oven for 5-10 minutes. This restores the crispness of the crust. Avoid the microwave, as it will make the bread chewy and tough.
Nutrition Information
I’m not a nutritionist, but here’s the breakdown if you’re tracking. Note that these values are estimates and can vary based on specific ingredients and portion sizes.
Per Serving (based on 12 slices):
- Calories: 280
- Protein: 6g
- Carbs: 38g
- Fiber: 2g
- Sugar: 2g
- Fat: 12g
- Saturated Fat: 2g
- Cholesterol: 0mg
- Sodium: 350mg
Look, this is comfort food with olive oil and flour. It’s not a diet recipe. But it’s made from whole grains and fermented, which makes it easier to digest than commercial bread. When I want to make it lighter, I use less oil on top and add more vegetables. But usually? I just eat a reasonable portion and enjoy it.
Final Thoughts
So that’s my go-to homemade sourdough focaccia! I’ve probably talked your ear off at this point, but when you make a recipe this often, you have a lot to say about it. This bread has saved weeknight dinners more times than I can count. It’s my answer to “what’s for dinner” when I’m tired, don’t want takeout, and still want something that tastes really good. My kids are happy, my husband’s happy, and I’m happy because I’m not stressed about cooking.
Make it yours! Try different add-ins, swap in your favorite vegetables, adjust the garlic (though more is always better in my opinion). The best recipes are the ones you adapt to your family’s tastes. If you make this, drop a comment and let me know what you think! I love hearing how recipes turn out in your kitchen. And if something doesn’t work, tell me that too—I’m here to help troubleshoot.
Happy baking! And I hope your kitchen smells half as good as mine does right now.
Frequently Asked Questions
Can I use discard instead of active starter?
You can, but the results will be different. Discard has less yeast activity, so the bread will be denser and take longer to rise. I recommend feeding your starter a few hours before baking to get it active. If you must use discard, add ½ teaspoon of active dry yeast to help it rise.
Why is my focaccia dense?
This usually happens if the starter wasn’t active enough, or if you added too much flour during mixing. Make sure your starter is bubbly and doubled in size before using. Also, resist the urge to add more flour if the dough feels sticky. High hydration is key.
Can I make this ahead of time?
Yes! After the first rise, you can punch down the dough, place it in the oiled pan, cover it, and refrigerate it for up to 24 hours. Let it come to room temperature and do the final rise before baking. This is great for planning ahead.
How do I get those big air bubbles?
The secret is high hydration and gentle handling. Don’t degas the dough when you transfer it to the pan. Let the bubbles expand during the final rise. Also, make sure your starter is very active.
Can I freeze focaccia?
Absolutely. Wrap it tightly in plastic wrap and then aluminum foil. It will keep for up to 2 months. Thaw at room temperature and refresh in the oven for 5 minutes to restore crispness.
What’s the best way to dimple the dough?
Use your fingertips. Dip them in olive oil first so they don’t stick, then press down firmly into the dough. Go all the way to the bottom of the pan. This traps the oil and toppings, ensuring every bite is flavorful.
Pin This Recipe!
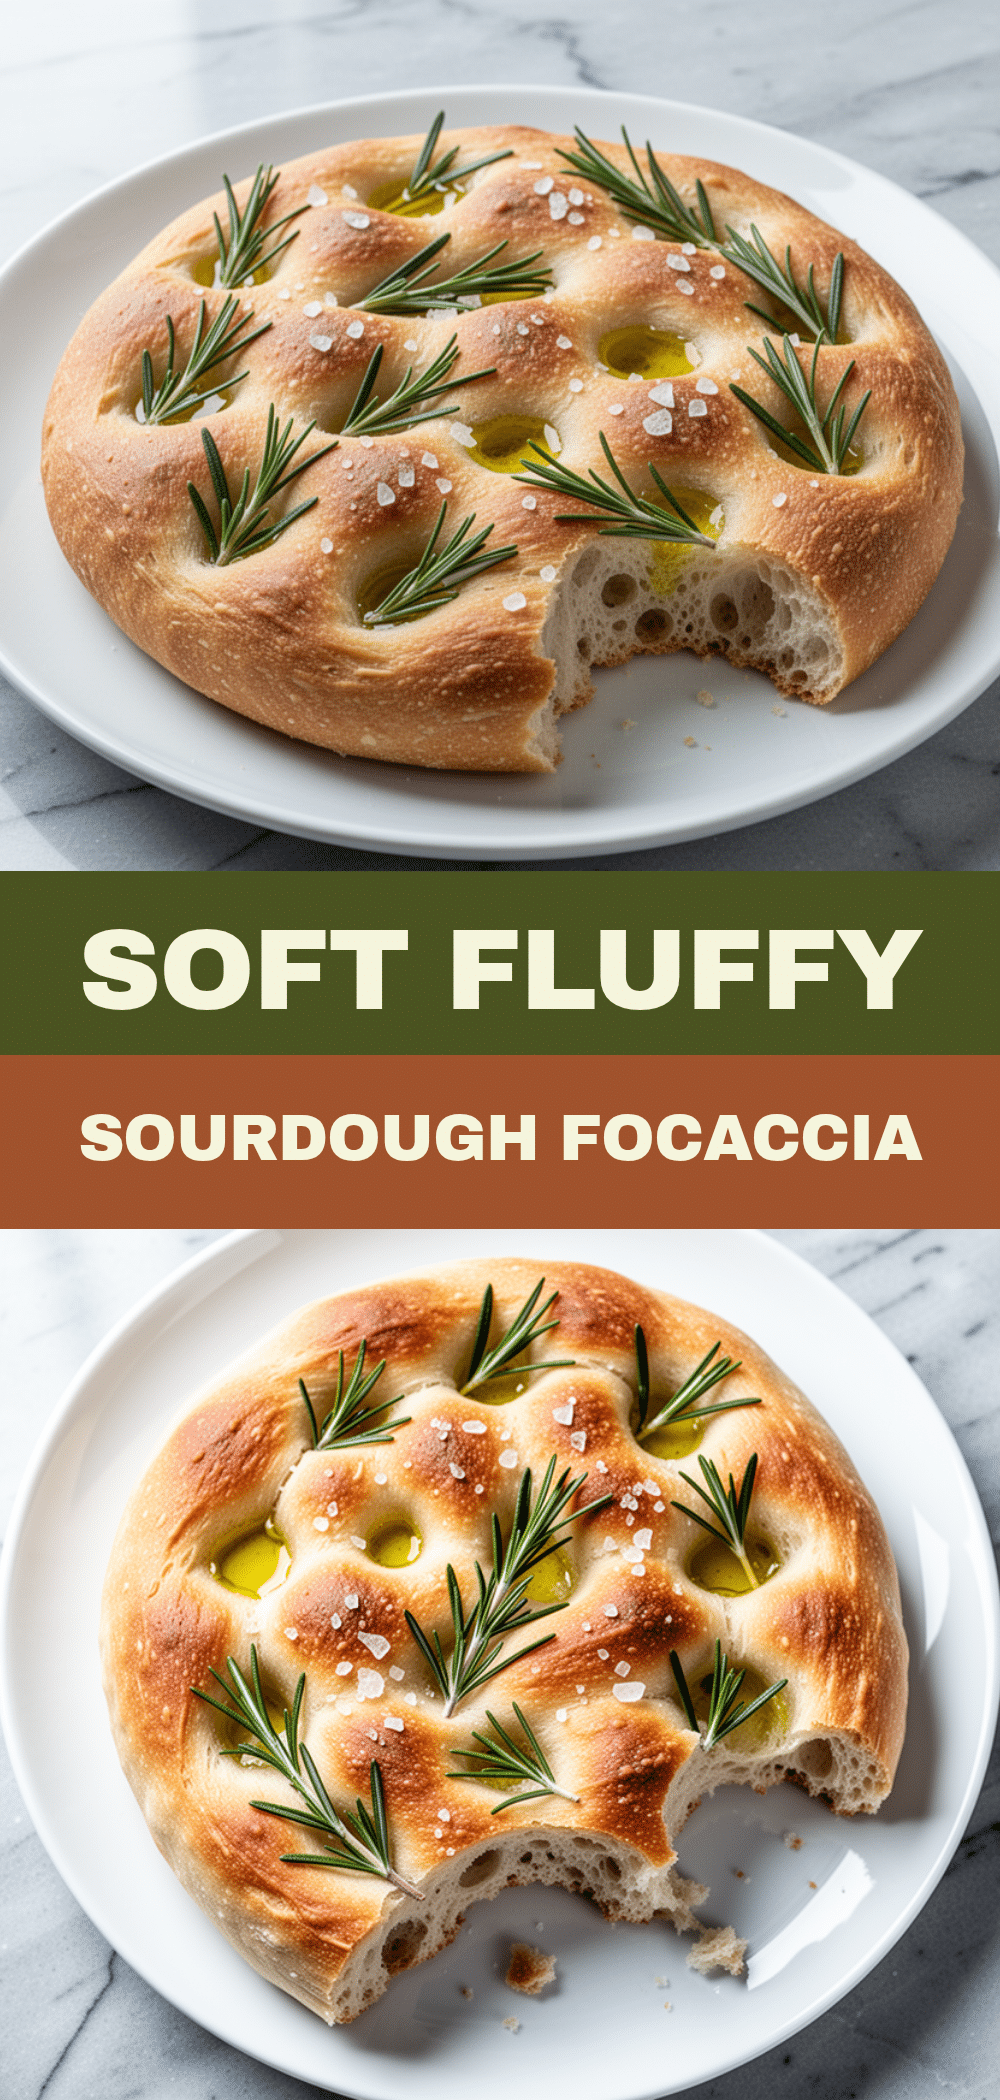

Homemade Sourdough Focaccia: The Best Easy Recipe
- Total Time: 4 hours 50 minutes
- Yield: 12 servings 1x
Description
A forgiving and delicious sourdough focaccia recipe that yields a crisp, golden crust and pillowy soft interior. This easy bread requires no kneading and uses active sourdough starter for a tangy flavor and airy crumb.
Ingredients
- 1 cup (240g) active sourdough starter
- 3 cups (375g) all-purpose flour
- 1 ½ cups (360ml) warm water (85-90°F)
- ½ cup (120ml) extra virgin olive oil (for dough)
- 2 teaspoons sea salt
- 1 tablespoon honey
- ¼ cup (60ml) extra virgin olive oil (for pan and topping)
- 2–3 sprigs fresh rosemary, needles chopped
- 1 tablespoon flaky sea salt (e.g., Maldon)
- Optional: Grated Parmesan cheese, cherry tomatoes, caramelized onions, or sliced olives
Instructions
- In a large bowl, whisk together the active sourdough starter, warm water, honey, and ½ cup olive oil until smooth.
- Add the flour and salt. Mix until a shaggy, sticky dough forms. If using a mixer, beat on low for 5 minutes. Do not add more flour.
- Cover the bowl with plastic wrap and let it sit at room temperature for 4-6 hours. Every hour, perform a ‘stretch and fold’: wet hands, stretch the dough from each side, and fold it over the center. Repeat 3-4 times total.
- Generously coat a 9×13 inch metal baking pan with olive oil and sprinkle with a little flour to prevent sticking.
- Scrape the dough into the pan. Use oiled hands to gently press and stretch the dough toward the corners. If it springs back, let it rest for 10 minutes and try again.
- Cover the pan loosely with plastic wrap and let it rise for 1-2 hours until puffy and jiggly. Preheat oven to 425°F (220°C) during the last 30 minutes of rising.
- Drizzle the remaining ¼ cup olive oil over the dough. Use oiled fingers to press deep dimples all the way to the bottom of the pan.
- Sprinkle chopped rosemary and flaky sea salt over the top, pressing gently to adhere.
- Bake for 25-30 minutes, rotating the pan halfway through, until deep golden brown and internal temperature reaches 190-200°F.
- Cool in the pan for 10 minutes, then turn out onto a wire rack to cool for another 10-15 minutes before slicing or tearing.
Notes
The dough should be very wet and sticky; do not add extra flour. If the dough snaps back when stretching, let it rest for 10 minutes to relax the gluten. Ensure your sourdough starter is active (doubled in size and bubbly) before using. For best results, use flaky sea salt for the topping to provide texture and bursts of flavor.
- Prep Time: 20 minutes
- Cook Time: 30 minutes
- Category: Side Dish
- Cuisine: Italian
Nutrition
- Serving Size: 1 slice
- Calories: 280
- Sugar: 2
- Sodium: 350
- Fat: 12
- Saturated Fat: 2
- Carbohydrates: 38
- Fiber: 2
- Protein: 6
Keywords: sourdough focaccia, homemade bread, easy sourdough recipe, rosemary focaccia, no-knead bread, sourdough starter recipe


