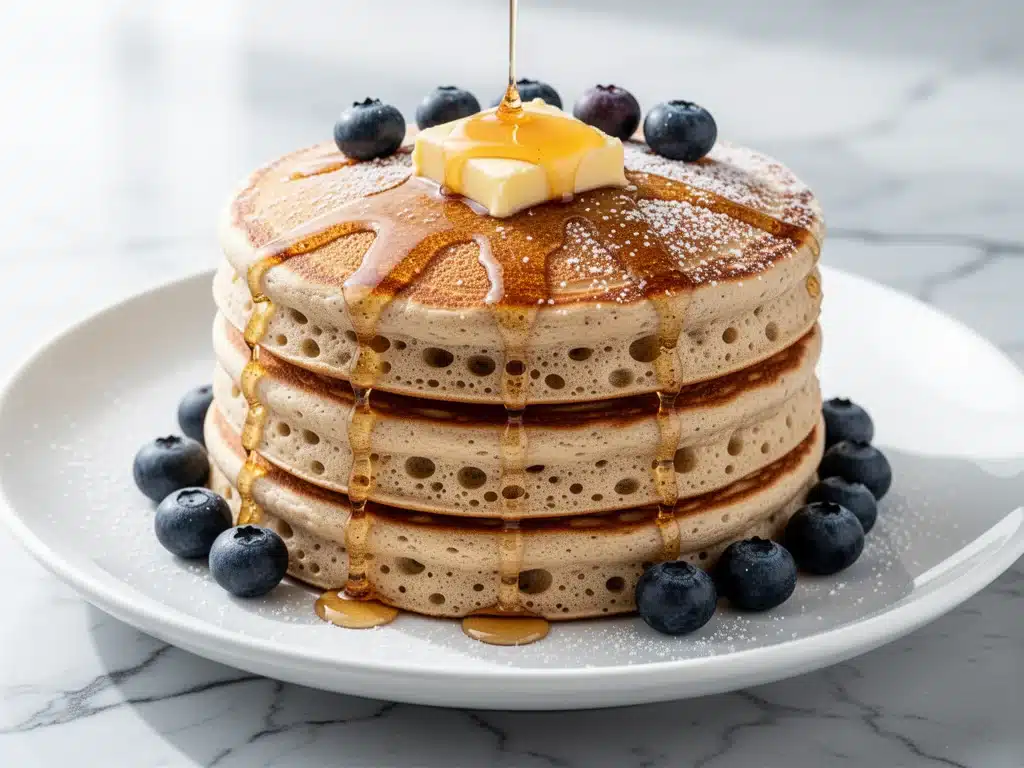
I still remember the exact moment I realized my sourdough starter wasn’t a burden—it was breakfast. For years, I looked at that jar of bubbly, slightly tangy discard in the fridge and felt a pang of guilt. I’d been feeding it, feeding it, feeding it, and then just… throwing half of it away every time I baked bread. It felt wasteful. It felt like culinary clutter.
Then came a rainy Saturday morning. I was tired. The kids were whining. I didn’t have the energy for elaborate weekend baking, but I desperately wanted something special. So, I grabbed that discard, cracked a few eggs, and threw together a quick batter. What came out of the pan wasn’t just “okay.” It was incredible. Light, airy, tangy, and fluffy. They were the best pancakes I’d ever made. And the best part? I was using something I was already going to throw away.
That Saturday changed my relationship with sourdough discard forever. These fluffy sourdough discard pancakes became our weekend staple. They’re easier than traditional yeast-based pancakes because they don’t need hours to rise. They’re cheaper than buying pancake mix. And when you pair them with that rich, brown butter maple syrup, you’re looking at a breakfast that tastes like a luxury hotel, but costs pennies.
I’ve tested this recipe dozens of times—sometimes with whole wheat flour, sometimes with buttermilk substitutions, always with the same result: empty plates and happy bellies. If you have a sourdough starter collecting dust in your fridge, this is your sign to stop feeling guilty and start cooking. Let’s make some magic.
Why You’ll Love This Sourdough Pancake Recipe
There are a million pancake recipes out there. Why this one? Because it solves the biggest problem with sourdough discard: what do you do with it? Here’s why these pancakes have earned a permanent spot in our weekly rotation.
Zero Waste Breakfast — Seriously, this is the ultimate way to use up your starter. If you’ve been struggling with the guilt of tossing discard, these pancakes turn that “trash” into treasure. I’ve saved so much money (and food) by just making these instead of throwing the discard out.
Actually Fluffy — I know what you’re thinking. “Sourdough pancakes are usually dense.” Not these. The baking soda reacts with the acidity in the discard to create massive air pockets. I’ve compared them side-by-side with boxed mixes, and these win on texture every single time. They’re cloud-like.
Lightning Fast — No overnight fermentation. No waiting for the dough to double in size. You mix the batter and cook immediately. From fridge to plate in about 20 minutes. This is my go-to make-ahead friendly alternative when I’m in a rush but still want homemade food.
Flavor Complexity — Plain pancakes are fine. But sourdough pancakes have a subtle tang that cuts through the sweetness of the maple syrup. It’s a sophisticated flavor profile that makes you feel like a pro cook, even though the technique is simple.
Kid-Approved — My picky eater, who usually refuses anything with a “weird” taste, devours these. The tang is mild enough that they don’t notice it, but the fluffiness wins them over every time.
This recipe is my answer to “what’s for breakfast?” when I want to impress but don’t want to stress. It’s reliable, delicious, and makes the kitchen smell amazing.
Ingredients You’ll Need
Here’s the best part: you probably have 90% of these ingredients already. This isn’t a recipe that requires a special trip to the grocery store. It’s pantry-friendly, fridge-clearing goodness.
For the Batter:
Sourdough Discard (1 cup / 240g) — This is the star. It can be active or inactive, fed or unfed. Just make sure it’s well-stirred before measuring. If it’s very thick, you might need a splash of milk to loosen it up. This is where all the flavor comes from.
All-Purpose Flour (1 cup / 125g) — Standard flour works best for maximum fluffiness. I’ve tried cake flour, but it made them too delicate. Bread flour makes them chewy. Stick with AP. Sift it if you can—it helps break up clumps.
Baking Soda (1 teaspoon) — Crucial. The acid in the sourdough needs a base to react with. This reaction creates the bubbles that make them fluffy. Do not skip this, or substitute with baking powder (it won’t work the same way).
Eggs (2 large) — Room temperature eggs incorporate better into the batter. I take them out of the fridge while the skillet heats up. They add structure and richness.
Milk (½ cup / 120ml) — Whole milk is best for richness, but 2% works too. If you have buttermilk, use that! It’ll make them even tangier and fluffier. I usually just use whatever milk is left in the carton.
Melted Butter (2 tablespoons) — Adds flavor and tenderness. Let it cool slightly so it doesn’t cook the eggs when you mix them.
Sugar (1 tablespoon) — Just a little bit to help with browning and balance the tang. You don’t want these to be sweet like dessert; you want them savory-sweet. Honey works too if you prefer.
Salt (½ teaspoon) — Essential for flavor. Don’t skip it. It makes the other flavors pop.
For the Maple Butter Topping:
Unsalted Butter (¼ cup / 56g) — Good quality butter makes a difference here. Salted butter works, but you’ll need to reduce any added salt in the batter.
Pure Maple Syrup (2 tablespoons) — Real maple syrup, not “pancake syrup” made from corn syrup. The flavor difference is night and day. It’s worth the extra few dollars.
Cinnamon (½ teaspoon) — Optional, but it adds a warm, cozy vibe that pairs perfectly with the maple. I always add it.
Pinch of Salt — Enhances the sweetness.
Pro Tip: I keep my sourdough discard in a glass jar with a lid. It’s easier to see how much I have and it doesn’t absorb fridge smells like plastic can sometimes do.
Equipment Needed
You don’t need fancy gadgets for this. Here’s what I actually use on my counter.
Medium Mixing Bowl — Any bowl that’s big enough to whisk everything comfortably. I use a ceramic one because it’s heavy and doesn’t slip.
Whisk — Essential for incorporating the baking soda evenly. A fork works in a pinch, but a whisk is better.
Measuring Cups and Spoons — Standard stuff. I prefer metal spoons for dry ingredients.
Non-Stick Skillet or Griddle — This is the most important tool. I use a 10-inch non-stick skillet. A cast iron skillet works too, but you need to be careful with temperature control. Non-stick is foolproof for beginners.
Spatula — A thin, flexible silicone spatula is best for flipping delicate pancakes without breaking them.
Small Saucepan — For melting the butter and maple syrup together. Or you can just do it in the microwave if you’re lazy (I do this often).
Brush or Paper Towel — For lightly greasing the skillet between pancakes.
Tip: If you don’t have a griddle, a standard skillet works fine. Just cook in batches. I usually make a double batch of batter and freeze the extra pancakes for quick weekday mornings.
How to Make It: Step-by-Step
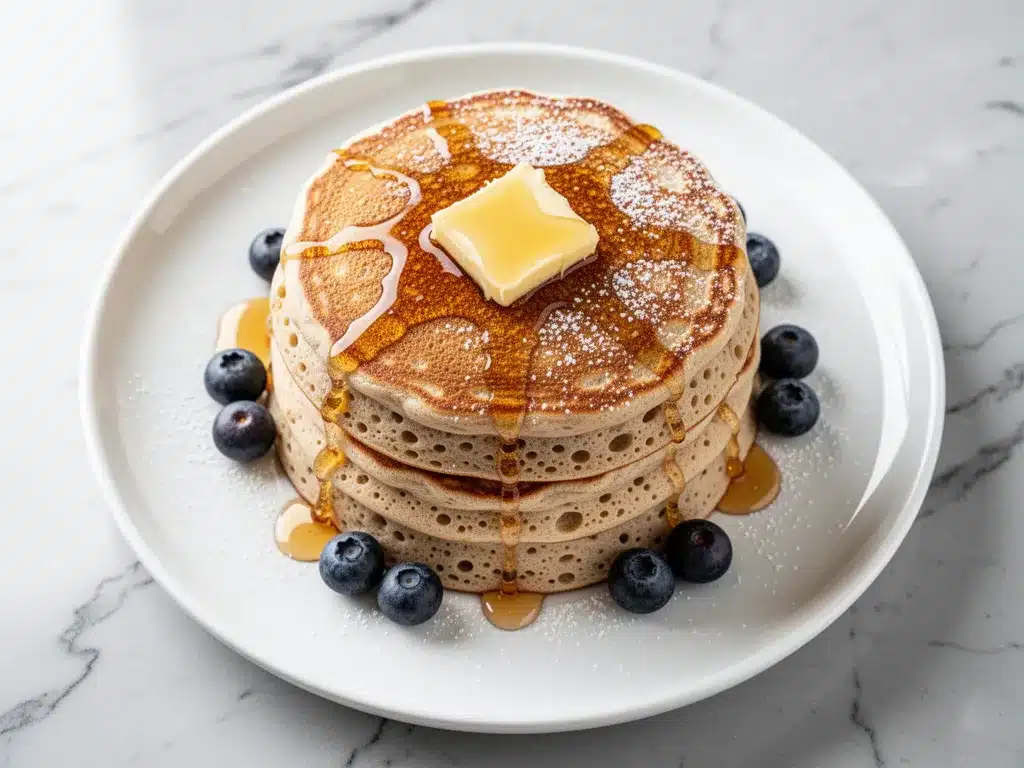
Alright, let’s get cooking! This is straightforward, but there are a few tricks to ensure they’re perfectly fluffy every time.
Step 1: Mix the Dry Ingredients (2 minutes)
In your medium bowl, whisk together the flour, baking soda, sugar, and salt. Whisking the dry ingredients first ensures the baking soda is evenly distributed. If you don’t do this, you might get spots of bitter baking soda in your pancakes. It’s a small step, but it matters.
Step 2: Combine the Wet Ingredients (1 minute)
In a separate bowl or large measuring cup, whisk the eggs, milk, melted butter, and sourdough discard. Make sure the melted butter isn’t hot—warm is fine, but hot will scramble the eggs. Mix until everything is smooth and uniform.
Step 3: Bring Them Together (1 minute)
Pour the wet ingredients into the dry ingredients. Gently fold them together with a spatula or whisk. STOP as soon as the flour disappears. I know, it’s tempting to mix until smooth, but overmixing develops gluten, and that makes pancakes tough. Lumps are good! Actually, lumps are necessary for fluffiness.
Step 4: Rest the Batter (5-10 minutes)
Let the batter sit while you heat the skillet. This gives the baking soda time to react with the sourdough, creating those air bubbles. You’ll see small bubbles forming on the surface. This is the chemical leavening working its magic. Don’t skip this rest!
Step 5: Heat the Skillet (2 minutes)
Place your non-stick skillet over medium heat. Let it warm up for about 2 minutes. To test if it’s ready, flick a few drops of water onto the surface. If they sizzle and evaporate instantly, it’s ready. If they just sit there, wait longer. If they dance around like little mercury balls, it’s too hot—turn it down.
Step 6: Cook the Pancakes (3-4 minutes per batch)
Lightly grease the skillet with a paper towel dipped in oil or a small pat of butter. Pour about ¼ cup of batter for each pancake. Don’t crowd the pan. Cook until you see bubbles forming on the surface and popping, and the edges look set and dry. This usually takes 2-3 minutes.
Step 7: Flip and Finish (1-2 minutes)
Flip the pancake gently. Cook for another 1-2 minutes until golden brown. The second side cooks faster, so keep an eye on it. Transfer to a plate and cover with foil to keep warm while you cook the rest.
Step 8: Make the Maple Butter
While the pancakes cook, melt the butter in a small saucepan over low heat. Add the maple syrup and cinnamon. Stir gently until combined and warm. Don’t boil it—just heat it through. Pour into a small jug for serving.
Total Time: About 25 minutes (10 minutes active, 15 minutes mostly hands-off).
Expert Tips & Tricks
Here’s everything I’ve learned from making these dozens of times. These tips will save you from my early mistakes.
The Lumps Are Your Friend
I cannot stress this enough. If your batter is smooth, you overmixed it. Lumpy batter = fluffy pancakes. If you mix it until it’s perfect, you get rubbery pancakes. Embrace the lumps.
Medium Heat is Key
Too hot, and the outside burns before the inside cooks. Too cool, and they spread out and become dense. Medium heat is the sweet spot. If your first pancake is dark brown on the outside and raw in the middle, your heat is too high. Adjust accordingly.
Don’t Press Down
When you flip the pancake, don’t press down on it with the spatula. You’re squeezing out the air bubbles you worked so hard to create. Let them rest on the heat.
Keep Them Warm Properly
If you’re serving a family, stack the cooked pancakes on a plate and cover loosely with foil. This keeps them warm without steaming them soggy. Avoid using a lid, which traps steam and makes them wet.
Rescue Overmixed Batter
If you accidentally overmix, don’t toss it. Let it rest for 10-15 minutes. The bubbles will still form, and they’ll be better than if you cooked it immediately.
Pro Trick: Brown Butter Maple Syrup
For an extra fancy touch, brown the butter before adding the maple syrup. Cook the butter until it smells nutty and turns golden brown. Then add the syrup. It adds a depth of flavor that is absolutely divine.
Variations & Substitutions
Once you’ve nailed the basic version, here’s how you can mix it up. I’ve tried all of these, and they all work.
Blueberry Pancakes
Fold in ½ cup of fresh or frozen blueberries into the batter right before cooking. If using frozen, don’t thaw them first, or they’ll bleed color into the batter. I add them directly to the pan after pouring the batter.
Chocolate Chip Pancakes
Add ¼ cup of chocolate chips to each pancake after pouring the batter. Or fold them into the batter gently. My kids love these, especially with the maple butter.
Whole Wheat Version
Substitute half the all-purpose flour with whole wheat flour. It adds a nutty flavor and more fiber. The pancakes will be slightly denser, but still fluffy. If you want them lighter, use all-purpose.
Gluten-Free
Use a 1:1 gluten-free flour blend. Make sure it contains xanthan gum, or add ½ teaspoon. The texture will be slightly different, but still delicious. I’ve used Bob’s Red Mill blend with good results.
Dairy-Free
Replace the milk with almond milk or oat milk. Use coconut oil or melted vegan butter instead of dairy butter. For the maple butter topping, use vegan butter and maple syrup. It’s surprisingly good.
Banana Pancakes
Mash 1 ripe banana and fold it into the batter. Reduce the sugar to ½ tablespoon since the banana is sweet. This makes them more like banana bread pancakes.
Apple Cinnamon
Fold in ½ cup of finely diced apples and an extra ½ teaspoon of cinnamon. Cook them a bit longer on the second side to soften the apples.
Serving & Storage
How to Serve:
I usually serve these straight from the skillet at the breakfast table. They look rustic and inviting. But here are other ways I’ve enjoyed them:
Classic Stack:
3-4 pancakes stacked high, drizzled generously with the maple butter. Add a dusting of powdered sugar if you’re feeling fancy.
Side Dishes:
– Crispy bacon or sausage links
– Fresh fruit salad (berries, bananas, melon)
– A simple green salad if you’re keeping it light
– A glass of fresh orange juice or coffee
Toppings Bar:
When I have guests, I put out a toppings bar: extra maple butter, fresh berries, whipped cream, chocolate chips, nuts, and extra cinnamon. Everyone customizes their stack.
Storage Instructions:
Refrigerator:
Store leftover pancakes in an airtight container for up to 3 days. They’ll soften in the fridge, which is normal.
Reheating:
Best method: Toaster. Yes, put them in the toaster! It revives the crispiness better than any other method. Microwave works but makes them chewy. If you microwave, do it in 15-second bursts.
Freezing:
These freeze beautifully. Let them cool completely, then stack them with parchment paper between each pancake. Place in a freezer bag for up to 3 months. To eat, toast them straight from frozen. They taste almost as good as fresh.
Pro Tip:
I often make a double batch and freeze half. On busy weekday mornings, I just toast 2-3 frozen pancakes, add a pat of butter, and pour maple syrup over them. It’s a 5-minute breakfast that feels homemade.
Nutrition Information
I’m not a nutritionist, but here’s the breakdown if you’re tracking. Keep in mind that nutrition varies based on exact measurements and toppings.
Per Serving (based on 1 pancake with 1 tbsp maple butter):
| Nutrient | Amount |
|---|---|
| Calories | 210 |
| Protein | 6g |
| Carbs | 28g |
| Fiber | 1g |
| Sugar | 8g |
| Fat | 9g |
| Sodium | 250mg |
What’s Good:
– Decent protein from eggs and flour
– Satisfying carbs for energy
– Real ingredients, no artificial additives
What to Know:
– Higher in calories due to butter and syrup
– Contains gluten and dairy
– Moderate sugar content (can be reduced by less syrup)
My Take:
Look, these are pancakes. They’re meant to be indulgent. They’re not a diet food. But they’re made with real ingredients, and they’re way better than boxed mix. When I want to make them lighter, I use less butter and skip the syrup drizzle, just eat them plain with fruit. But usually? I just enjoy a reasonable portion and savor the flavor.
Final Thoughts
So that’s my go-to fluffy sourdough discard pancakes! I’ve probably talked your ear off at this point, but when you make a recipe this often, you have a lot to say about it.
This has saved breakfast mornings more times than I can count. It’s my answer to “what’s for breakfast?” when I’m tired, don’t want to buy expensive mixes, and still want something that tastes really good. My kids are happy, my husband’s happy, and I’m happy because I’m not stressed about cooking.
Make it yours! Try different add-ins, swap in your favorite fruits, adjust the sweetness to your liking. The best recipes are the ones you adapt to your family’s tastes. And don’t forget to pair them with something warm, like a refreshing drink or a hot cup of coffee.
If you make this, drop a comment and let me know what you think! I love hearing how recipes turn out in your kitchen. And if something doesn’t work, tell me that too—I’m here to help troubleshoot.
Happy cooking! And I hope your kitchen smells half as good as mine does right now.
Frequently Asked Questions
Q: Can I use active sourdough starter instead of discard?
A: Yes! In fact, it works great. Just make sure to account for the liquid in the starter when measuring your milk. You might need slightly less milk if your starter is very wet. The flavor will be similar, but the texture might be slightly different since active starter has more yeast activity.
Q: Why are my pancakes dense?
A: This usually happens for two reasons: overmixing the batter or using old baking soda. Make sure you mix until just combined, leaving lumps. Also, check the expiration date on your baking soda. If it’s old, it won’t react properly with the sourdough, and you won’t get the lift you need.
Q: Can I make the batter ahead of time?
A: It’s not recommended. The baking soda starts reacting as soon as it touches the liquid. If you let the batter sit too long, the bubbles escape, and the pancakes won’t rise in the pan. It’s best to mix and cook immediately. If you must prep ahead, mix the dry and wet ingredients separately and combine them right before cooking.
Q: How do I know when to flip the pancakes?
A: Look for bubbles on the surface. When you see bubbles forming and popping, and the edges look set and dry, it’s time to flip. The bottom should be golden brown. If you flip too early, they’ll fall apart. If you wait too long, they’ll burn.
Q: Can I freeze the batter?
A: No, do not freeze the batter. The leavening agents will lose their potency, and the texture will be ruined. Freeze the cooked pancakes instead. They reheat beautifully in the toaster.
Q: What kind of skillet is best?
A: Non-stick is easiest for beginners. Cast iron is great for even heating but requires more experience to control temperature. Stainless steel can work but requires careful greasing and heat management. I recommend starting with non-stick.
Q: Can I use buttermilk instead of milk?
A: Absolutely! Buttermilk will make them even tangier and fluffier. If you use buttermilk, you might need to reduce the sourdough discard slightly or add a splash more flour, as buttermilk is thicker. Adjust consistency as needed.
Pin This Recipe!
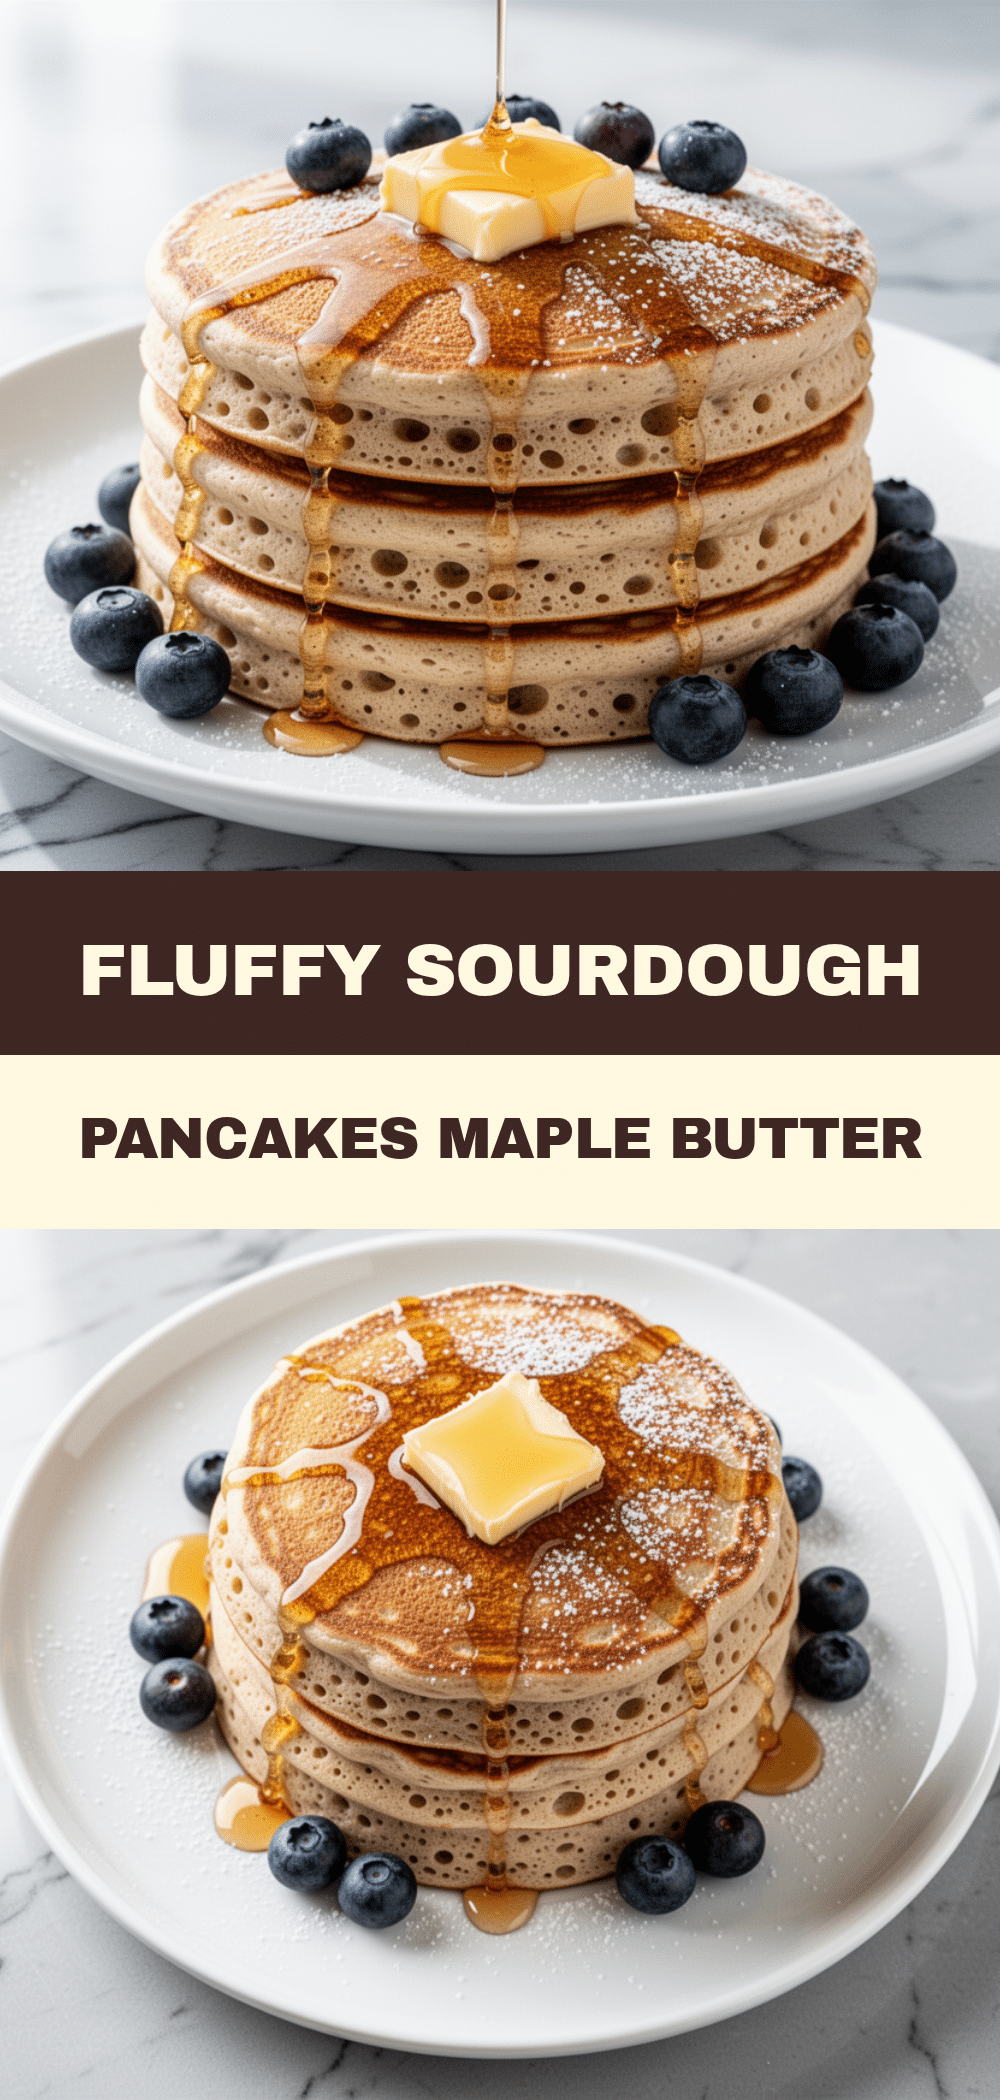
Fluffy Sourdough Discard Pancakes
- Total Time: 25 minutes
- Yield: 4 servings 1x
Description
Light, airy, and tangy pancakes made with sourdough discard. This zero-waste breakfast recipe is quick to prepare, kid-approved, and pairs perfectly with a rich brown butter maple syrup.
Ingredients
- 1 cup (240g) sourdough discard
- 1 cup (125g) all-purpose flour
- 1 teaspoon baking soda
- 2 large eggs, room temperature
- 1/2 cup (120ml) milk (whole milk or buttermilk)
- 2 tablespoons melted butter, cooled slightly
- 1 tablespoon sugar
- 1/2 teaspoon salt
- 1/4 cup (56g) unsalted butter (for topping)
- 2 tablespoons pure maple syrup (for topping)
- 1/2 teaspoon cinnamon (for topping)
- Pinch of salt (for topping)
Instructions
- In a medium bowl, whisk together the flour, baking soda, sugar, and salt to ensure even distribution.
- In a separate bowl or large measuring cup, whisk the eggs, milk, melted butter, and sourdough discard until smooth and uniform. Ensure the butter is warm, not hot.
- Pour the wet ingredients into the dry ingredients. Gently fold them together with a spatula or whisk until just combined. Stop mixing as soon as the flour disappears; lumps are acceptable and necessary for fluffiness.
- Let the batter rest for 5-10 minutes while you heat the skillet. This allows the baking soda to react with the sourdough.
- Heat a non-stick skillet or griddle over medium heat for about 2 minutes. Test readiness by flicking water drops onto the surface; they should sizzle and evaporate instantly.
- Lightly grease the skillet with a paper towel dipped in oil or a small pat of butter.
- Pour about 1/4 cup of batter for each pancake. Cook for 2-3 minutes until bubbles form on the surface and pop, and the edges look set and dry.
- Flip the pancake gently without pressing down. Cook for another 1-2 minutes until golden brown.
- Transfer cooked pancakes to a plate and cover loosely with foil to keep warm.
- While pancakes cook, melt the butter in a small saucepan over low heat. Add maple syrup, cinnamon, and a pinch of salt. Stir gently until warm and combined. Do not boil.
Notes
Do not overmix the batter; lumps indicate proper texture. Use medium heat to prevent burning the outside while the inside remains raw. Do not press down on pancakes when flipping. Batter should be cooked immediately after mixing as baking soda reacts quickly. Leftovers can be frozen and toasted for reheating.
- Prep Time: 10 minutes
- Cook Time: 15 minutes
- Category: Breakfast
- Cuisine: American
Nutrition
- Serving Size: 1 pancake with 1 tbs
- Calories: 210
- Sugar: 8
- Sodium: 250
- Fat: 9
- Saturated Fat: 5
- Carbohydrates: 28
- Fiber: 1
- Protein: 6
Keywords: sourdough discard, pancakes, breakfast, easy recipe, zero waste, fluffy pancakes, sourdough recipes, quick breakfast


