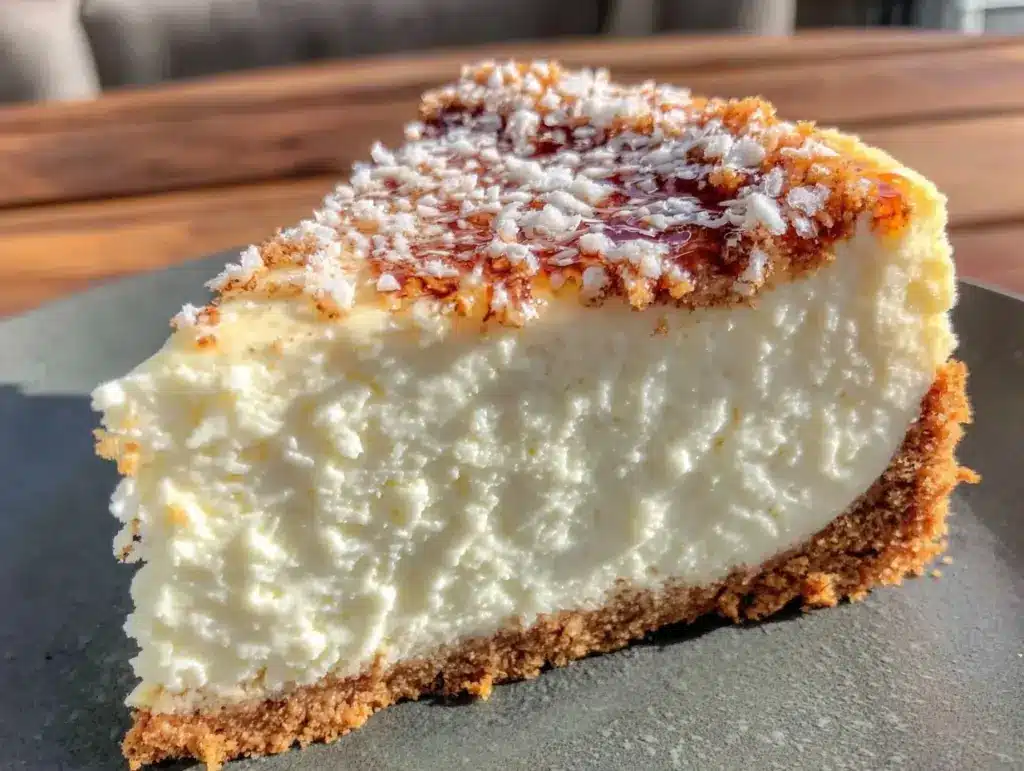
It was 2 AM on a Sunday, and my kitchen looked like a flour bomb had gone off. I was staring at a cheesecake that had cracked down the middle like a desert floor. Again. The third one this month. I remember feeling that specific mix of exhaustion and stubbornness that only exists when you’re trying to perfect a dessert for a weekend dinner party in less than 48 hours. I could have ordered from the fancy bakery downtown. I could have settled for a simple fruit tart. But something about the promise of that dense, creamy, tangy New York style just wouldn’t let me go.
So, I scraped it all out. I cleaned my counters. And I started over. This time, I didn’t rush. I didn’t turn up the heat to save time. I let it cool slowly, I water-bathed it, and I resisted the urge to cut into it for a full 12 hours. When I finally sliced into that second attempt, the knife glided through like it was cutting warm butter. The texture was impossibly smooth, the graham crust held its own without getting soggy, and the tang? Perfect.
That was the moment I stopped just “baking” and actually started mastering the Classic New York Cheesecake with Graham Crust. Since then, I’ve made this recipe at least a dozen times. It’s become my secret weapon for impressing guests who think they know everything about dessert. It’s not just a cake; it’s an experience. And the best part? It’s actually simpler than you think, once you know the tricks. If you’ve ever been intimidated by cheesecake, this is the one that will change your mind. It’s rich, it’s indulgent, and it’s the kind of dessert that makes people ask for your recipe before they’ve even finished the second slice.
Why You’ll Love This Classic New York Cheesecake
There are a lot of cheesecakes out there. Some are fluffy and light (like the Japanese cotton style). Some are no-bake and rely on gelatin. But there is something undeniably classic about the dense, creamy, tangy profile of a true New York style. Here’s why this specific recipe has earned a permanent spot in my rotation:
- That Dense, Creamy Texture — We’re not talking about a light mousse here. This is the real deal. Thick, luxurious, and rich. It has that signature “heavy” mouthfeel that makes you take tiny, deliberate bites. I’ve tested it against lighter versions, and while those are nice, nothing beats the satisfaction of a slice that holds its shape perfectly on the plate.
- The Perfect Graham Crust — Many recipes skimp on the crust, making it dry or sandy. I use a butter-to-crumbs ratio that ensures every bite has a crisp, buttery foundation. It’s sturdy enough to support the heavy filling but delicate enough to melt in your mouth. It’s the foundation that makes the whole thing work.
- Tangy Balance — The secret to a great NY cheesecake isn’t just sugar; it’s the tang. The combination of cream cheese and sour cream creates a complex flavor profile that cuts through the richness. It keeps the dessert from being cloying. It’s sophisticated, not just sweet.
- Make-Ahead Friendly — This is the ultimate party dessert because it gets better with time. You can make it two days in advance. In fact, I prefer making it the day before the party. It allows the flavors to meld and the texture to firm up completely. It takes the stress out of hosting.
- Visually Stunning — When you serve this, it looks professional. The deep yellow color against the dark graham crust is striking. Even if you don’t add any toppings, it looks elegant. Add a few berries or a drizzle of caramel, and it looks like it came from a high-end patisserie.
This isn’t just a dessert; it’s a centerpiece. Whether you’re hosting a holiday gathering, a birthday celebration, or just want to treat yourself to something special on a Friday night, this Classic New York Cheesecake with Graham Crust delivers every single time. It’s the kind of recipe that makes you feel like a pro chef, even if you’re just a home cook.
Ingredients You’ll Need
Before we dive into the method, let’s talk about what goes into this. I’m particular about a few things here, not because I’m fancy, but because they make a huge difference in the final texture. You don’t need anything exotic, but you do need quality basics.
For the Graham Crust
Graham cracker crumbs (1 ½ cups / 150g) — I use regular graham crackers, not the chocolate kind. Pulse them in a food processor until they’re fine sand. If you buy pre-made crumbs, they’re fine, but fresh-crushed tastes better. Avoid the ones that are too coarse; you want a smooth crust.
Unsalted butter (6 tablespoons / 85g) — Melted. This is the binder. Don’t use margarine; it won’t give you that rich, buttery flavor. Use real butter. It makes the crust crisp and flavorful.
Granulated sugar (2 tablespoons / 25g) — Just a little bit to sweeten the crust. It balances the buttery flavor. You don’t want the crust to be sweet; you want it to complement the filling.
Salt (¼ teaspoon) — A pinch of salt elevates the entire flavor profile. It’s non-negotiable. It brings out the sweetness and the butter.
For the Filling
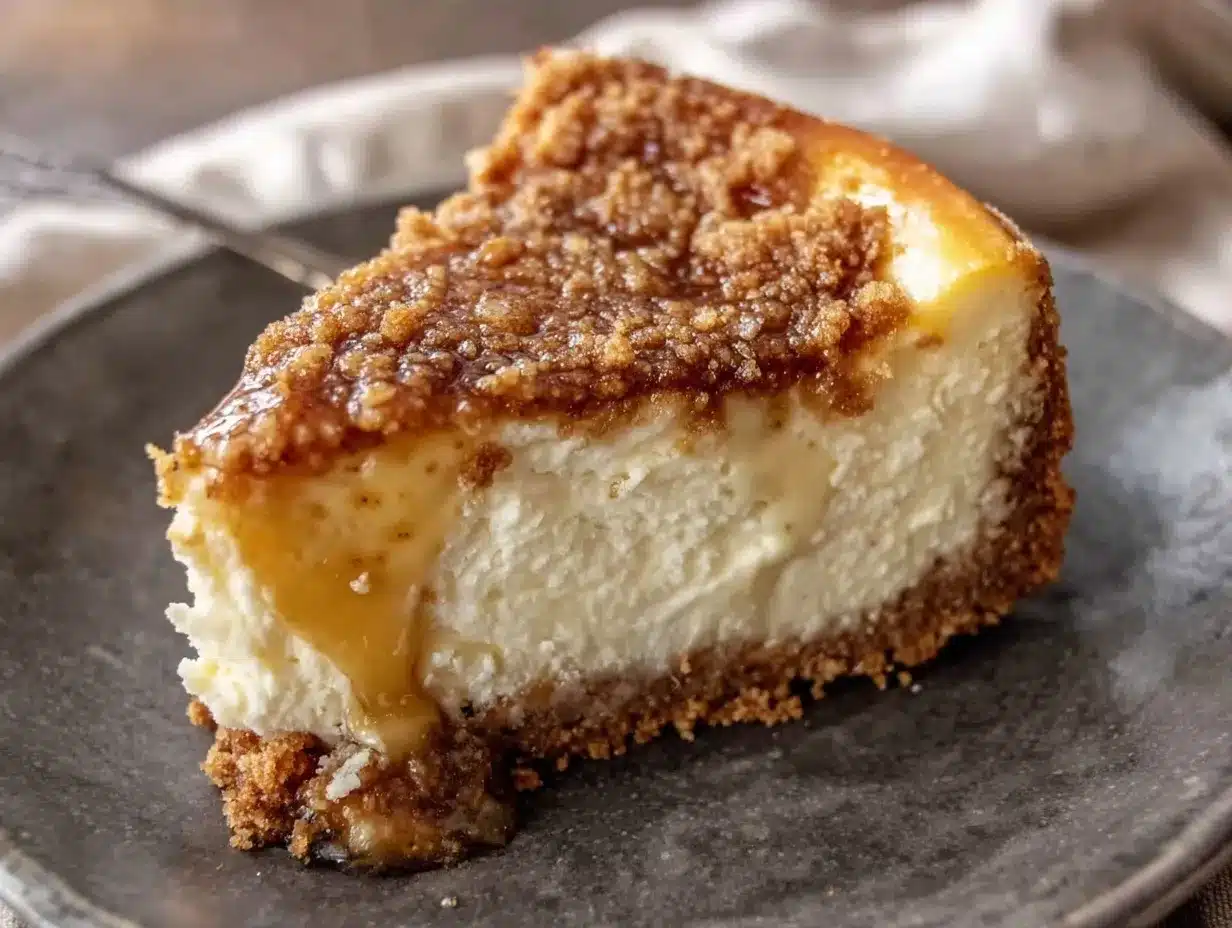
Full-fat cream cheese (32 ounces / 900g) — This is the star. Use the full-fat bricks, not the spreadable kind in the tub. The tub stuff has too much air and moisture, which can make your cheesecake watery. Let it sit on the counter for 30-60 minutes before you start. Room temperature cream cheese blends smoothly; cold cream cheese creates lumps that you can’t whisk away.
Sour cream (1 cup / 240g) — Full-fat sour cream. This adds the tang and the creaminess. It also helps prevent cracking. Don’t skimp here; low-fat sour cream can make the texture grainy.
Heavy cream (½ cup / 120ml) — Just a little bit to add richness and smoothness. It helps bind the filling and gives it that velvety mouthfeel.
Granulated sugar (1 cup / 200g) — The main sweetener. I use white sugar because it dissolves easily and doesn’t add a caramel flavor. Brown sugar would change the taste profile too much.
Eggs (4 large) — Room temperature. Add them one at a time. Overmixing after adding eggs incorporates air, which causes cracking. We want a dense texture, not a fluffy one.
Vanilla extract (2 teaspoons) — Use real vanilla, not imitation. It adds warmth and depth. If you have vanilla bean paste, use that instead for speckled visual appeal.
Lemon juice (1 tablespoon) — Just a splash. It brightens the flavor and cuts the richness. You won’t taste it as lemon; you’ll just taste a cleaner, brighter cheesecake.
Flour (2 tablespoons / 15g) — This is the secret weapon. A little flour stabilizes the filling, preventing cracks and ensuring a dense, custard-like texture. Don’t skip it!
Equipment Needed
You don’t need a fancy kitchen to make this. Here’s what I actually use:
9-inch springform pan — Essential. The springform allows you to release the sides without damaging the delicate crust. Make sure it’s in good condition so the bottom doesn’t leak. I wrap the outside in heavy-duty aluminum foil to prevent water from seeping in during the bath.
Food processor — For crushing the graham crackers quickly and evenly. A zip-top bag and a rolling pin work, but it takes more effort and the crumbs are less uniform.
Stand mixer or hand mixer — Mixing cream cheese by hand is exhausting and often leaves lumps. A mixer ensures a smooth, lump-free batter. I use a stand mixer on low speed.
Large roasting pan — This is for the water bath. It needs to be large enough to hold your springform pan with room for water to circulate.
Instant-read thermometer — Optional but helpful. Cheesecake is done when the center is just barely set, around 150°F (65°C). It continues to cook from residual heat.
How to Make It: Step-by-Step
Alright, let’s make this! I’m walking you through exactly how I do it, including the little tricks I’ve picked up over the years.
Step 1: Prep the Oven and Pan (10 minutes)
Preheat your oven to 325°F (160°C). This is a low and slow bake, which is key for preventing cracks. Grease the bottom of your springform pan lightly. Then, take a long sheet of heavy-duty aluminum foil and wrap the outside of the pan tightly, at least two layers thick. This is crucial for the water bath. If water gets in, your crust gets soggy. Set the pan aside.
Step 2: Make the Crust (5 minutes)
In a food processor, pulse the graham cracker crumbs until they’re fine. Add the melted butter, sugar, and salt. Pulse until the mixture looks like wet sand. Press this mixture firmly into the bottom of the springform pan. Use the bottom of a measuring cup to pack it down evenly. You want it tight. Bake the crust for 8-10 minutes until it’s fragrant and slightly darkened. Let it cool completely while you make the filling. This pre-bake helps it stay crisp.
Step 3: Mix the Filling (10 minutes)
In the bowl of your stand mixer fitted with the paddle attachment, beat the room-temperature cream cheese on medium-low speed until it’s completely smooth and creamy. This might take 3-5 minutes. Scrape down the sides and bottom of the bowl. Add the sugar and beat until combined. Add the sour cream, heavy cream, vanilla, and lemon juice. Mix until smooth. Sift in the flour and mix on low just until incorporated. Do not overmix.
Step 4: Add the Eggs (5 minutes)
Add the eggs one at a time, mixing on low speed just until the yolk disappears. Stop mixing as soon as it’s blended. Overmixing adds air, and air causes cracks. The batter should be thick, smooth, and glossy.
Step 5: The Water Bath (10 minutes prep)
Place the foil-wrapped springform pan into the large roasting pan. Pour the batter into the crust. Carefully pour hot water into the roasting pan until it comes about an inch up the side of the springform pan. This steamy environment keeps the cheesecake from drying out and cracking.
Step 6: The Bake (60-70 minutes)
Place the roasting pan in the oven. Bake at 325°F (160°C) for 60-70 minutes. The cheesecake is done when the edges are set but the center still jiggles slightly like Jell-O when you shake the pan. It should not be liquid, but it should have a soft, wobbly center. If it’s firm all the way through, it’s overbaked.
Step 7: The Cool Down (Crucial Step!)
Turn off the oven and crack the oven door open slightly (use a wooden spoon to hold it open). Let the cheesecake sit in the cooling oven for 1 hour. This gradual cooling prevents thermal shock, which is the main cause of cracking. After an hour, remove it from the water bath and let it cool completely on a wire rack. Then, refrigerate for at least 4 hours, preferably overnight.
Expert Tips & Tricks
Here’s everything I’ve learned from making this dozens of times. These tips will save you from my mistakes.
Room Temperature Ingredients are Non-Negotiable
I cannot stress this enough. If your cream cheese is cold, you will have lumps. If your eggs are cold, the batter will seize. Take everything out of the fridge at least an hour before you start. If you forget, you can microwave the cream cheese in 10-second bursts, but don’t melt it.
Don’t Overmix the Batter
Once you add the eggs, mix on low speed and stop as soon as it’s combined. Air bubbles are the enemy of a dense cheesecake. They expand in the oven and then collapse, causing cracks.
The Water Bath is Your Friend
It’s a pain to set up, but it’s worth it. The steam keeps the top from drying out and cracking. If you’re worried about leaks, use two layers of foil and make sure the seal is tight. Alternatively, you can place a towel at the bottom of the roasting pan to cushion the pan.
Patience During Cooling
Don’t rush the cooling process. The gradual cool in the turned-off oven is essential. If you take it out while it’s hot, the temperature change will likely cause cracks. Be patient.
Chill Overnight
I know it’s tempting to eat it as soon as it’s cold. But wait. Overnight refrigeration allows the flavors to meld and the texture to set properly. It tastes significantly better the next day.
Variations & Substitutions
Once you’ve nailed the basic version, here’s how you can mix it up. I’ve tried all of these.
Strawberry Swirl
Make a quick strawberry sauce by simmering 1 cup of hulled strawberries with 2 tablespoons of sugar until thick. Cool it, then swirl it into the batter before baking. It looks gorgeous and adds a fruity tang.
Chocolate Chip
Stir in ½ cup of semi-sweet chocolate chips after the batter is mixed. It’s like a dessert version of a classic favorite. The chocolate melts into pockets of goodness.
Lemon Zest
Add the zest of one large lemon to the batter. It intensifies the lemon flavor without adding more liquid. Perfect for spring.
Gluten-Free
Use gluten-free graham crackers or digestive biscuits for the crust. The filling is naturally gluten-free (just check your flour, though 2 tablespoons is negligible). I’ve used King Arthur Gluten-Free Flour Measure for the thickener, and it works perfectly.
Dairy-Free
This is harder. You can use dairy-free cream cheese (like Kite Hill), but the texture will be different. Use full-fat coconut milk instead of heavy cream and coconut yogurt instead of sour cream. It won’t be exactly the same, but it’s still delicious.
Serving & Storage
How to Serve:
I usually serve this straight from the fridge. The cold temperature makes the texture firmer and more sliceable. Use a sharp knife dipped in hot water for clean cuts. Wipe the knife between cuts. This is the secret to perfect slices.
Toppings:
While the plain version is amazing, here are some ideas:
- Fresh Berries: Strawberries, raspberries, or blueberries add freshness and color.
- Whipped Cream: A dollop of lightly sweetened whipped cream is classic.
- Caramel Sauce: Drizzle for a salty-sweet contrast.
- Lemon Curd: For a bright, tangy twist.
Storage:
Store in the refrigerator, covered tightly with plastic wrap or in an airtight container, for up to 5 days. It actually gets better after day 2.
Freezing:
You can freeze cheesecake! Wrap the whole springform pan (or individual slices) tightly in plastic wrap, then in aluminum foil. Freeze for up to 2 months. Thaw overnight in the refrigerator before serving. The texture might be slightly different, but it’s still great.
Nutrition Information
I’m not a nutritionist, but here’s the breakdown if you’re tracking. Keep in mind, this is a rich dessert, so portion control is key.
Per Serving (based on 12 slices):
- Calories: 480
- Protein: 8g
- Carbs: 35g
- Fat: 35g
- Sugar: 28g
- Sodium: 320mg
Look, this is a treat. It’s high in fat and sugar, but it’s also high in protein from the cream cheese and eggs. It’s much better than a slice of cake with frosting because it’s denser, so you need less of it to feel satisfied. Pair it with a cup of coffee or tea to balance the sweetness.
Final Thoughts
So that’s my go-to Classic New York Cheesecake with Graham Crust! I’ve probably talked your ear off at this point, but when you make a recipe this often, you have a lot to say about it. This has saved my dessert game more times than I can count. It’s my answer to “what do I bring to the party?” when I want to impress without spending hours in the kitchen (once you know the method, it’s mostly waiting).
Make it yours! Try different toppings, swap in your favorite extracts, or add a layer of fruit jam. The best recipes are the ones you adapt to your family’s tastes. If you make this, drop a comment and let me know what you think! I love hearing how recipes turn out in your kitchen. And if something doesn’t work, tell me that too—I’m here to help troubleshoot.
Happy baking! And I hope your kitchen smells half as good as mine does right now.
Frequently Asked Questions
Q: Why did my cheesecake crack?
A: Cracks are usually caused by overmixing (which adds air), overbaking (which dries it out), or rapid cooling (thermal shock). Follow the steps: mix gently, bake until the center jiggles, and cool slowly in the turned-off oven.
Q: Can I use a different pan size?
A: You can, but the baking time will change. If you use a 10-inch pan, the cheesecake will be thinner and bake faster. If you use a 9-inch pan with a higher side, it might take longer. Always check for doneness by the jiggle test, not just the clock.
Q: Can I make this without a water bath?
A: Yes, but the risk of cracking increases. If you skip the water bath, bake at a slightly lower temperature (300°F) and cover the top with foil if it starts browning too quickly. The water bath is the safest bet for beginners.
Q: Why is my cheesecake watery?
A: This usually happens if the cream cheese wasn’t room temperature (causing lumps that don’t blend) or if you overmixed after adding the eggs. Also, make sure you’re using full-fat cream cheese, not the spreadable kind.
Q: Can I make this ahead of time?
A: Absolutely! This is the best part. Make it 1-2 days before you need it. It tastes better after it has had time to chill and set. You can also freeze it for up to 2 months.
Q: What kind of graham crackers should I use?
A: Regular honey graham crackers are best. Avoid the chocolate or cinnamon varieties unless you want a specific flavor twist. The honey flavor complements the vanilla and cream cheese perfectly.
Pin This Recipe!
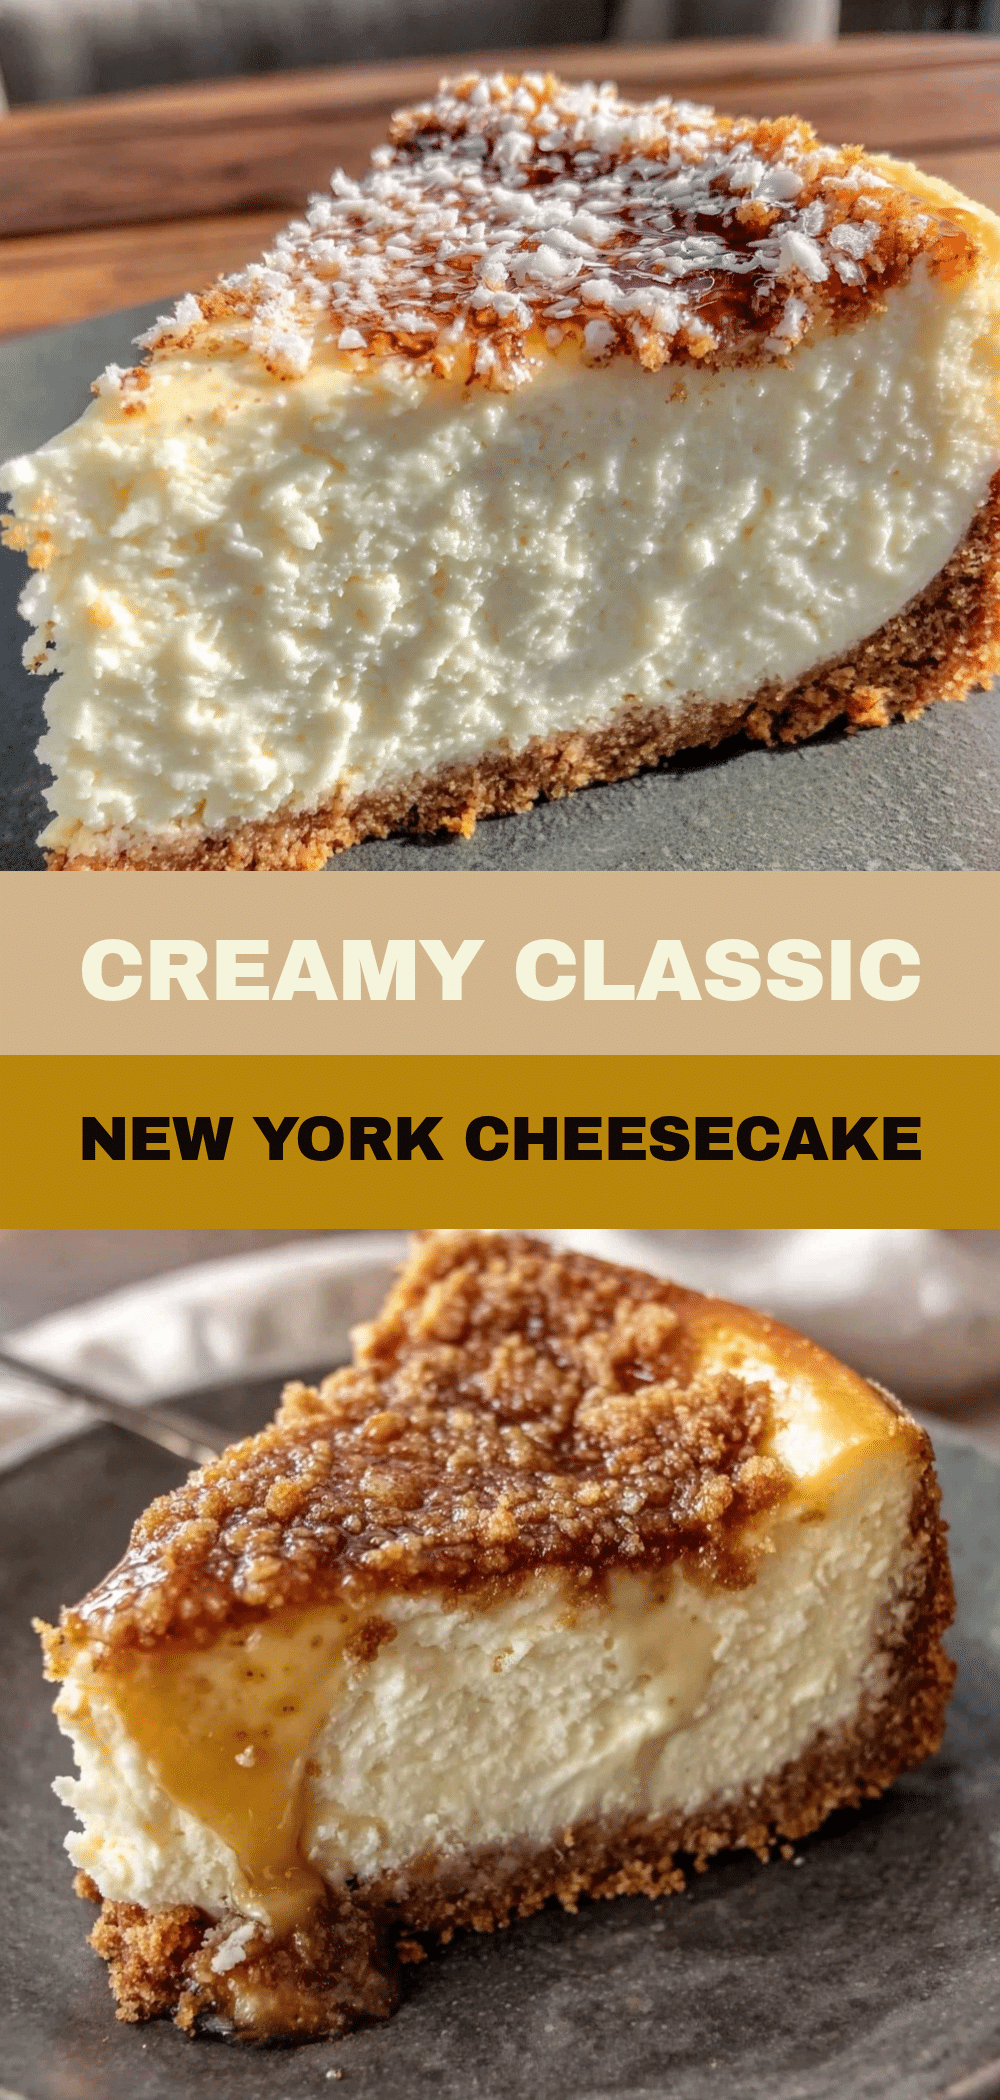
Classic New York Cheesecake with Graham Crust
- Total Time: 100 minutes
- Yield: 12 servings 1x
Description
A dense, creamy, and tangy New York-style cheesecake with a crisp graham cracker crust. This recipe uses a water bath and slow cooling method to prevent cracking, resulting in a professional-quality dessert that is make-ahead friendly.
Ingredients
- 1 ½ cups (150g) graham cracker crumbs
- 6 tablespoons (85g) unsalted butter, melted
- 2 tablespoons (25g) granulated sugar
- ¼ teaspoon salt
- 32 ounces (900g) full-fat cream cheese, room temperature
- 1 cup (240g) full-fat sour cream
- ½ cup (120ml) heavy cream
- 1 cup (200g) granulated sugar
- 4 large eggs, room temperature
- 2 teaspoons vanilla extract
- 1 tablespoon lemon juice
- 2 tablespoons (15g) flour
Instructions
- Preheat oven to 325°F (160°C). Lightly grease the bottom of a 9-inch springform pan.
- Wrap the outside of the springform pan tightly with at least two layers of heavy-duty aluminum foil to prevent water leakage.
- In a food processor, pulse graham cracker crumbs until fine. Add melted butter, 2 tablespoons sugar, and salt; pulse until mixture resembles wet sand.
- Press the crust mixture firmly into the bottom of the prepared pan. Bake for 8-10 minutes until fragrant and slightly darkened. Let cool completely.
- In a stand mixer fitted with the paddle attachment, beat the room-temperature cream cheese on medium-low speed until smooth and creamy (3-5 minutes). Scrape down the bowl.
- Add 1 cup sugar and beat until combined. Add sour cream, heavy cream, vanilla, and lemon juice; mix until smooth.
- Sift in the flour and mix on low just until incorporated. Do not overmix.
- Add eggs one at a time, mixing on low speed just until the yolk disappears. Stop mixing immediately to avoid incorporating air.
- Pour the batter into the cooled crust.
- Place the springform pan into a large roasting pan. Pour hot water into the roasting pan until it reaches about one inch up the side of the springform pan.
- Bake at 325°F (160°C) for 60-70 minutes. The edges should be set, but the center should still jiggle slightly like Jell-O.
- Turn off the oven and crack the door open slightly (use a wooden spoon to hold it). Let the cheesecake cool in the oven for 1 hour.
- Remove from the water bath and let cool completely on a wire rack.
- Refrigerate for at least 4 hours, preferably overnight, before slicing.
Notes
Ensure all ingredients, especially cream cheese and eggs, are at room temperature to prevent lumps and cracking. Do not overmix the batter after adding eggs, as this incorporates air which causes cracks. The water bath is crucial for even cooking and preventing surface cracks. The cheesecake tastes best after chilling overnight.
- Prep Time: 30 minutes
- Cook Time: 70 minutes
- Category: Dessert
- Cuisine: American
Nutrition
- Serving Size: 1 slice (1/12 of cak
- Calories: 480
- Sugar: 28
- Sodium: 320
- Fat: 35
- Saturated Fat: 20
- Carbohydrates: 35
- Fiber: 1
- Protein: 8
Keywords: New York Cheesecake, Graham Crust, Cream Cheese Dessert, Water Bath Cheesecake, Make-Ahead Dessert, Holiday Dessert


