Last Tuesday, I was standing in my kitchen at 7:30 PM, staring at the clock like it was going to explode. I had just finished a long day of work, my brain was fried, and I had zero energy for a complicated dinner. My partner walked in and asked, “What’s for dessert?” It wasn’t even dinner time yet, but I was already thinking ahead to the evening wind-down. I didn’t have the energy to bake a cake (too much mixing), and I certainly didn’t want to drive to the bakery and stand in line. But I wanted something that felt special. Something that tasted like a weekend treat, not a Tuesday compromise.
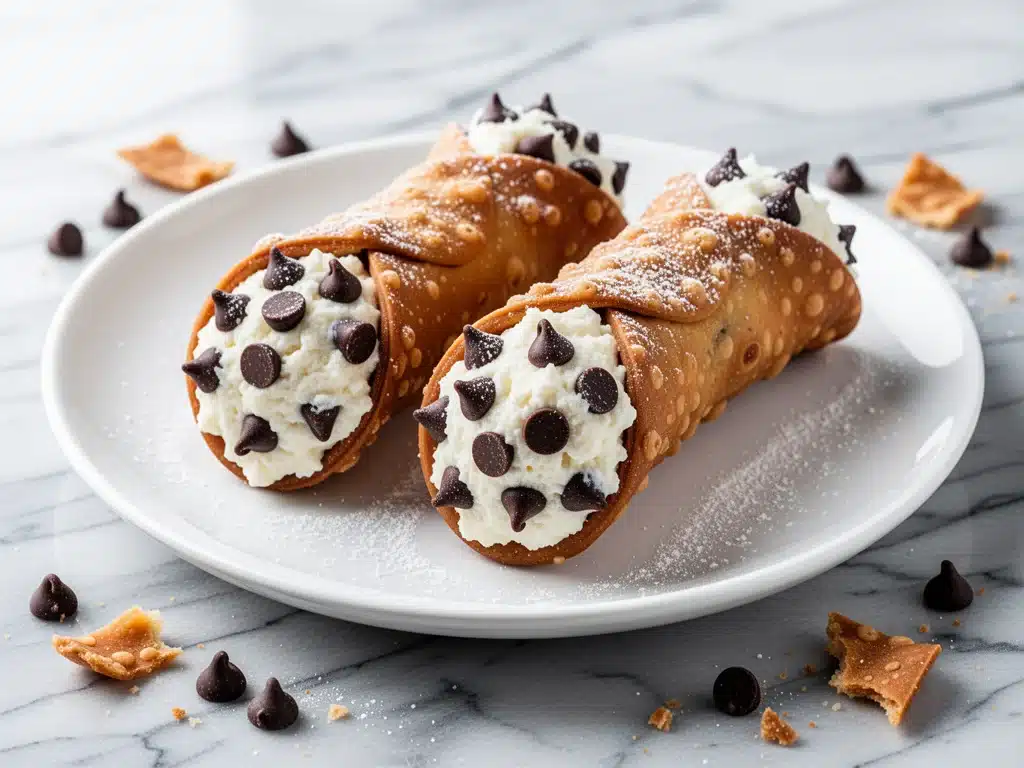
So I did something crazy. I decided to make Ultra-Crispy Homemade Cannoli. Not the frozen, thawed-out kind from the grocery store freezer aisle (which I’m pretty sure are the only reason cannoli ever became popular in America), but the real deal. The kind with shells so crisp they shatter when you bite them, filled with sweet, tangy ricotta cream and loaded with chocolate chips.
I was skeptical. I’ve always assumed homemade cannoli were a nightmare of frying oil, tempering chocolate, and hours of prep. I thought about just making those ultra-fudgy one-bowl chocolate chip cookies instead—they’re easier, right? But then I remembered that time I tried to make homemade apple strudel for a dinner party and ended up with a soggy, messy disaster. I was done with “impressive” desserts that required a degree in pastry arts. I wanted something that worked.
So I tweaked the recipe. I simplified the dough. I used a trick for the filling that keeps it from getting watery. And I figured out the exact oil temperature so the shells wouldn’t burn or absorb grease. The result? Three hours later, we were sitting on the couch, dipping these golden, crispy tubes into coffee, feeling like we were in a high-end Italian café. And the best part? It wasn’t even that hard. If I can do it on a tired Tuesday night, you can definitely do it too.
These Ultra-Crispy Homemade Cannoli have become my secret weapon for impressing guests without spending all day in the kitchen. They look intimidatingly professional, but the process is surprisingly straightforward. The key is in the details—the way the dough rests, the speed of the frying, and how you fold the chocolate chips into the ricotta. Let me walk you through exactly how I make them, so you can stop buying frozen shells and start making the real thing.
Why You’ll Love This Recipe
There are about ten reasons I keep coming back to this cannoli recipe, but here are the big ones that keep it in my regular rotation.
They Actually Stay Crisp — This is the holy grail of cannoli. Store-bought shells go soggy in like ten minutes. My shells stay crisp for days if stored properly. I’ve made them ahead for parties and kept the shells in an airtight container while filling them right before serving. The texture is like a delicate, buttery crunch that contrasts perfectly with the creamy filling.
Fast Prep, Slow Rest — Don’t let the “homemade” label scare you. The active time is less than 45 minutes. The rest is just waiting. I mix the dough, let it rest in the fridge while I cook dinner, and then roll and fry them while my partner cleans up. It fits into a busy schedule because you can spread the work out.
Rich, Tangy Filling — Most homemade ricotta fillings taste flat or too sweet. I add lemon zest and a tiny bit of vanilla extract to balance the sweetness. The ricotta is whipped until it’s silky smooth, not grainy. And the chocolate chips? I fold them in by hand so you get those little pockets of melted chocolate in every bite. It’s the same quality you’d get at a specialty dessert shop, but better because you control the ingredients.
Impressive but Not Fancy — These look like something from a high-end patisserie, but they’re humble. They don’t require piping bags with fancy tips or sugar work. They’re rustic, elegant, and approachable. I’ve served these to my food-snobby friends and they were shocked to learn I made them in my home kitchen. It’s the perfect dessert for holidays, date nights, or just because you want to treat yourself.
Budget-Friendly Luxury — You might think homemade pastries are expensive, but the ingredients are basic: flour, sugar, butter, ricotta, chocolate chips. It costs less than $10 to make a dozen cannoli, which is a steal compared to the $3-$4 each at the bakery. Plus, you can make them ahead and freeze the shells, which saves money and stress later.
This recipe is my go-to when I want to feel like a pro baker without the stress. It’s reliable, delicious, and always gets compliments. Whether you’re making them for a holiday brunch or a quiet Tuesday night, they never fail to make everyone happy.
Ingredients You’ll Need
Here’s the best part: you probably have most of this already. I’m particular about three ingredients here, and I’ll tell you exactly why.
For the Crispy Shells:
All-purpose flour (2 cups / 250g) — Don’t use cake flour or bread flour. You need that standard all-purpose for the right texture. It gives the shell enough structure to hold its shape without being tough. I use Gold Medal because it’s consistent.
Granulated sugar (2 tablespoons / 25g) — Just a little bit. It helps with browning and adds a subtle sweetness to the shell itself. Don’t skip it, but don’t add more or the shells will burn.
Unsalted butter (2 tablespoons / 30g), melted — This is crucial. Cold butter makes the dough tough. Melted butter creates a tender, flaky shell. Let it cool slightly before adding so you don’t cook the eggs.
Egg yolks (2 large) — Use only yolks. Whites make the dough chewy. Yolks give it richness and that golden color. If you have leftover egg whites from another recipe (like sourdough discard cinnamon sugar pancakes), freeze them for meringues!
Vanilla extract (1 teaspoon) — Pure vanilla, not imitation. It adds warmth to the shell.
Fortified wine (3-4 tablespoons / 45-60ml) — Marsala wine is traditional, but sweet sherry or even just orange juice works if you don’t drink alcohol. The liquid helps bind the dough and adds flavor. Marsala gives that authentic Italian taste.
Salt (¼ teaspoon) — Just a pinch to balance the sweetness.
Vegetable or canola oil (for frying) — You need about 2-3 inches of oil in your pot. Don’t use olive oil; it has a low smoke point and a strong flavor that clashes with the sweet shell. Neutral oil is best.
For the Sweet Ricotta Filling:
Whole milk ricotta cheese (16 oz / 450g) — This is non-negotiable. Do not use low-fat or part-skim ricotta. It will be grainy and watery. Whole milk ricotta is creamy and smooth. If you can find fresh ricotta from a local dairy, even better. I buy the tubs from the dairy section, not the shelf-stable ones.
Powdered sugar (1 cup / 120g) — Sifted. This dissolves easily and gives a smooth texture. Don’t use granulated sugar; it won’t dissolve in the cold ricotta and will feel gritty.
Vanilla extract (1 teaspoon) — For flavor.
Lemon zest (1 medium lemon) — Freshly zested. The citrus cuts through the richness of the cheese and sugar. It brightens everything up.
Mini chocolate chips (½ cup / 85g) — Mini chips distribute better than regular chips. You get a chip in every bite without overwhelming the filling. Semi-sweet or milk chocolate both work; I prefer semi-sweet for a bit of contrast.
Optional Garnish:
Crushed pistachios — For a classic finish. They add color and crunch.
Extra chocolate chips — For dipping the ends.
Pro Tip: Make sure your ricotta is drained. If it’s watery, spread it on a paper towel for 15 minutes to absorb excess moisture. Wet filling makes soggy shells.
Equipment Needed
You don’t need fancy equipment for this. Here’s what I actually use.
Medium bowl — For mixing the dough. Any size works as long as you have room to stir.
Rolling pin — A standard wooden rolling pin is perfect. I prefer it over a marble one because it’s lighter and easier to control.
Cannoli forms (tubes) — Metal tubes are traditional and conduct heat well. Silicone forms work too but don’t get as crispy. I use metal forms because they give that authentic crunch. You can find them online or at kitchen supply stores.
Deep pot or Dutch oven — I use a 6-quart Dutch oven for frying. It holds heat well and has high sides to prevent splatter. A deep skillet works too.
Candy thermometer — This is the most important tool. Frying at the wrong temperature is the #1 mistake. You want 375°F (190°C). If you don’t have one, test by dropping a small piece of dough in; it should bubble vigorously and turn golden in 30 seconds.
Wire rack — For draining the fried shells. Paper towels work in a pinch, but a rack keeps them crispier by letting air circulate.
Pastry bag or ziplock bag — For filling the cannoli. I snip the corner of a ziplock bag for a makeshift piping bag. It’s easier than cleaning a pastry bag.
Circular cutter or small bowl — To cut the dough circles. A 4-inch cutter is ideal, but a small bowl works if you trace around it.
Whisk — For whipping the ricotta filling until smooth.
That’s it. No stand mixer, no fancy gadgets. Just basic kitchen tools you probably already have.
How to Make It: Step-by-Step
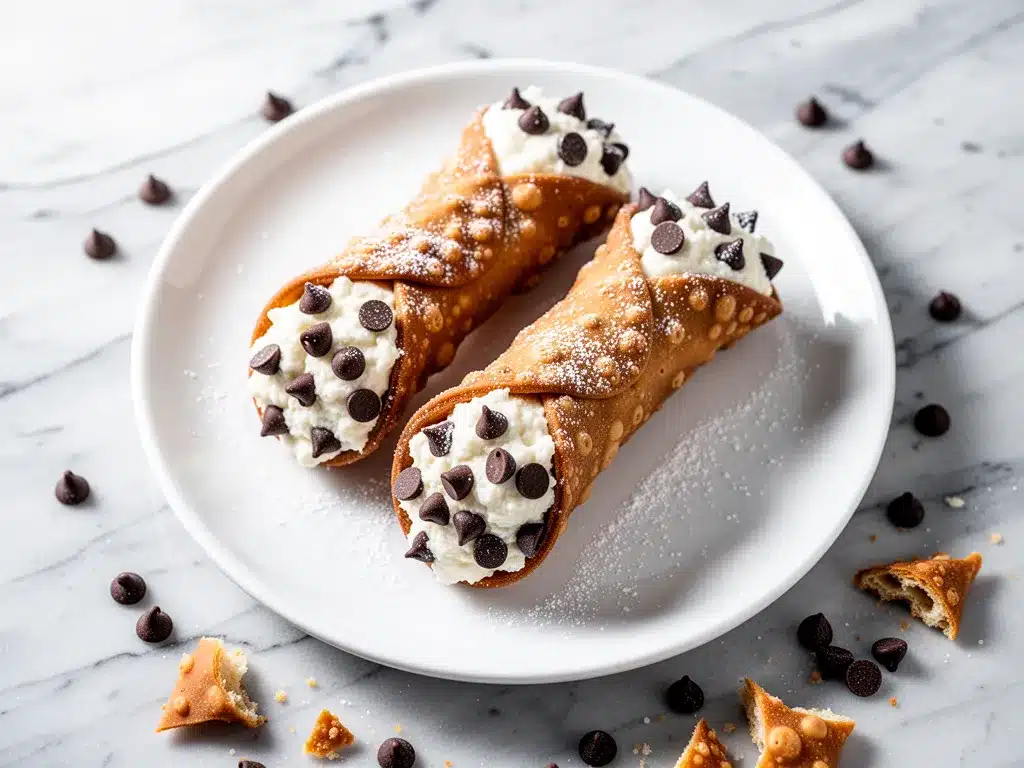
Alright, let’s make this! I’m walking you through exactly how I do it, including the little tricks I’ve picked up.
Step 1: Make the Dough (10 minutes)
In a medium bowl, whisk together the flour, sugar, and salt. Make a well in the center. Add the melted butter, egg yolks, vanilla, and wine. Stir with a fork until a shaggy dough forms. Don’t overmix; it should come together in clumps. If it’s too dry, add a teaspoon more wine. If it’s too wet, add a sprinkle more flour. Knead it gently on a floured surface for 2-3 minutes until smooth. It should feel like playdough. Wrap it in plastic wrap and refrigerate for at least 1 hour, or up to 2 days. This resting step is crucial—it relaxes the gluten so the dough is easy to roll out.
Step 2: Prep the Filling (10 minutes)
While the dough rests, make the filling. In a bowl, whisk the ricotta, powdered sugar, vanilla, and lemon zest until smooth and creamy. There should be no lumps. Fold in the mini chocolate chips. Cover and refrigerate until ready to use. Chilling the filling helps it stay firm when piped into the warm shells. If you skip this, the filling might be too soft to pipe neatly.
Step 3: Roll and Cut the Dough (15 minutes)
Preheat your oven to 200°F (95°C) to keep the shells warm later. Take the dough out of the fridge. Divide it in half. On a floured surface, roll one half out very thin—about 1/16th of an inch. It should be almost translucent. Use your circular cutter to cut out 4-inch circles. Keep the scraps for a second roll. Repeat with the second half. You should get about 12-14 circles total.
Step 4: Wrap the Shells (10 minutes)
Take a dough circle and wrap it diagonally around a cannoli tube. Press the edges firmly to seal. If the dough cracks, just pinch it together. It’s okay if it’s not perfect; it will still taste good. Place the wrapped tubes on a parchment-lined baking sheet. You can fry them immediately or freeze them on the sheet for later use.
Step 5: Fry the Shells (15 minutes)
Heat the oil in your pot to 375°F (190°C). Carefully lower one cannoli tube into the oil. Fry for 1-2 minutes, turning occasionally, until golden brown and crisp. Use a slotted spoon to remove it and let excess oil drip off. Place it on the wire rack to cool slightly. While it’s still warm, carefully slide the shell off the tube. If it’s too hot, wait 30 seconds. The shell should be crispy and golden. Repeat with the remaining shells. Don’t overcrowd the pot; fry in batches.
Step 6: Fill the Cannoli (10 minutes)
Once the shells are cool, it’s time to fill them. Snip the corner of your pastry bag or ziplock bag. Pipe the ricotta filling into one end of the shell until it’s full. Then pipe it into the other end. This ensures both ends are filled and prevents air pockets. Dip the ends in crushed pistachios or extra chocolate chips if you like. Serve immediately. The shells are best eaten within a few hours of filling, but they can last up to a day if stored properly.
Total Time: About 1 hour 30 minutes (including resting time)
Expert Tips & Tricks
Here’s everything I’ve learned from making this dozens of times. These tips will save you from my mistakes.
Rest the Dough
I cannot stress this enough. If you skip the resting step, the dough will shrink when you roll it out and the shells will be tough. The gluten needs time to relax. I usually make the dough in the morning and fry them in the evening. It’s the easiest way to manage your time.
Watch the Oil Temperature
If the oil is too hot, the shells will burn on the outside and be raw inside. If it’s too cool, they’ll absorb oil and be greasy. Keep that thermometer in the pot and adjust the heat as needed. If the shells are browning too fast, lower the heat. Patience is key.
Use Mini Chocolate Chips
Regular chocolate chips are too big and heavy for the delicate filling. Mini chips distribute evenly and melt better in your mouth. If you don’t have mini chips, chop regular chips into smaller pieces. It’s worth the extra minute.
Drain the Ricotta
If your ricotta is watery, your filling will be runny and your shells will get soggy. Spread the ricotta on a paper towel for 15 minutes before mixing. It’s a small step that makes a huge difference in texture.
Fill Right Before Serving
Homemade cannoli shells lose their crispness quickly once filled. Ideally, fill them just before serving. If you need to make ahead, store the shells in an airtight container at room temperature and fill them 30 minutes before serving. Don’t fill them the night before.
Common Mistakes (and how to avoid them):
Mistake: Shells are soggy. Fix: You filled them too early, or the ricotta was too wet. Make sure to drain the ricotta and fill right before serving.
Mistake: Shells are tough. Fix: You didn’t rest the dough long enough, or you overworked it when rolling. Roll it thin and don’t over-knead.
Mistake: Shells are greasy. Fix: The oil temperature was too low. Make sure it’s at 375°F and don’t overcrowd the pot.
Pro Tricks I’ve Learned:
For Extra Flavor Add a tablespoon of orange zest to the filling. It pairs beautifully with the chocolate chips and adds a bright, citrusy note.
For Better Texture Whip the ricotta filling for a full 2 minutes before adding sugar. This removes any graininess and makes it incredibly smooth.
Make-Ahead Strategy You can freeze the unfilled shells for up to 3 months. Store them in an airtight container with parchment paper between layers. Let them come to room temperature before filling.
Variations & Substitutions
Once you’ve nailed the basic version, here’s how you can mix it up. I’ve tried all of these.
Chocolate Shell Version
Add 2 tablespoons of unsweetened cocoa powder to the dry ingredients. The shells will be dark and chocolatey, like a chocolate cannoli. It’s a crowd-pleaser, especially with kids.
Cannoli Dip
Too much work for a quick snack? Make the filling as usual, but skip the shells. Serve it in a bowl with graham crackers, pretzels, or apple slices. It’s like a deconstructed cannoli. I serve this at parties as a party dip alternative.
Coffee-Infused Filling
Add 1 tablespoon of instant espresso powder to the ricotta mixture. It gives a mocha flavor that pairs well with the chocolate chips. Perfect for coffee lovers.
Strawberry Cannoli
Replace the chocolate chips with chopped fresh strawberries. Add a tablespoon of strawberry jam to the filling for extra flavor. It’s a summer variation that’s light and refreshing.
Dietary Modifications:
Gluten-Free Use a 1:1 gluten-free flour blend. The texture might be slightly more crumbly, but it still works. I’ve used King Arthur Gluten-Free Measure for Measure flour with success.
Dairy-Free Use vegan butter in the dough and a dairy-free ricotta alternative (like cashew-based ricotta) for the filling. It’s not traditional, but it’s tasty. I’ve made this for my lactose-intolerant friend, and she loved it.
Lower-Sugar Reduce the powdered sugar in the filling to ½ cup. Use dark chocolate chips with 70% cacao. It’s less sweet but still flavorful.
Other Fillings:
– Nutella: Spread a thin layer of Nutella inside the shell before filling with ricotta.
– Pistachio Paste: Swirl pistachio paste into the filling for a rich, nutty flavor.
– Lemon Curd: Layer lemon curd and ricotta for a tangy twist.
Serving & Storage
How to Serve:
I usually serve these straight away on a platter with a dusting of powdered sugar. They look beautiful against a white plate. But here are other ways I’ve enjoyed them:
Side Dishes:
– Fresh berries (strawberries, raspberries)
– A drizzle of honey or caramel sauce
– A scoop of vanilla ice cream on the side
Toppings Bar:
When I have guests, I put out: crushed pistachios, mini chocolate chips, edible flowers, and a small bowl of powdered sugar. Everyone customizes their cannoli.
Wine Pairing:
Not a wine expert, but my wine-snob friend says Moscato d’Asti or a sweet Riesling works great with this. It’s light and fruity, which complements the rich filling.
Storage Instructions:
Refrigerator:
Store unfilled shells in an airtight container at room temperature for up to 1 week. Do not refrigerate the shells; they’ll lose their crispness. Store the filling in the fridge for up to 3 days. Fill just before serving.
Freezing:
You can freeze the unfilled shells for up to 3 months. Place them in a single layer on a baking sheet, freeze until solid, then transfer to a freezer bag. Thaw at room temperature before filling. Do not freeze filled cannoli; they will become soggy.
Reheating:
If the shells lose crispness, place them in a 300°F oven for 5 minutes to refresh them. Don’t try to reheat filled cannoli; the filling will separate.
Pro tip: If you’re making them for a party, prepare the shells and filling separately. Set up a “cannoli station” where guests can fill their own. It’s fun and interactive.
Nutrition Information
I’m not a nutritionist, but here’s the breakdown if you’re tracking.
Per Serving (based on 6 servings, 2 cannoli each):
- Calories: 380
- Protein: 8g
- Carbs: 35g
- Fiber: 1g
- Sugar: 22g
- Fat: 24g
- Saturated Fat: 10g
- Cholesterol: 65mg
- Sodium: 120mg
- Calcium: 100mg
What’s Good:
- Decent protein from the ricotta cheese
- Calcium from the dairy
- Can add nuts for healthy fats
What to Know:
- Higher in calories from the fried shell and cheese
- Contains dairy and gluten
- Moderate sugar (use low-sugar chocolate chips to reduce)
My Take:
Look, these are indulgent pastries. They’re not a health food. But they’re way better than store-bought ones, and you control the ingredients. When I want to make them lighter, I use less sugar in the filling and skip the chocolate chips. But usually? I just enjoy them as a special treat.
Dietary Notes:
- Contains: gluten, dairy, eggs
- Can be made: gluten-free, vegetarian
- Not suitable for: vegan (without modifications), dairy-free (without modifications)
Final Thoughts
So that’s my go-to Ultra-Crispy Homemade Cannoli! I’ve probably talked your ear off at this point, but when you make a recipe this often, you have a lot to say about it.
This has saved my dessert game more times than I can count. It’s my answer to “what’s for dessert” when I want something impressive but don’t have hours to spare. My family is happy, my friends are impressed, and I’m happy because I’m not stressed about cooking.
Make it yours! Try different add-ins, swap in your favorite nuts, adjust the sweetness to your taste. The best recipes are the ones you adapt to your family’s tastes. And if you’re feeling adventurous, try making fall caramel apple crisp cheesecake bars next—they’re another easy win for busy nights.
If you make this, drop a comment and let me know what you think! I love hearing how recipes turn out in your kitchen. And if something doesn’t work, tell me that too—I’m here to help troubleshoot.
Happy cooking! And I hope your kitchen smells half as good as mine does right now.
Frequently Asked Questions
Can I bake the cannoli shells instead of frying them?
You can, but they won’t be as crispy. Bake them at 375°F (190°C) for 10-12 minutes until golden. They’ll be more like a pastry shell than a traditional fried cannoli. I prefer frying for the authentic crunch, but baking is a healthier option if you’re avoiding oil.
Why did my filling turn out watery?
This usually happens if the ricotta wasn’t drained properly. Ricotta releases a lot of water. Make sure to spread it on a paper towel for 15 minutes before mixing. Also, don’t add too much liquid to the filling. The ricotta should be thick and creamy, not runny.
Can I make the dough ahead?
Yes! You can make the dough up to 2 days ahead. Wrap it tightly in plastic wrap and refrigerate. Let it come to room temperature for 30 minutes before rolling it out. This actually makes it easier to handle.
Why did my shells break when I slid them off the tube?
They were probably too hot. Wait 30-60 seconds after frying before sliding them off. Or, the oil temperature was too low, making them greasy and fragile. Make sure your oil is at 375°F for a crisp, sturdy shell.
Can I use a different type of cheese?
Cottage cheese can work if you blend it until completely smooth, but ricotta is traditional and has a milder flavor. Mascarpone is too rich and won’t hold its shape. Stick with ricotta for the best texture and taste.
How do I store leftover cannoli?
Unfilled shells can be stored in an airtight container at room temperature for up to a week. Filled cannoli should be eaten immediately, as the shells will get soggy within a few hours. If you must store filled cannoli, refrigerate them for up to 4 hours, but expect some loss of crispness.
Can I freeze the filled cannoli?
No, don’t freeze filled cannoli. The filling will separate and the shells will become soggy when thawed. Freeze the unfilled shells instead, and fill them fresh when you’re ready to serve.
Pin This Recipe!
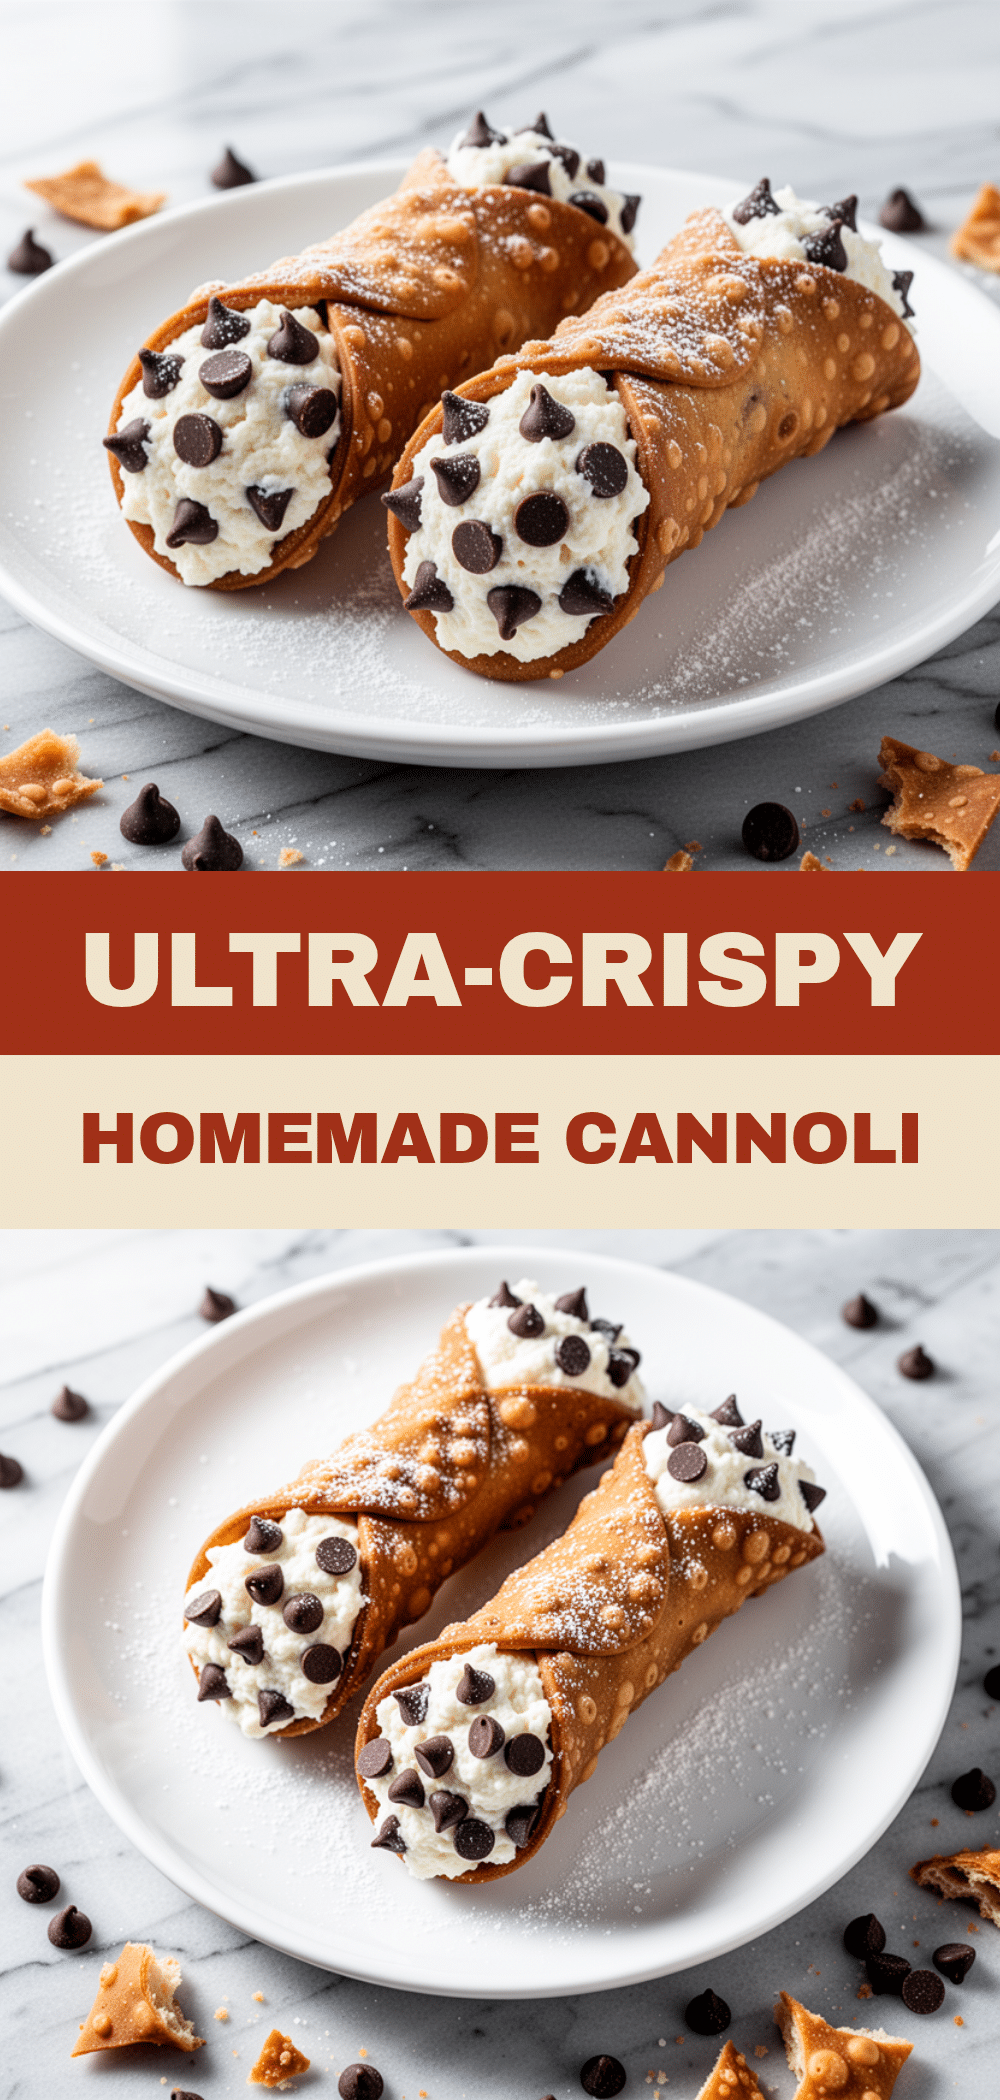

Ultra-Crispy Homemade Cannoli: Best 20-Minute Recipe
- Total Time: 1 hour 30 minutes
- Yield: 12 servings 1x
Description
These ultra-crispy homemade cannoli feature shatteringly crisp fried shells filled with a sweet, tangy ricotta cream and chocolate chips. The recipe simplifies the process with a quick prep time and a resting step for perfect texture, making it an impressive yet manageable dessert for any occasion.
Ingredients
- 2 cups (250g) all-purpose flour
- 2 tablespoons (25g) granulated sugar
- 2 tablespoons (30g) unsalted butter, melted and cooled
- 2 large egg yolks
- 1 teaspoon vanilla extract
- 3–4 tablespoons (45-60ml) fortified wine (Marsala, sherry, or orange juice)
- 1/4 teaspoon salt
- Vegetable or canola oil (for frying)
- 16 oz (450g) whole milk ricotta cheese, drained
- 1 cup (120g) powdered sugar, sifted
- 1 teaspoon vanilla extract
- Zest of 1 medium lemon
- 1/2 cup (85g) mini chocolate chips
- Crushed pistachios (optional, for garnish)
- Extra chocolate chips (optional, for dipping ends)
Instructions
- In a medium bowl, whisk together flour, sugar, and salt. Make a well in the center.
- Add melted butter, egg yolks, vanilla, and wine. Stir with a fork until a shaggy dough forms.
- Knead gently on a floured surface for 2-3 minutes until smooth. Wrap in plastic and refrigerate for at least 1 hour (up to 2 days).
- While dough rests, whisk ricotta, powdered sugar, vanilla, and lemon zest until smooth. Fold in mini chocolate chips. Cover and refrigerate.
- Preheat oven to 200°F (95°C). Divide dough in half and roll one half out very thin (1/16 inch) on a floured surface.
- Cut out 4-inch circles using a circular cutter. Repeat with remaining dough to get 12-14 circles.
- Wrap each dough circle diagonally around a cannoli tube, pressing edges to seal. Place on a parchment-lined sheet.
- Heat oil in a deep pot or Dutch oven to 375°F (190°C).
- Carefully lower cannoli tubes into oil. Fry for 1-2 minutes, turning occasionally, until golden brown and crisp.
- Remove with a slotted spoon and place on a wire rack to cool slightly. While warm, slide shells off tubes.
- Once shells are cool, pipe ricotta filling into both ends of each shell.
- Dip ends in crushed pistachios or extra chocolate chips if desired. Serve immediately.
Notes
Ensure ricotta is drained well to prevent soggy shells. Resting the dough is crucial for easy rolling and tender texture. Fill cannoli just before serving to maintain crispness. Shells can be frozen for up to 3 months; do not freeze filled cannoli.
- Prep Time: 45 minutes
- Cook Time: 30 minutes
- Category: Dessert
- Cuisine: Italian
Nutrition
- Serving Size: 2 cannoli per servin
- Calories: 380
- Sugar: 22
- Sodium: 120
- Fat: 24
- Saturated Fat: 10
- Carbohydrates: 35
- Fiber: 1
- Protein: 8
Keywords: cannoli, homemade cannoli, italian dessert, ricotta filling, fried pastry, easy dessert, crispy cannoli shells


