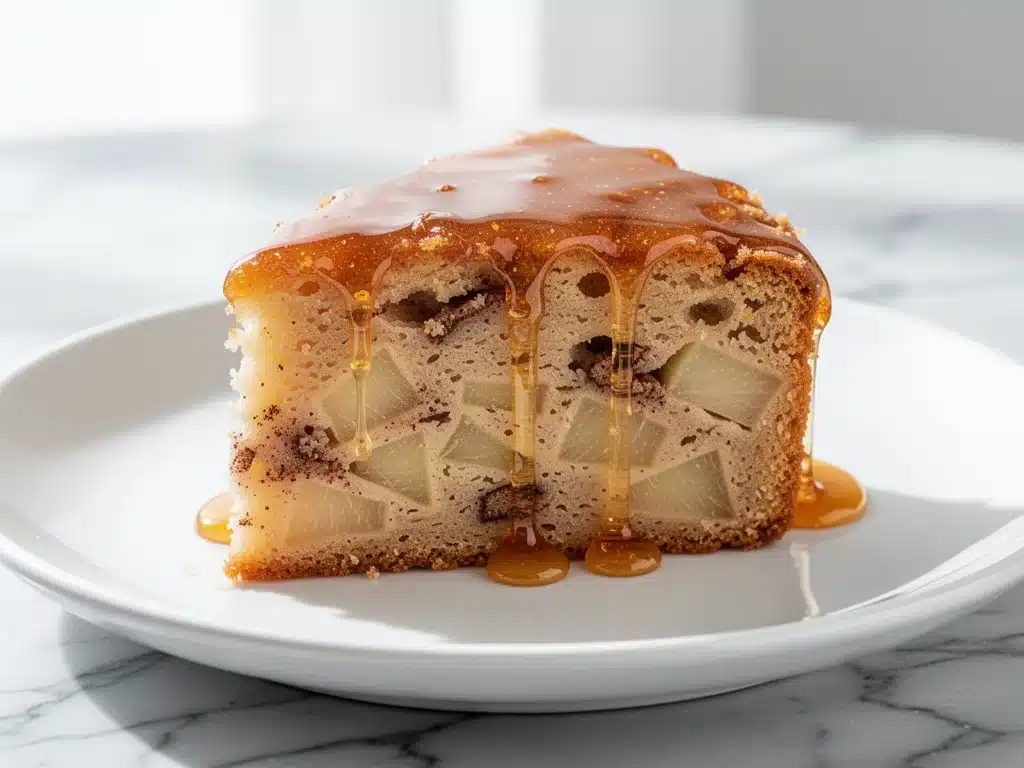
There is a specific kind of silence that falls over a house on the morning after Yom Kippur. It’s not just quiet; it’s heavy with exhaustion, relief, and a hunger so profound it feels physical. After twenty-five hours of fasting, your body isn’t just asking for food—it’s begging for something sweet, something soft, and something that tastes like tradition. For most of my life, I assumed the break-fast was just coffee and bagels. Then, at my grandmother’s house in Brooklyn, I walked into the kitchen and saw it: a golden, glistening Honey Apple Cake sitting on the counter, still warm from the oven.
I remember staring at that cake like it was a mirage. The smell of honey, cinnamon, and baked apples hit me before I even took a bite. My grandmother didn’t say a word. She just sliced a thick piece, drizzled a little extra honey over the top, and handed it to me with that knowing look that said, “Eat. You’ve earned this.” That slice changed everything for me. It wasn’t just breakfast; it was a hug on a plate. It was the bridge between the solemnity of the holiday and the joy of returning to normal life.
This Honey Apple Cake has been the centerpiece of my family’s break-fast for over a decade. It’s tender, moist, and packed with the flavors of the High Holidays without being overly complicated. I’ve tested this recipe more times than I can count—sometimes adjusting the honey ratio, sometimes tweaking the apple variety—to make sure it works for busy modern kitchens while honoring the tradition. Whether you’re hosting a large gathering or just need a comforting treat to share with your immediate family, this cake is the answer. It’s the perfect way to break your fast gently, with sweetness that soothes the stomach and warms the soul.
Why You’ll Love This Break-Fast Cake
Let’s be real: after a long day of fasting, you don’t want to spend three hours in the kitchen. You want to eat. This Honey Apple Cake is designed for that exact moment. It’s forgiving, flavorful, and deeply satisfying. Here’s why it keeps coming back to our table year after year:
It’s Gentle on an Empty Stomach — Heavy, greasy foods can be tough after a fast. This cake is light enough to digest easily but filling enough to stop the hunger pangs. The honey provides a quick energy boost, and the apples add fiber without being too fibrous or hard to chew.
Minimal Active Effort — Seriously, this is a one-bowl wonder. I mix the dry ingredients, I mix the wet ingredients, and I combine them. Then I arrange the apples and bake. It takes about 15 minutes of active prep time. I can have this in the oven before my coffee is even done brewing.
Make-Ahead Friendly — This cake actually tastes better the next day. The flavors meld together, and the honey-soaked apples get even more tender. I usually bake it the night before Yom Kippur ends, so it’s ready the moment we walk through the door. No stress, no last-minute panic.
Tradition Meets Comfort — It tastes like home. Like your bubbe’s kitchen. Like childhood. There’s something deeply comforting about that specific combination of cinnamon, honey, and warm apples. It triggers a sense of nostalgia that makes the break-fast feel special, not just functional.
Family-Tested Crowd Pleaser — I’ve served this to picky eaters, health-conscious relatives, and traditional elders. Everyone loves it. It’s sweet but not cloying, rich but not heavy. It’s the kind of cake that disappears quickly, which is a good problem to have.
This is my go-to when I need to feed a crowd with minimal stress and maximum heart. It’s reliable, delicious, and deeply rooted in the traditions I cherish.
Ingredients You’ll Need
Here’s the best part: you probably have most of these ingredients already. This isn’t a recipe that requires a trip to three different specialty stores. It’s pantry-friendly and straightforward. I’m particular about a few things here, though, so pay attention to the notes below.
For the Cake Base
All-purpose flour (2 cups / 250g) — I use regular all-purpose. Cake flour makes it too delicate, and bread flour makes it too dense. If you’re gluten-free, you can use a 1:1 gluten-free blend, but the texture will be slightly different. I’ve had good luck with King Arthur’s measure-for-measure blend.
Baking powder (1 teaspoon) — Make sure it’s fresh! Old baking powder is the silent killer of fluffy cakes. If yours is more than six months old, toss it and get a new box. It’s cheap insurance.
Baking soda (½ teaspoon) — This reacts with the honey and brown sugar to help the cake rise. Don’t skip it.
Salt (½ teaspoon) — Essential for balancing the sweetness. Don’t underestimate its power.
Cinnamon (1 teaspoon) — Ground cinnamon. Freshly ground is best if you have a spice grinder, but ground is fine. Avoid “cinnamon flavoring” extracts—they taste artificial.
Nutmeg (¼ teaspoon, freshly grated) — This is the secret weapon. A little nutmeg adds warmth and depth that cinnamon alone can’t achieve. Freshly grated is worth the effort.
Unsalted butter (½ cup / 113g, softened) — Softened, not melted. You want it creamy and spreadable. This adds richness and helps create a tender crumb.
Granulated sugar (½ cup / 100g) — Provides structure and sweetness.
Light brown sugar (½ cup / 110g, packed) — Adds moisture and a hint of molasses flavor. Dark brown sugar works too if you like a deeper flavor.
For the Sweetness and Moisture
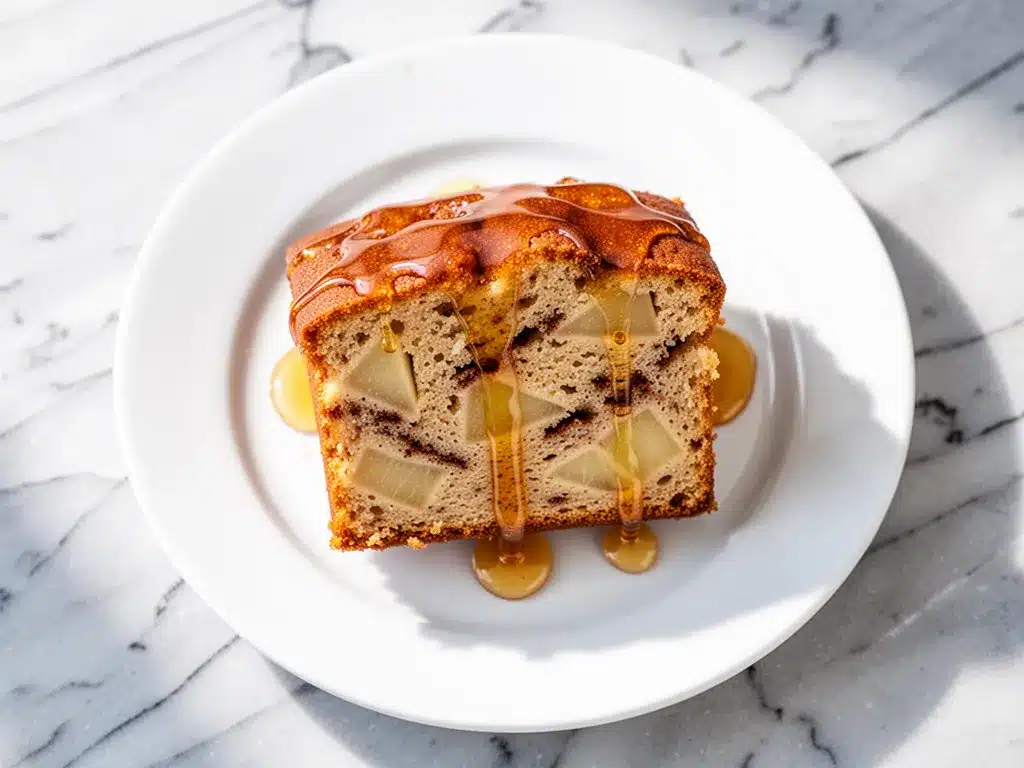
Honey (½ cup / 170g) — This is the star. Use a good quality, mild honey. Clover or wildflower honey works beautifully. Avoid strongly flavored honeys like buckwheat, which might overpower the apples. I use Local Honey Company because it’s fresh and local.
Eggs (2 large, room temperature) — Room temperature eggs emulsify better with the butter and sugar, creating a smoother batter. If you forget, just place them in a bowl of warm water for 5 minutes.
Vanilla extract (1 teaspoon) — Pure vanilla. No imitation stuff. It makes a noticeable difference in flavor.
Sour cream (½ cup / 120g) — This is what makes the cake moist and tender. It adds a slight tang that balances the sweetness. Full-fat sour cream is best. Greek yogurt works in a pinch, but the texture will be slightly denser.
For the Apple Topping
Apples (3 medium, about 750g) — I prefer a mix of Granny Smith and Honeycrisp. Granny Smith holds its shape and adds tartness, while Honeycrisp adds sweetness and juiciness. You can use all Granny Smith if you like a tarter cake, but I like the balance. Avoid Red Delicious—they turn mushy and bland.
Butter (2 tablespoons, melted) — For brushing the apples.
Extra cinnamon (1 teaspoon) — For sprinkling on top.
Extra honey (2 tablespoons) — For drizzling over the top after baking.
Optional: Walnuts or Pecans (½ cup, chopped) — If you like crunch, toss these in with the apples. I usually skip them for a softer texture, but my husband loves them. Toast the nuts first for extra flavor.
Equipment Needed
You don’t need fancy equipment for this. Here’s what I actually use:
9-inch Round Cake Pan — I use a metal pan. Glass pans can cause the edges to overcook. If you only have glass, reduce the oven temperature by 25 degrees. Grease the pan well with butter or non-stick spray.
Mixing Bowls — Two medium bowls. One for dry ingredients, one for wet. I use stainless steel because they’re durable and easy to clean.
Whisk — For mixing the dry ingredients and beating the eggs. A balloon whisk works best.
Electric Mixer or Wooden Spoon — I use a hand mixer for the butter and sugars to ensure they’re well creamed. If you don’t have a mixer, a wooden spoon and some elbow grease will work, but it’ll take longer.
Peeler or Knife — For peeling and slicing the apples. I use a Y-peeler for speed.
Cooling Rack — Essential for letting the cake cool evenly. Don’t skip this step, or the bottom will get soggy.
How to Make It: Step-by-Step
Alright, let’s make this! I’m walking you through exactly how I do it, including the little tricks I’ve picked up over the years. This process is straightforward, but timing matters.
Step 1: Prep Your Pan and Oven (5 minutes)
Preheat your oven to 350°F (175°C). Grease your 9-inch round cake pan generously with butter or non-stick spray. I like to dust it with a little flour after greasing, tapping out the excess. This ensures the cake doesn’t stick. Set aside.
Step 2: Mix the Dry Ingredients (3 minutes)
In a medium bowl, whisk together the flour, baking powder, baking soda, salt, cinnamon, and nutmeg. Whisking aerates the flour and distributes the leavening agents evenly. This is a small step, but it prevents lumps and ensures an even rise. Set aside.
Step 3: Cream the Butter and Sugars (3 minutes)
In a large bowl, beat the softened butter, granulated sugar, and brown sugar together until light and fluffy. If using a hand mixer, this takes about 2-3 minutes. If using a wooden spoon, it’ll take longer. You want the mixture to look pale and creamy. This step incorporates air, which helps the cake rise.
Step 4: Add Wet Ingredients (2 minutes)
Add the eggs one at a time, beating well after each addition. Then add the honey and vanilla extract. Mix until combined. The batter might look slightly curdled—that’s okay. It will come together in the next step. Scrape down the sides of the bowl to ensure everything is incorporated.
Step 5: Combine Batter and Sour Cream (2 minutes)
Add the dry ingredients to the wet ingredients in two batches, alternating with the sour cream. Start and end with the dry ingredients. Mix gently until just combined. Do not overmix! Overmixing develops gluten, which makes the cake tough. You want a soft, slightly lumpy batter. That’s perfect.
Step 6: Prepare the Apples (5 minutes)
Peel and slice the apples into thin wedges, about ¼-inch thick. You want them thin so they cook through and become tender. Toss the apple slices with the melted butter and a pinch of cinnamon. This coats them and prevents browning.
Step 7: Assemble and Bake (45-50 minutes)
Pour the batter into the prepared pan and spread it evenly. Arrange the apple slices in a concentric circle pattern on top of the batter, overlapping slightly. This looks beautiful and ensures even distribution. Bake for 45-50 minutes, or until a toothpick inserted into the center comes out clean. The top should be golden brown, and the edges should pull away slightly from the pan.
Step 8: Cool and Glaze (10 minutes)
Let the cake cool in the pan for 10 minutes. Then, run a knife around the edges and invert it onto a cooling rack. While it’s still warm, drizzle the extra honey over the top. The honey will soak into the warm cake, creating a sticky, sweet glaze. Let it cool completely before slicing. This step is crucial for the texture to set.
Expert Tips & Tricks
Here’s everything I’ve learned from making this dozens of times. These tips will save you from my mistakes.
Don’t Overmix the Batter — I cannot stress this enough. Overmixing leads to a dense, tough cake. Mix until you *just* see no more flour streaks. A few lumps are fine.
Use Room Temperature Ingredients — Cold eggs and butter won’t emulsify properly. Take your butter and eggs out of the fridge 30 minutes before you start. If you’re short on time, the warm water trick for eggs works wonders.
Apple Selection Matters — Don’t use soft apples like Red Delicious or McIntosh unless you want applesauce. You want apples that hold their shape but become tender. Granny Smith and Honeycrisp are my go-to. Fuji or Gala also work well.
Honey Quality — Since honey is a main flavor, use good honey. Cheap, processed honey can taste metallic or flat. Local honey is best because it’s fresher and has more complex flavors.
Check for Doneness Early — Ovens vary. Start checking at 40 minutes. If the top is browning too fast, cover it loosely with aluminum foil for the last 10 minutes.
Let It Cool — I know it’s tempting to slice it warm, but the cake is fragile when hot. Let it cool for at least 10 minutes, or it might fall apart. The honey glaze needs time to set slightly.
Variations & Substitutions
Once you’ve nailed the basic version, here’s how you can mix it up. I’ve tried all of these.
Nutty Version — Add ½ cup of chopped walnuts or pecans to the batter or sprinkle them on top with the apples. Toast the nuts first for extra flavor. This adds a nice crunch and richness.
Spiced Up — Add ½ teaspoon of cardamom or allspice to the dry ingredients. This gives it a more complex, holiday-like spice profile. Cardamom pairs beautifully with apple and honey.
Gluten-Free — Use a 1:1 gluten-free flour blend. I’ve used King Arthur Measure for Measure and Bob’s Red Mill 1-to-1 with good results. The texture might be slightly more crumbly, but it’s still delicious.
Dairy-Free — Replace the butter with coconut oil (solid state) and the sour cream with full-fat coconut yogurt. The flavor will be slightly coconutty, but it works well with the apple and honey.
Vegan — Replace eggs with flax eggs (1 tablespoon ground flaxseed + 3 tablespoons water per egg). Replace butter with coconut oil and sour cream with coconut yogurt. It’s not identical, but it’s still tasty.
Different Fruit — You can substitute the apples with pears. Pears work beautifully in this recipe. Use the same quantity and method. Pear and honey is a classic combination.
Serving & Storage
This cake is versatile and keeps well, which is perfect for holiday planning.
How to Serve
I usually serve this warm or at room temperature. It pairs wonderfully with a cup of strong coffee or tea. For a more formal break-fast, serve slices with a dollop of whipped cream or a scoop of vanilla ice cream. It’s also great with a side of fresh fruit or yogurt.
Side Dishes — Simple fruit salad, Greek yogurt with granola, or even leftover brisket if you’re having a full holiday meal. It’s sweet enough to stand on its own, but it complements savory dishes well.
Storage Instructions
Room Temperature — Store in an airtight container for up to 3 days. The honey keeps it moist, so it doesn’t dry out quickly.
Refrigerator — If you live in a hot climate, store it in the fridge for up to 5 days. Let it come to room temperature before serving for the best texture and flavor.
Freezing — This cake freezes well! Wrap individual slices or the whole cake tightly in plastic wrap, then in aluminum foil. Freeze for up to 3 months. Thaw overnight in the fridge or at room temperature. Reheat in the microwave for 30 seconds if you want it warm.
Pro Tip — If the cake seems a bit dry after storage, microwave it for 10-15 seconds. The heat will reactivate the honey and soften the crumb.
Nutrition Information
I’m not a nutritionist, but here’s the breakdown if you’re tracking. Keep in mind that this is a sweet treat, so enjoy it in moderation.
Per Serving (based on 8 servings):
– Calories: 320
– Protein: 4g
– Carbs: 52g
– Fiber: 2g
– Sugar: 32g
– Fat: 12g
– Saturated Fat: 7g
– Cholesterol: 55mg
– Sodium: 210mg
What’s Good: — Contains some fiber from the apples and flour. The honey provides natural sugars with trace minerals. It’s a decent source of energy for breaking a fast.
What to Know: — High in sugar due to honey and brown sugar. Contains gluten and dairy. Use gluten-free or dairy-free substitutions if needed.
My Take: — Look, this is a dessert-like breakfast. It’s not a health food. But it’s homemade, so you know exactly what’s in it. When I make it, I often serve smaller slices with a large cup of tea, which feels balanced. It’s about tradition and comfort, not calories.
Final Thoughts
So that’s my Honey Apple Cake! I’ve probably talked your ear off at this point, but when you make a recipe this often, you have a lot to say about it. This cake has been part of my family’s Yom Kippur break-fast for years, and it holds a special place in my heart. It’s more than just food; it’s a ritual, a comfort, and a connection to my heritage.
I hope this recipe brings the same joy to your table. Make it yours! Add nuts, change the spices, or serve it with your favorite toppings. The best recipes are the ones you adapt to your family’s tastes. If you make this, drop a comment and let me know what you think! I love hearing how recipes turn out in your kitchen. And if something doesn’t work, tell me that too—I’m here to help troubleshoot.
Happy cooking! And I hope your kitchen smells half as good as mine does right now.
Frequently Asked Questions
Can I use jarred applesauce instead of fresh apples?
You can, but the texture will be completely different. Fresh apples provide chunks and a firmer bite. If you use applesauce, you’ll need to reduce the liquid in the batter slightly, and the cake will be more like a dense muffin. I recommend sticking with fresh apples for the best result.
Why did my cake sink in the middle?
This usually happens if the oven door was opened too early, or if the leavening agents (baking powder/soda) were old. It can also happen if the batter was overmixed. Make sure your oven is properly preheated and avoid opening the door for the first 30 minutes of baking.
Can I make this gluten-free?
Yes! Use a 1:1 gluten-free flour blend. I’ve had success with King Arthur and Bob’s Red Mill. The cake might be slightly more crumbly, but it’s still delicious. Make sure your baking powder and honey are certified gluten-free if you have celiac disease.
Can I freeze this cake?
Absolutely! Wrap it tightly in plastic wrap and then aluminum foil. It will keep in the freezer for up to 3 months. Thaw overnight in the fridge or at room temperature. Reheat in the microwave for a warm slice.
What kind of honey is best?
Use a mild, floral honey like clover, wildflower, or orange blossom. Avoid strong honeys like buckwheat or manuka, as they can overpower the apple flavor. Local honey is always a great choice because it’s fresher.
Can I double this recipe?
Yes, you can double it, but you’ll need a larger pan (like a 9×13 inch pan) or two 9-inch pans. Adjust the baking time accordingly—it might take a few minutes longer. Keep an eye on it to avoid overbaking.
Is this cake suitable for other holidays?
While it’s traditional for Yom Kippur break-fast, it’s delicious any time of year. It’s great for Rosh Hashanah, Passover (with adjustments), or just a weekend brunch. It pairs well with coffee, tea, or even a glass of milk.
Pin This Recipe!
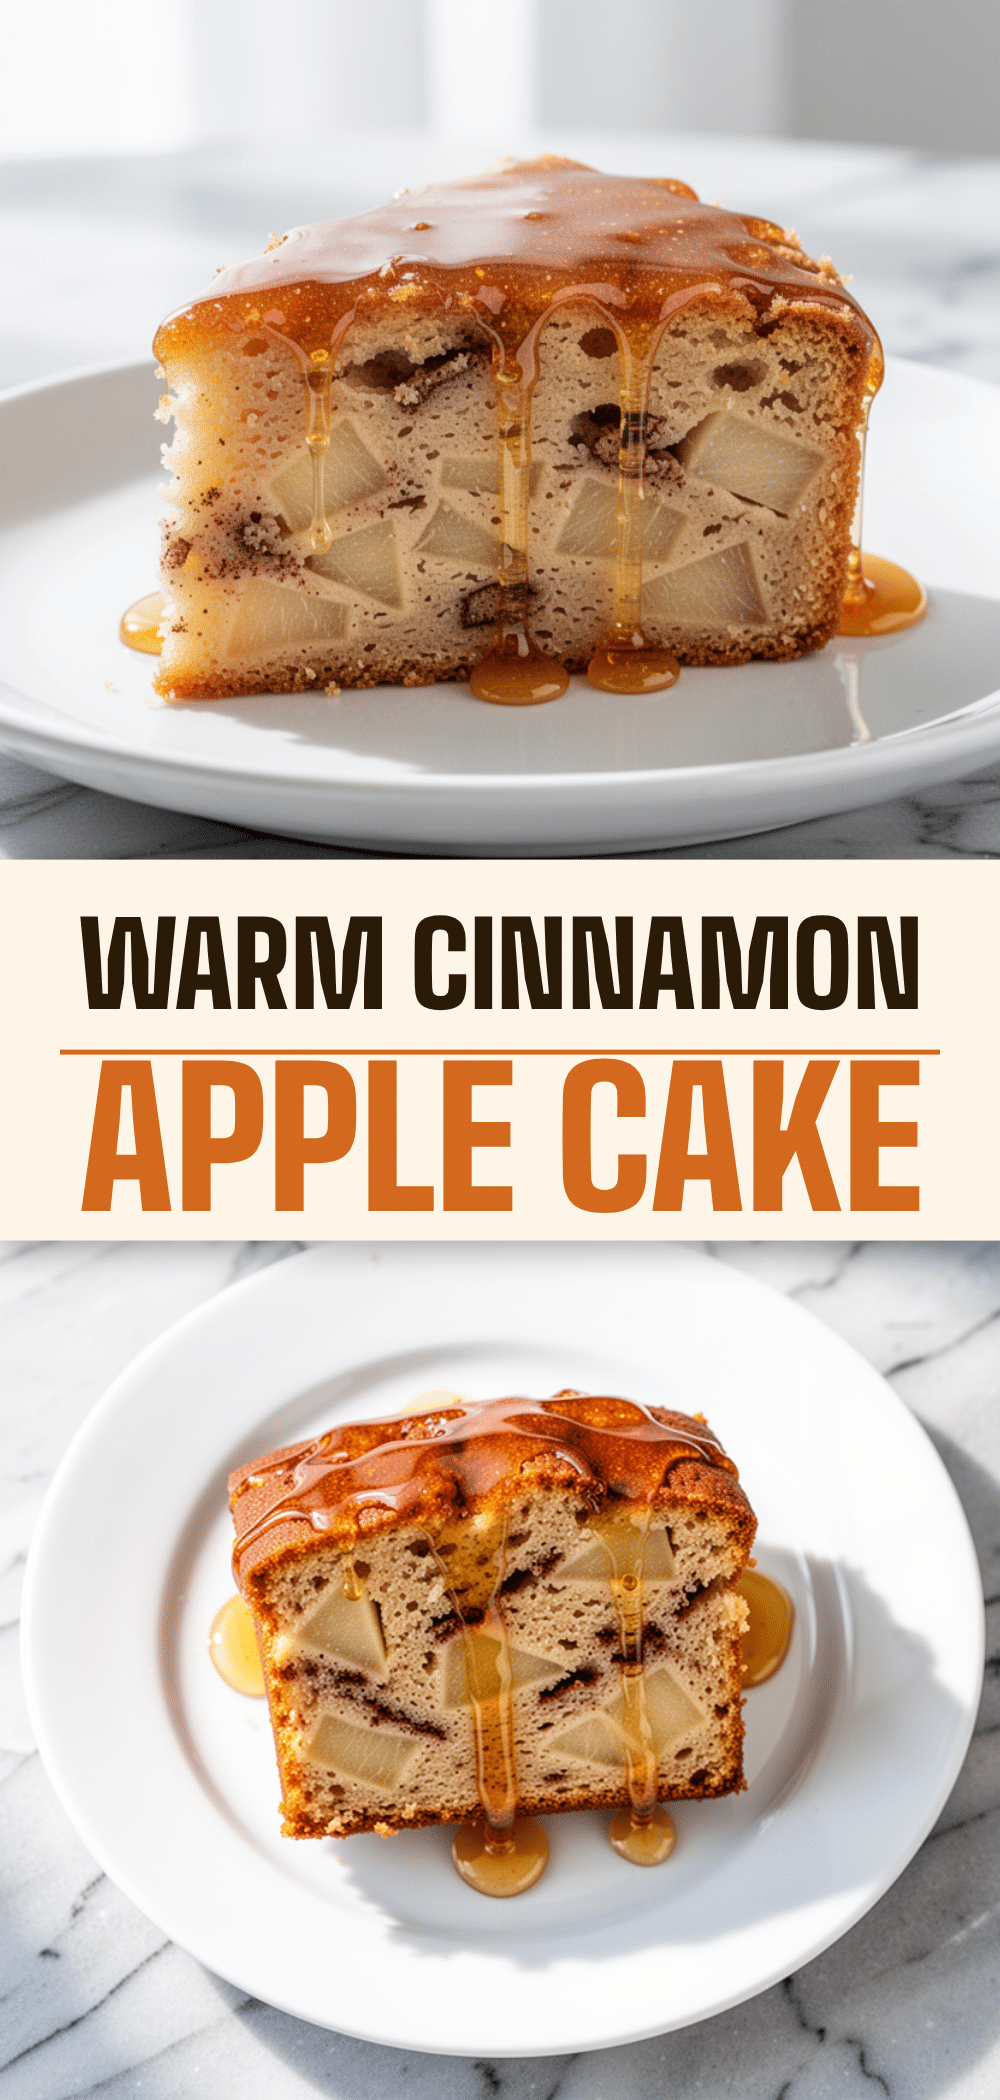
Yom Kippur Break-Fast Honey Apple Cake
- Total Time: 60-65 minutes
- Yield: 8 servings 1x
Description
A tender, moist honey apple cake designed to gently break the Yom Kippur fast. This one-bowl recipe combines sweet honey, warm spices, and tender apples for a comforting, tradition-rich holiday treat.
Ingredients
- 2 cups (250g) all-purpose flour
- 1 teaspoon baking powder
- ½ teaspoon baking soda
- ½ teaspoon salt
- 1 teaspoon ground cinnamon
- ¼ teaspoon freshly grated nutmeg
- ½ cup (113g) unsalted butter, softened
- ½ cup (100g) granulated sugar
- ½ cup (110g) light brown sugar, packed
- ½ cup (170g) mild honey (e.g., clover or wildflower)
- 2 large eggs, room temperature
- 1 teaspoon pure vanilla extract
- ½ cup (120g) full-fat sour cream
- 3 medium apples (mix of Granny Smith and Honeycrisp), peeled and sliced
- 2 tablespoons melted butter (for apples)
- 1 teaspoon extra cinnamon (for sprinkling)
- 2 tablespoons extra honey (for drizzling)
- Optional: ½ cup chopped walnuts or pecans
Instructions
- Preheat oven to 350°F (175°C). Grease a 9-inch round cake pan generously with butter or non-stick spray, then dust with flour, tapping out excess.
- In a medium bowl, whisk together flour, baking powder, baking soda, salt, cinnamon, and nutmeg. Set aside.
- In a large bowl, beat softened butter, granulated sugar, and brown sugar until light and fluffy (about 2-3 minutes with a mixer).
- Add eggs one at a time, beating well after each addition. Mix in honey and vanilla extract until combined.
- Add dry ingredients to wet ingredients in two batches, alternating with sour cream. Start and end with dry ingredients. Mix gently until just combined; do not overmix.
- Peel and slice apples into ¼-inch thick wedges. Toss with melted butter and a pinch of cinnamon.
- Pour batter into prepared pan and spread evenly. Arrange apple slices in a concentric circle on top, overlapping slightly.
- Bake for 45-50 minutes, or until a toothpick inserted into the center comes out clean and edges pull away from the pan.
- Cool in pan for 10 minutes, then invert onto a cooling rack. Drizzle with extra honey while warm. Let cool completely before slicing.
Notes
For best results, use room temperature ingredients. Do not overmix the batter to avoid a tough texture. The cake tastes better the next day as flavors meld. Can be stored at room temperature for 3 days or frozen for up to 3 months.
- Prep Time: 15 minutes
- Cook Time: 45-50 minutes
- Category: Dessert
- Cuisine: Jewish
Nutrition
- Serving Size: 1 slice
- Calories: 320
- Sugar: 32
- Sodium: 210
- Fat: 12
- Saturated Fat: 7
- Carbohydrates: 52
- Fiber: 2
- Protein: 4
Keywords: Yom Kippur, break-fast, honey apple cake, holiday recipe, Jewish baking, apple cake, honey cake, high holidays


