Last Saturday morning, I was staring at the ceiling at 9:00 AM, questioning my life choices. My partner had mentioned, casually, that he missed those pancakes from that little cafe in Portland—the ones that looked like little clouds and tasted like heaven. I wanted to prove I could make them. I wanted to be the hero of brunch.
So I woke up at 7:00 AM. I bought the fanciest eggs. I bought honey that cost more than my coffee. And I made a disaster. A flat, rubbery, sad disaster. I ate it anyway because I’m stubborn. But then I went back to the drawing board. I watched too many YouTube videos. I learned about meringue peaks. I learned why folding matters. And on the third attempt, I made them.
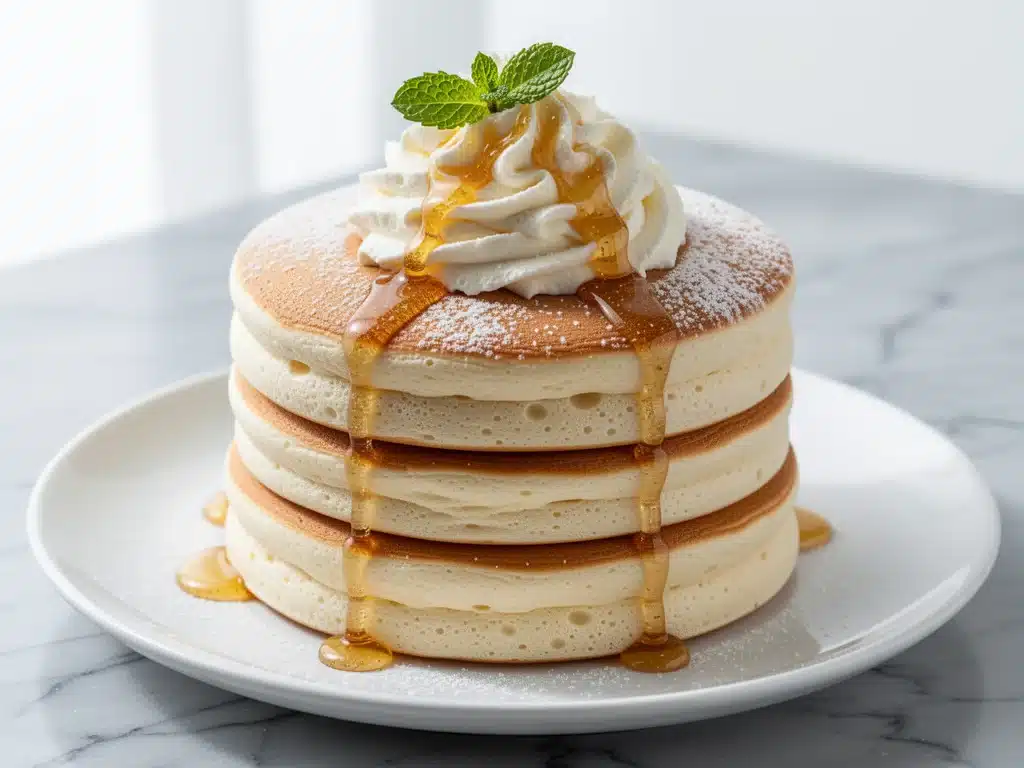
These ultra-fluffy Japanese souffle pancakes are not just pancakes. They are a culinary achievement. They are jiggly, impossibly tall, and melt in your mouth. When I served them to my partner, he didn’t say a word. He just took a bite, closed his eyes, and nodded. That’s the nod. The “I never want to eat a regular pancake again” nod.
I’ve made these at least a dozen times since that Saturday. I’ve tweaked the batter, the heat, and the flipping technique. I’ve learned exactly how to get that perfect golden-brown crust without burning the delicate center. And now, I’m sharing the secret with you. This isn’t just a recipe; it’s a weekend ritual. It’s the kind of breakfast that makes you feel fancy, even if you’re eating it in your pajamas on a Tuesday.
If you’ve ever wanted to impress your family, your friends, or just yourself, these are it. They’re easier than you think, provided you follow my steps. No fancy equipment needed—just a little patience and a lot of love. And that whipped honey butter? It’s the cherry on top. Or should I say, the cloud on top?
Why You’ll Love This Recipe
There are about ten reasons I keep making these, but here are the big ones. Once you try these, you’ll never go back to standard griddle pancakes.
They’re Jiggly Magic — Seriously, the wobble is addictive. When you cut into them, they jiggle like a perfectly set custard. It’s visually satisfying and texturally incredible. I’ve watched people stare at the plate before even taking a bite.
Cloud-Like Texture — These aren’t dense or heavy. They’re airy, light, and melt on your tongue. It’s like eating a sweet, warm cloud. The key is the separated egg whites whipped to stiff peaks. It’s pure chemistry, and it works every time.
Impressive but Doable — You might think this is too hard for a home cook. It’s not. It’s mostly just waiting. You mix, you fold, you steam-cook, you flip. That’s it. The “hard” part is just patience. And I’m here to help you be patient.
Whipped Honey Butter — This isn’t just butter on the side. It’s a spreadable, sweet, savory dream. It pairs perfectly with the mild sweetness of the pancakes. It’s the kind of topping that makes you feel like you’re at a high-end brunch spot.
Weekend Special — These are perfect for lazy weekends, Sunday brunches, or when you want to treat yourself. They’re also great for dinner if you’re feeling fancy (I’ve done it, don’t judge). They’re a crowd-pleaser, too. Everyone loves them, from kids to food snobs.
This is my go-to when I need to feel like a good cook. No stress, no complicated techniques, just reliable, delicious food that makes everyone happy. And the best part? They taste way better than they look, which is saying something.
Ingredients You’ll Need
Here’s the best part: you probably have most of this already. The ingredients are simple, but the technique is what makes the magic happen. I’m particular about three ingredients here, and I’ll tell you exactly why.
For the Pancakes
Egg yolks (4 large / about 60g) — These are the base. Use large eggs for consistency. The yolks give richness and structure. Don’t skip them; they’re what keep the pancakes from being too dry.
Cake flour (30g / about ¼ cup) — This is crucial. Cake flour has less protein than all-purpose, which means less gluten development and a softer, more tender crumb. If you don’t have cake flour, use 2 tablespoons of cornstarch mixed into ½ cup of all-purpose flour. It’s a hack I use all the time.
Milk (30ml / 2 tablespoons) — Whole milk is best for richness. It adds moisture without making the batter too thin. Room temperature is ideal, but cold works if you’re in a hurry.
Vanilla extract (½ teaspoon) — Just a hint. You don’t want it to taste like vanilla cake; you want it to taste like pancake. Pure vanilla is best, but imitation works in a pinch.
Egg whites (4 large / about 120g) — The stars of the show. They need to be whipped to stiff peaks. This is where the airiness comes from. Make sure your bowl is completely clean and grease-free, or the whites won’t whip properly.
Cream of tartar (¼ teaspoon) — This stabilizes the egg whites, helping them hold their shape. It’s optional but highly recommended for beginners. It makes the meringue more forgiving.
Granulated sugar (30g / about 2 tablespoons) — Half goes into the yolk mixture, half goes into the meringue. The sugar in the meringue adds stability and sweetness. Don’t use brown sugar; it has moisture that can weigh down the whites.
Salt (a pinch) — Just a pinch to balance the sweetness. It enhances the flavor without making it salty.
For the Whipped Honey Butter
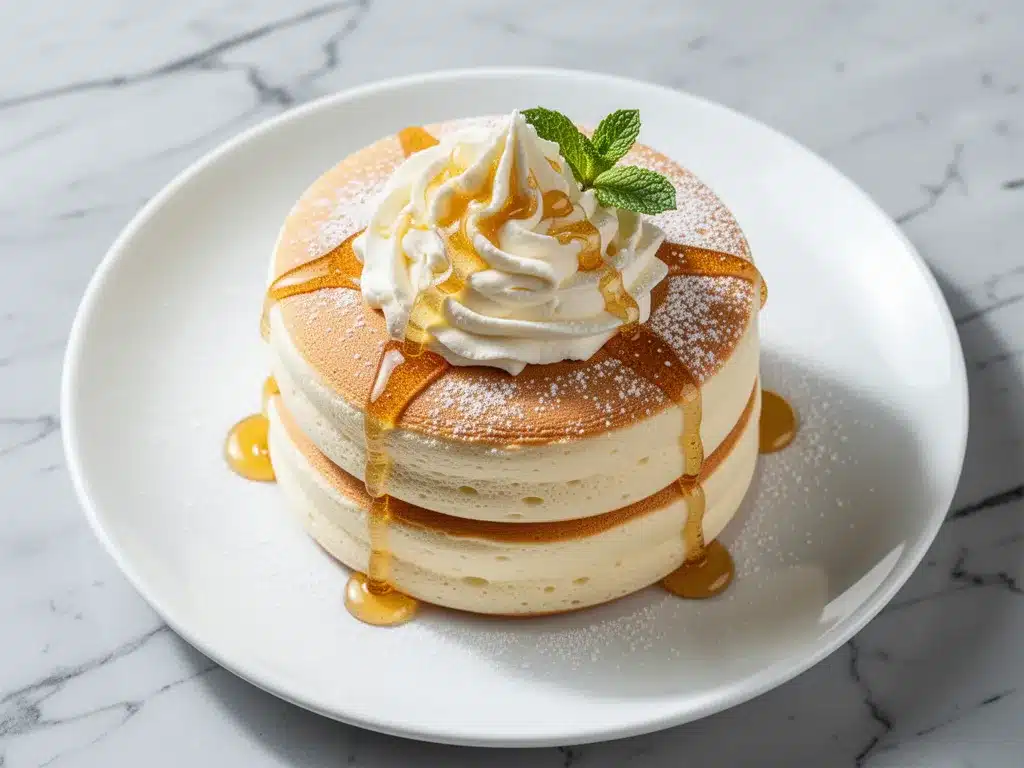
Unsalted butter (50g / ¼ cup, softened) — This is key. It must be softened to room temperature. If it’s cold, it won’t whip. If it’s melted, it won’t hold air. Look for a butter that leaves a fingerprint when you press it.
Honey (1 tablespoon) — Any good quality honey works. I like clover or wildflower for a mild flavor. If you have a fancy honey, use it here—it shines in this simple mixture.
Vanilla extract (¼ teaspoon) — Just a tiny bit to tie it all together.
Heavy cream (1 teaspoon, optional) — If your butter isn’t quite soft enough, this helps it whip up lighter. Usually not needed if the butter is at the right temp.
Optional Toppings — Fresh berries (strawberries, blueberries, raspberries), powdered sugar, maple syrup, or even a dollop of whipped cream. I love fresh berries because the tartness cuts through the sweetness.
For Cooking
Butter or oil — For greasing the pan. I use a mix of both for flavor and non-stick properties. Be careful not to burn it.
Water — For creating steam in the pan. This is the secret to the fluffy texture. You need a lid for this step.
Equipment Needed
You don’t need fancy equipment for this. Here’s what I actually use.
Two large mixing bowls — One for yolks, one for whites. Make sure the white bowl is completely clean and dry. Any grease will ruin the meringue.
Electric hand mixer or stand mixer — You can do this by hand, but it takes forever and your arms will hurt. A mixer is worth it. I use a hand mixer because it’s easier to control the peaks.
Silicone spatula — For folding. This is crucial. You need to gently fold the meringue into the yolk mixture to keep the air in. A metal spoon will deflate the batter.
Non-stick skillet or crepe pan — A 6-8 inch skillet works best. I use a non-stick pan because it’s forgiving. Cast iron can work, but you need to be very careful with heat. I’ve burned pancakes in cast iron before—don’t be me.
Lid that fits the skillet — This is non-negotiable. You need to trap steam to cook the tops. If your lid is too big or too small, it won’t work. I use a glass lid so I can see what’s happening.
Pastry brush — For greasing the pan. Or just use a paper towel. I’m not picky about this one.
Offset spatula — For flipping. It’s easier to get under the delicate pancakes without breaking them. A regular spatula works too, but you need to be gentle.
Squeeze bottle (optional) — For portioning the batter. It helps get uniform pancakes. I use a spoon if I’m being lazy, but a bottle gives better results.
Timer — This is important. You need to time the steaming and flipping. I use my phone timer. Don’t guess; time it.
How to Make It: Step-by-Step
Alright, let’s make this! I’m walking you through exactly how I do it, including the little tricks I’ve picked up.
Step 1: Prep Your Ingredients (5 minutes)
Separate your eggs. Put the yolks in one bowl and the whites in another. Make sure the white bowl is completely clean and dry. Melt the butter for the whipped honey butter and let it cool to room temperature. If you’re making the whipped honey butter ahead, do it now and put it in the fridge to firm up slightly.
Step 2: Make the Yolk Mixture (5 minutes)
In the bowl with the egg yolks, add the milk, vanilla extract, and half of the sugar. Whisk until smooth and combined. Sift in the cake flour and mix until just combined. There should be no lumps. The batter will be thin and runny. This is normal. Set aside.
Step 3: Whip the Egg Whites (5-7 minutes)
This is the most important step. Add the cream of tartar to the egg whites. Using an electric mixer, beat on medium-high speed until foamy. Gradually add the remaining sugar while beating. Continue beating until stiff peaks form. When you lift the beaters, the peaks should stand straight up without drooping. This takes about 3-5 minutes with a mixer. If you’re doing it by hand, it’ll take 10-15 minutes of arm workout.
Step 4: Fold the Batter (3 minutes)
Add about one-third of the meringue to the yolk mixture and whisk gently to lighten it. Then, add the rest of the meringue. Using a silicone spatula, gently fold the mixture. Cut down the middle, scrape the bottom, and fold over. Rotate the bowl and repeat. Stop when just a few streaks of white remain. Do not overmix! You want to keep as much air in the batter as possible. The batter should be fluffy and voluminous.
Step 5: Cook the Pancakes (15-20 minutes)
Heat your skillet over low heat. Grease it lightly with butter or oil. Using a squeeze bottle or spoon, pour the batter into the pan, forming 2-3 inch circles. Don’t crowd the pan. Cook for 2-3 minutes until the edges look set and the bottom is golden brown.
Now, add 1 tablespoon of water to the pan (away from the pancakes) and immediately cover with a lid. Reduce heat to low. Steam-cook for 4-5 minutes. The pancakes will puff up and become jiggly.
Uncover and carefully flip the pancakes. Add another tablespoon of water to the pan and cover again. Steam-cook for another 4-5 minutes. The pancakes should be cooked through and springy to the touch.
Step 6: Make the Whipped Honey Butter (5 minutes)
While the pancakes cook, beat the softened butter, honey, and vanilla extract until light and fluffy. It should be pale and spreadable. If it’s too hard, microwave it for 5 seconds. If it’s too soft, refrigerate for 5 minutes.
Step 7: Serve
Stack the pancakes on plates. Top with a generous dollop of whipped honey butter. Add fresh berries, a dusting of powdered sugar, and a drizzle of maple syrup if you like. Serve immediately. They deflate quickly, so eat them while they’re still jiggly.
Total Time: About 45 minutes (15 minutes active, 30 minutes mostly hands-off)
Expert Tips & Tricks
Here’s everything I’ve learned from making this dozens of times. These tips will save you from my mistakes.
The Meringue is Everything
Your egg whites must be at stiff peaks. If they’re soft, the pancakes will be flat. If they’re over-whipped, they’ll be dry. Aim for stiff, glossy peaks. The “claw” test is reliable: when you lift the beaters, the peak should curl over slightly but still hold its shape.
Fold, Don’t Stir
When combining the yolk and white mixtures, use a gentle folding motion. Stirring will deflate the air you worked so hard to incorporate. It’s like deflating a balloon. Be gentle. If you see streaks of white, keep folding gently until they’re just incorporated.
Low and Slow Heat
Japanese souffle pancakes are delicate. High heat will brown the outside before the inside is cooked. Keep your heat on low. If the pan is too hot, the pancakes will burn. If they’re too pale, increase the heat slightly next time. It takes practice to find your stove’s sweet spot.
Steam is Key
The water creates steam, which cooks the tops of the pancakes without flipping them too early. This is what makes them tall and fluffy. Don’t skip this step. Make sure your lid fits tightly to trap the steam.
Don’t Open the Lid
Once you cover the pan, don’t peek. Opening the lid lets the steam escape and can cause the pancakes to collapse. Trust the process. Set a timer and wait.
Room Temperature Ingredients
Make sure your eggs and butter are at room temperature. Cold ingredients can seize up or not mix properly. Take your eggs out of the fridge 30 minutes before you start.
Common Mistakes (and how to avoid them):
Mistake: Pancakes are flat
Fix: Your meringue was probably under-whipped, or you deflated it while folding. Make sure you have stiff peaks and fold gently.
Mistake: Pancakes are raw in the middle
Fix: Your heat was too low, or you didn’t steam long enough. Increase the heat slightly or steam for an additional minute.
Mistake: Pancakes are burnt
Fix: Your heat was too high. Lower the heat next time. You want a gentle, slow cook.
Pro Tricks I’ve Learned:
For Perfect Circles
Use a ring mold or a small bowl as a guide to pour the batter. It helps get uniform shapes. I use a ¼ cup measuring cup to scoop the batter for consistency.
For Extra Flavor
Add a teaspoon of lemon zest to the yolk mixture. It brightens the flavor and pairs beautifully with the honey butter.
For Better Texture
Let the batter rest for 5 minutes after folding. This allows the flour to hydrate and the air bubbles to stabilize. It’s a small step that makes a big difference.
Variations & Substitutions
Once you’ve nailed the basic version, here’s how you can mix it up. I’ve tried all of these.
Matcha Version
Add 1 teaspoon of culinary-grade matcha powder to the yolk mixture. It adds a beautiful green color and a subtle earthy flavor. My friend loves this version.
Chocolate Version
Add 1 tablespoon of cocoa powder to the yolk mixture. It makes them rich and chocolatey. Great for kids.
Berry Swirl
Add fresh blueberries or raspberries to the batter before cooking. They add bursts of tartness and color. I love this with the whipped honey butter.
Gluten-Free
Use gluten-free cake flour or a 1:1 gluten-free flour blend. Everything else is naturally gluten-free. I’ve used Bob’s Red Mill and it works great.
Dairy-Free
Replace milk with almond or oat milk. Use dairy-free butter for the whipped honey butter. It’s slightly different but still tasty.
Lower-Sugar
Reduce the sugar in the meringue to 15g. They’ll still be sweet from the honey butter and toppings, but less sugary overall.
Flavor Variations:
Lemon
Add zest of 1 lemon to the yolk mixture and 1 teaspoon of lemon juice to the whipped honey butter.
Orange
Add zest of 1 orange to the yolk mixture and 1 teaspoon of orange zest to the whipped honey butter.
Cinnamon
Add ½ teaspoon of cinnamon to the yolk mixture. It adds warmth and comfort.
Serving & Storage
How to Serve:
I usually serve these immediately after cooking, while they’re still jiggly. They’re best eaten hot. Here are other ways I’ve enjoyed them:
Side Dishes:
- Fresh berries (strawberries, blueberries, raspberries)
- A light green salad with vinaigrette (if you want something savory)
- Bacon or sausage (for a sweet and savory brunch)
- A glass of fresh orange juice or coffee
Toppings Bar:
When I have guests, I put out: whipped honey butter, powdered sugar, maple syrup, fresh berries, chocolate chips, and whipped cream. Everyone customizes their stack.
Storage Instructions:
Refrigerator:
Store leftovers in an airtight container for up to 2 days. They will deflate and become dense. It’s not ideal, but they’re still edible.
Reheating:
Best method: Reheat in a skillet over low heat with a splash of water and a lid. This restores some of the fluffiness.
Microwave method: Heat for 10-15 seconds. They’ll be soft but not fluffy.
Avoid: Toasting. They’ll become dry and rubbery.
Freezing:
Honestly, these don’t freeze well. The texture changes too much. They’re best made fresh. If you must freeze them, freeze the batter in an ice cube tray and cook them fresh later. It’s a hack I haven’t tried yet, but it’s worth a shot.
Pro tip:
Make the whipped honey butter ahead and store in the fridge. It firms up and is easier to spread. Take it out 10 minutes before serving to soften.
Nutrition Information
I’m not a nutritionist, but here’s the breakdown if you’re tracking.
Per Serving (based on 4 servings, 2 pancakes each):
- Calories: 280
- Protein: 8g
- Carbs: 35g
- Fiber: 1g
- Sugar: 18g
- Fat: 12g
- Saturated Fat: 6g
- Cholesterol: 140mg
- Sodium: 120mg
What’s Good:
- Decent protein from eggs
- Lower in fat than traditional pancakes
- Can add berries to boost nutrition
- More filling than it looks
What to Know:
- Higher in sugar from the meringue and honey butter
- Contains dairy and gluten
- Moderate calories
My Take:
Look, this is a treat. It’s sweet, fluffy, and indulgent. It’s not a diet recipe. But it’s way better than takeout, costs less, and I know exactly what’s in it. When I want to make it lighter, I reduce the sugar and skip the honey butter. But usually? I just eat a reasonable portion and enjoy it.
Final Thoughts
So that’s my go-to ultra-fluffy Japanese souffle pancakes! I’ve probably talked your ear off at this point, but when you make a recipe this often, you have a lot to say about it.
This has saved weekend brunches more times than I can count. It’s my answer to “what’s for breakfast” when I want something special but don’t want to leave the house. My family is happy, my partner’s happy, and I’m happy because I’m not stressed about cooking.
Make it yours! Try different add-ins, swap in your favorite berries, adjust the honey. The best recipes are the ones you adapt to your family’s tastes.
If you make this, drop a comment and let me know what you think! I love hearing how recipes turn out in your kitchen. And if something doesn’t work, tell me that too—I’m here to help troubleshoot.
Happy cooking! And I hope your kitchen smells half as good as mine does right now.
Frequently Asked Questions
Q: Can I use all-purpose flour instead of cake flour?
A: You can, but the pancakes will be denser. If you must, use ½ cup all-purpose flour plus 2 tablespoons of cornstarch. It’s a good substitute. But cake flour really does make a difference in the texture.
Q: Why did my pancakes collapse after flipping?
A: They probably weren’t cooked through. Make sure you steam-cook them long enough on the first side. The center should be set before you flip. Also, don’t open the lid too early.
Q: Can I make the batter ahead?
A: No. The meringue will deflate if you let it sit. Make the batter right before cooking. It’s best fresh.
Q: Why did my meringue not whip up?
A: Your bowl was probably dirty or greasy. Make sure it’s completely clean and dry. Also, make sure there’s no yolk in the whites. Even a tiny bit of yolk can prevent whipping.
Q: Can I use a different sweetener?
A: Yes, you can use maple syrup or agave in the whipped honey butter. But honey has a unique flavor that pairs well with the pancakes. I recommend sticking with honey for the best taste.
Q: How do I flip them without breaking?
A: Use an offset spatula. Slide it under the pancake gently. If it’s sticking, let it cook a bit longer. The edges should pull away from the pan. Flip quickly and confidently.
Q: Can I make these in a waffle iron?
A: No. The batter is too thin and delicate. It will leak out. Stick to a skillet.
Pin This Recipe!
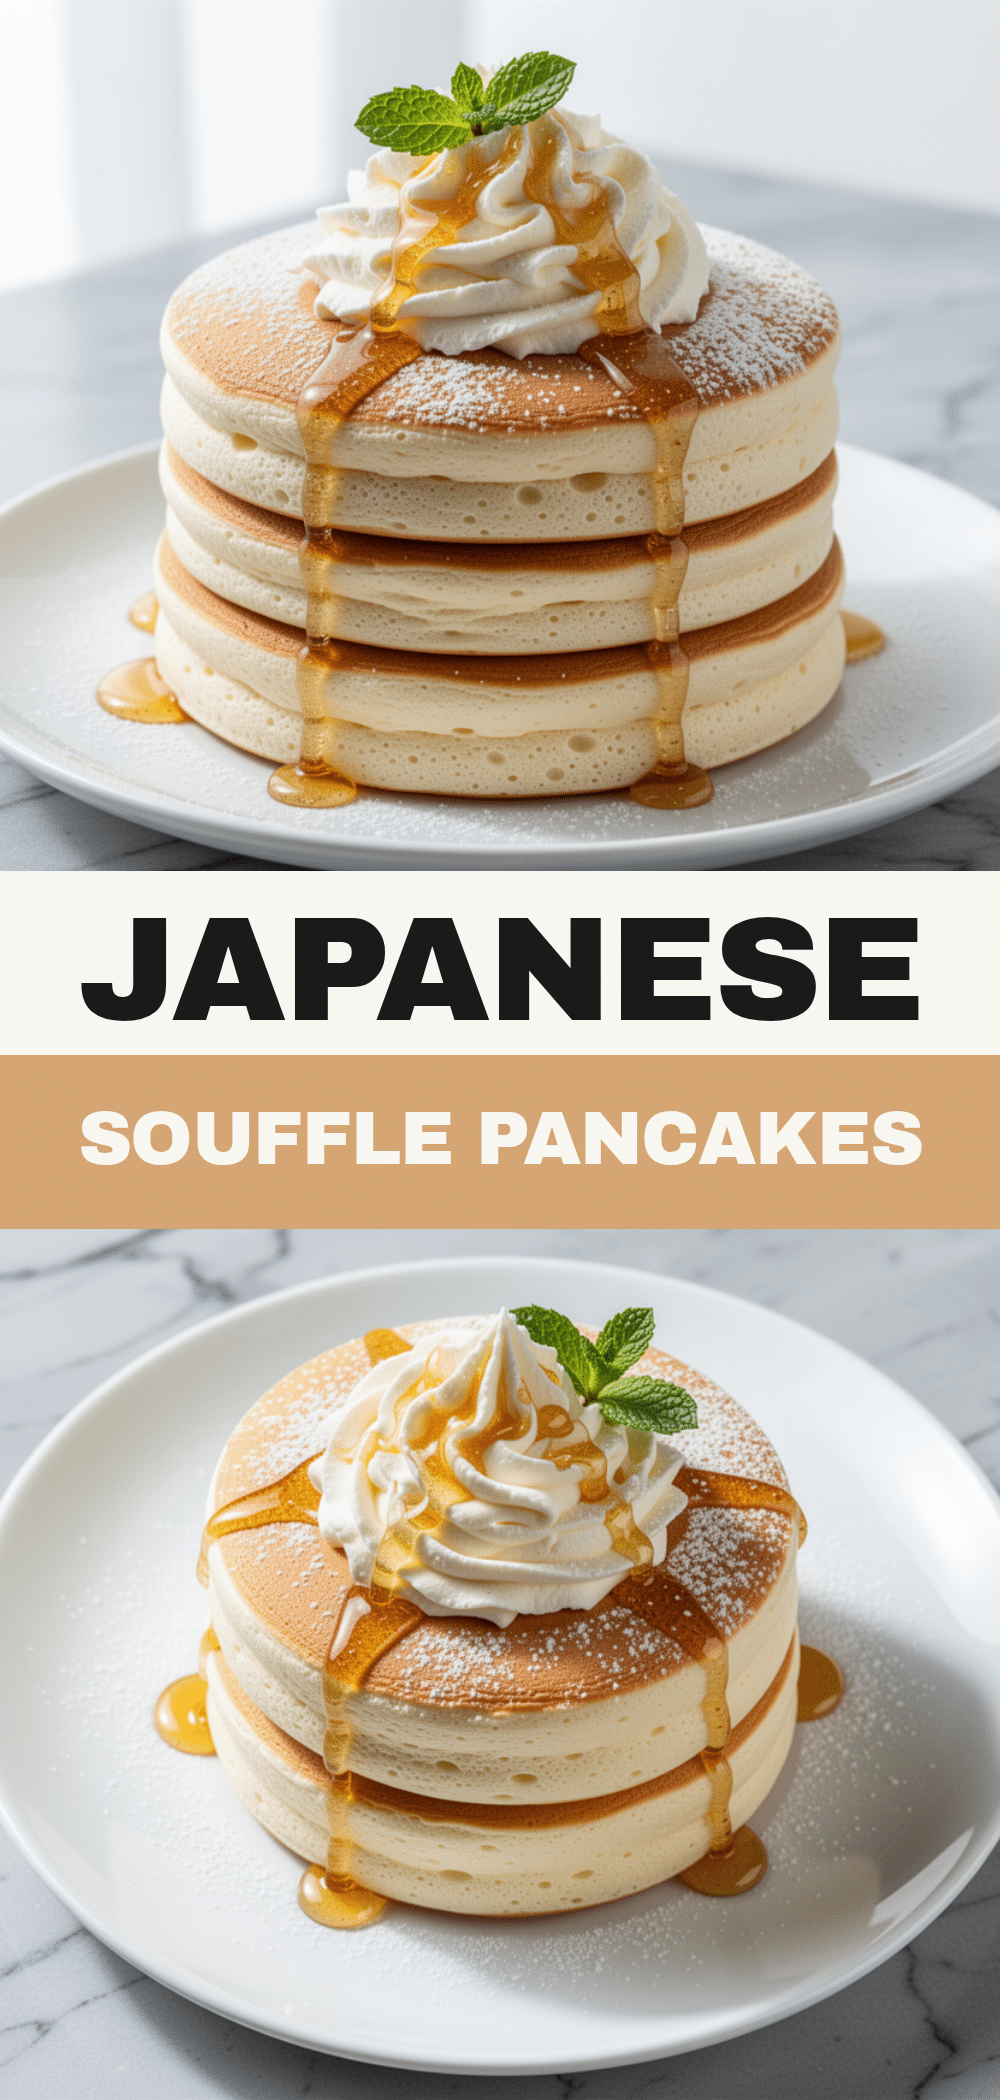
Ultra-Fluffy Japanese Souffle Pancakes: Easy Whipped Honey Butter
- Total Time: 45 minutes
- Yield: 4 servings 1x
Description
These ultra-fluffy Japanese souffle pancakes are jiggly, impossibly tall, and melt in your mouth. Paired with a sweet and savory whipped honey butter, this recipe creates an impressive yet doable weekend brunch treat.
Ingredients
- 4 large egg yolks
- 30g (about ¼ cup) cake flour
- 30ml (2 tablespoons) whole milk
- ½ teaspoon vanilla extract
- 4 large egg whites
- ¼ teaspoon cream of tartar
- 30g (2 tablespoons) granulated sugar, divided
- a pinch of salt
- 50g (¼ cup) unsalted butter, softened (for whipped honey butter)
- 1 tablespoon honey (for whipped honey butter)
- ¼ teaspoon vanilla extract (for whipped honey butter)
- 1 teaspoon heavy cream, optional (for whipped honey butter)
- butter or oil for greasing pan
- water for steaming
Instructions
- Separate eggs, placing yolks in one bowl and whites in a completely clean, grease-free bowl. Let ingredients come to room temperature.
- In the bowl with egg yolks, whisk in milk, vanilla extract, and half of the sugar until smooth. Sift in cake flour and mix until just combined with no lumps. Set aside.
- Add cream of tartar to egg whites. Using an electric mixer, beat on medium-high speed until foamy. Gradually add remaining sugar while beating. Continue until stiff peaks form.
- Add about one-third of the meringue to the yolk mixture and whisk gently to lighten. Add the rest of the meringue and gently fold with a silicone spatula until just combined, keeping as much air in the batter as possible.
- Heat a non-stick skillet over low heat and grease lightly. Pour batter into 2-3 inch circles. Cook for 2-3 minutes until edges are set and bottom is golden.
- Add 1 tablespoon of water to the pan (away from pancakes) and immediately cover with a lid. Reduce heat to low and steam-cook for 4-5 minutes until puffed and jiggly.
- Uncover and carefully flip pancakes. Add another tablespoon of water and cover again. Steam-cook for another 4-5 minutes until cooked through and springy.
- While pancakes cook, beat softened butter, honey, and vanilla extract until light and fluffy to make the whipped honey butter.
- Stack pancakes, top with whipped honey butter, fresh berries, powdered sugar, and maple syrup. Serve immediately.
Notes
Ensure the bowl for egg whites is completely clean and grease-free to ensure proper whipping. Do not open the lid while steaming to prevent collapse. These pancakes are best eaten immediately as they deflate quickly. For gluten-free, use a 1:1 gluten-free flour blend. For dairy-free, use almond milk and dairy-free butter.
- Prep Time: 15 minutes
- Cook Time: 30 minutes
- Category: Breakfast
- Cuisine: Japanese
Nutrition
- Serving Size: 2 pancakes per servi
- Calories: 280
- Sugar: 18
- Sodium: 120
- Fat: 12
- Saturated Fat: 6
- Carbohydrates: 35
- Fiber: 1
- Protein: 8
Keywords: Japanese souffle pancakes, fluffy pancakes, whipped honey butter, brunch recipe, easy breakfast, steamed pancakes


