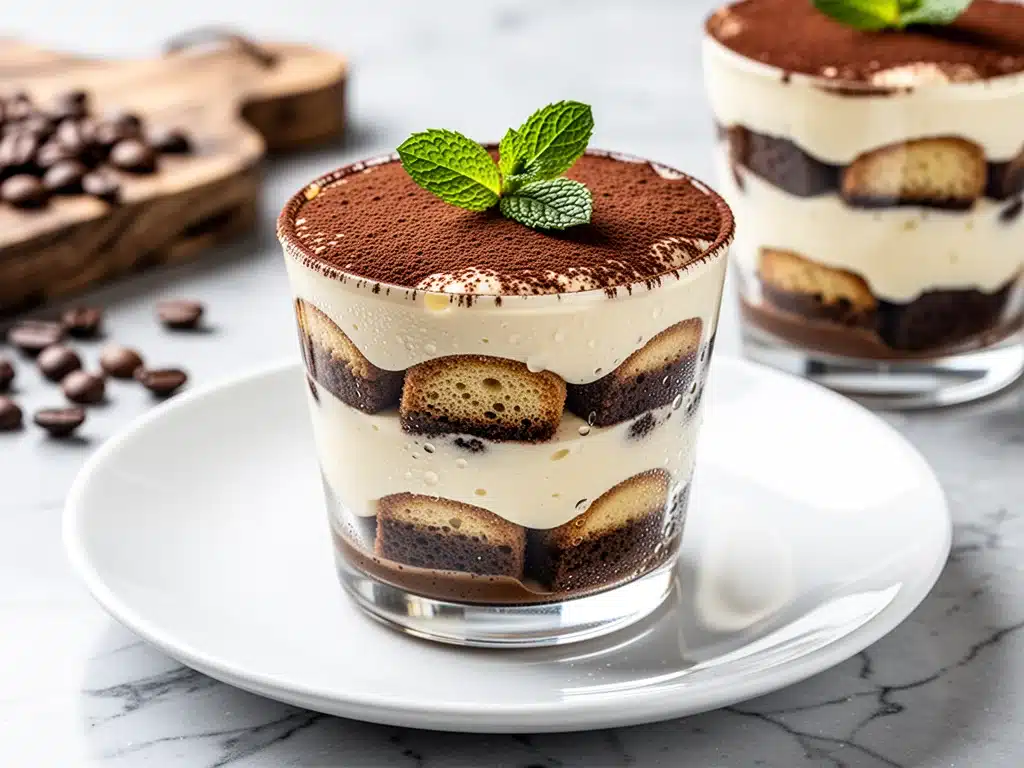
There’s a specific kind of panic that sets in when you’re hosting a dinner party and you realize you forgot to make dessert. I’ve been there. It’s 7 PM, the guests are still an hour away, and the fridge is staring back at me like a challenge. A few years ago, I tried to salvage the situation by throwing together a massive, lopsided tiramisu in a glass trifle bowl. It tasted fine, sure. But it looked like a mess. The layers were uneven, the cocoa powder was dusted haphazardly, and cutting into it felt like digging through a dessert earthquake.
That night, my friends didn’t care about the aesthetics. They loved it. But I realized something important: I wanted to make something that looked as good as it tasted. I wanted that restaurant magic. You know the kind—the little, perfect cups that arrive at the table looking like little works of art, with distinct layers of coffee-soaked sponge and creamy mascarpone, dusted with cocoa powder like snow on a winter morning.
So, I started experimenting. I wanted a Restaurant-Style Tiramisu Cups with Espresso and Mascarpone everyone always asks for. I wanted them to be stable enough to transport, pretty enough to impress, and easy enough to make without a trip to the bakery. I tested this recipe about twelve times. I tried different ladyfingers, I played with the sweetness of the mascarpone, and I even debated whether to use raw eggs or not. (Spoiler: I’m skipping the raw eggs for safety and ease, but the flavor is still 100% authentic.)
Now, this Restaurant-Style Tiramisu Cups with Espresso and Mascarpone everyone always asks for is my go-to for holidays, date nights, or just when I need to treat myself. It’s no-bake, it’s make-ahead friendly, and it tastes like you spent hours in the kitchen (even though it takes about 30 minutes of active work). If you’ve ever been intimidated by tiramisu, this is your entry point. It’s foolproof, it’s beautiful, and it’s going to change how you think about dessert.
Why You’ll Love This Recipe
Let’s be real. Tiramisu is one of those desserts that feels fancy but shouldn’t be hard. This recipe strips away the intimidation factor and leaves you with pure, creamy, coffee-kissed goodness. Here’s why this version has taken over my kitchen:
- Zero Baking Required — Seriously. No oven, no stove-top custard (unless you want to get fancy, but I’m keeping it simple). You just mix, dip, and layer. It’s the ultimate lazy-chef luxury. If you can assemble a sandwich, you can make this.
- Perfect for Entertaining — This is where the magic happens. Because we’re using individual cups, you can prep these hours ahead. In fact, they taste better the next day. I love making them the morning of a party so I can focus on my main course. And unlike a giant trifle, everyone gets their own perfect portion.
- Restaurant-Quality Presentation — There’s something satisfying about seeing those distinct layers in a clear glass. It looks like you bought it from an expensive Italian cafe. The key is using the right glasses and taking your time with the dusting of cocoa powder. It’s the little details that make people ask, “Where did you get this?”
- Customizable Sweetness — Store-bought tiramisu is often too sweet for my taste. With this recipe, you control the sugar. You can go light on the sugar in the cream or heavy on the espresso. It’s your canvas. I usually go for a balanced sweet, but my husband likes his a little sweeter, so we keep a little bowl of sugar nearby.
- Make-Ahead Friendly — This is my secret weapon. Tiramisu needs time to set. The flavors meld, the ladyfingers soften just right, and the cream firms up. I make these at least 4 hours ahead, but 24 hours is ideal. It’s not just convenient; it’s necessary for the best texture.
This isn’t just a dessert; it’s a stress-free way to end a meal. It’s elegant without being fussy. And once you try these cups, you’ll probably never go back to the big bowl version again.
Ingredients You’ll Need
One of the best things about tiramisu is how few ingredients it uses. But because there are so few, quality matters. You can’t hide bad ingredients in a simple recipe. Here’s what you need to make the best Restaurant-Style Tiramisu Cups with Espresso and Mascarpone everyone always asks for.
For the Espresso Soak
Strong Espresso or Cold Brew Coffee (2 cups / 480ml) — This is the backbone of the flavor. I use a strong espresso from my machine, but a very strong cold brew works too. It needs to be bold because the ladyfingers will dilute it slightly. If you don’t have a coffee machine, use instant espresso powder dissolved in hot water. Do not use drip coffee; it’s too weak and will taste watery.
Dark Rum or Coffee Liqueur (2-3 tablespoons) — This is optional but highly recommended. A good rum like Myers’s or a coffee liqueur like Kahlúa adds that adult depth. If you’re making this for kids or non-drinkers, you can skip it or use a bit of vanilla extract. I usually add about 2 tablespoons for a subtle kick.
Simple Syrup (1 tablespoon, optional) — If your espresso is very bitter, a little simple syrup balances it out. Just mix equal parts sugar and hot water until dissolved. Taste your coffee before adding this.
For the Mascarpone Cream
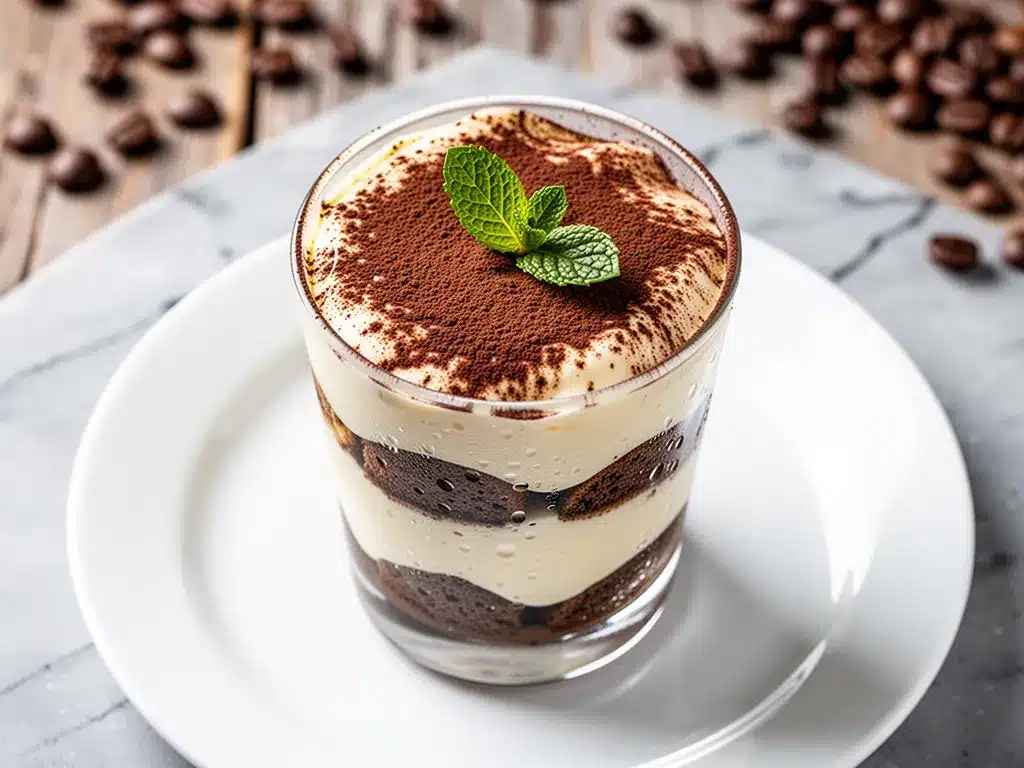
Mascarpone Cheese (16 oz / 450g) — This is non-negotiable. Don’t substitute with cream cheese. Mascarpone is richer, creamier, and has a different fat content that makes the texture light and airy. Let it come to room temperature before using; it’s much easier to whip.
Heavy Cream (1 cup / 240ml) — Cold heavy cream is essential for whipping. It needs to be at least 35% fat. If you use lighter cream, it won’t hold the peaks you need for those beautiful layers.
Granulated Sugar (½ cup / 100g) — This sweetens the cream. Adjust to taste. I find ½ cup is perfect, but if you like it sweeter, go up to ¾ cup.
Vanilla Extract (1 teaspoon) — Pure vanilla, not imitation. It adds warmth and rounds out the coffee flavor.
egg Yolks (3 large) — We’re using pasteurized egg yolks for safety and richness. If you’re worried about raw eggs, you can use a cooked custard base, but that changes the texture. For most home cooks, pasteurized yolks are safe and delicious. If you’re still hesitant, you can skip them and just whip the cream and mascarpone, but it will be less rich.
For Assembly
Ladyfingers (Savoiardi) (1 package / about 24-30 pieces) — Use dry, crisp ladyfingers. Do not use the soft, sponge-like ones. They need to hold up to the coffee soak without disintegrating. Look for Italian-style ladyfingers in the baking aisle.
Dutch-Process Cocoa Powder (for dusting) — Use good quality cocoa powder. Dutch-process is darker and less bitter, which looks prettier and tastes smoother. Sift it over the top for that professional finish.
Chocolate Shavings (optional) — For an extra touch of elegance, add some dark chocolate shavings on top. It adds a nice crunch and visual contrast.
Equipment Needed
You don’t need much fancy gear for this. Here’s what I actually use:
Mixing Bowls — You’ll need two large bowls. One for the mascarpone mixture and one for whipping the cream. Glass or stainless steel work best.
Electric Hand Mixer or Stand Mixer — This is crucial for getting the cream fluffy. I use a hand mixer because it’s easier to control. If you don’t have one, you can use a whisk, but it will take about 10 minutes of arm work. Not recommended if you’re tired.
Measuring Cups and Spoons — Standard stuff. Just make sure they’re clean and dry, especially for whipping cream.
Shallow Dish for Coffee — I use a pie plate or a wide bowl for dipping the ladyfingers. It needs to be wide enough to dip the ladyfingers quickly and evenly.
Serving Glasses — This is where the “restaurant style” comes in. I use 6-8 oz clear glasses. I like small, elegant coupe glasses or even mason jars for a rustic look. The key is that they’re clear so you can see the layers.
Sifter or Fine Mesh Strainer — For dusting the cocoa powder. A sifter gives you that fine, even cloud of cocoa. A fork works in a pinch, but it’s less pretty.
Offset Spatula — Optional, but helpful for smoothing the cream layers. A regular spatula works fine too.
How to Make It: Step-by-Step
Alright, let’s make these cups! It’s easier than it looks, but there are a few tricks to getting it right. I’m walking you through exactly how I do it.
Step 1: Prepare the Coffee Soak (5 minutes)
Brew your espresso and let it cool to room temperature. If you’re using hot espresso, it will melt the mascarpone if you’re not careful. I usually brew it in the morning and let it sit out. Once it’s cool, stir in the rum (if using) and simple syrup. Taste it. It should taste strong and slightly sweet. Set it aside in your shallow dipping dish.
Step 2: Whip the Heavy Cream (5 minutes)
In a large, cold bowl, whip the heavy cream with the electric mixer on medium-high speed. Whip until you get stiff peaks. This means when you lift the beaters, the cream stands up straight. Don’t over-whip it into butter, but don’t under-whip it either. Stiff peaks are the key to structure. Set it aside.
Step 3: Make the Mascarpone Mixture (5 minutes)
In another bowl, beat the room-temperature mascarpone, egg yolks, sugar, and vanilla extract on medium speed until smooth and creamy. This should take about 2-3 minutes. Scrape down the sides of the bowl to make sure everything is incorporated. The mixture should be thick and smooth.
Step 4: Fold the Cream Together (3 minutes)
Gently fold the whipped cream into the mascarpone mixture. Use a spatula and fold from the bottom up, turning the bowl as you go. Be gentle here! You don’t want to deflate the air you worked so hard to get into the cream. Fold until just combined. It should look light and airy, like a mousse.
Step 5: Dip the Ladyfingers (5 minutes)
This is the most important step for texture. Take a ladyfinger and dip it into the coffee mixture. Quick dip! I mean 1-2 seconds per side. You want it soaked but not soggy. If you leave it in too long, it will fall apart. Place the dipped ladyfinger at the bottom of your serving glass. You might need 2-3 ladyfingers to cover the bottom, depending on the size of your glass.
Step 6: Layer the Cream (5 minutes)
Spread a layer of the mascarpone cream over the ladyfingers. Use about ½ cup per glass. Smooth it out with a spatula. Then, add another layer of dipped ladyfingers on top. Finish with a final layer of cream. You want two layers of ladyfingers and two layers of cream. Press down gently to make sure the layers are compact.
Step 7: Chill and Set (4+ hours)
Once assembled, cover the glasses with plastic wrap and refrigerate. This is where the magic happens. The ladyfingers absorb the coffee and soften into a cake-like texture, and the cream firms up. Chill for at least 4 hours, but overnight is best. This step is non-negotiable for the best texture.
Step 8: Dust and Serve
Just before serving, sift a generous layer of cocoa powder over the top. Use a sifter for a fine, even dusting. If you have chocolate shavings, add them now. Serve immediately. These cups are best eaten within 24 hours, but they’ll keep in the fridge for up to 2 days.
Expert Tips & Tricks
Here’s everything I’ve learned from making these cups dozens of times. These tips will save you from my mistakes.
Dip Quickly — This is the #1 tip. Ladyfingers are like sponges. Dip them fast—1-2 seconds per side. If you leave them in too long, they’ll disintegrate in the cup. I’ve ruined batches by getting distracted and letting them soak for too long. Set a timer if you have to.
Room Temperature Mascarpone — Cold mascarpone is lumpy and hard to mix. Take it out of the fridge 30 minutes before you start. If you try to whip cold mascarpone, you’ll end up with chunks of cheese in your cream. Not pretty.
Cold Bowl for Cream — If you’re whipping cream by hand or with a mixer, make sure your bowl is cold. You can even chill the bowl in the freezer for 10 minutes. Cold cream whips better and holds its shape longer.
Don’t Skip the Chill Time — I know you want to eat it now. Resist the urge. Tiramisu needs time to set. The flavors need to meld, and the texture needs to firm up. If you eat it right away, it’ll be loose and messy. Give it at least 4 hours.
Use Good Cocoa Powder — The cocoa powder is the only thing on top, so it needs to taste good. Use Dutch-process cocoa for a darker, smoother dusting. It looks more professional and tastes less bitter.
Common Mistakes (and how to avoid them)
- Mistake: Ladyfingers are too soggy Fix: Dip them faster. If they’re already soggy, you can salvage the cup by adding more cream on top to balance it out, but it’s not ideal.
- Mistake: Cream is grainy Fix: Your mascarpone was too cold, or you over-mixed it. Make sure mascarpone is room temp, and fold gently.
- Mistake: Layers are uneven Fix: Use a measuring cup for the cream. ½ cup per layer ensures consistency. Also, smooth the cream with a spatula for a clean look.
Variations & Substitutions
Once you’ve nailed the basic version, here’s how you can mix it up. I’ve tried all of these.
Alcohol-Free Version — Skip the rum or coffee liqueur in the coffee soak. Add a teaspoon of vanilla extract to the cream instead. It’s still delicious and perfect for kids.
Chocolate Tiramisu — Add 2 tablespoons of cocoa powder to the mascarpone mixture. It turns it into a chocolate-mascarpone cream. Pair it with a chocolate coffee soak if you’re feeling extra indulgent.
Mint Tiramisu — Add 1 teaspoon of peppermint extract to the cream and use chocolate shavings instead of cocoa powder. It’s like a mint chocolate chip dessert.
Strawberry Tiramisu — Add a layer of sliced strawberries between the cream and ladyfingers. It’s lighter and perfect for summer. The acidity of the strawberries cuts through the richness of the cream.
Gluten-Free — Use gluten-free ladyfingers. They can be harder to find, but they work. Just be careful not to over-soak them, as they can fall apart faster.
Dairy-Free — Use dairy-free mascarpone (like a cashew-based cream) and coconut cream instead of heavy cream. It’s not quite the same, but it’s still creamy and delicious. My dairy-free friend loves this version.
Serving & Storage
How to Serve — I usually serve these straight from the fridge. They’re best cold. I like to add a small spoon for each person, or just let them eat it with a fork. It’s finger food in a fancy way. I also like to serve it with a small side of whipped cream if I want to be extra fancy, but it’s not necessary.
Side Dishes — These cups are rich, so they don’t need much else. I usually serve them after a light meal. If you’re having a big dinner, these are the perfect finish. I also like to pair them with a cup of black coffee to complement the flavors.
Storage Instructions
Refrigerator: Store in an airtight container or covered with plastic wrap for up to 2 days. They will keep well, but the ladyfingers will continue to soften. After 2 days, they might get a bit mushy.
Freezing: Honestly, this doesn’t freeze well. The cream can separate, and the ladyfingers can get icy. I recommend making it fresh or storing in the fridge for up to 2 days.
Meal Prep: This is the perfect make-ahead dessert. Make them the night before or even the morning of. Just keep them covered in the fridge. When you’re ready to serve, dust with cocoa powder and add any garnishes.
Nutrition Information
I’m not a nutritionist, but here’s the breakdown if you’re tracking. Keep in mind that this is a rich dessert, so portion control is key.
Per Serving (based on 6 servings):
- Calories: 380
- Protein: 6g
- Carbs: 35g
- Fiber: 1g
- Sugar: 22g
- Fat: 24g
- Saturated Fat: 14g
- Cholesterol: 120mg
- Sodium: 120mg
What’s Good: It’s relatively low in protein, but the fat content is healthy from the mascarpone and cream. It’s a good source of calcium from the cheese.
What to Know: It’s higher in sugar and calories. If you’re watching your intake, stick to one cup. It’s a treat, not a snack.
My Take: Look, this is tiramisu. It’s cream, sugar, and coffee. It’s not a diet food. But it’s way better than store-bought, and you control the ingredients. When I make it, I use less sugar and high-quality ingredients, so it feels more indulgent but also more satisfying. Enjoy it in moderation.
Final Thoughts
So that’s my Restaurant-Style Tiramisu Cups with Espresso and Mascarpone everyone always asks for. I’ve probably talked your ear off at this point, but when you make a recipe this often, you have a lot to say about it.
This has saved my dinner parties more times than I can count. It’s my answer to “what’s for dessert” when I want something fancy but don’t have time to bake. My friends are happy, my husband’s happy, and I’m happy because I’m not stressed about cooking.
Make it yours! Try different liqueurs, add some chocolate shavings, or swap in some fresh berries. The best recipes are the ones you adapt to your tastes. And if you’re looking for more easy desserts, check out my cinnamon-spiced canned pears for a quick and warm alternative.
If you make this, drop a comment and let me know what you think! I love hearing how recipes turn out in your kitchen. And if something doesn’t work, tell me that too—I’m here to help troubleshoot. Happy cooking! And I hope your kitchen smells half as good as mine does right now.
Frequently Asked Questions
Q: Can I use instant coffee instead of espresso?
A: You can, but it won’t be as strong. Instant coffee can taste a bit bitter or metallic. If you must use it, dissolve 2 tablespoons of instant espresso powder in 1 cup of hot water and let it cool. It’s a decent substitute if you don’t have a coffee machine.
Q: Why did my tiramisu turn out runny?
A: This usually means the cream wasn’t whipped stiff enough, or the mascarpone was too warm. Make sure you whip the cream to stiff peaks and that the mascarpone is room temperature but not melted. Also, give it enough time to chill in the fridge.
Q: Can I make this ahead for a party?
A: Absolutely! This is one of the best make-ahead desserts. You can make it up to 24 hours in advance. In fact, it tastes better the next day because the flavors have time to meld. Just cover it tightly and store it in the fridge.
Q: Can I use regular cream cheese instead of mascarpone?
A: It’s not recommended. Mascarpone is much creamier and has a higher fat content. Cream cheese is tangier and denser. If you must substitute, mix cream cheese with a little heavy cream to soften it, but it won’t be the same texture.
Q: How do I dust the cocoa powder evenly?
A: Use a fine-mesh sifter or a sieve. Hold it about 6 inches above the cup and gently tap the side. This gives you a fine, even dusting. If you don’t have a sifter, you can use a fork, but it’s less pretty.
Q: Can I freeze tiramisu cups?
A: I don’t recommend it. The cream can separate and become grainy when thawed. The ladyfingers can also get icy and mushy. It’s best to make it fresh or store it in the fridge for up to 2 days.
Pin This Recipe!
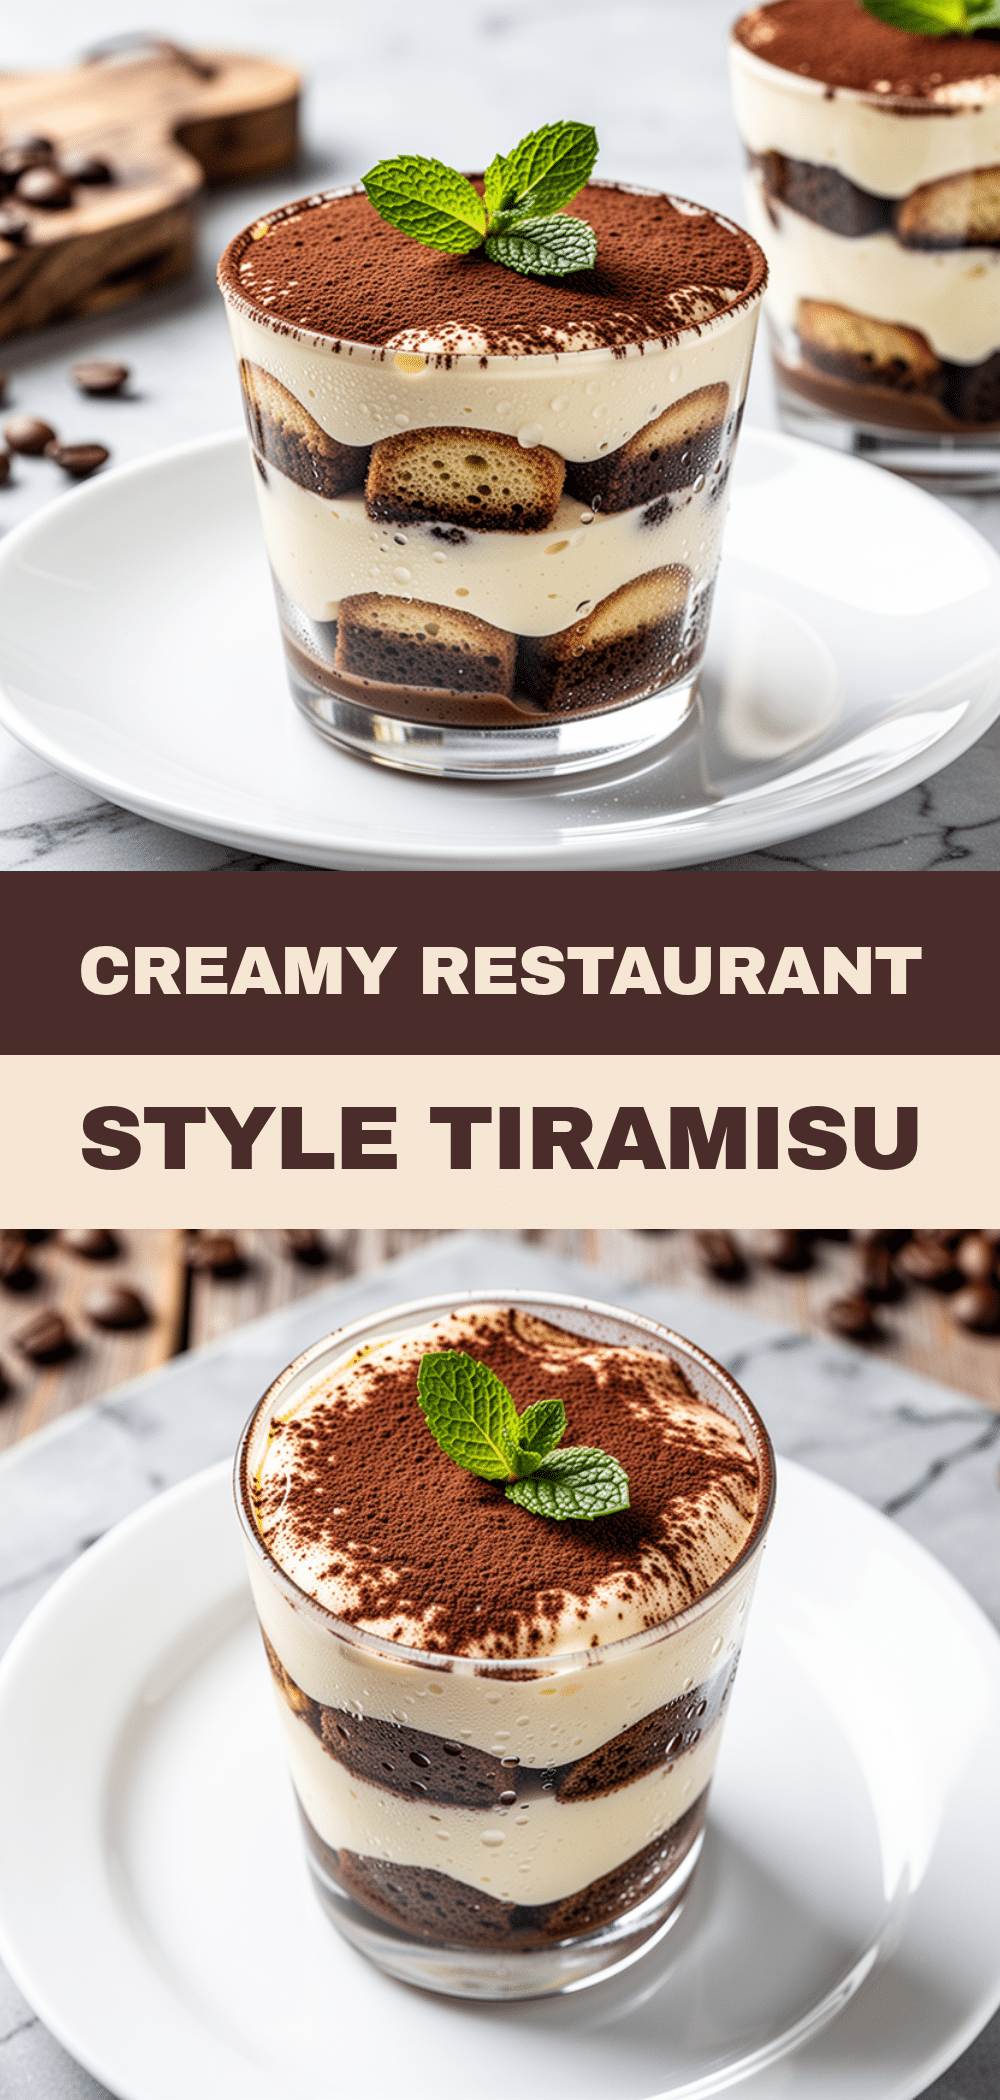

Restaurant-Style Tiramisu Cups: Easy No-Bake Dessert
- Total Time: 4 hours 30 minutes
- Yield: 6 servings 1x
Description
These no-bake Tiramisu Cups offer a restaurant-quality presentation with distinct layers of coffee-soaked ladyfingers and creamy mascarpone, making them an elegant, make-ahead dessert perfect for entertaining.
Ingredients
- 2 cups (480ml) strong espresso or cold brew coffee, cooled
- 2–3 tablespoons dark rum or coffee liqueur (optional)
- 1 tablespoon simple syrup (optional)
- 16 oz (450g) mascarpone cheese, room temperature
- 1 cup (240ml) heavy cream, cold
- ½ cup (100g) granulated sugar
- 1 teaspoon vanilla extract
- 3 large egg yolks (pasteurized)
- 1 package (24-30 pieces) ladyfingers (Savoiardi)
- Dutch-process cocoa powder, for dusting
- Chocolate shavings, optional
Instructions
- Brew espresso and let it cool to room temperature. Stir in rum and simple syrup if using, then pour into a shallow dish for dipping.
- In a large, cold bowl, whip the heavy cream with an electric mixer on medium-high speed until stiff peaks form. Set aside.
- In another bowl, beat the room-temperature mascarpone, egg yolks, sugar, and vanilla extract on medium speed until smooth and creamy (about 2-3 minutes).
- Gently fold the whipped cream into the mascarpone mixture using a spatula until just combined and light and airy.
- Quickly dip each ladyfinger into the coffee mixture for 1-2 seconds per side to soak but not saturate. Place 2-3 dipped ladyfingers at the bottom of each serving glass.
- Spread a layer of mascarpone cream (about ½ cup) over the ladyfingers. Add a second layer of dipped ladyfingers, followed by a final layer of cream. Press down gently.
- Cover the glasses with plastic wrap and refrigerate for at least 4 hours, or overnight, to allow the layers to set and flavors to meld.
- Just before serving, sift a generous layer of cocoa powder over the top. Add chocolate shavings if desired and serve immediately.
Notes
Dip ladyfingers quickly (1-2 seconds) to prevent them from becoming soggy. Ensure mascarpone is at room temperature for a smooth mixture. Chill for at least 4 hours for best texture. Do not freeze as the cream may separate and ladyfingers may become icy.
- Prep Time: 30 minutes
- Cook Time: 0 minutes
- Category: Dessert
- Cuisine: Italian
Nutrition
- Serving Size: 1 cup
- Calories: 380
- Sugar: 22
- Sodium: 120
- Fat: 24
- Saturated Fat: 14
- Carbohydrates: 35
- Fiber: 1
- Protein: 6
Keywords: tiramisu, no-bake dessert, tiramisu cups, mascarpone, espresso, Italian dessert, make-ahead dessert, party dessert, restaurant style dessert


