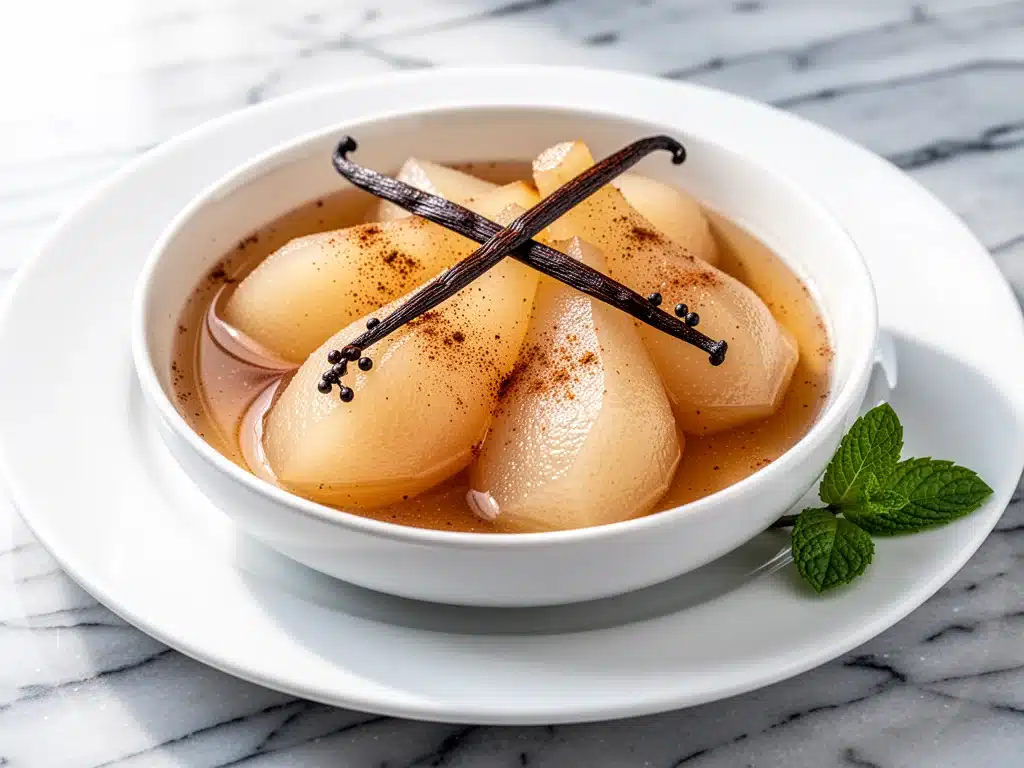
It was 2019, and I was three hours away from hosting Christmas dinner for twelve people. I had the main course figured out, the salads were prepped, and the wine was chilling. But the dessert? I had panicked. I wanted something elegant enough for my foodie sister but foolproof enough that I wouldn’t burn the kitchen down while wrapping presents. That’s when I stared at a can of pears in my pantry and had a weirdly brilliant idea.
I’ve always thought canned fruit was the unsung hero of holiday cooking. It’s sweet, it’s soft, and it’s already cooked. But straight out of the can? Boring. Dry. Sad. I needed to transform it. So, I dumped the syrup, added cinnamon sticks, a vanilla bean (because I wanted to feel fancy), and a splash of brown sugar. I simmered it for ten minutes, let it cool, and served it in little ramekins.
Here’s the thing: my family didn’t even know they were eating canned pears. Not until I told them, anyway. My brother-in-law asked for the recipe. My mom asked where I’d been hiding this skill. And that’s when I knew I had found the ultimate holiday hack.
This cinnamon spiced canned pears with vanilla bean dessert is my go-to when I need to impress without the stress. It’s not just “easy.” It’s genuinely delicious. The spices infuse the fruit until it tastes like it spent all day in the oven. The vanilla adds that rich, creamy depth you usually get from expensive custards. And the best part? It costs less than $5 to make for a crowd. I’ve made this recipe for three holiday seasons now, and it’s become the one dish everyone asks for. If you’re looking for a stress-free dessert that looks stunning on the table, you need to try this. Seriously. It’s a game-changer.
Why You’ll Love This Holiday Dessert
I’ve tested a lot of “quick” desserts that end up being more work than a from-scratch cake. This one is different. It respects your time and still delivers that warm, comforting holiday flavor. Here’s why this cinnamon spiced canned pears with vanilla bean dessert has earned a permanent spot in my holiday rotation:
- Zero Baking Required — This is huge. When your oven is full of turkeys, hams, and casseroles, you don’t want to be fighting for space. This dessert stovetop-only. You can make it while everyone else is still eating main course. I’ve served it hot, warm, and cold, and it works every time.
- Feels Fancy, Costs Pennies — Canned pears are cheap. Cinnamon is cheap. Vanilla bean? Well, that’s the splurge, but you only need half a pod. The result looks like a high-end restaurant dessert. I’ve served this to friends who swear I’m a professional baker. The glossy, syrupy finish makes it look intentional and luxurious.
- Make-Ahead Magic — This tastes even better the next day. The flavors meld together overnight. I usually make it the morning of the party, let it cool, and refrigerate it. It’s ready to grab and go. No last-minute panic. Just pull it out, spoon it into bowls, and add a dollop of whipped cream.
- Gluten-Free Friendly — Naturally gluten-free. I don’t have to worry about cross-contamination or separate batches for my celiac friend. It’s safe, simple, and satisfying. Everyone gets to eat the same thing.
- Customizable Spice Level — Some people love cinnamon; others find it overpowering. With this recipe, you control the heat. Start with one stick and add more if you want that cozy, spicy kick. It’s your dessert, your rules.
This is my answer to “what’s for dessert?” when I’m tired and overwhelmed. It’s reliable, it’s cheap, and it makes people happy. No fancy techniques, no weird ingredients, just simple, warm, spiced fruit that tastes like home.
Ingredients You’ll Need
Here’s the best part: you probably have most of this already. This cinnamon spiced canned pears with vanilla bean dessert relies on pantry staples and fresh basics. I’m particular about the vanilla, though. That’s where the magic happens.
For the Pears
Light syrup canned pears (2 cans, 15 oz each / about 850g) — I use light syrup because it’s less sweet than heavy syrup. If you only have heavy syrup, just drain it well and rinse the pears. You want the fruit to shine, not be cloying. Halved or sliced works, but halves look more elegant for serving.
Brown sugar (2 tablespoons / 30g) — Adds a deep, molasses-like flavor that pairs perfectly with cinnamon. I use light brown sugar. Dark brown is fine too, but it might overpower the delicate pear flavor. Skip this if you’re watching sugar, but I promise it makes a difference.
Water (½ cup / 120ml) — Just to create the simmering liquid. You don’t need much. It mixes with the sugar and spices to make the glossy sauce.
For the Spice Blend
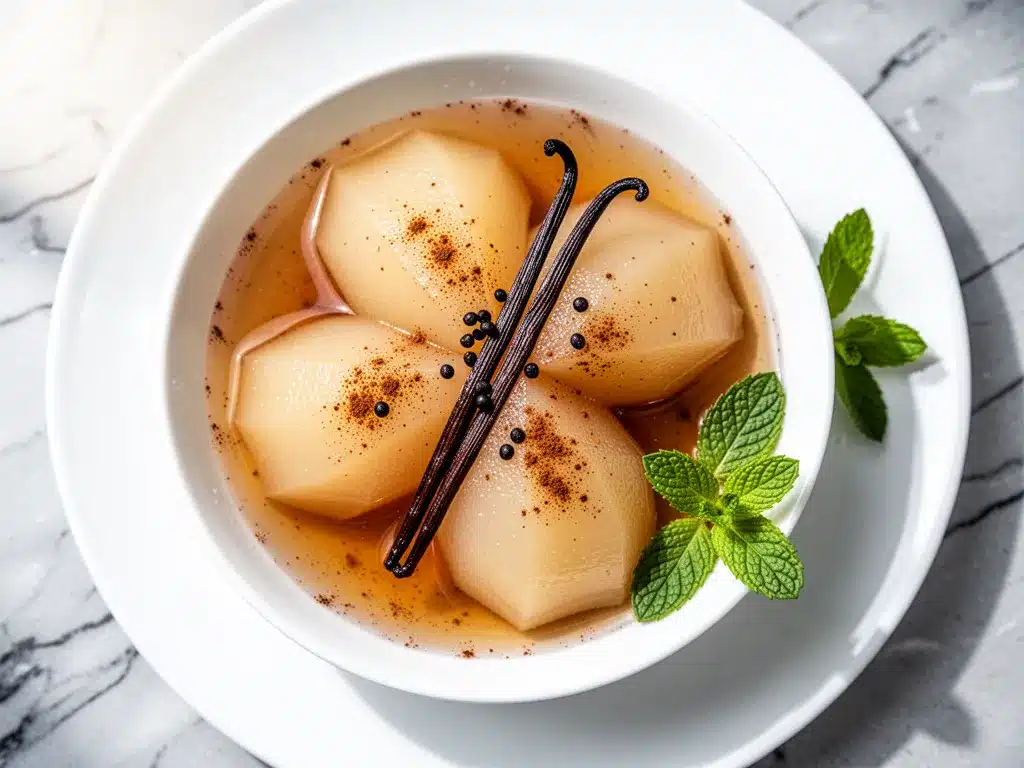
Cinnamon sticks (2 whole sticks / or 1 teaspoon ground cinnamon) — Whole sticks give a subtle, aromatic flavor without being gritty. Ground cinnamon works but can make the sauce slightly cloudy. I prefer sticks for the visual appeal and clean flavor. If you use ground, add it at the end.
Vanilla bean (1 pod, split lengthwise) — This is the star. Scrape the seeds and add both the seeds and the pod. The seeds infuse the syrup with those tiny black specks that look so fancy. If you don’t have a vanilla bean, use 1 teaspoon of pure vanilla extract, but add it at the very end so the flavor doesn’t cook off.
Ground nutmeg (¼ teaspoon) — Just a pinch. It adds warmth and complexity. Don’t overdo it. Nutmeg is strong. A little goes a long way.
Ground cardamom (⅛ teaspoon) — Optional, but I love it. It adds a floral, citrusy note that elevates the cinnamon. If you don’t have it, skip it. The dessert is still amazing without it.
For Serving
Heavy cream or whipped cream — Cold, fluffy whipped cream is non-negotiable for me. The contrast between the warm, spiced pears and the cold cream is everything. I make my own, but store-bought works fine.
Vanilla ice cream — Alternatively, a scoop of vanilla bean ice cream is delicious. It melts into the warm pears, creating a sort of built-in sauce. I alternate between cream and ice cream depending on my mood.
Crushed pistachios — For garnish. Adds color, crunch, and a bit of elegance. I sprinkle them on right before serving. If you don’t have pistachios, chopped walnuts or pecans work too.
Personal Tip — I always buy the pears in light syrup. If you buy them in water, you might need a touch more sugar. If you buy them in heavy syrup, rinse them thoroughly. The goal is balanced sweetness, not candy-like.
Equipment Needed
You don’t need fancy gadgets for this. Here’s what I actually use:
Medium saucepan — 2-quart size is perfect. It needs to hold the pears and the liquid comfortably. I use a stainless steel pan because it heats evenly. Non-stick works too, but stainless gives a better sear if you want to caramelize the sugar slightly.
Wooden spoon — For stirring. Prevents scratching if you’re using non-stick. I keep one dedicated for sauces.
Knife and cutting board — To split the vanilla bean. A small paring knife is easiest.
Spatula — To gently fold the pears so they don’t break apart. Pears can be delicate. I use a silicone spatula.
Ramekins or serving bowls — For individual portions. Glass ramekins look beautiful on the table. You can also serve it family-style in a large bowl. I usually do both.
Optional: Microplane or fine grater — If you want to grate fresh nutmeg instead of using pre-ground. Fresh nutmeg smells incredible, but pre-ground is fine.
Tool Tip — Don’t have a vanilla bean? No worries. Use vanilla extract, but add it off-heat to preserve the flavor. I’ve done it, and it’s still good. Just not quite as luxurious.
How to Make It: Step-by-Step
Alright, let’s make this! I’m walking you through exactly how I do it, including the little tricks I’ve picked up over the years.
Step 1: Prep the Pears (5 minutes)
Drain the canned pears. Reserve the syrup if you want to use it for another recipe (like oatmeal), but for this, we’re tossing it. Rinse the pears briefly under cold water to remove excess syrup. Pat them dry gently with paper towels. This helps the sugar dissolve better and prevents the sauce from being too watery. If the pears are large halves, leave them whole. If they’re sliced, keep them as is. Don’t chop them further; you want them to hold their shape.
Step 2: Make the Syrup (2 minutes)
In your medium saucepan, combine the water and brown sugar. Heat over medium-low heat, stirring gently with a wooden spoon until the sugar dissolves. This should take about 2 minutes. Don’t rush it. Let the sugar melt into the water to create a smooth base. Once it’s clear and syrupy, you’re ready for the spices.
Step 3: Infuse the Spices (3 minutes)
Add the cinnamon sticks, scraped vanilla bean seeds, vanilla pod, nutmeg, and cardamom to the sugar water. Stir gently to combine. Let it simmer for 2-3 minutes. You’ll smell the cinnamon and vanilla start to fill the kitchen. That’s the aroma of holiday comfort. If you’re using ground cinnamon, add it now. If you’re using extract, wait until the end.
Step 4: Simmer the Pears (10-15 minutes)
Gently add the pears to the saucepan. Use a spatula to submerge them in the liquid. Let them simmer on low heat for 10-15 minutes. Do not boil vigorously. You want to gently poach the pears, not cook them into mush. Stir occasionally, being careful not to break the fruit. The pears will absorb the spiced syrup and become glossy and fragrant. If the liquid reduces too much, add a splash more water.
Step 5: Cool and Chill (10 minutes)
Remove the saucepan from heat. Carefully remove the cinnamon sticks and vanilla pod. Discard the sticks. You can scrape any remaining vanilla seeds off the pod and add them back, or just leave the pod in for extra flavor if you’re serving it warm. Let the pears cool in the syrup for 10 minutes. This allows the flavors to meld and the sauce to thicken slightly. If you’re serving it cold, let it cool completely, then refrigerate for at least 2 hours.
Step 6: Serve
Spoon the warm or cold pears into ramekins or bowls. Drizzle some of the spiced syrup over the top. Add a dollop of whipped cream or a scoop of vanilla ice cream. Sprinkle with crushed pistachios. Serve immediately. The contrast of temperatures and textures is what makes this dessert shine.
Total Time: About 30 minutes (10 minutes active, 20 minutes mostly hands-off)
Expert Tips & Tricks
Here’s everything I’ve learned from making this dozens of times. These tips will save you from my mistakes.
Don’t Overcook the Pears
The biggest mistake I see is boiling the pears until they fall apart. Canned pears are already cooked. You’re just warming them and infusing flavor. Low and slow is the key. If they get mushy, they’ll lose their structure and look sloppy. Keep them intact for that elegant presentation.
Use Real Vanilla
I cannot stress this enough. Vanilla extract works, but a real vanilla bean adds depth and those beautiful specks. It’s worth the extra dollar. If you can’t find a vanilla bean, use high-quality vanilla paste. It has the seeds and the flavor. Avoid imitation vanilla at all costs. It tastes chemical and ruins the dish.
Save the Syrup
The spiced syrup is liquid gold. Don’t throw it away! Use it to sweeten coffee, drizzle over oatmeal, or brush on pancakes. It’s essentially homemade cinnamon-vanilla syrup. I keep a jar of it in the fridge for emergencies.
Chill for Better Flavor
While warm pears are delicious, chilled pears taste better. The cold temperature balances the sweetness and makes the spices pop. I usually make this the morning of the party. It tastes better after sitting in the fridge overnight.
Texture Contrast
The soft pears need crunch. Pistachios are my go-to, but toasted almonds, pecans, or even a crumble topping work well. Don’t skip the garnish. It adds visual appeal and textural interest.
Common Mistakes (and how to avoid them)
- Mistake: Sauce is too thin Fix: Simmer longer. The liquid should coat the back of a spoon. If it’s still watery, let it reduce for another 5 minutes.
- Mistake: Pears are bland Fix: You didn’t simmer long enough. Give them at least 10 minutes to absorb the spices. Taste the syrup and adjust sweetness if needed.
- Mistake: Too sweet Fix: Use light syrup pears and rinse them. Reduce the brown sugar to 1 tablespoon. Taste as you go.
Variations & Substitutions
Once you’ve nailed the basic version, here’s how you can mix it up. I’ve tried all of these.
Bourbon Spiced Pears
Add 2 tablespoons of bourbon to the syrup. It adds a warm, oaky depth. Great for adult gatherings. The alcohol cooks off, leaving just the flavor.
Cardamom Rose Water
Swap cinnamon for cardamom and add ½ teaspoon of rose water. It’s floral and exotic. Perfect for spring holidays or Easter.
Apple Cider Swap
Replace the water with apple cider. It adds a tart, fruity note that pairs beautifully with cinnamon. Use low-sugar cider if you’re watching calories.
Dairy-Free Option
Skip the cream and ice cream. Serve with a coconut cream dollop or just enjoy the pears as is. They’re delicious on their own.
Gluten-Free Crumble Topping
Add a gluten-free oat crumble on top for extra texture. Mix gluten-free oats, brown sugar, and melted coconut oil. Bake until golden.
Dietary Modifications:
- Sugar-Free Use stevia or monk fruit sweetener instead of brown sugar. Taste may vary, but it works.
- Vegan Use coconut cream or vegan ice cream. The pears and spices are naturally vegan.
- Low-Sodium Canned pears are naturally low-sodium. Just check the label to be sure.
Serving & Storage
How to Serve:
I usually serve this in small glass ramekins. It looks rustic and elegant. But here are other ways I’ve enjoyed it:
- Parfait Style Layer the pears with whipped cream and crushed nuts in a tall glass. Great for brunch or dessert.
- With Cake Serve alongside a plain vanilla or almond cake. The pears add moisture and flavor.
- Breakfast Topping Spoon over yogurt or oatmeal in the morning. It’s a sweet start to the day.
Side Dishes:
This pairs well with rich desserts. Serve after a heavy meal to lighten the palate. A simple green salad before the dessert course works well.
Storage Instructions:
Refrigerator:
Store in an airtight container for up to 5 days. The pears will absorb more syrup, so they’ll be softer. Stir gently before serving.
Freezing:
You can freeze this, but the texture of the pears will change. They’ll be softer and potentially mushy after thawing. I recommend freezing the syrup separately and adding fresh pears when reheating. But honestly, it’s best fresh.
Pro Tip:
If the pears dry out, add a splash of water or syrup when reheating. Gentle heat brings them back to life.
Nutrition Information
I’m not a nutritionist, but here’s the breakdown if you’re tracking. This is per serving (based on 6 servings).
Per Serving:
- Calories: 120
- Protein: 1g
- Carbs: 28g
- Fiber: 2g
- Sugar: 22g
- Fat: 0g
- Sodium: 10mg
What’s Good:
Low in fat and sodium. Good source of fiber from the pears. Naturally gluten-free and dairy-free (if you skip the cream).
What to Know:
Higher in sugar due to the brown sugar and fruit. Use light syrup pears to reduce sugar. Portion control is key. It’s a dessert, after all.
My Take:
Look, this is a sweet treat. It’s not a health food. But it’s lighter than most holiday desserts, and it uses real ingredients. When I want to make it lighter, I skip the added sugar and use unsweetened pears. But usually? I just enjoy a small portion and savor the flavor.
Final Thoughts
So that’s my cinnamon spiced canned pears with vanilla bean dessert! I’ve probably talked your ear off at this point, but when you make a recipe this often, you have a lot to say about it.
This has saved holiday dinners more times than I can count. It’s my answer to “what’s for dessert?” when I’m tired, don’t want takeout, and still want something that tastes really good. My family is happy, my guests are happy, and I’m happy because I’m not stressed about cooking.
Make it yours! Try different spices, swap in your favorite nuts, adjust the sweetness. The best recipes are the ones you adapt to your family’s tastes. If you make this, drop a comment and let me know what you think! I love hearing how recipes turn out in your kitchen. And if something doesn’t work, tell me that too—I’m here to help troubleshoot.
Happy cooking! And I hope your kitchen smells half as good as mine does right now.
Frequently Asked Questions
Q: Can I use fresh pears instead of canned?
A: You can, but the cooking time will be longer. Fresh pears need to be peeled, cored, and simmered for 20-30 minutes until tender. Canned pears are already cooked, so they just need warming. If you use fresh, you might need more sugar. I stick with canned for convenience and consistency.
Q: Can I make this ahead of time?
A: Absolutely. In fact, it tastes better the next day. Make it 1-2 days ahead, store in the fridge, and serve chilled. The flavors meld together overnight. I usually make it the morning of the party.
Q: Why did my pears fall apart?
A: You probably boiled them too hard. Canned pears are delicate. Simmer gently on low heat. Stir carefully with a spatula. If they break, it’s still delicious—just serve it in a bowl instead of ramekins.
Q: Can I use ground cinnamon instead of sticks?
A: Yes, but it will make the sauce slightly cloudy. Sticks give a cleaner flavor and look better. If you use ground, add it at the end of cooking so it doesn’t sink to the bottom.
Q: How do I reheat leftovers?
A: Gently warm in a saucepan over low heat. Add a splash of water if it’s too thick. Don’t microwave it, as it can make the pears mushy. Stovetop reheating preserves the texture.
Q: Can I freeze this?
A: I don’t recommend it. The pears will become soft and watery when thawed. The syrup freezes fine, but the fruit doesn’t. Make it fresh for best results.
Q: Can I double this recipe?
A: Yes! Double everything and use a larger saucepan. The cooking times stay the same. I do this when I’m feeding a crowd. Just make sure your pan is big enough to hold the pears in a single layer.
Pin This Recipe!
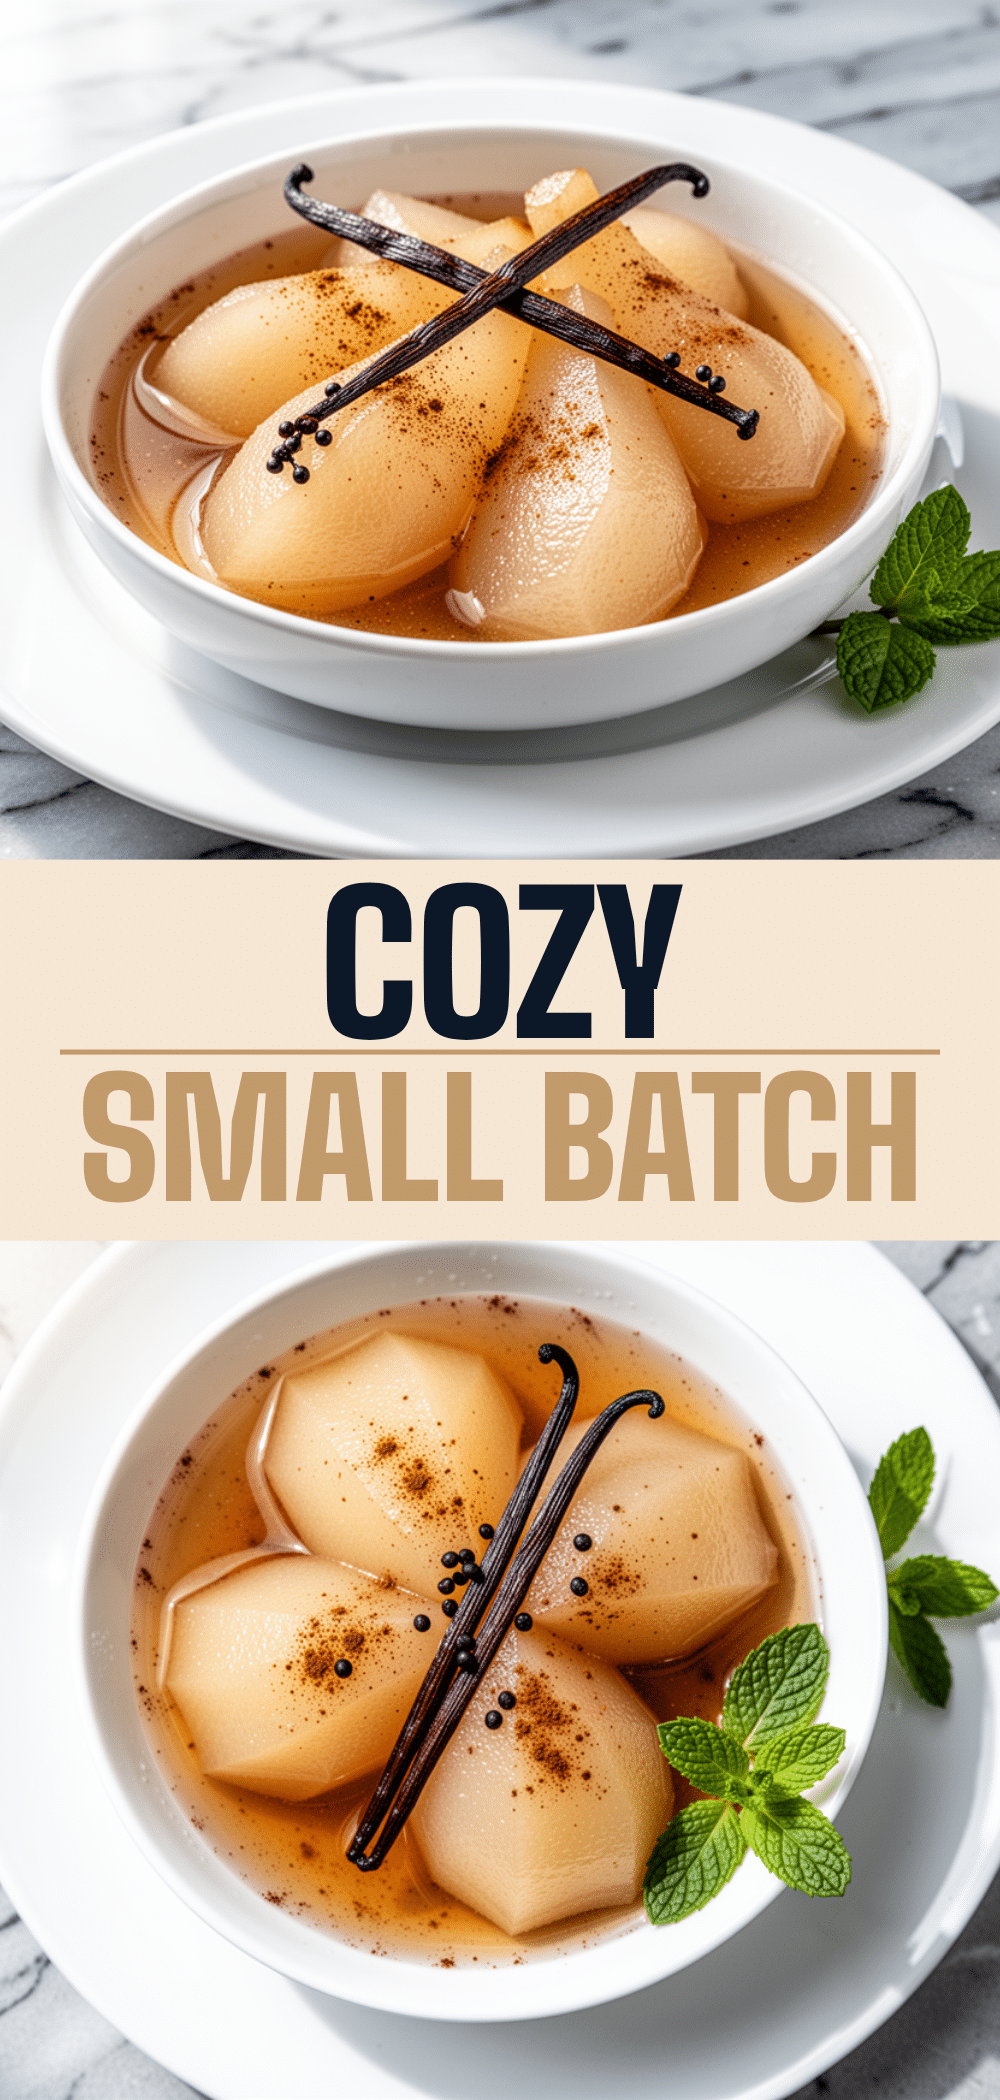
Cinnamon Spiced Canned Pears: Easy Holiday Dessert
- Total Time: 30 minutes
- Yield: 6 servings 1x
Description
A stress-free, elegant holiday dessert made with canned pears, cinnamon, and vanilla bean. This stovetop-only recipe is gluten-free, customizable, and tastes like it took all day to make.
Ingredients
- 2 cans (15 oz each) light syrup canned pears, halved or sliced
- 2 tablespoons brown sugar
- 1/2 cup water
- 2 whole cinnamon sticks (or 1 teaspoon ground cinnamon)
- 1 vanilla bean, split lengthwise (seeds scraped)
- 1/4 teaspoon ground nutmeg
- 1/8 teaspoon ground cardamom (optional)
- Heavy cream or whipped cream, for serving
- Vanilla ice cream, for serving
- Crushed pistachios, for garnish
Instructions
- Drain the canned pears and rinse briefly under cold water to remove excess syrup. Pat dry gently with paper towels.
- In a medium saucepan, combine the water and brown sugar. Heat over medium-low heat, stirring gently until the sugar dissolves (about 2 minutes).
- Add the cinnamon sticks, scraped vanilla bean seeds, vanilla pod, nutmeg, and cardamom to the sugar water. Stir gently and simmer for 2-3 minutes until fragrant.
- Gently add the pears to the saucepan, submerging them in the liquid. Simmer on low heat for 10-15 minutes, stirring occasionally to avoid breaking the fruit.
- Remove the saucepan from heat. Remove and discard the cinnamon sticks and vanilla pod.
- Let the pears cool in the syrup for 10 minutes to allow flavors to meld and sauce to thicken. Refrigerate for at least 2 hours if serving cold.
- Spoon the pears into ramekins or bowls. Drizzle with spiced syrup, top with whipped cream or ice cream, and sprinkle with crushed pistachios.
Notes
Canned pears are already cooked, so you are just warming them and infusing flavor. Do not boil vigorously or the pears will become mushy. For best flavor, make this ahead and chill overnight. If using ground cinnamon, add it at the end to prevent cloudiness. If using vanilla extract, add it off-heat to preserve flavor.
- Prep Time: 5 minutes
- Cook Time: 15 minutes
- Category: Dessert
- Cuisine: American
Nutrition
- Serving Size: 1 ramekin with syrup
- Calories: 120
- Sugar: 22
- Sodium: 10
- Carbohydrates: 28
- Fiber: 2
- Protein: 1
Keywords: holiday dessert, canned pears, cinnamon pears, vanilla bean, gluten-free dessert, easy dessert, stovetop dessert, make-ahead dessert


