Last Saturday, I was staring at a spread that looked like it belonged in a sports bar, not my kitchen. There were bowls of dip, a tray of wings, and some sad-looking store-bought chips that had gone limp in the humidity. My friends were picking at them, making polite noises, and I felt that familiar knot of disappointment in my stomach. I wanted to give them something that made them stop talking and start digging in. Something that smelled like comfort and tasted like a celebration.
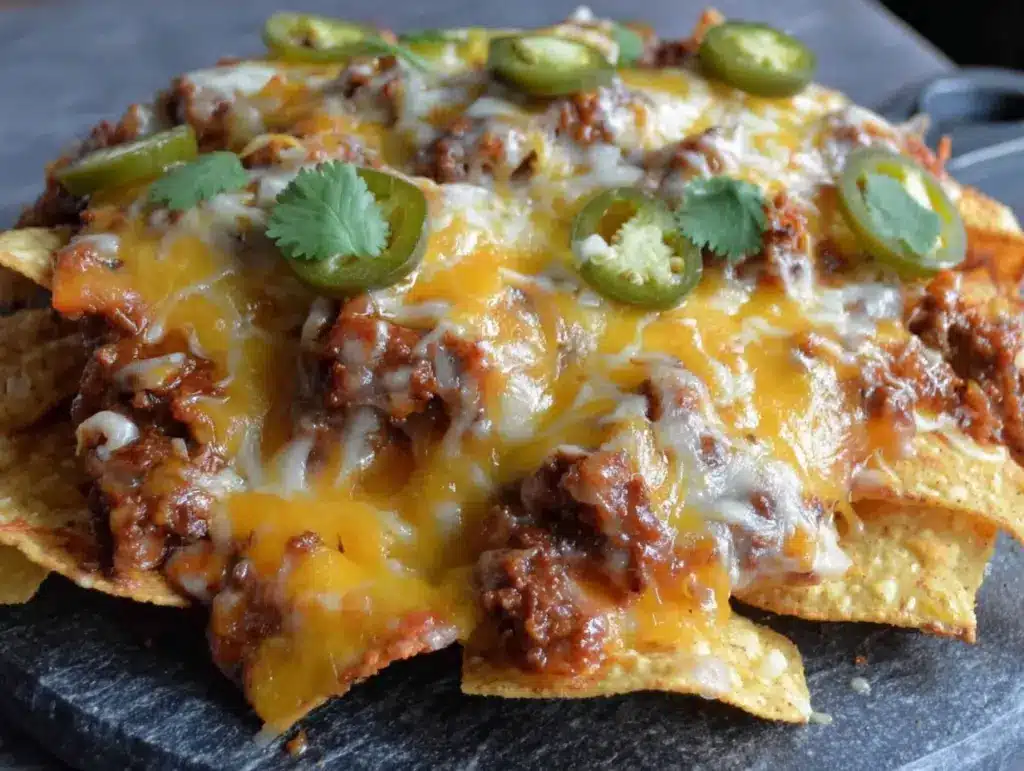
So I scrapped the plan. I went to the kitchen and pulled out the heavy-duty baking sheet, a pound of ground beef, a bag of sturdy tortilla chips, and enough cheese to make a dairy farmer blush. Thirty minutes later, I pulled loaded cheesy nachos with ground beef and jalapeños out of the oven. The cheese was bubbling, the beef was spiced to perfection, and the jalapeños added that necessary kick. I set the tray on the coffee table, and the room went silent for about three seconds. Then, it was a free-for-all. Chips flying, cheese stretching, laughter returning. That’s the power of a really good nacho tray.
These aren’t those sad, soggy microwave nachos you get at the drive-thru. This is the real deal. Crispy chips holding up to a mountain of seasoned meat, melted cheese, and fresh toppings. I’ve made this loaded cheesy nachos with ground beef and jalapeños recipe for game days, casual Friday dinners, and even as a main course for my vegetarian friend (who just skips the meat and loves it). It’s become my secret weapon for easy entertaining. If you’ve ever struggled with nachos that fall apart or taste bland, you’re going to love how I’ve structured this. It’s about building layers of flavor and texture that actually hold together. Let’s get cooking.
Why You’ll Love This Recipe
There are about a dozen reasons I keep coming back to this loaded cheesy nachos with ground beef and jalapeños recipe, but here are the big ones that make it a household staple.
It’s a Crowd-Pleaser That Actually Works — I’ve served this to my picky eater nephew, my spice-loving brother-in-law, and my neighbors who claim they “don’t like Mexican food.” Everyone found something to love. The beef appeals to the meat-lovers, the jalapeños satisfy the heat seekers, and the creamy cheese brings everyone together. It’s the ultimate compromise dish.
Stupid Simple, But Looks Fancy — Seriously, if you can brown meat and shred cheese, you can master this. The prep is minimal. You’re mostly just chopping and layering. But when you pull that golden, bubbling tray out of the oven, it looks like you spent hours in the kitchen. It’s the perfect way to look like a culinary genius without the stress.
Customizable to the Max — One of the best things about this loaded cheesy nachos with ground beef and jalapeños setup is that it’s a blank canvas. Want it spicier? Add more jalapeños. Want it milder? Use mild cheddar and omit the peppers. Adding black beans? Go for it. I love that I can tweak it based on who’s coming over. Last time, I even added some leftover corn from my spicy chipotle corn on the cob recipe, and it was a hit.
Makes Amazing Leftovers (If You Have Any) — And let’s be real, these usually don’t last past the first hour. But if they do, reheating them in the oven keeps them crispy. I’ve been known to make a double batch for a late-night snack after the guests leave. Just don’t tell my husband I ate his portion.
This is my go-to when I need dinner or a party food to just work. No complicated techniques, no weird ingredients, just reliable, delicious, shareable food that makes everyone happy.
Ingredients You’ll Need
Here’s the best part: you probably have most of this already in your pantry and fridge. This loaded cheesy nachos with ground beef and jalapeños recipe relies on high-quality basics rather than obscure spices. Here’s exactly what you need and why it matters.
For the Meat Base
Ground beef (1 pound / 450g) — I prefer 80/20 lean-to-fat ratio. That fat is where the flavor lives. If you’re using leaner beef, you might need a splash more oil. Brown it well! You want those crispy bits at the bottom of the pan.
Yellow onion (1 medium, finely diced / about 150g) — This adds sweetness and depth. Don’t skip it. Dice it small so it distributes evenly throughout the meat mixture.
Garlic (3 cloves, minced / about 1 tablespoon) — Fresh garlic is non-negotiable here. Jarred garlic has a weird metallic aftertaste that clashes with the rich beef. Mince it yourself.
Taco seasoning (2 tablespoons) — I usually mix my own (see tips below), but store-bought works fine if you’re in a rush. Look for one with cumin and chili powder as the main ingredients.
Water (¼ cup / 60ml) — This helps the seasoning bloom and creates a little sauce that coats the meat, preventing it from being dry.
For the Cheese & Toppings
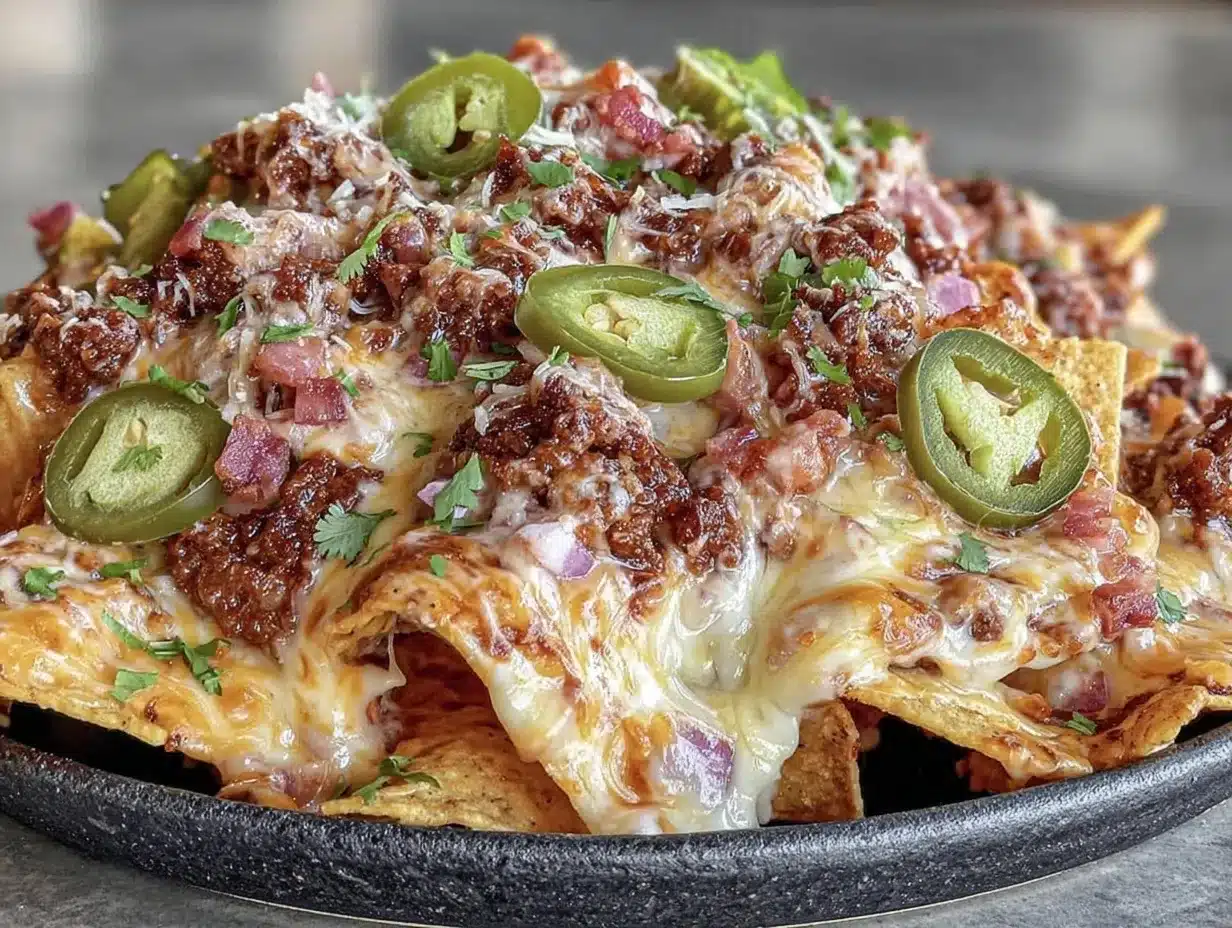
Sharp cheddar cheese (2 cups / 200g, shredded) — Sharp cheddar has more flavor than mild. Buy a block and shred it yourself. Pre-shredded cheese is coated in cellulose to prevent clumping, and that stuff doesn’t melt smoothly. It will make your nachos grainy.
Mozzarella cheese (1 cup / 100g, shredded) — This is the stretchy stuff. I mix it with the cheddar for that perfect pull. It’s mild, so it doesn’t overpower the beef.
Jalapeños (2-3 fresh, sliced) — This is the star of the show. I like a mix of fresh and pickled. Fresh gives the crunch and green color; pickled adds that vinegary tang. Adjust based on your heat tolerance.
Tortilla chips (1 large bag / about 12-14 oz) — Do not use the thin, fragile chips. You need sturdy, thick-cut tortilla chips. Brands like Tostitos Restaurant Style or Kettle Brand hold up to the weight of the toppings without turning to mush immediately.
Black beans (1 can / 15 oz, drained and rinsed) — Optional, but highly recommended. They add protein and texture. Rinsing them well is key so the nachos don’t get soggy.
For the Finish:
– Sour cream (½ cup) — For cooling contrast.
– Green onions (2 stalks, sliced) — For fresh crunch and color.
– Cilantro (½ cup, chopped) — Essential for brightness.
– Salsa (½ cup) — Use a medium-chunk salsa for better texture.
Personal Tip: I always keep a bag of sturdy chips in the pantry just for this. I’ve learned the hard way that cheap chips break under the weight of the cheese and beef. Invest in the good stuff.
Equipment Needed
You don’t need fancy gadgets for this. Here’s what I actually use.
Large skillet or frying pan — I use a 12-inch cast iron skillet. It holds heat well and makes browning the beef easy. Stainless steel works too, but cast iron gives the best crust on the meat.
Large baking sheet (rimmed) — This is crucial. You need a sheet pan that can hold the chips in a single layer. If the chips are stacked, they’ll steam instead of crisp. I use a half-sheet pan (18×13 inches). If you have a smaller pan, you’ll need to make two batches.
Cheese grater — Box grater or microplane. For grating a pound of cheese, a box grater is faster. But grate it yourself.
Colander — For rinsing the black beans and draining the beef if it’s very greasy. (I usually just drain the excess grease with a spoon, but a colander is handy if you’re being thorough.)
Measuring cups and spoons — Standard stuff.
Spatula — For spreading the chips and mixing the meat. A wide spatula helps get the chips onto the baking sheet without breaking them.
Optional but nice:
– Pizza cutter — Makes slicing the nacho tray into squares easy.
– Garlic press — Saves time, but mincing by hand is fine.
How to Make It: Step-by-Step
Alright, let’s make this! I’m walking you through exactly how I do it, including the little tricks I’ve picked up over years of making loaded cheesy nachos with ground beef and jalapeños.
Step 1: Prep Your Ingredients (10 minutes)
Before you start cooking, get everything ready. This is a fast recipe, and you don’t want to be hunting for spices while the beef is burning. Dice the onion, mince the garlic, slice the jalapeños, and shred your cheese. Drain and rinse the black beans. Lay out your chips. Having a mise en place makes the cooking process smooth and stress-free.
Step 2: Brown the Beef (8-10 minutes)
Heat your skillet over medium-high heat. Add the ground beef, breaking it up with a wooden spoon as it cooks. Cook until no pink remains, about 5-6 minutes. If there’s a lot of excess grease, drain it off, but leave about a tablespoon for flavor. Add the diced onion and cook for 2 minutes until soft. Add the garlic and cook for 30 seconds until fragrant. Stir in the taco seasoning and water. Let it simmer for 2-3 minutes until the liquid reduces and the sauce coats the meat. Remove from heat.
Step 3: Build the Base Layer (5 minutes)
Preheat your oven to 400°F (200°C). Take your large baking sheet and lay down a single layer of tortilla chips. Don’t overlap them too much; you want air circulation. Sprinkle a generous handful of the cheese mixture over the chips. This first layer of cheese acts as “glue” for the toppings.
Step 4: Add the Meat and Beans (5 minutes)
Evenly distribute the seasoned ground beef mixture over the cheese layer. Try to spread it out as much as possible so every chip gets some meat. If you’re using black beans, scatter them over the beef now. This creates a hearty, substantial base.
Step 5: The Cheese Mountain (5 minutes)
Top the meat with the remaining shredded cheese. I like to be generous here—don’t be shy. The cheese needs to cover the meat to keep it moist under the broiler. Sprinkle the fresh jalapeño slices over the cheese. If you’re using pickled jalapeños, add those now too for extra tang.
Step 6: Bake Until Golden (5-7 minutes)
Place the baking sheet in the oven. Bake for 5-7 minutes, or until the cheese is completely melted and bubbling, and the edges of the chips start to turn golden brown. Keep an eye on it! Ovens vary, and you want melted cheese, not burnt cheese.
Step 7: The Broil (1-2 minutes)
For that perfect golden spot, switch your oven to broil for the last 1-2 minutes. Watch it like a hawk. You want little brown spots on the cheese, not black charcoal. Pull it out as soon as it looks perfect.
Step 8: Fresh Toppings (2 minutes)
While the nachos are in the oven, chop your green onions and cilantro. Once the tray is out, immediately sprinkle the fresh herbs, sliced green onions, and a dollop of sour cream over the top. The heat from the nachos will warm the sour cream slightly without melting it completely. Serve immediately with salsa on the side.
Total Time: About 30 minutes (10 minutes prep, 20 minutes cooking).
Expert Tips & Tricks
Here’s everything I’ve learned from making this dozens of times. These tips will save you from my mistakes.
Don’t Skip the Single Layer
This is the #1 mistake people make. If you pile chips on top of each other, the bottom ones get soggy and the top ones don’t crisp. Use a large enough pan. If your chips are overlapping, you’re doing it wrong. I’ve ruined batches before by being lazy with the layout.
Shred Your Own Cheese
I cannot stress this enough. Pre-shredded cheese contains anti-caking agents (like potato starch) that prevent it from melting smoothly. Your nachos will look oily and grainy. A block of cheddar shreds beautifully and melts into a silky sauce. It takes 3 minutes and makes a huge difference.
Drain the Beef Well
Greasy nachos are sad nachos. After browning the beef, drain the excess fat. If you leave too much grease, the chips will get soggy and the whole dish will feel heavy. You want the seasoning to coat the meat, not float in oil.
Use Sturdy Chips
Thin, fragile chips will break under the weight of the beef and cheese. Look for “restaurant style” or thick-cut chips. They have the structural integrity to hold up to the toppings. I’ve tested many brands, and Tostitos Restaurant Style is my go-to for durability.
Customize the Heat
Not everyone likes it spicy. If you’re serving a crowd, consider making two trays. One with jalapeños and one without. Or, keep the jalapeños on the side so people can add their own. I learned this the hard way when my mild-eating mother-in-law couldn’t touch the spicy tray.
Pro Trick: The Broil Finish
Baking melts the cheese, but broiling gives it color and texture. That slight char adds a smoky flavor that pairs perfectly with the beef. Just don’t walk away. It goes from perfect to burnt in seconds.
Variations & Substitutions
Once you’ve nailed the basic version, here’s how you can mix it up. I’ve tried all of these.
Protein Swaps
Turkey or Chicken: You can use ground turkey or chicken instead of beef. It’s leaner but needs a little extra seasoning or oil to stay juicy. I often use leftover rotisserie chicken for a lighter version.
Plant-Based: Use plant-based ground “meat” like Beyond Meat or a lentil mixture. Season it exactly the same way. It works surprisingly well.
Cheese Variations
Pepper Jack: Swap some of the cheddar for pepper jack for extra spice and flavor.
Monterey Jack: Milder than cheddar, but melts beautifully. Good for kids.
Vegetable Add-ins
Roasted Corn: Add 1 cup of roasted corn kernels with the beans. It adds sweetness and crunch. I love this addition, especially if I’m serving these alongside my labor day watermelon mint sangria for a summer party vibe.
Mushrooms: Sauté sliced mushrooms with the onions for an earthy depth.
Dietary Modifications
Gluten-Free: Most tortilla chips are naturally gluten-free, but check the label. Ensure your taco seasoning is certified GF. This loaded cheesy nachos with ground beef and jalapeños recipe is easily GF-friendly.
Dairy-Free: Use dairy-free cheese shreds (like Violife or Daiya) and dairy-free sour cream. It’s not quite the same, but it’s workable.
Serving & Storage
How to Serve:
I usually serve these straight from the baking sheet. It’s rustic, communal, and keeps the chips warm. Place the tray in the center of the table and let everyone dig in. It’s perfect for game day, movie nights, or casual dinner parties.
Side Dishes:
These are so hearty they can be a main course. But if you want sides, try:
– Guacamole: Classic pairing.
– Black Bean Salad: Light and refreshing to balance the richness.
– Simple Green Salad: With a lime vinaigrette.
Storage Instructions:
Refrigerator: Store leftovers in an airtight container for up to 2 days. The chips will lose some crispness, but the flavors meld together nicely.
Reheating:
The best method is the oven. Preheat to 350°F and bake for 10-15 minutes until heated through. This helps restore some crispness. The microwave will make the chips soggy quickly, so avoid it if you can.
Freezing:
I don’t recommend freezing nachos. The chips become soggy and the cheese separates upon thawing. It’s best made fresh.
Nutrition Information
I’m not a nutritionist, but here’s the breakdown if you’re tracking. Please note that this is an estimate based on standard ingredients.
Per Serving (based on 8 servings, including toppings):
– Calories: 450
– Protein: 18g
– Carbs: 35g
– Fiber: 3g
– Sugar: 2g
– Fat: 28g
– Saturated Fat: 12g
– Cholesterol: 50mg
– Sodium: 600mg
What’s Good:
– High protein from the beef and cheese.
– Calcium from the dairy.
– Can be made gluten-free.
What to Know:
– High in calories and saturated fat due to cheese and beef.
– Sodium content can be high depending on the taco seasoning and chips. Use low-sodium seasoning and rinse beans well to reduce.
My Take:
Look, these are nachos. They’re indulgent, rich, and meant to be enjoyed. They’re not a diet food. But they’re way better than takeout, and you control the ingredients. When I want to make them lighter, I use lean turkey, less cheese, and load up on veggies like peppers and onions. But usually? I just enjoy a reasonable portion and appreciate the comfort.
Final Thoughts
So that’s my go-to loaded cheesy nachos with ground beef and jalapeños! I’ve probably talked your ear off at this point, but when you make a recipe this often, you have a lot to say about it.
This has saved weeknight dinners and party platters more times than I can count. It’s my answer to “what’s for dinner” when I’m tired, don’t want takeout, and still want something that tastes really good. My kids are happy, my husband’s happy, and I’m happy because I’m not stressed about cooking.
Make it yours! Try different add-ins, swap in your favorite vegetables, adjust the garlic (though more is always better in my opinion). The best recipes are the ones you adapt to your family’s tastes. If you make this, drop a comment and let me know what you think! I love hearing how recipes turn out in your kitchen. And if something doesn’t work, tell me that too—I’m here to help troubleshoot.
Happy cooking! And I hope your kitchen smells half as good as mine does right now.
Frequently Asked Questions
Can I use mild cheese instead of sharp cheddar?
You can, but the flavor will be much milder. Sharp cheddar has a tang that cuts through the richness of the beef and cheese. If you use mild cheddar, I recommend adding a bit more taco seasoning or a splash of lime juice to brighten it up. But honestly, sharp cheddar is worth the upgrade.
Why are my nachos soggy?
Sogginess usually happens for two reasons: either the chips were too thin and couldn’t hold up to the toppings, or there was too much excess grease in the beef. Always use sturdy chips and drain the beef well. Also, don’t let the nachos sit too long before serving. The steam from the hot toppings will soften the chips over time.
Can I make this ahead for a party?
Sort of. You can prep the meat and shred the cheese ahead of time. But assemble and bake the nachos right before serving. If you bake them ahead, the chips will get soggy. I usually make the meat base earlier in the day and just assemble and bake when guests arrive. It takes 10 minutes and ensures maximum crispiness.
Can I use ground turkey instead of beef?
Yes! Ground turkey is a great leaner option. Just be careful not to overcook it, as it can dry out faster than beef. Add a little extra oil to the pan and maybe a teaspoon of olive oil to keep it moist. The seasoning will work just the same.
How do I reheat leftovers?
Avoid the microwave if you can. It makes the chips soggy. Reheat in the oven at 350°F for 10-15 minutes. This helps restore some crispness. If you must use the microwave, do it in short bursts (30 seconds) and let it stand for a minute to let the heat distribute evenly.
Can I freeze these nachos?
I don’t recommend it. Tortilla chips don’t freeze well—they become tough and then soggy when thawed. The cheese also separates. It’s best to make them fresh. If you have leftover meat, you can freeze that and make fresh nachos later.
What kind of jalapeños should I use?
I like a mix of fresh and pickled. Fresh jalapeños add crunch and a grassy heat. Pickled jalapeños add tang and a softer texture. If you’re sensitive to spice, remove the seeds and membranes from the fresh jalapeños before slicing. Or, just use pickled ones, which are often milder.
Pin This Recipe!
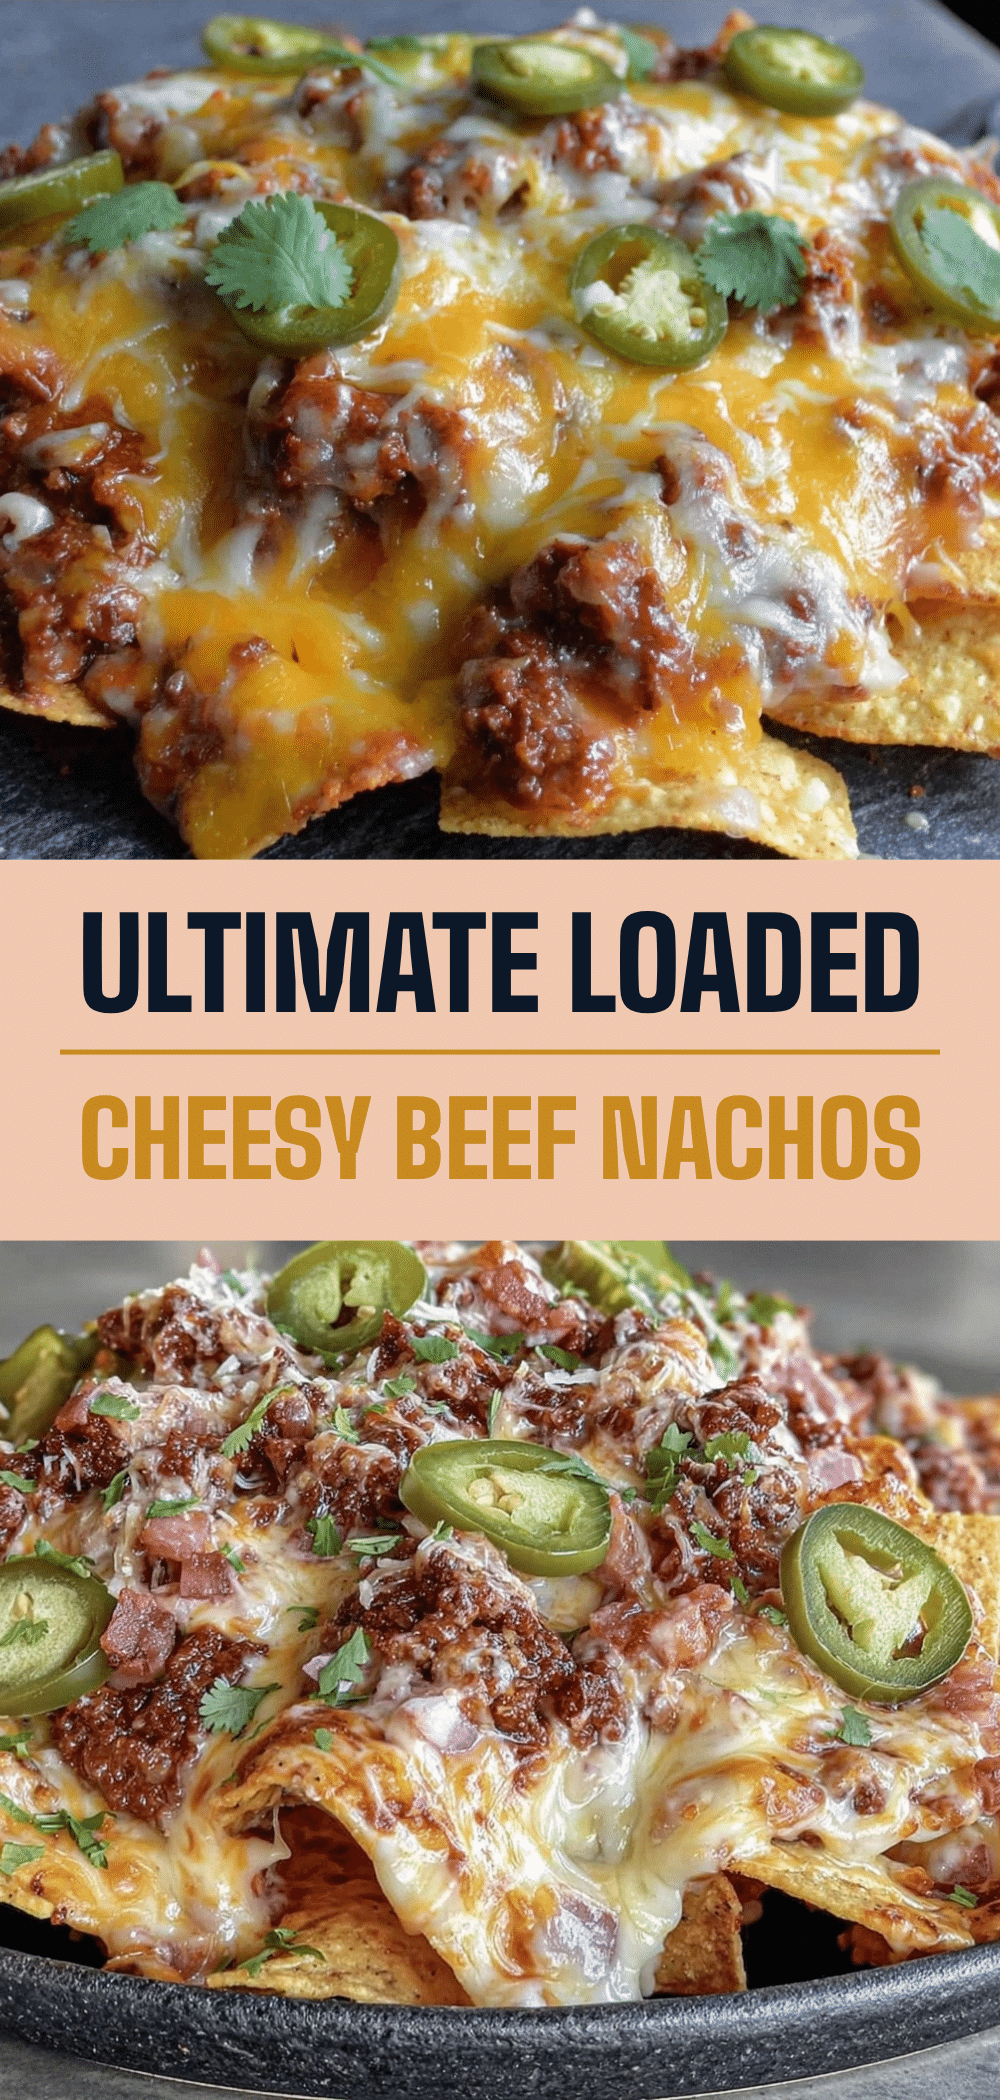

Loaded Cheesy Nachos with Ground Beef & Jalapeños
- Total Time: 30 minutes
- Yield: 8 servings 1x
Description
A crowd-pleasing party dip featuring crispy tortilla chips layered with seasoned ground beef, melted sharp cheddar and mozzarella cheese, and fresh jalapeños. This easy-to-make dish is perfect for game days, casual dinners, or entertaining guests.
Ingredients
- 1 pound ground beef (80/20 lean-to-fat ratio)
- 1 medium yellow onion, finely diced
- 3 cloves garlic, minced
- 2 tablespoons taco seasoning
- 1/4 cup water
- 2 cups sharp cheddar cheese, shredded
- 1 cup mozzarella cheese, shredded
- 2–3 fresh jalapeños, sliced
- 1 large bag sturdy tortilla chips (12–14 oz)
- 1 can (15 oz) black beans, drained and rinsed
- 1/2 cup sour cream
- 2 stalks green onions, sliced
- 1/2 cup cilantro, chopped
- 1/2 cup medium-chunk salsa
Instructions
- Preheat oven to 400°F (200°C).
- Dice the onion, mince the garlic, slice the jalapeños, and shred the cheese. Drain and rinse the black beans.
- Heat a large skillet over medium-high heat. Add ground beef and cook until no pink remains, breaking it up with a spoon (5-6 minutes). Drain excess grease, leaving about a tablespoon.
- Add diced onion to the beef and cook for 2 minutes until soft. Add garlic and cook for 30 seconds until fragrant.
- Stir in taco seasoning and water. Simmer for 2-3 minutes until liquid reduces and coats the meat. Remove from heat.
- Lay a single layer of tortilla chips on a large rimmed baking sheet. Sprinkle a generous handful of the cheese mixture over the chips.
- Evenly distribute the seasoned ground beef mixture over the cheese layer. Scatter black beans over the beef if using.
- Top with the remaining shredded cheese and sprinkle fresh jalapeño slices over the top.
- Bake for 5-7 minutes until cheese is melted and bubbling and chip edges are golden.
- Switch oven to broil and broil for 1-2 minutes until cheese has golden spots. Watch closely to prevent burning.
- Remove from oven and immediately sprinkle with green onions, cilantro, and dollops of sour cream. Serve with salsa on the side.
Notes
Use sturdy, thick-cut tortilla chips to prevent sogginess. Shred your own cheese to ensure smooth melting. Drain beef well to avoid greasy nachos. For a milder version, omit jalapeños or use mild cheddar. Reheat leftovers in the oven at 350°F to restore crispness.
- Prep Time: 10 minutes
- Cook Time: 20 minutes
- Category: Appetizer
- Cuisine: Mexican
Nutrition
- Serving Size: 1 serving (approx. 1
- Calories: 450
- Sugar: 2
- Sodium: 600
- Fat: 28
- Saturated Fat: 12
- Carbohydrates: 35
- Fiber: 3
- Protein: 18
Keywords: nachos, ground beef, jalapeños, party dip, easy dinner, game day food, cheesy nachos, mexican appetizer


