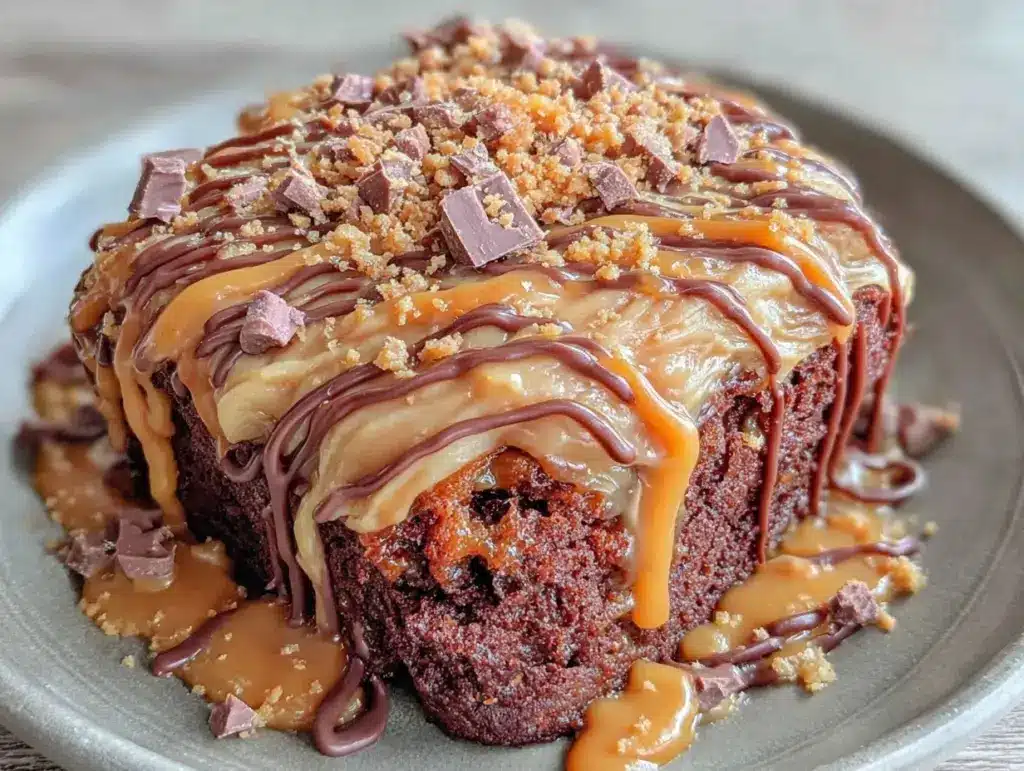
It was a Tuesday night, and the house was that specific kind of chaotic where the dog is begging, the kids are arguing over a tablet, and I’m staring at the pantry like it owes me money. We had zero plans, zero leftovers, and absolutely zero energy for anything complicated. My daughter looked at me with those big, hopeful eyes and asked, “Can we have cake? Not just any cake. Can we have Reese’s?”
I’m a budget-savvy parent, which means “Reese’s” usually translates to “I need to buy a giant bag of candy bars and make a scene.” But I also know that kids (and tired adults) crave comfort, not complexity. So I dug through my cabinets, found a box of yellow cake mix, a jar of peanut butter, and some chocolate chips, and decided to hack a simple poke cake. I poked holes in a cheap store-bought cake, poured a mixture of peanut butter and sweetened condensed milk into the cracks, and topped it with melted chocolate.
The result? It was gone in minutes. Not just eaten—devoured. My husband, who usually rolls his eyes at dessert, asked for the recipe before he’d even finished his second slice. This Reese’s peanut butter poke cake has since become our go-to solution for unexpected guests, school birthdays, and “I need to feel happy” moments. It costs less than $10 to make, takes less than 30 minutes of active work, and tastes like it came from a high-end bakery. I’ve made this at least a dozen times, tweaking the ratios until it was perfect. And honestly? It’s the easiest win you’ll have all week.
Why You’ll Love This Recipe
There are about ten reasons I keep making this, but here are the big ones that keep it in our regular rotation:
- Stupid Simple — Seriously, if you can use a fork to poke holes and a microwave to melt chocolate, you can make this. I’ve walked my teenage son through it over FaceTime while I was stuck at work. He nailed it.
- Lightning Fast — 30 minutes from start to finish, and only 10 of those are active cooking. The rest is just waiting for the cake to cool or the chocolate to set. I make this on weeknights when I get home at 7pm and need dinner to just work.
- Pantry-Friendly — You probably have 80% of these ingredients already. I keep yellow cake mix, peanut butter, and sweetened condensed milk stocked just so I can make this on a whim. It’s cheaper than buying a fancy dessert.
- Crowd-Pleaser — I’ve served this to my vegetarian sister, my gluten-free neighbor (using a GF cake mix), and my I-only-eat-chocolate dad. Everyone loved it. The peanut butter and chocolate combo is universal.
- Makes Amazing Leftovers — Actually tastes better the next day. The cake absorbs more of the filling and gets even fudgier. I deliberately make extra for lunch throughout the week.
- Budget-Smart — Feeds 8-10 people for under $15. That’s less than one meal at a fast-food place, and way more satisfying. It stretches a little bit of candy bar flavor into a huge dessert.
This is my go-to when I need a dessert to just work. No complicated techniques, no weird ingredients, just reliable, delicious food that makes everyone happy.
Ingredients You’ll Need
Here’s the best part: you probably have most of this already. This isn’t a gourmet recipe; it’s a smart, budget-friendly hack. I’m particular about two ingredients here, and I’ll tell you exactly why.
For the Cake Base
Yellow cake mix (1 box / 15.25 oz / 432g) — I use yellow because it’s classic and pairs best with peanut butter. White cake works too, but yellow feels richer. Don’t skip the pudding mix in the box; that’s what keeps it moist. If you want to save money, look for sales on cake mixes; they’re often under $1.50.
Ingredients from the box (eggs, oil, water) — Follow the package instructions for baking the cake. I usually use vegetable oil because it’s what I have, but canola or melted butter works fine. Just don’t use eggs that are cracked or old.
For the Poke Filling
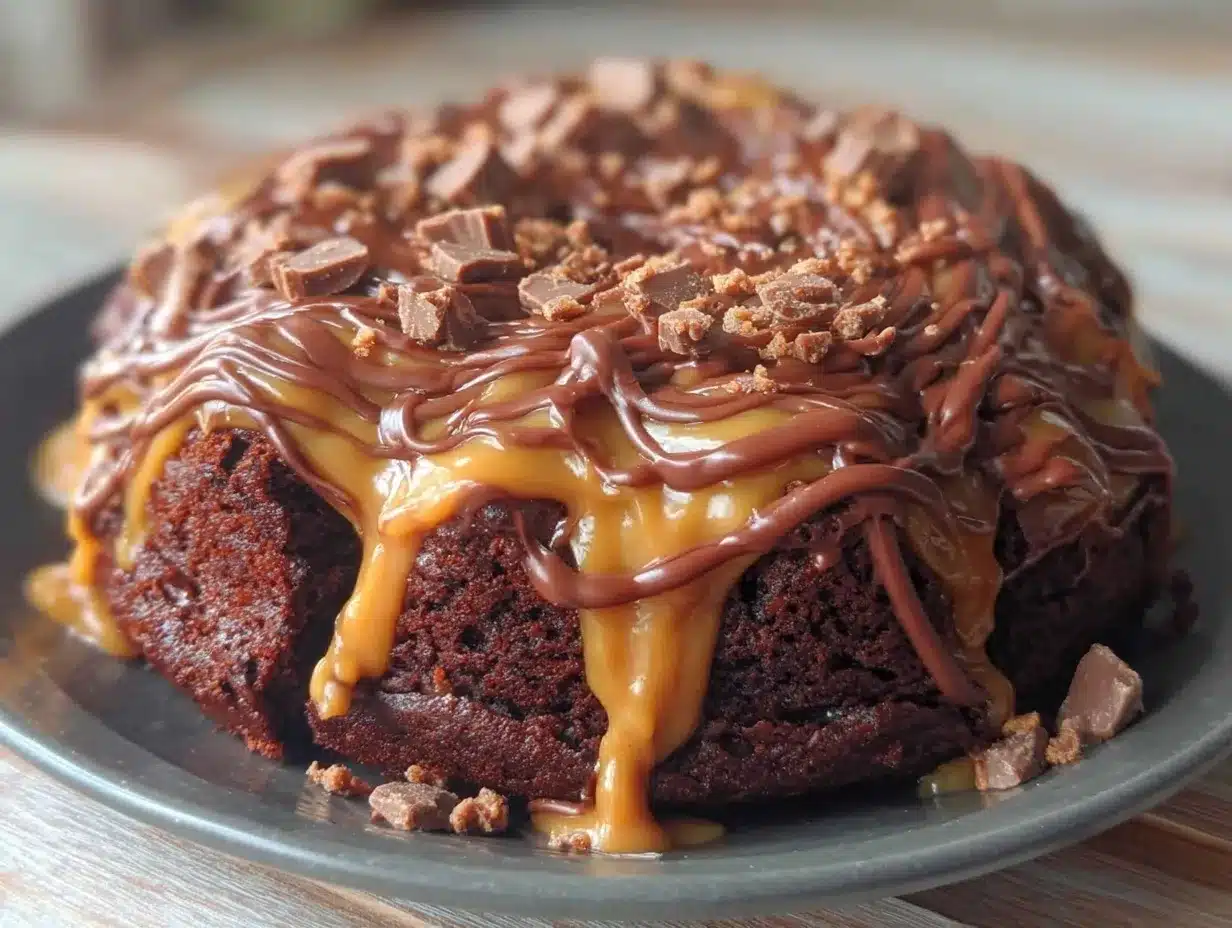
Sweetened condensed milk (1 can / 14 oz / 397g) — This is the secret weapon. It’s thick, sweet, and creamy. Do not substitute with evaporated milk; evaporated milk is unsweetened and thin, and it will make a soupy mess. You need the sugar and the thickness. I keep cans in my pantry specifically for recipes like this.
Recreated peanut butter (½ cup / 128g) — I don’t always use the Reese’s cup filling directly. Instead, I mix smooth peanut butter with a little bit of the sweetened condensed milk to create a drizzle. Use creamy peanut butter for this; chunky will clog the holes. Natural peanut butter (the kind that separates) works, but you’ll need to stir it well first.
For the Topping
Reese’s peanut butter cups (1 bag / 10-12 oz / 283-340g) — Chop these up. I use the mini cups because they’re easier to melt evenly, but the regular ones work too. If you’re on a tight budget, you can mix semi-sweet chocolate chips with a spoonful of peanut butter, but the real candy bars taste better. I buy the store-brand peanut butter cups when they’re on sale; they’re 90% as good.
Heavy cream (2-3 tablespoons / 30-45ml) — Just enough to help the chocolate melt smoothly. Don’t use milk; it’s too watery and can make the chocolate seize up. If you don’t have heavy cream, a tablespoon of butter works in a pinch.
Optional Add-ins
Salt (pinch) — A tiny pinch of flaky salt on top after the chocolate sets balances the sweetness. It makes it taste more “grown-up.”
Crushed peanuts (¼ cup / 28g) — For extra crunch. I skip this usually, but my kids love the texture.
Equipment Needed
You don’t need fancy equipment for this. Here’s what I actually use:
9×13 inch baking pan — I use a metal pan, but glass or ceramic works too. Just keep an eye on the bake time; glass might take a minute or two longer. My old pan from college still works fine.
Wooden spoon or fork — For poking holes. A wooden spoon handle is perfect; it creates holes that are big enough for the filling but not so big the cake falls apart. I use a fork for precision if I’m feeling fancy.
Microwave-safe bowl — For melting the chocolate and peanut butter. I use a large glass bowl because it’s easy to clean. A small ramekin works if you’re melting small amounts.
Whisk — For mixing the peanut butter and condensed milk. Any whisk works; I use the cheap one from the dollar store.
Knife — For chopping the peanut butter cups. A serrated knife works best for chocolate.
Cooling rack — Optional, but helpful. I usually just let the cake cool in the pan on the counter.
How to Make It: Step-by-Step
Alright, let’s make this! I’m walking you through exactly how I do it, including the little tricks I’ve picked up.
Step 1: Bake the Cake (25-30 minutes active)
Preheat your oven to 350°F (175°C). Grease your 9×13 inch pan with cooking spray or butter. Mix your cake batter according to the box directions. Pour it into the pan and bake until a toothpick comes out clean. This usually takes 25-30 minutes, but check it at 20 minutes. Let the cake cool in the pan for about 10 minutes. It should be warm, not hot, when you poke it.
Step 2: Poke the Holes (5 minutes)
This is the most important step. Use the handle of a wooden spoon to poke holes all over the cake. Space them about an inch apart. Don’t go all the way through to the bottom of the pan, but go deep enough to reach the middle of the cake. The more holes, the more filling your cake will absorb. I like to create a grid pattern so it’s even.
Step 3: Make the Filling (3 minutes)
In a small bowl, whisk together the ½ cup of peanut butter and the can of sweetened condensed milk until smooth. It should be thick and pourable. If it’s too thick, add a teaspoon of milk. If it’s too thin, add a teaspoon more peanut butter. You want it to drizzle, not run off the cake.
Step 4: Pour the Filling (2 minutes)
Pour the peanut butter mixture over the warm cake. Use a spatula to help it get into the holes. You might not use all of it, or you might need a little extra, depending on how many holes you poked. Let the cake sit for 15-20 minutes so the filling soaks in. This is when the magic happens.
Step 5: Melt the Topping (3 minutes)
Chop your Reese’s peanut butter cups into small pieces. Put them in a microwave-safe bowl with the heavy cream. Microwave in 30-second intervals, stirring in between, until smooth. It should take about 1-2 minutes total. Don’t over-melt it, or it might get grainy.
Step 6: Top and Chill (20+ minutes)
Pour the melted chocolate mixture over the cake. Spread it evenly with a spatula. Sprinkle with crushed peanuts or flaky salt if you’re using them. Put the cake in the fridge for at least 20 minutes to set. You can leave it longer, up to 24 hours, which actually makes it easier to cut.
Total Time: About 45 minutes (including cooling time)
Expert Tips & Tricks
Here’s everything I’ve learned from making this dozens of times. These tips will save you from my mistakes.
Warm Cake Absorbs Better
The cake needs to be warm when you poke the holes and pour the filling. Cold cake is dense and won’t absorb the liquid as well. That’s why I poke and fill right after baking, while it’s still in the pan.
Don’t Skimp on the Holes
I see people poke 10 holes and call it a day. No. Poke at least 50-60 holes. The filling is the best part. If you want more peanut butter flavor, double the filling mixture.
Melt Chocolate Gently
Chocolate seizes up if it gets too hot or if water gets in it. Use low power in the microwave (50% power) and stir frequently. If it looks lumpy, keep stirring; it’ll smooth out.
Chill Before Cutting
This cake is messy if you cut it warm. The filling will ooze out, and the chocolate will be soft. Chill it for at least 30 minutes. It’ll hold its shape much better, and the slices will look clean.
Common Mistakes (and how to avoid them)
Mistake: Filling is too runny. Fix: You used too much milk or didn’t let it soak in. Next time, reduce the milk by a tablespoon or let the cake cool longer before pouring.
Mistake: Cake is dry. Fix: You baked it too long. Check it early. The cake should be moist because of the filling, so if it’s dry, you overbaked it.
Mistake: Chocolate is grainy. Fix: It got too hot. Melt it slowly and stir often.
Variations & Substitutions
Once you’ve nailed the basic version, here’s how you can mix it up. I’ve tried all of these.
Chocolate Chip Version
Swap the Reese’s cups for semi-sweet chocolate chips and a tablespoon of peanut butter. It’s less sweet and more sophisticated. Great for adults.
Reese’s Stuffed
Instead of chopping the cups, leave them whole or halved. Press them into the top of the cake before chilling. It looks more impressive and gives you big bites of candy.
Gluten-Free
Use a gluten-free yellow cake mix. Everything else is naturally gluten-free. I’ve used Bob’s Red Mill and it works great. Just follow the box instructions for baking time.
Dairy-Free
Use dairy-free chocolate chips and coconut cream instead of heavy cream. Use a dairy-free cake mix. It’s not quite the same, but it works if you’re avoiding dairy.
Lighter Version
Use a sugar-free cake mix and sugar-free sweetened condensed milk (available online or in health food stores). It’s less sweet but still tasty. I make this when I’m watching my sugar intake.
Other Nut Butters
Try almond butter or cashew butter instead of peanut butter. It’s a different flavor but still delicious. I’ve made an almond butter version that was surprisingly good.
Serving & Storage
I usually serve this straight from the fridge at the dinner table—it looks rustic and stays cold. But here are other ways I’ve enjoyed it:
Side Dishes
- Simple green salad with balsamic vinaigrette (to cut the sweetness)
- Fresh berries (strawberries or raspberries add a nice tart contrast)
- Vanilla ice cream (if you want to go all out)
Toppings Bar
When I have guests, I put out: extra chopped peanuts, flaky salt, mini Reese’s pieces. Everyone customizes their slice.
Storage Instructions
Refrigerator: Store in an airtight container or covered with plastic wrap for up to 5 days. The cake gets firmer in the fridge, which is good for cutting.
Freezing: Yes, you can freeze it! Wrap the whole cake or individual slices tightly in plastic wrap and foil. It’ll last for 2-3 months. Thaw in the fridge overnight. The texture might be slightly different, but it’s still good.
Pro tip: If leftovers are drying out, wrap them tightly in plastic wrap and store in the fridge. They’ll stay moist for days. I often cut the cake into squares and freeze them for quick snacks.
Nutrition Information
I’m not a nutritionist, but here’s the breakdown if you’re tracking. This is a rich, sweet dessert, so enjoy in moderation.
Per Serving (based on 12 servings):
- Calories: 380
- Protein: 8g
- Carbs: 45g
- Fiber: 2g
- Sugar: 32g
- Fat: 20g
- Sodium: 250mg
What’s Good: Decent protein from the peanut butter. Calcium from the condensed milk.
What to Know: High in sugar and calories. Contains dairy and gluten. Use low-sodium peanut butter if you’re watching salt.
My Take: Look, this is a treat. It’s not a health food. But it’s way better than store-bought cake, costs less, and I know exactly what’s in it. When I want to make it lighter, I use a sugar-free cake mix and reduce the chocolate topping. But usually? I just eat a reasonable portion and enjoy it.
Final Thoughts
So that’s my Reese’s peanut butter poke cake! I’ve probably talked your ear off at this point, but when you make a recipe this often, you have a lot to say about it. This has saved weeknight desserts more times than I can count. It’s my answer to “what’s for dessert” when I’m tired, don’t want to bake from scratch, and still want something that tastes really good. My kids are happy, my husband’s happy, and I’m happy because I’m not stressed about cooking.
Make it yours! Try different add-ins, swap in your favorite candy bars, adjust the peanut butter (though more is always better in my opinion). The best recipes are the ones you adapt to your family’s tastes. If you make this, drop a comment and let me know what you think! I love hearing how recipes turn out in your kitchen. And if something doesn’t work, tell me that too—I’m here to help troubleshoot.
Happy cooking! And I hope your kitchen smells half as good as mine does right now.
Frequently Asked Questions
Can I use a different cake mix?
Yes! Chocolate cake mix works great with peanut butter. White cake is lighter. Yellow is the classic choice. Just follow the box instructions for baking. If you use a different mix, the flavor will change slightly, but it’ll still be delicious.
Why did my cake turn out dry?
Usually means you baked it too long. Cake mix bakes fast. Check it 5 minutes before the box says. It should be moist because of the filling, so if it’s dry, you overbaked it. Also, make sure you poked enough holes so the filling could soak in.
Can I make this ahead for a party?
Absolutely. Make it up to 2 days ahead and store in the fridge. The cake gets firmer and easier to cut. I usually make it the night before a party so I don’t have to stress in the morning. It actually tastes better after chilling.
Why did my chocolate topping seize up?
The heat was too high, or water got in it. Chocolate is sensitive. Melt it slowly in the microwave, stirring frequently. If it looks lumpy, keep stirring; it’ll smooth out. Don’t let it boil.
Can I use chunky peanut butter?
You can, but it might clog the holes. I recommend smooth peanut butter for the filling. If you want crunch, add chopped peanuts on top instead.
How long does this cake last?
Up to 5 days in the fridge. After that, it might start to dry out. You can also freeze it for 2-3 months. Wrap it tightly in plastic wrap and foil.
Can I double this recipe?
Yes! Double everything and use a 9×13 inch pan. The cooking times stay the same. I do this when I’m feeding a crowd. Just make sure your pan is big enough for the cake.
Pin This Recipe!
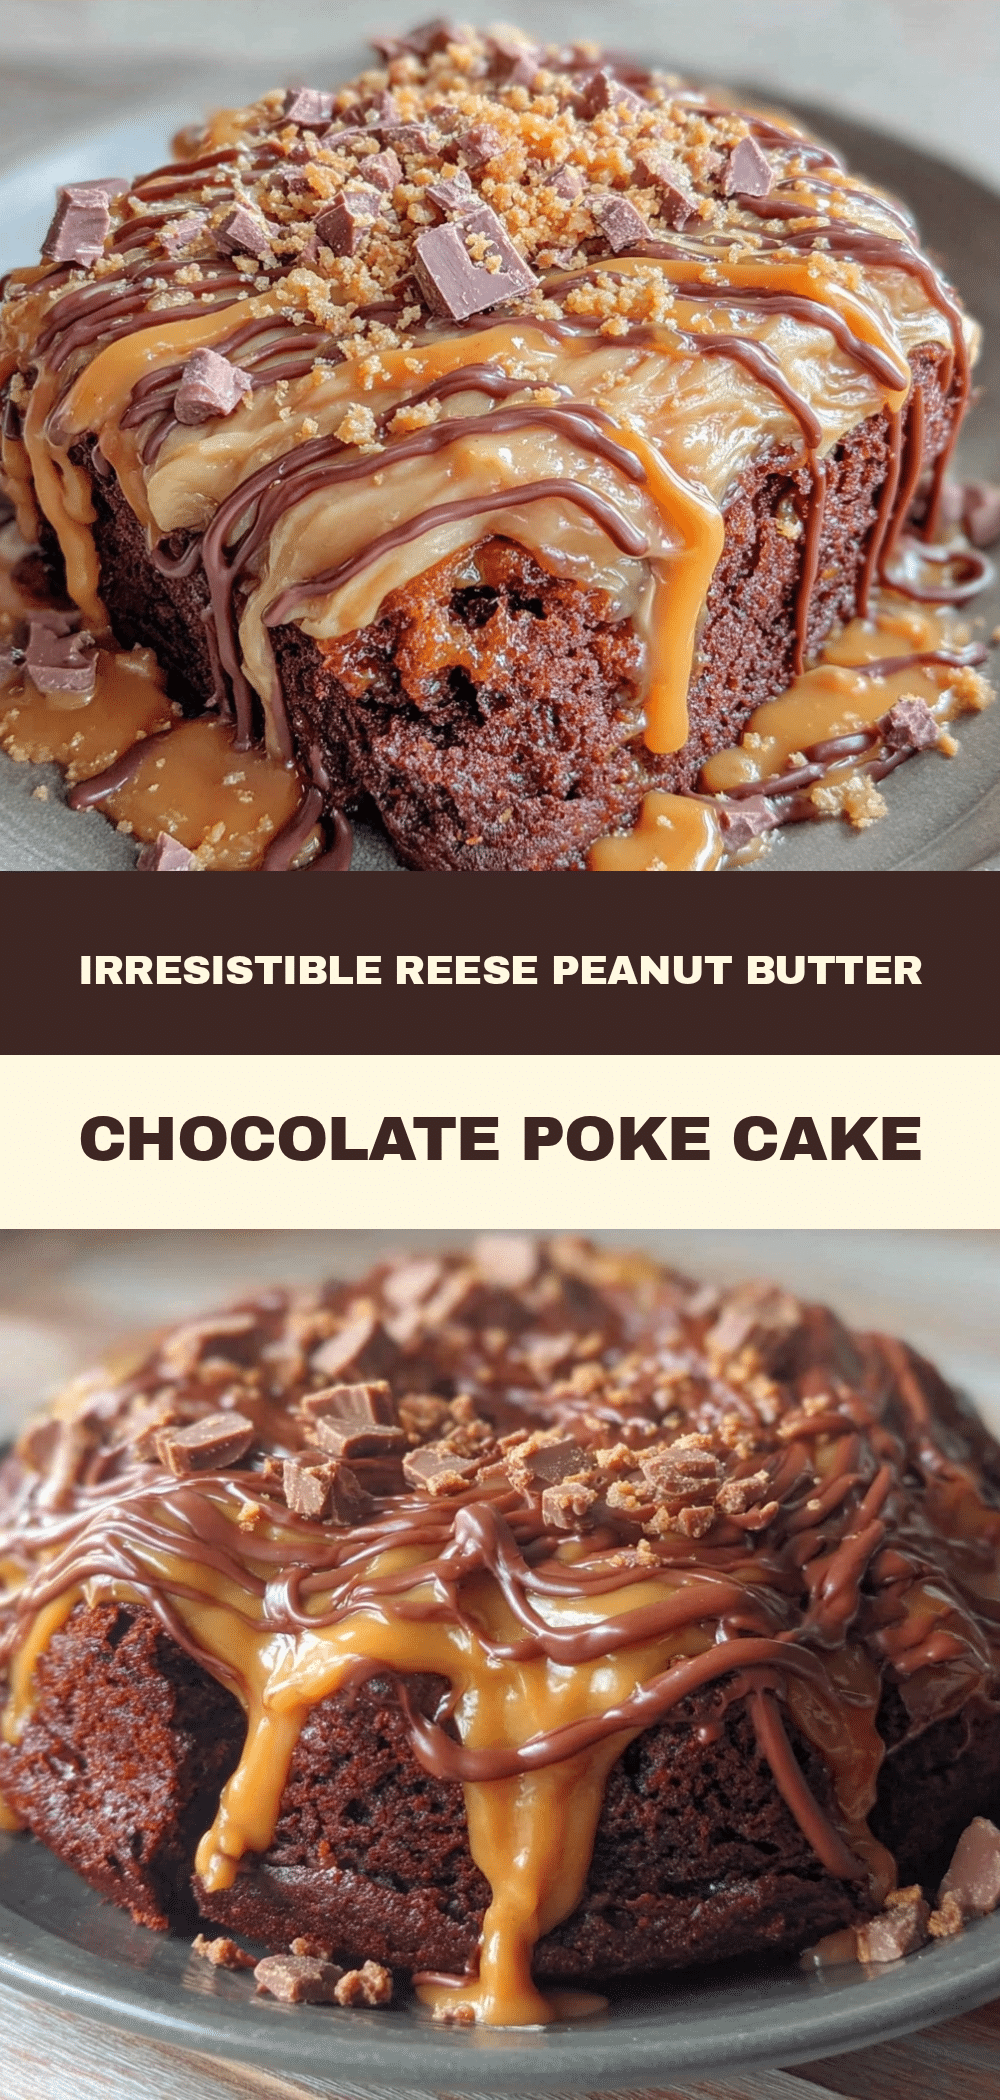

Reeses Peanut Butter Poke Cake: 5-Ingredient Family Dessert
- Total Time: 45 minutes
- Yield: 12 servings 1x
Description
A simple, budget-friendly poke cake made with yellow cake mix, peanut butter, sweetened condensed milk, and Reese’s peanut butter cups. It is a crowd-pleasing dessert that takes less than 30 minutes of active work.
Ingredients
- 1 box (15.25 oz) yellow cake mix
- Ingredients from box (eggs, oil, water)
- 1 can (14 oz) sweetened condensed milk
- ½ cup (128g) smooth peanut butter
- 1 bag (10-12 oz) Reese’s peanut butter cups, chopped
- 2–3 tablespoons heavy cream
- Pinch of flaky salt (optional)
- ¼ cup crushed peanuts (optional)
Instructions
- Preheat oven to 350°F (175°C). Grease a 9×13 inch baking pan.
- Prepare cake batter according to box directions. Pour into pan and bake for 25-30 minutes until a toothpick comes out clean.
- Let cake cool in the pan for about 10 minutes until warm but not hot.
- Poke holes all over the cake using a wooden spoon handle or fork, spacing them about an inch apart.
- In a small bowl, whisk together the peanut butter and sweetened condensed milk until smooth.
- Pour the peanut butter mixture over the warm cake, using a spatula to help it enter the holes.
- Let the cake sit for 15-20 minutes to allow the filling to soak in.
- Chop Reese’s peanut butter cups and place them in a microwave-safe bowl with heavy cream.
- Microwave in 30-second intervals, stirring between each, until smooth (about 1-2 minutes total).
- Pour the melted chocolate mixture over the cake and spread evenly.
- Sprinkle with crushed peanuts or flaky salt if desired.
- Refrigerate for at least 20 minutes (or up to 24 hours) to set before cutting.
Notes
The cake must be warm when poking holes and pouring filling for best absorption. Do not substitute sweetened condensed milk with evaporated milk. Melt chocolate gently to avoid seizing. Chill thoroughly before cutting for clean slices.
- Prep Time: 10 minutes
- Cook Time: 30 minutes
- Category: Dessert
- Cuisine: American
Nutrition
- Serving Size: 1 slice
- Calories: 380
- Sugar: 32
- Sodium: 250
- Fat: 20
- Saturated Fat: 8
- Carbohydrates: 45
- Fiber: 2
- Protein: 8
Keywords: Reese's, poke cake, peanut butter, chocolate, family dessert, budget-friendly, easy cake, weeknight dinner


