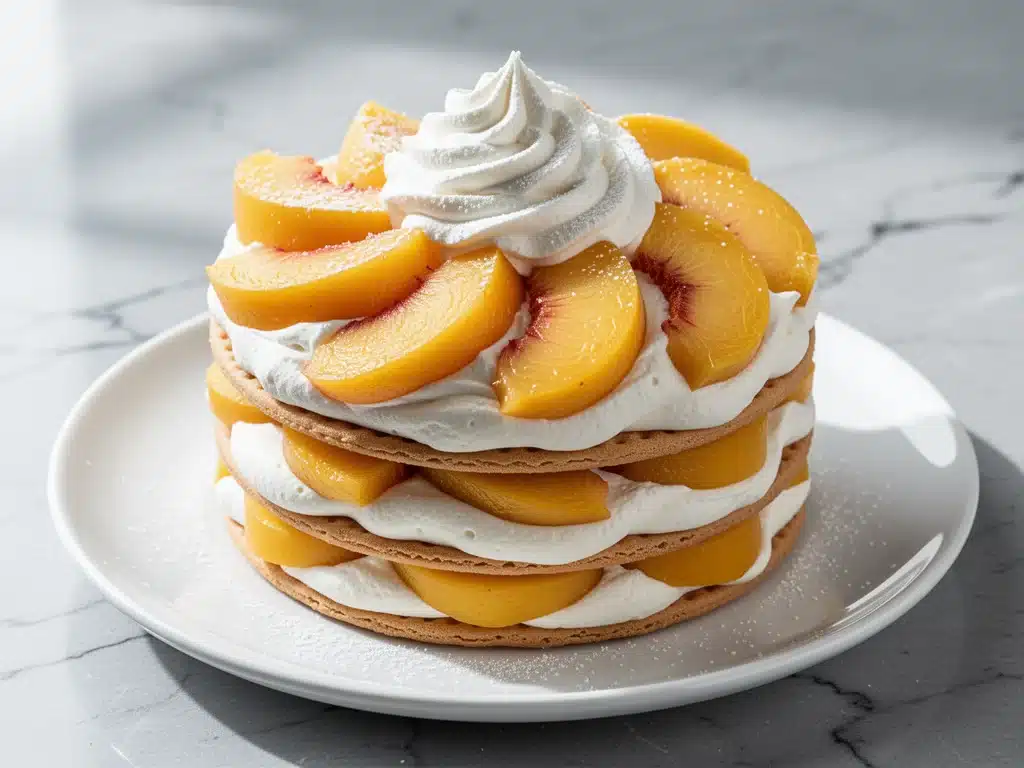
Last July, I was standing in my kitchen at 9 PM, sweating through my t-shirt, trying to figure out what to make for a birthday party the next day. My oven was still radiating heat from the three batches of cookies I’d baked earlier. My back was killing me from bending over the counter, and I had a bag of peaches that were so ripe they were basically juice waiting to happen. I didn’t want to bake. I didn’t want to heat up my apartment. And I definitely didn’t want to spend hours decorating.
So I did what any desperate, heat-struck cook does: I threw stuff in a bowl. I layered some vanilla wafers I had lying around with whipped cream and those overripe peaches. I put it in the fridge, told my guests it was a “deconstructed trifle,” and went to bed.
The next afternoon, I dug into that dish. The cookies had softened into something akin to sponge cake. The peaches had turned the cream into this incredible, fragrant, pink-hued custard. It was cool, creamy, sweet, and utterly refreshing. It was the perfect end to a hot summer meal. That accidental no-bake peach icebox cake has been a summer staple in my house ever since.
This no-bake peach icebox cake is exactly that: effortless, stunning, and ridiculously easy. It’s the kind of dessert that looks like you spent hours in the kitchen but actually takes about five minutes of active work. Plus, it keeps your kitchen cool, which is a huge win when the thermometer hits 90 degrees. If you’re looking for other easy summer treats, you might also enjoy this frozen mango passionfruit slushie to go with it. But let’s be honest—the cake is the star here.
I’ve made this dessert dozens of times over the last five summers. I’ve tweaked the layers, played with different cookies, and even tried using frozen peaches when fresh ones are out of season. Each time, I’ve learned a little more about how to make this simple dish shine. And today, I’m sharing all those secrets with you. No oven required. No complicated techniques. Just good food, good vibes, and zero stress.
Why You’ll Love This No-Bake Peach Icebox Cake
There are about a dozen reasons I keep making this peach icebox cake, but here are the big ones. This isn’t just a dessert; it’s a solution.
Zero Oven Heat — Seriously, this is the main reason I love it. Your kitchen stays cool, your electricity bill stays low, and you don’t smell like baked goods for three days. Perfect for hot July afternoons.
Five Minutes of Work — I’m not exaggerating. If you can open a can of whipped cream (or whip heavy cream) and slice a peach, you can make this. I’ve made it while watching TV with my kids. It’s that simple.
Make-Ahead Magic — This cake needs time to set, which means you can make it the night before. In fact, I find it tastes even better the next day, once the flavors have had time to meld. It’s the ultimate stress-free dessert for dinner parties.
Uses Overripe Fruit — We’ve all been there. You buy peaches, and by the time you get to them, they’re too soft to eat raw but perfect for baking. This cake is a rescue mission for those mushy, sweet peaches. It’s sustainable and delicious.
Looks Fancy, Isn’t — The layered pink and white look is gorgeous. People assume you made a complicated mousse or spent hours piping decorations. When I tell them it’s just cookies, cream, and fruit, they never believe me. It’s a great conversation starter.
This is my go-to when I need a dessert that just works. No fancy equipment, no weird ingredients, just reliable, delicious food that makes everyone happy. And honestly? It’s lighter than most heavy cakes, which is nice after a big summer BBQ.
Ingredients You’ll Need
Here’s the best part: you probably have most of this already. The beauty of an icebox cake is its simplicity. I’m particular about three ingredients here, and I’ll tell you exactly why.
For the Base and Layers
Vanilla Wafers (1 package, about 50 cookies) — This is your foundation. I prefer Nabisco brand because they hold their shape well but soften nicely. Don’t use chocolate chip cookies; the flavor clash is weird. Plain vanilla wafers are classic for a reason.
Fresh Peaches (4-5 medium, sliced) — Look for peaches that are fragrant and slightly soft to the touch. They should be sweet and juicy. If you can’t find fresh peaches, canned peaches in light syrup work too, but drain them really well. Fresh is best, though. I usually buy a bag from the farmer’s market when they’re on sale.
Graham Crackers (1 box, optional) — Some people swap half the wafers for graham crackers for a bit of crunch. I like the softness of just wafers, but feel free to mix it up if you prefer texture.
For the Cream Layers
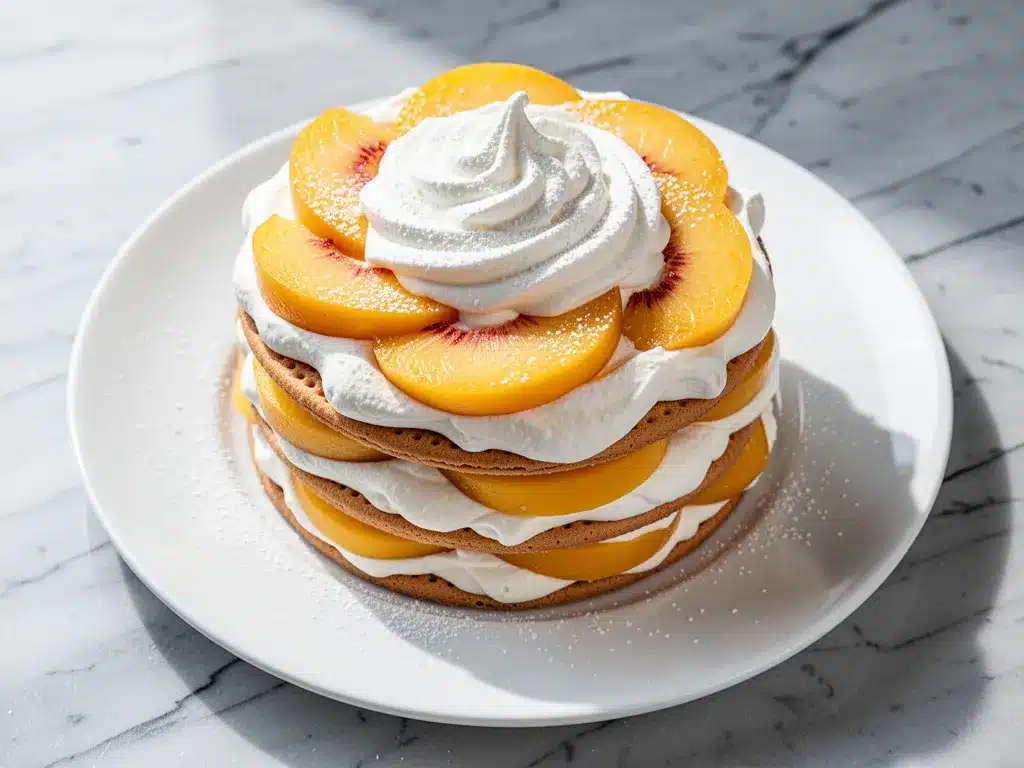
Heavy Whipping Cream (2 cups / 480ml) — Cold! Ice cold. This is crucial for getting stiff peaks. If your cream is warm, it won’t whip. Keep it in the fridge until the last second.
Confectioners’ Sugar (½ cup / 60g) — Also called powdered sugar. It dissolves easily into the cream. Granulated sugar will leave gritty bits, so don’t substitute it unless you have to.
Vanilla Extract (2 teaspoons) — Use real vanilla, not imitation. The flavor is more subtle in this cake, so good vanilla makes a big difference. I use Nielsen-Massey because it’s pure and aromatic.
Instant Pudding Mix (1 small box, vanilla flavor) — This is my secret weapon. Adding a box of instant vanilla pudding mix to the cream helps it set faster and adds a nice custard-like flavor. It’s not traditional in all icebox cakes, but I’ve tested it, and it makes the layers firmer and more stable. If you want a purely natural version, skip it, but the cake might take longer to set.
For the Garnish
Whole Peaches (1-2, sliced thinly) — For the top layer. Make them pretty. This is the presentation part.
Mint Leaves (a few sprigs) — Optional, but it adds a pop of green that looks amazing against the pink cream.
Whipped Cream (extra, for dollops) — Just in case you want extra cream on top. Always more cream.
Shopping Tips
Where to find peaches: Look for them at the grocery store, but don’t be afraid to ask the produce manager. Sometimes they have “imperfect” fruit that’s cheap and perfect for cooking. I also love local farm stands for the best flavor.
Substitutions: No heavy cream? You can use whipped topping (like Cool Whip), but the texture will be different. It’ll be lighter and less rich. I prefer real cream, but if you’re in a pinch, it works. For the pudding mix, you can skip it, but the cake will be softer and need more chilling time.
Equipment Needed
You don’t need fancy equipment for this. Here’s what I actually use.
9×13 Inch Baking Dish — A glass or ceramic dish works best. I use Pyrex because I can see the layers. You can also use a large bowl or even a springform pan if you want to unmold it, but a 9×13 is easiest for layering.
Electric Hand Mixer or Stand Mixer — Whip those creams! Doing this by hand is possible but tiring. I use my KitchenAid stand mixer with the whisk attachment. It’s fast and gives consistent results.
Sharp Knife — For slicing peaches. A serrated knife works well if the peaches are very soft. Just be gentle so you don’t mash them.
Measuring Cups and Spoons — Standard stuff. Dollar store versions work fine.
Spatula — A rubber spatula is good for folding the pudding into the cream without deflating it.
Can Opener — If you’re using canned whipped cream (not recommended, but possible). I always whip my own.
Plastic Wrap — To cover the cake while it chills. This prevents it from absorbing fridge odors.
Optional: A piping bag — If you want to make the cream layers look fancy. I usually just spread it with a knife, but a piping bag makes it look professional.
How to Make It: Step-by-Step
Alright, let’s make this! I’m walking you through exactly how I do it, including the little tricks I’ve picked up.
Step 1: Prep Your Peaches (5 minutes)
Wash your peaches. If they’re very ripe, you can peel them, but the skin adds color and nutrients, so I usually leave it on. Slice them into thin, even slices. If some are too soft to slice neatly, just chop them into chunks and use them in the middle layers. Try to keep the slices uniform so the layers look tidy.
Step 2: Whip the Cream (5 minutes)
In a large bowl, combine the cold heavy cream, confectioners’ sugar, vanilla extract, and instant vanilla pudding mix. Beat on medium-high speed until stiff peaks form. This means when you lift the beaters, the cream stands up straight. Don’t overbeat, or it’ll turn into butter. It should look smooth and glossy.
Step 3: Layer One – The Foundation
Take your 9×13 dish. Arrange a single layer of vanilla wafers on the bottom. You might need to break a few cookies to fit the corners. Don’t worry about perfection; it’s hidden inside. Spread half of the whipped cream mixture over the cookies. Use a spatula to get it into the corners. Smooth it out gently.
Step 4: Layer Two – The Peach Explosion
Arrange half of the peach slices over the cream. Try to cover the cream completely, but overlapping is fine. Then, add another layer of vanilla wafers. Again, break as needed. Spread the remaining whipped cream over the cookies. This is the last cream layer, so make it even.
Step 5: Layer Three – The Top
Finish with a final layer of vanilla wafers. Then, arrange the remaining peach slices on top in a beautiful pattern. I like to fan them out or arrange them in concentric circles. It doesn’t have to be perfect, but it should look inviting. If you have extra cream, you can dollop it on top, but the peach layer is usually enough.
Step 6: Chill (At least 4 hours, ideally overnight)
Cover the dish tightly with plastic wrap. Place it in the fridge. This is the most important step. The cookies need time to absorb the moisture from the cream and peaches and soften into a cake-like texture. If you’re in a rush, 4 hours is the minimum, but overnight is best. The flavors develop and meld during this time.
Step 7: Serve
Remove the plastic wrap. If you have extra mint, garnish with it. Slice with a sharp knife. Serve cold. Watch your guests’ faces light up when they realize it’s no-bake.
Total Time: About 15 minutes active, plus chilling time.
Expert Tips & Tricks
Here’s everything I’ve learned from making this dozens of times. These tips will save you from my mistakes.
Keep Everything Cold
I can’t stress this enough. Cold cream whips better. Cold bowl, cold beaters. If your kitchen is hot, put your bowl in the fridge for 15 minutes before whipping. If the cream gets too warm while you’re layering, put it back in the fridge for a bit. Warm cream = soup, not cake.
Drain Canned Peaches Well
If you use canned peaches, drain them thoroughly. Excess liquid will make the cake soggy and watery. I usually let them sit in a colander for 10 minutes before using. Fresh peaches don’t need this step, but they do release juice, so pat them dry with a paper towel if they’re very juicy.
Don’t Skip the Pudding Mix
I know some purists might frown on it, but the instant pudding mix stabilizes the cream. It helps the cake hold its shape when you cut it. Without it, the layers might slide around. It’s a game-changer for texture.
Use Soft Cookies
Make sure your vanilla wafers are soft. If they’re stale or hard, they won’t soften properly in the fridge. Buy a fresh package. If you’re worried about them going stale, store them in an airtight container.
Common Mistakes (and how to avoid them):
Mistake: Cake is too watery. Fix: You used too many juicy peaches without patting them dry, or you didn’t let it chill long enough. Next time, pat the peaches dry and chill overnight.
Mistake: Cream didn’t whip. Fix: Your cream or bowl was too warm. Next time, chill everything and use cold cream straight from the fridge.
Mistake: Layers are sliding. Fix: You didn’t use the pudding mix, or you didn’t let it set. Next time, add the pudding and chill for at least 6 hours.
Pro Tricks I’ve Learned:
For Extra Flavor — Add a splash of amaretto or peach schnapps to the cream. It adds a nice adult kick. My husband loves this version.
For Better Texture — Use a mix of vanilla wafers and graham crackers. The graham crackers add a bit of crunch that contrasts with the soft cookies.
Make-Ahead Strategy — This cake is best made the night before. It actually improves with time. Plan accordingly.
Variations & Substitutions
Once you’ve nailed the basic version, here’s how you can mix it up. I’ve tried all of these.
Berry Icebox Cake
Swap peaches for strawberries or blueberries. Strawberries are especially good. Slice them thin and layer as usual. It’s a classic combination.
Lemon Cream Version
Swap the vanilla pudding for lemon pudding mix. Add lemon zest to the cream. It’s tangy and refreshing.
Chocolate Chip Cookie Version
Use chocolate chip cookies instead of vanilla wafers. It’s like a dessert pizza. Very popular with kids.
Dairy-Free Option
Use coconut cream (the thick part from a can of full-fat coconut milk) instead of heavy cream. Use dairy-free vanilla wafers. It’s creamy and rich, though the flavor is different.
Gluten-Free Option
Use gluten-free vanilla wafers. Most brands work well. Check the label to make sure they’re soft enough to layer.
Other Fruit Variations
Apples (cooked and spiced), peaches (canned), or even mango. Get creative. Just make sure the fruit isn’t too watery.
Serving & Storage
How to Serve:
I usually serve this straight from the dish. It’s rustic and easy. But here are other ways I’ve enjoyed it:
Side Dishes:
This is a dessert, so it doesn’t need sides. But if you’re serving it after a meal, it pairs well with a simple green salad or grilled chicken. It’s light enough not to weigh you down.
Toppings Bar:
When I have guests, I put out: extra whipped cream, fresh mint, crushed nuts (almonds or pecans), and a drizzle of honey. Everyone customizes their slice.
Wine Pairing:
I’m not a wine expert, but my wine-snob friend says a sweet Riesling or Moscato works great with this. It complements the fruit and cream.
Storage Instructions:
Refrigerator:
Store in an airtight container or covered with plastic wrap for up to 3 days. The cookies will continue to soften, and the flavors will meld. It’s best eaten within 2 days for optimal texture.
Freezing:
Honestly, this doesn’t freeze well because of the dairy and the cookie texture. The cookies can get mushy when thawed. Make it fresh or store in the fridge for up to 3 days.
Meal Prep:
Make the cake the night before. It’s the ultimate meal prep dessert. Just keep it covered in the fridge.
Pro tip: If leftovers are drying out, cover them tightly with plastic wrap. The moisture from the cream will keep them soft.
Nutrition Information
I’m not a nutritionist, but here’s the breakdown if you’re tracking.
Per Serving (based on 12 servings):
- Calories: 280
- Protein: 3g
- Carbs: 35g
- Fiber: 1g
- Sugar: 22g
- Fat: 15g
- Saturated Fat: 9g
- Cholesterol: 45mg
- Sodium: 180mg
- Calcium: 60mg
What’s Good:
- Decent calcium from the cream and pudding
- Contains fruit, so some vitamins
- Lighter than many dense cakes
What to Know:
- Higher in sugar from the cookies, cream, and fruit
- Contains dairy and gluten
- Moderate calories, but easy to overeat because it’s so light
My Take:
Look, this is a dessert. It’s sweet and creamy. It’s not a health food. But it’s way better than store-bought cake, and it uses real ingredients. When I want to make it lighter, I use less sugar in the cream and more fruit. But usually? I just eat a reasonable slice and enjoy it.
Final Thoughts
So that’s my no-bake peach icebox cake! I’ve probably talked your ear off at this point, but when you make a recipe this often, you have a lot to say about it.
This has saved summer dinners more times than I can count. It’s my answer to “what’s for dessert” when I’m tired, don’t want to bake, and still want something that tastes really good. My kids are happy, my husband’s happy, and I’m happy because I’m not stressed about cooking.
Make it yours! Try different fruits, swap the cookies, adjust the sweetness. The best recipes are the ones you adapt to your family’s tastes. And if you’re looking for more easy summer desserts, check out my cinnamon-spiced canned pears for a warm twist on fruit desserts.
If you make this, drop a comment and let me know what you think! I love hearing how recipes turn out in your kitchen. And if something doesn’t work, tell me that too—I’m here to help troubleshoot.
Happy cooking! And I hope your kitchen smells half as good as mine does right now.
Frequently Asked Questions
Can I use frozen peaches?
You can, but they’ll be softer and release more water. Thaw them completely, then pat them dry with paper towels to remove excess moisture. I don’t recommend using them straight from frozen, as they’ll make the cake watery. Fresh is best, but frozen works in a pinch.
Why did my cake turn out watery?
Usually, this means the peaches were too juicy and weren’t patted dry, or the cake didn’t chill long enough. The cookies need time to absorb the liquid. Next time, pat the peaches dry and chill for at least 6 hours, preferably overnight.
Can I make this ahead for a dinner party?
Absolutely. This cake is best made the night before. It needs time to set, so making it 24 hours ahead is ideal. Just keep it covered in the fridge until you’re ready to serve.
Can I use whipped topping instead of whipped cream?
You can, but the texture will be different. Whipped topping is lighter and less rich. It won’t hold up as well in the layers, so the cake might be softer. If you use it, don’t add the pudding mix, as it might not set properly.
How long does this cake last?
It lasts up to 3 days in the fridge. After that, the cookies get too soft and the flavors start to break down. It’s best eaten within 2 days.
Can I freeze this cake?
Honestly, no. The dairy and cookie texture don’t freeze well. The cookies become mushy when thawed. Make it fresh or store in the fridge for up to 3 days.
Can I double this recipe?
Yes, but you’ll need a larger dish, like a 9×13 or even a 13×9. Just double the ingredients and layer as usual. The chilling time stays the same.
Pin This Recipe!
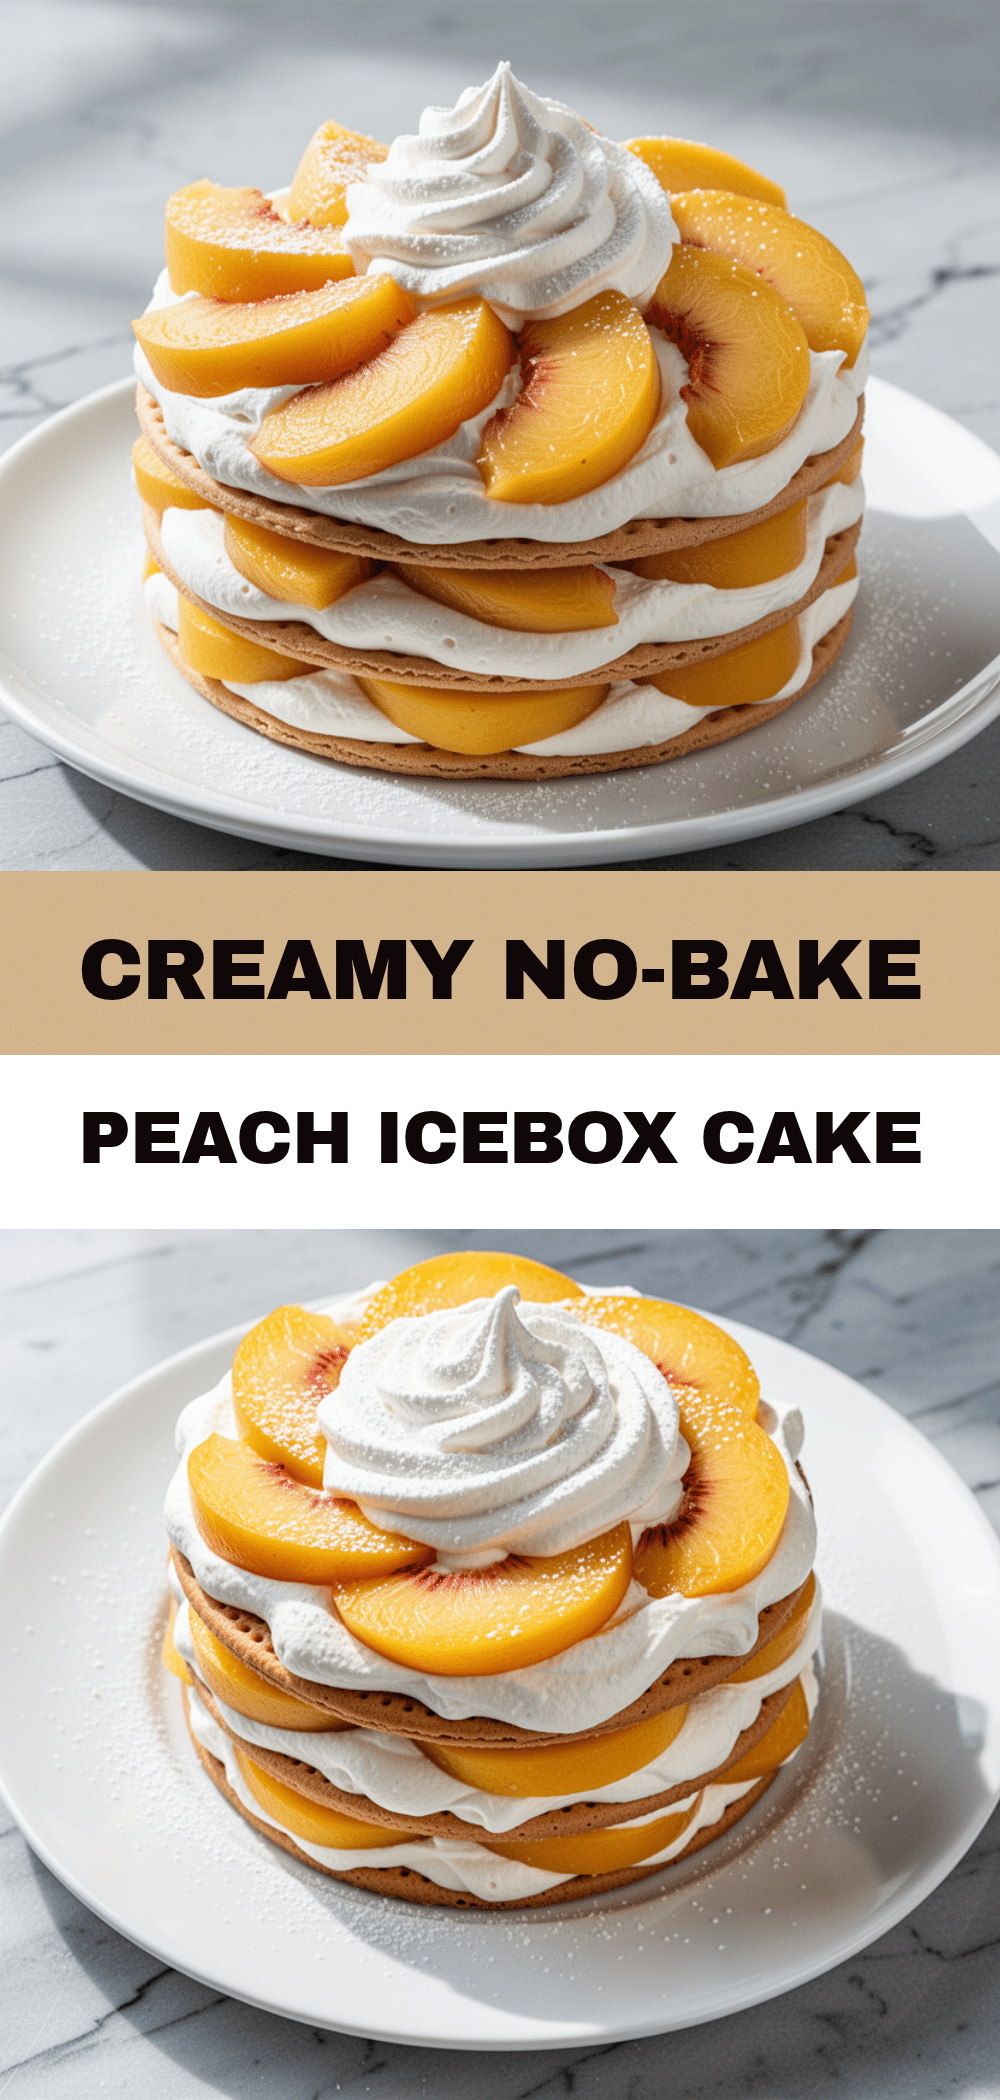
No-Bake Peach Icebox Cake: 5-Min Easy Summer Dessert
- Total Time: 4 hours 15 minutes
- Yield: 12 servings 1x
Description
An effortless, no-bake summer dessert featuring layers of vanilla wafers, whipped cream, and fresh peaches that soften into a cake-like texture. It requires only five minutes of active work and keeps the kitchen cool.
Ingredients
- 1 package (about 50 cookies) vanilla wafers
- 4–5 medium fresh peaches, sliced (plus 1–2 for garnish)
- 2 cups (480ml) heavy whipping cream, cold
- ½ cup (60g) confectioners’ sugar
- 2 teaspoons vanilla extract
- 1 small box (3.4 oz) instant vanilla pudding mix
- 1 box graham crackers (optional, for texture)
- Fresh mint leaves (optional, for garnish)
- Extra whipped cream (optional, for dollops)
Instructions
- Wash and slice the peaches into thin, even slices. Pat dry if very juicy.
- In a large bowl, combine the cold heavy cream, confectioners’ sugar, vanilla extract, and instant vanilla pudding mix.
- Beat on medium-high speed until stiff peaks form. Do not overbeat.
- Arrange a single layer of vanilla wafers on the bottom of a 9×13 inch dish.
- Spread half of the whipped cream mixture over the cookies.
- Arrange half of the peach slices over the cream.
- Add another layer of vanilla wafers.
- Spread the remaining whipped cream over the cookies.
- Finish with a final layer of vanilla wafers.
- Arrange the remaining peach slices on top in a decorative pattern.
- Cover tightly with plastic wrap and refrigerate for at least 4 hours, ideally overnight.
- Garnish with mint leaves and serve cold.
Notes
Keep all ingredients, especially the cream and bowl, very cold to ensure the cream whips properly. If using canned peaches, drain them thoroughly to prevent a watery cake. The cake improves with time, so making it the night before is recommended. It does not freeze well due to the dairy and cookie texture.
- Prep Time: 15 minutes
- Cook Time: 0 minutes
- Category: Dessert
- Cuisine: American
Nutrition
- Serving Size: 1 slice
- Calories: 280
- Sugar: 22
- Sodium: 180
- Fat: 15
- Saturated Fat: 9
- Carbohydrates: 35
- Fiber: 1
- Protein: 3
Keywords: no-bake, peach icebox cake, summer dessert, easy dessert, no oven, make-ahead dessert, peach recipe, whipped cream dessert


