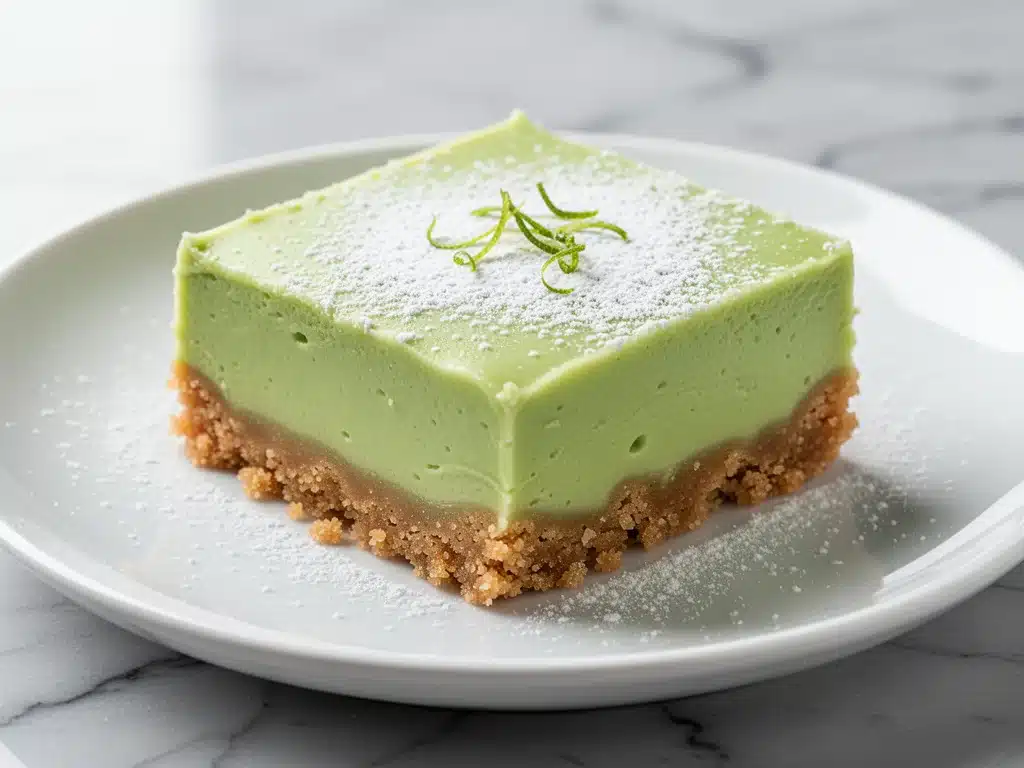
Last July, I was tasked with bringing dessert to my husband’s family reunion. You know the type—twenty-five people, a grill smoking in the background, and a heat index that made the air feel like soup. I had planned to bring a complex fruit tart, but then my oven died. Just like that. One minute I’m preheating, the next, nothing. Panic set in.
I ran to the store, grabbed cream cheese, whipped cream, and a jar of lime curd, and threw together what I thought would be a sad, quick fix. I called it “emergency lime squares.” But here’s the thing: when I served it, my uncle-in-law, who once told me my cooking was “aggressively average,” asked for the recipe. He said it tasted like a tropical vacation on a plate.
That was the birth of my no-bake key lime pie bars. I’ve made them for every potluck, picnic, and lazy Sunday since. They’re tangy, sweet, incredibly creamy, and require zero oven time. If you’re tired of heaving yourself into a hot kitchen in July, or if you just want a dessert that looks impressive but takes ten minutes of active work, this is it. These bars are the perfect balance of tart and sweet, with a buttery graham cracker crust that holds up perfectly (unlike some no-bake desserts that turn to mush). I’ve tweaked the ratio of lime to cream cheese about a dozen times, and I’m finally confident enough to say this is the definitive version. It’s the one you’ll make on repeat.
Why You’ll Love These No-Bake Key Lime Pie Bars
There are plenty of key lime pie recipes out there, but most of them involve a raw egg custard that you have to bake carefully so it doesn’t curdle. That’s stressful. These bars skip all that drama. Here’s why they’ve earned a permanent spot in my dessert rotation:
- Zero Baking Required — Seriously. No oven, no risk of a cracked custard, no waiting for a pie to cool. You mix, you press, you chill. That’s it. I make these when I’m exhausted and still want to treat my family.
- Tangy Perfection — Store-bought key lime pie can sometimes be too sweet or taste artificial. By using a mix of fresh lime juice and high-quality lime curd, you get that bright, zesty kick that actually tastes like a real key lime pie without the hassle.
- Make-Ahead Friendly — These bars taste better the next day. The flavors meld together in the fridge, making the filling richer and more cohesive. I often make them the night before a party, which takes the stress off my hosting game.
- Crowd-Pleasing Texture — The secret is in the crust. I use crushed graham crackers mixed with brown butter for a nutty, crunchy base that contrasts beautifully with the soft, creamy filling. It’s not soggy. It holds its shape when cut.
- Gluten-Free Option — If you’re feeding gluten-free friends, just swap the graham crackers for gluten-free graham crackers or a gluten-free cookie crust. The rest of the recipe is naturally gluten-free (just check your lime curd label).
Whether you’re hosting a summer cookout or just craving something refreshing after a heavy meal, these bars deliver. They’re light, they’re zesty, and they don’t leave you feeling weighed down. Plus, they look gorgeous with that bright green filling and a dollop of whipped cream. I promise, once you try this, you’ll forget about the baked version entirely.
Ingredients You’ll Need
One of the best things about this recipe is how simple the ingredient list is. You probably have most of it in your pantry already. Here’s what you need to make the perfect batch of no-bake key lime pie bars, and why each part matters.
For the Crust
Graham crackers (1 ½ cups / about 150g, crushed) — This is your base. I use standard honey graham crackers for that classic pie flavor. You can crush them in a food processor or put them in a ziplock bag and smash them with a rolling pin. Don’t skip the crumbs; you want a fine, sandy texture for the crust.
Unsalted butter (6 tablespoons / 85g, melted) — Butter binds the crumbs together. I prefer unsalted so I can control the saltiness. Melt it completely before mixing.
Granulated sugar (2 tablespoons / 25g) — Just a little bit to sweeten the crust. It balances the tang of the lime filling.
Salt (¼ teaspoon) — A pinch of salt enhances the flavor and keeps it from tasting flat.
For the Filling
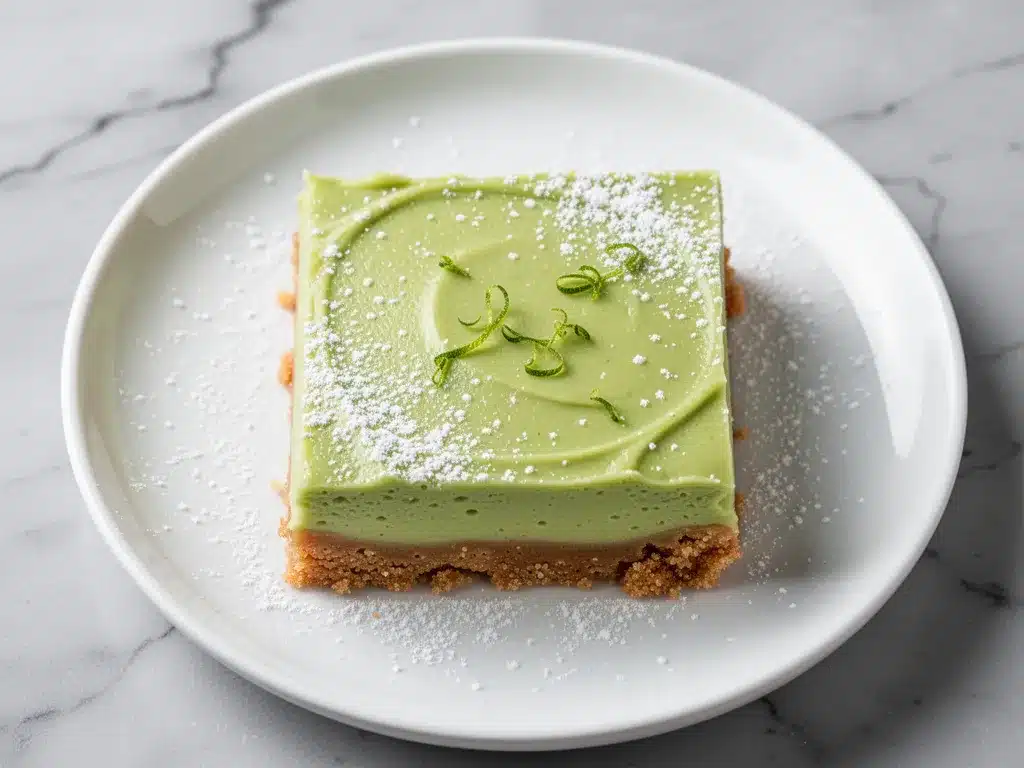
Full-fat cream cheese (8 ounces / 225g, softened) — This is crucial. Use block cream cheese, not the spread in a tub. Soften it at room temperature for at least 30 minutes. If it’s cold, you’ll get lumps in your filling, and nobody wants that.
Powdered sugar (1 cup / 120g) — Also known as icing sugar. It dissolves easily into the cream cheese, creating a smooth, silky texture. Granulated sugar won’t dissolve fully in a no-bake filling, so stick with powdered.
Key lime juice (¼ cup / 60ml) — Freshly squeezed is best for maximum brightness. If you can’t find fresh, good quality bottled key lime juice works too. Avoid regular Persian lime juice if you can help it—it’s milder and less aromatic.
Lime curd (½ cup / 120g) — This adds intense lime flavor and that vibrant green color. I use a high-quality brand like Stonewall Kitchen or make my own. It’s the secret weapon for getting that authentic key lime pie taste.
Heavy whipping cream (1 ½ cups / 360ml, cold) — This gives the filling its light, airy texture. It must be cold, or it won’t whip properly. I keep a carton in the back of the fridge just for desserts like this.
Vanilla extract (1 teaspoon) — Just a touch to round out the flavors. Don’t skip it.
For the Topping
Whipped cream (extra heavy cream, whipped) — For dollops on top. I sweeten it lightly with a teaspoon of powdered sugar.
Lime zest (1 lime) — Freshly grated zest for garnish. It adds a pop of color and fresh aroma.
Equipment Needed
You don’t need fancy gadgets for this. Here’s what I actually use:
- 8×8 inch baking pan — This is the standard size for bars. Line it with parchment paper for easy removal later. Trust me, you’ll want to lift the bars out to cut them cleanly.
- Food processor — For crushing the graham crackers quickly. Alternatively, a ziplock bag and a rolling pin works fine if you don’t mind a little arm work.
- Mixer — A hand mixer or stand mixer makes whipping the cream cheese and cream much easier. You can do it by hand with a whisk, but it takes effort.
- Whisk — For mixing the lime juice and curd into the cream cheese.
- Spatula — For folding in the whipped cream gently.
How to Make It: Step-by-Step
Alright, let’s make these bars! It’s incredibly straightforward. I’m walking you through exactly how I do it, including the little tricks I’ve picked up to ensure a smooth, set filling.
Step 1: Prep Your Pan
Line an 8×8 inch baking pan with parchment paper, leaving an overhang on the long sides. This acts as a sling to lift the bars out later. Spray it lightly with non-stick spray for extra insurance.
Step 2: Make the Crust
In a medium bowl, combine the crushed graham crackers, melted butter, sugar, and salt. Mix until it looks like wet sand. Press this mixture firmly into the bottom of your prepared pan. Use the bottom of a measuring cup to pack it down tightly. You want it even and compact. Place the pan in the fridge while you make the filling. This helps the crust set quickly.
Step 3: Beat the Cream Cheese
In a large bowl, beat the softened cream cheese and powdered sugar together until smooth and creamy. This should take about 2-3 minutes. Scrape down the sides of the bowl to ensure there are no lumps. The mixture should be completely smooth.
Step 4: Add the Lime Flavor
Whisk in the key lime juice and lime curd until fully combined. The mixture will turn a pale green. Taste it—it should be very tangy. If you prefer less tart, you can add a bit more powdered sugar, but I like it sharp.
Step 5: Whip the Cream
In a separate cold bowl, whip the heavy cream until stiff peaks form. This means when you lift the whisk, the cream stands up straight. Don’t over-whip it into butter, just stop when it holds its shape.
Step 6: Fold It All Together
Add one-third of the whipped cream to the cream cheese mixture and fold it in to lighten the base. Then, gently fold in the remaining whipped cream. Be gentle here—you want to keep as much air in the mixture as possible. The filling should look fluffy and pale green.
Step 7: Assemble and Chill
Pour the filling over the chilled crust. Spread it out evenly with a spatula. Smooth the top. Cover the pan with plastic wrap and refrigerate for at least 4 hours, preferably overnight. The longer it chills, the firmer it gets, making it easier to cut.
Step 8: Serve
Once set, lift the bars out of the pan using the parchment sling. Cut into squares or rectangles. Top each with a dollop of whipped cream and a sprinkle of fresh lime zest. Serve immediately.
Expert Tips & Tricks
Here’s everything I’ve learned from making these dozens of times. These tips will save you from common pitfalls.
- Softened Cream Cheese is Non-Negotiable — If your cream cheese is cold, you’ll get lumps. I microwave it for 15-20 seconds if I’m in a hurry, but let it sit out for 30 minutes is better. It should yield to gentle pressure.
- Don’t Skip the Lime Curd — Fresh lime juice alone isn’t enough for that rich, authentic flavor. Lime curd adds the body and intensity. If you can’t find key lime curd, regular key lime juice + extra zest works, but curd is best.
- Chill Your Bowl and Whisk — If you live in a hot climate, chill your mixing bowl and beaters in the freezer for 10 minutes before whipping the cream. It helps the cream whip faster and stay stable.
- Fold, Don’t Stir — When combining the cream cheese mixture with the whipped cream, use a spatula to fold gently. Stirring vigorously deflates the air, making the filling dense instead of light.
- Use a Sharp Knife — For clean cuts, use a sharp knife. Wipe it clean between cuts. For even cleaner slices, dip the knife in hot water and dry it before each cut.
Variations & Substitutions
Once you’ve nailed the basic version, here’s how you can mix it up. I’ve tried all of these.
- Strawberry Key Lime Bars — Add ½ cup of pureed strawberries to the cream cheese mixture. Swirl it in for a marbled effect. It’s a gorgeous pink and green combo.
- Mint Chocolate Chip — Add 1 teaspoon of peppermint extract to the filling and fold in ¼ cup of mini chocolate chips. It’s like a mint lime pie.
- Coconut Version — Substitute half the heavy cream with coconut cream for a tropical twist. Top with toasted coconut flakes.
- Gluten-Free — Use gluten-free graham crackers or gluten-free vanilla wafers for the crust. Ensure your lime curd is certified gluten-free.
- Dairy-Free — Use vegan cream cheese and coconut cream instead of heavy cream. The texture will be slightly denser, but still delicious.
Serving & Storage
How to Serve: These bars are best served chilled. I usually serve them with a cup of coffee or a glass of iced tea. They pair beautifully with summer mocktails or a light white wine.
Storage: Store leftovers in an airtight container in the refrigerator for up to 5 days. They actually taste better on day two as the flavors meld.
Freezing: Yes, you can freeze these bars! Wrap individual slices tightly in plastic wrap, then place them in a freezer bag. They’ll keep for up to 2 months. Thaw in the fridge overnight before serving. Note: The texture of the whipped cream may change slightly after freezing, but it’s still good.
Pro Tip: If you’re making these for a party, make them the night before. They need time to set, and making them ahead takes the stress off your hosting day.
Nutrition Information
I’m not a nutritionist, but here’s the breakdown if you’re tracking. Note that these are estimates.
Per Serving (1 of 16 bars):
- Calories: 180
- Protein: 2g
- Carbs: 18g
- Fat: 12g
- Sugar: 14g
These bars are rich and creamy, so a little goes a long way. They’re a perfect indulgent treat for summer gatherings.
Final Thoughts
So that’s my go-to no-bake key lime pie bars! I’ve probably talked your ear off at this point, but when you make a recipe this often, you have a lot to say about it. These bars have saved my summer BBQs, impressed picky eaters, and provided a refreshing end to heavy meals. They’re my answer to “what’s for dessert” when I don’t want to bake but still want something special.
Make it yours! Try different toppings, swap in your favorite fruit curd, or adjust the lime to your taste. The best recipes are the ones you adapt to your family’s tastes. If you make this, drop a comment and let me know what you think! I love hearing how recipes turn out in your kitchen. And if something doesn’t work, tell me that too—I’m here to help troubleshoot.
Happy cooking! And I hope your kitchen smells half as good as mine does right now.
Frequently Asked Questions
Can I use regular lime juice instead of key lime juice?
You can, but the flavor will be different. Key lime juice is more aromatic and tart. If you use regular Persian lime juice, add a bit more zest to boost the flavor. I recommend using key lime juice if you can find it—it makes a huge difference.
Why did my filling turn out runny?
This usually happens if the cream cheese wasn’t softened properly, or if you didn’t whip the cream enough. Make sure your cream cheese is smooth and your cream holds stiff peaks. Also, ensure you chilled the bars long enough—at least 4 hours, but overnight is best.
Can I make these in a 9×13 pan?
Yes, but you’ll need to double the recipe. The bars will be thinner, so they’ll set faster. Keep an eye on them after 3 hours.
Do I have to use graham crackers?
No! You can use vanilla wafers, shortbread cookies, or even ginger snap cookies for a spicier crust. Just crush them and mix with butter as usual.
Can I make these ahead of time?
Absolutely! These bars are actually better made a day in advance. They hold up well in the fridge for up to 5 days. You can also freeze them for up to 2 months.
Is there a substitute for lime curd?
If you can’t find lime curd, you can use more lime juice and zest, but add a tablespoon of cornstarch to thicken it slightly. Or, just skip it and rely on the fresh juice and zest. The flavor will be lighter but still good.
Pin This Recipe!
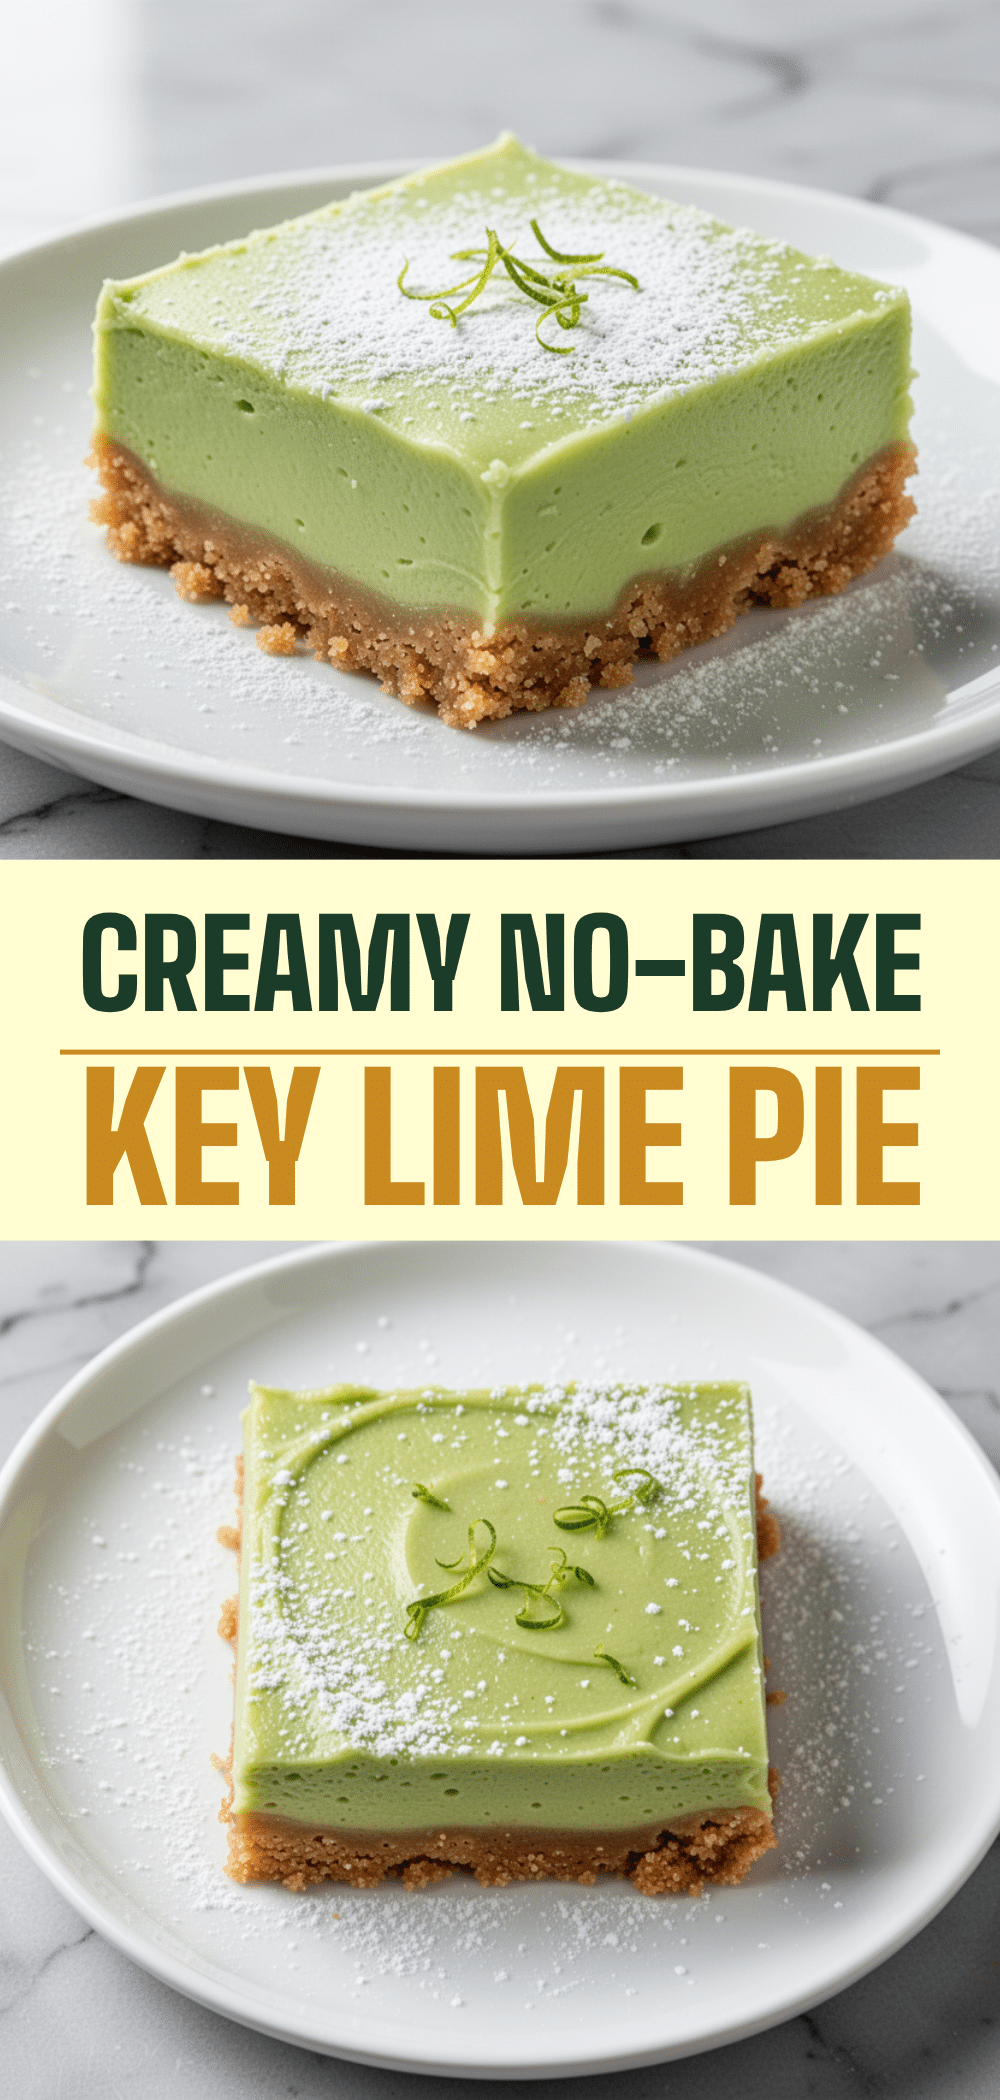
No-Bake Key Lime Pie Bars: Easy & Perfect
- Total Time: 4 hours 15 minutes
- Yield: 16 servings 1x
Description
These tangy, sweet, and incredibly creamy no-bake key lime pie bars require zero oven time. With a buttery graham cracker crust and a rich lime filling, they are the perfect make-ahead dessert for summer gatherings.
Ingredients
- 1 ½ cups (150g) graham crackers, crushed
- 6 tablespoons (85g) unsalted butter, melted
- 2 tablespoons (25g) granulated sugar
- ¼ teaspoon salt
- 8 ounces (225g) full-fat cream cheese, softened
- 1 cup (120g) powdered sugar
- ¼ cup (60ml) key lime juice
- ½ cup (120g) lime curd
- 1 ½ cups (360ml) heavy whipping cream, cold
- 1 teaspoon vanilla extract
- Extra heavy cream, whipped (for topping)
- 1 lime, zested (for garnish)
Instructions
- Line an 8×8 inch baking pan with parchment paper, leaving an overhang on the long sides, and spray lightly with non-stick spray.
- In a medium bowl, combine crushed graham crackers, melted butter, sugar, and salt. Mix until it resembles wet sand.
- Press the crust mixture firmly and evenly into the bottom of the prepared pan. Place in the fridge to set while making the filling.
- In a large bowl, beat the softened cream cheese and powdered sugar together until smooth and creamy, about 2-3 minutes. Scrape down the sides.
- Whisk in the key lime juice and lime curd until fully combined.
- In a separate cold bowl, whip the heavy cream until stiff peaks form.
- Add one-third of the whipped cream to the cream cheese mixture and fold in to lighten. Gently fold in the remaining whipped cream.
- Pour the filling over the chilled crust and spread evenly. Cover with plastic wrap and refrigerate for at least 4 hours, preferably overnight.
- Lift the bars out of the pan using the parchment sling. Cut into squares or rectangles.
- Top with dollops of whipped cream and a sprinkle of fresh lime zest. Serve immediately.
Notes
Ensure cream cheese is softened to room temperature to avoid lumps. Chill the mixing bowl and beaters in the freezer for 10 minutes before whipping cream if the kitchen is warm. For clean cuts, use a sharp knife dipped in hot water and dried between cuts. These bars taste better the next day as flavors meld.
- Prep Time: 15 minutes
- Cook Time: 0 minutes
- Category: Dessert
- Cuisine: American
Nutrition
- Serving Size: 1 bar
- Calories: 180
- Sugar: 14
- Sodium: 90
- Fat: 12
- Saturated Fat: 7
- Carbohydrates: 18
- Protein: 2
Keywords: no-bake, key lime pie, bars, dessert, summer recipes, make-ahead dessert, gluten-free option, easy dessert


