I have a confession to make. Last Tuesday, I was standing in my kitchen at 7:45 PM, staring into the fridge like it held the secrets to the universe. I had a work email to send by 8:00, a pile of laundry that was judging me from the counter, and a sudden, overwhelming craving for something sweet. But here’s the kicker: I didn’t want to bake. I didn’t want to turn on the oven, heat up my apartment, or deal with the cleanup of a dozen bowls and spatulas. I just wanted dessert. But I also wanted to sleep.
That’s when I remembered the box of Biscoff cookies in my pantry. You know the ones. Those crunchy, spiced caramel cookies that taste like pure happiness? I grabbed the box, a block of cream cheese, and a tub of whipped topping. I figured, what’s the worst that could happen? It would be a weird, loose mess that tasted like sweetened butter.
Instead, I got this.
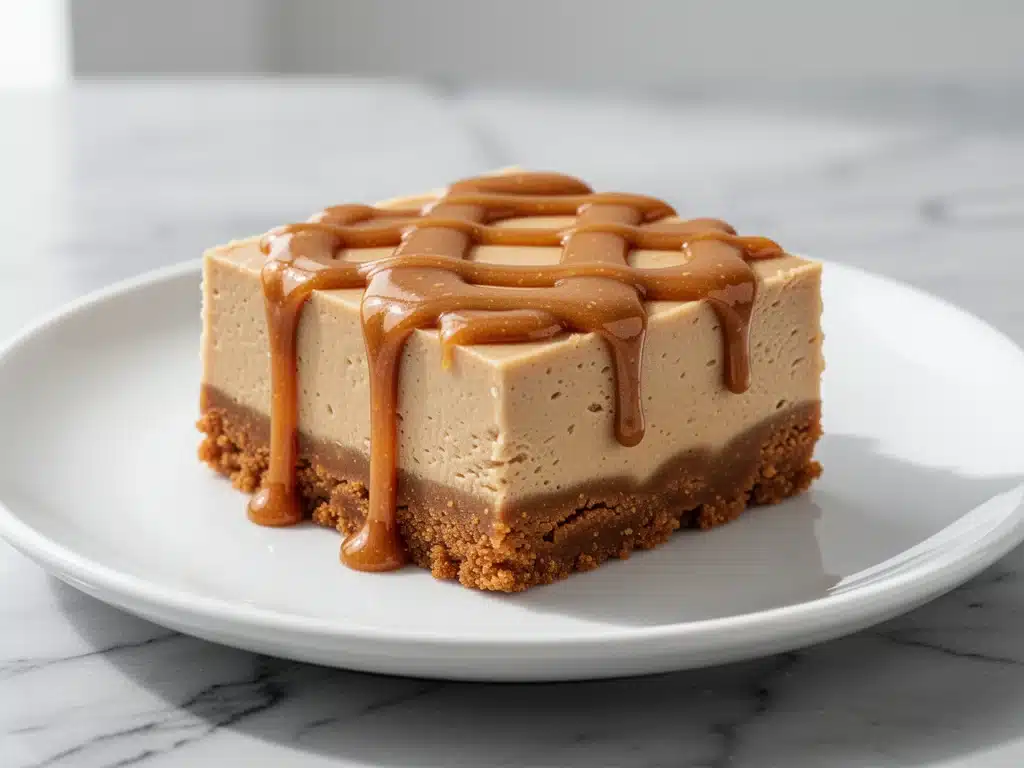
These no-bake Biscoff cheesecake bars are the reason I don’t buy store-bought desserts anymore. They’re creamy, tangy, deeply spiced, and require zero oven time. I made them on a whim, threw them in the fridge, and came back two hours later to find my husband eating them straight out of the pan with a spoon. He didn’t even notice they weren’t baked. He just asked for the recipe.
I’ve tested this no-bake Biscoff cheesecake bars recipe at least a dozen times since that night. I’ve tweaked the crust, played with the sweetness, and figured out the exact chilling time needed to get that perfect sliceable texture. It’s become my go-to when I need a crowd-pleaser but don’t have the energy to bake. And honestly? It’s better than the baked version. It’s lighter. It’s fresher. It’s just… perfect.
Why You’ll Love This No-Bake Biscoff Cheesecake Bars Recipe
Look, I’m not a huge fan of complicated dessert recipes. I’ve got enough on my plate (literally and figuratively). But this recipe changes the game. It’s not just “easy”—it’s foolproof. Here’s why this no-bake Biscoff cheesecake bars recipe deserves a permanent spot in your rotation:
- Zero Oven Required — Seriously. No preheating, no waiting for the timer, no heating up your kitchen in the middle of summer (or winter). It’s all done in bowls. I’ve made this in July with my AC broken, and I was grateful.
- Only 5 Core Ingredients — You probably have most of these already. Biscoff cookies, cream cheese, powdered sugar, vanilla, and whipped topping. That’s it. No fancy gadgets, no hard-to-find spices.
- Make-Ahead Friendly — This is the ultimate stress-reliever. Make it the night before, or even the morning of. It needs time to set anyway, so you’re basically just waiting to eat it. Perfect for those busy weeknights where you need dinner and dessert sorted before the kids get home.
- Crowd-Pleasing Flavor — Biscoff has this unique caramel-spice flavor that almost everyone loves. It’s not too sweet, it’s creamy, and the crunch from the crust adds a nice texture contrast. I’ve served these to picky eaters, dessert snobs, and kids, and everyone asks for seconds.
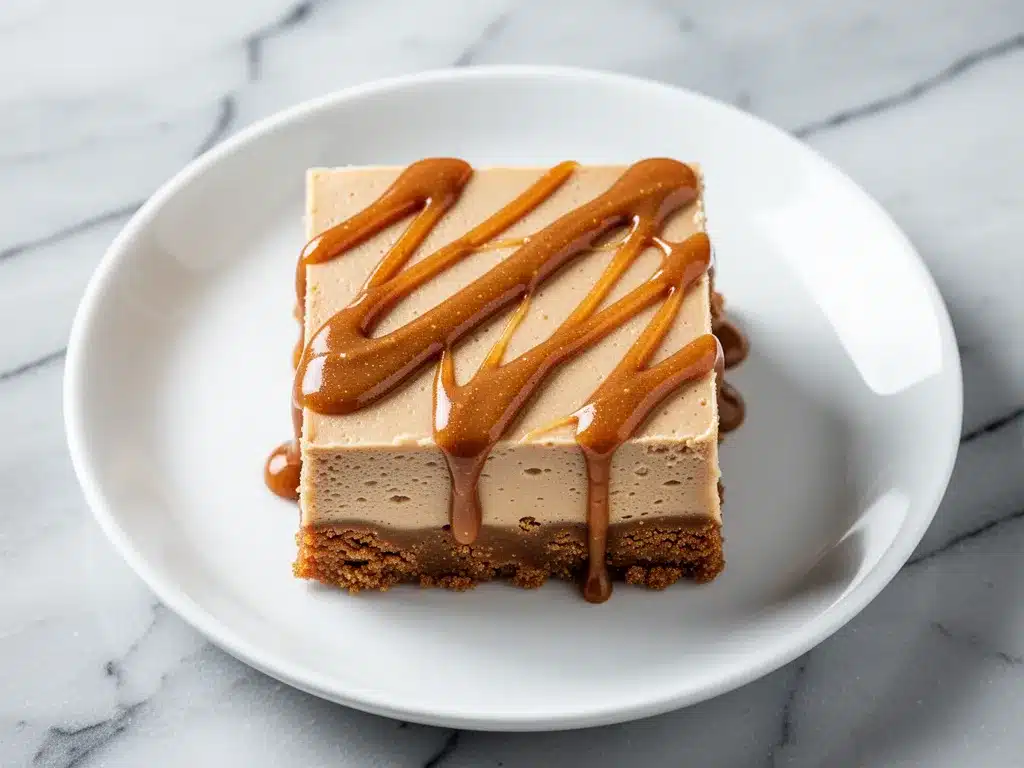
- Beautiful Presentation — These look like they came from a fancy bakery. The layers are distinct, the color is gorgeous, and they slice cleanly. It feels like you went to all this effort, but you really just mixed things in a bowl.
This is my answer to “I want cake but I’m too tired.” It’s reliable, delicious, and makes me look like I have my life together. Trust me, you’ll want to keep the ingredients stocked just for this.
Ingredients You’ll Need
Here’s the best part: you don’t need a specialty store for this. Most of these items are pantry staples or fridge basics. I’m particular about three things here, though, so pay attention to the details.
For the Crust
Biscoff cookies (1.5 cups / about 200g crushed) — Use the original Lotus Biscoff cookies. Don’t use the cinnamon sugar ones or the chocolate ones; they change the flavor profile too much. You need that classic caramel spice. I crush them in a food processor for 10 seconds, but you can put them in a ziplock bag and smash them with a rolling pin if you’re old-school.
Unsalted butter (6 tablespoons / 85g, melted) — This binds the crust. Use real butter, not margarine. Margarine doesn’t have the same fat content and can make the crust greasy. Melt it in the microwave for 30 seconds.
Granulated sugar (1 tablespoon / 12g) — Optional, but I like a little extra sweetness in the crust to balance the tartness of the cream cheese. If your Biscoff cookies are already super sweet, you can skip this.
For the Cheesecake Filling
Full-fat cream cheese (16 oz / 450g) — This is non-negotiable. Do not use the light or fat-free version. It won’t set right, and it will be runny. Let it sit on the counter for 15 minutes before you start so it’s soft enough to whip. Lumpy cream cheese is the enemy of smooth bars.
Confectioners’ sugar (1 cup / 120g) — Also called powdered sugar. Make sure it’s sifted if it’s clumpy. You don’t want gritty sugar in your smooth cheesecake.
Vanilla extract (1 teaspoon) — Use real vanilla. The fake stuff tastes chemical in no-bake desserts because there’s no baking to mellow it out.
Whipped topping (8 oz / 225g, thawed) — I use Cool Whip or a similar brand. Thaw it completely! If it’s still frozen, you’ll get ice crystals. Fold it in gently to keep the airiness. This is what makes the filling light and fluffy instead of dense and heavy.
For the Topping (Optional but Recommended)
Extra Biscoff cookies (whole or crushed) — For garnish. I like to crumble a few on top right before serving for that extra crunch.
Biscoff spread (2-3 tablespoons) — Warm it up slightly and drizzle it over the top. It adds a beautiful marbled look and an extra hit of flavor.
Equipment Needed
You don’t need fancy equipment for this. Here’s what I actually use:
9×9 inch baking pan — A square pan is perfect for bars. Line it with parchment paper, leaving an overhang on the sides. This is crucial for lifting the bars out later. I use Reynolds Wrap because it holds its shape better than generic brands.
Food processor — For crushing the cookies quickly. If you don’t have one, a ziplock bag and a rolling pin work fine. Just be prepared to arm yourself.
Mixing bowls — Two large bowls. One for the crust, one for the filling.
Electric mixer — Handheld or stand mixer. You need to beat the cream cheese until it’s completely smooth. Doing this by hand is possible, but it takes arm strength and patience. I use my KitchenAid, but a hand mixer works great too.
Spatula — A flexible silicone spatula is best for folding in the whipped topping. You want to keep the air in the mixture.
How to Make It: Step-by-Step
Alright, let’s make this! It’s super simple, but there are a few tricks to get that perfect texture. I’m walking you through exactly how I do it.
Step 1: Prep Your Pan (2 minutes)
Line your 9×9 inch pan with parchment paper. Leave a little overhang on the long sides so you can lift the entire block of cheesecake out later. This makes slicing so much easier and keeps the pan clean. I usually spray the parchment with a little non-stick spray just to be safe, though it’s not strictly necessary.
Step 2: Make the Crust (5 minutes)
Crush your Biscoff cookies into fine crumbs. I pulse them in a food processor, but stop before they turn into a paste. You want crumbs, not butter. In a small bowl, mix the crumbs with the melted butter and sugar. It should look like wet sand. If it’s too dry, add a teaspoon more butter. Press this mixture firmly into the bottom of your prepared pan. Use the bottom of a measuring cup to pack it down tight. If the crust is loose, the bars will fall apart. Chill this in the fridge while you make the filling.
Step 3: Beat the Cream Cheese (3-4 minutes)
In a large bowl, beat the softened cream cheese on medium-high speed until it’s completely smooth and creamy. This takes about 2-3 minutes. Scrape down the sides of the bowl. If there are any lumps, your cheesecake will have lumps. I want it to look like frosting.
Step 4: Add Sugar and Vanilla
Add the powdered sugar and vanilla extract to the cream cheese. Beat on low speed just until combined. Don’t overmix now, or you’ll incorporate too much air. You just want it sweet and flavored. Scrape the bowl one more time.
Step 5: Fold in the Whipped Topping
This is the magic step. Add the thawed whipped topping to the cream cheese mixture. Using your spatula, gently fold it in. Use a cutting motion, going from the bottom up. Do this until the mixture is uniform in color and texture. Be gentle here! You’re trying to keep the light, airy texture. If you stir too hard, you’ll deflate it, and the bars will be dense.
Step 6: Assemble and Chill
Pour the filling over the chilled crust. Spread it out evenly with your spatula. Smooth the top so it’s flat. This is where you can get fancy with the Biscoff spread drizzle if you want. Cover the pan with plastic wrap or a lid. Put it in the fridge for at least 4 hours, but overnight is best. I know it’s hard to wait, but patience is key for clean slices.
Step 7: Slice and Serve
Once set, lift the bars out of the pan using the parchment paper. Use a sharp knife to slice into squares. I cut them in half, then quarters, then eighths for perfect bars. Wipe the knife between cuts for clean edges. Serve chilled. Enjoy!
Expert Tips & Tricks
Here’s everything I’ve learned from making this dozens of times. These tips will save you from my mistakes.
Cream Cheese Temperature
The cream cheese MUST be softened. If it’s cold, you’ll get lumps that you can’t beat out. If you forget to take it out, microwave it in 5-second bursts, stirring in between. You want it soft, not melted. Melted cream cheese changes the structure and makes the filling runny.
Whipped Topping Thaw
Make sure your Cool Whip (or equivalent) is completely thawed. If there are still frozen chunks, they won’t fold in evenly. Let it sit on the counter for 20-30 minutes before you start.
Pack the Crust
Don’t just sprinkle the crust on top. Press it down firmly. I use the bottom of a glass to pack it in. A loose crust means a messy bar. You want it to hold together when you slice it.
Chill Time
I know you want to eat it now. But if you cut it after 2 hours, it will be soft and messy. 4 hours is the minimum. Overnight is ideal. The flavors meld together during this time, and the texture firms up perfectly.
Clean Slices
Use a sharp knife. Dull knives squish the bars. Dip the knife in hot water and wipe it dry between cuts for the cleanest edges. It’s a small trick that makes a big difference in presentation.
Variations & Substitutions
Once you’ve nailed the basic version, here’s how you can mix it up. I’ve tried all of these.
Strawberry Biscoff
Add 1 cup of chopped fresh strawberries to the filling. Or, make a strawberry puree and swirl it into the cream cheese layer before adding the whipped topping. It adds a nice tartness.
Chocolate Biscoff
Drizzle melted chocolate over the top after chilling. Or, add 2 tablespoons of cocoa powder to the cream cheese mixture. Biscoff and chocolate are a dream team.
Gluten-Free
Use gluten-free Biscoff-style cookies (there are several brands now) and make sure your whipped topping is certified GF. The rest of the ingredients are naturally gluten-free.
Dairy-Free
This is harder because cream cheese is central, but you can use a dairy-free cream cheese block (like Kite Hill) and dairy-free whipped topping. The texture might be slightly different, but it’s still tasty. I’ve made this for a friend with dairy allergies, and she loved it.
Lower Sugar
Use a sugar substitute in the powdered sugar. Splenda or Swerve work well. You might need a bit less since some substitutes are sweeter than sugar. Taste the mixture before folding in the whipped topping.
Serving & Storage
How to Serve:
I usually serve these straight from the fridge. They’re best cold. I like to garnish with a few whole Biscoff cookies or a drizzle of Biscoff spread. They go well with coffee or tea, but they’re also a great standalone dessert.
Side Dishes:
These are rich, so they pair well with something light. A simple green salad or some fresh fruit works nicely if you’re serving a full meal. But honestly? They’re often the main event.
Storage:
Store in an airtight container in the fridge for up to 5 days. They actually taste better on day 2 or 3 as the flavors settle. Do not freeze them. The whipped topping separates when frozen and thawed, and the texture becomes grainy. It’s not worth it. Just make them fresh or store in the fridge.
Meal Prep:
This is the ultimate make-ahead dessert. Make it on Sunday, and you have dessert for the rest of the week. No baking required. I love this for busy weeknights when I don’t have the energy to cook or bake.
Nutrition Information
I’m not a nutritionist, but here’s the breakdown if you’re tracking. Keep in mind that these are estimates based on standard ingredients.
Per Serving (1 of 16 bars):
– Calories: 180
– Protein: 3g
– Carbs: 22g
– Fiber: 1g
– Sugar: 15g
– Fat: 9g
– Saturated Fat: 5g
– Cholesterol: 25mg
– Sodium: 130mg
What’s Good:
– Low protein, but that’s expected for a dessert.
– No baking means no added oils from cooking.
What to Know:
– Higher in sugar from the cookies and powdered sugar.
– Contains dairy and gluten.
– Rich in calories from the cream cheese and butter.
My Take:
Look, this is a dessert. It’s sweet, creamy, and indulgent. It’s not a health food. But it’s way better than store-bought cakes, and you know exactly what’s in it. When I make it, I enjoy a square or two and call it a day. Moderation is key, but so is happiness.
Final Thoughts
So that’s my no-bake Biscoff cheesecake bars recipe! I’ve probably talked your ear off at this point, but when you make a recipe this often, you have a lot to say about it.
This has saved weeknight desserts more times than I can count. It’s my answer to “I want something sweet but I’m tired.” My kids are happy, my husband’s happy, and I’m happy because I’m not stressed about baking. It’s reliable, delicious, and makes everyone happy.
Make it yours! Try different toppings, swap in your favorite cookies, or adjust the sweetness. The best recipes are the ones you adapt to your family’s tastes.
If you make this, drop a comment and let me know what you think! I love hearing how recipes turn out in your kitchen. And if something doesn’t work, tell me that too—I’m here to help troubleshoot.
Happy cooking! And I hope your kitchen smells half as good as mine does right now.
Frequently Asked Questions
Can I use a different cookie for the crust?
You can! Gingersnaps, digestive biscuits, or even Oreos work well. But Biscoff is special because of its caramel-spice flavor, which pairs perfectly with the cream cheese. If you use Oreos, you won’t need as much sugar in the crust. Just crush them and mix with butter like normal.
Why did my cheesecake bars turn out runny?
This usually happens if the cream cheese wasn’t softened properly, or if you didn’t chill it long enough. Make sure you beat the cream cheese until it’s completely smooth before adding the sugar. Also, ensure your whipped topping is fully thawed. If the mixture was too warm when you assembled it, it might not set. Chill it for at least 4 hours, preferably overnight.
Can I make this ahead for a party?
Absolutely! This is actually better when made ahead. Make it 1-2 days before your party. It will be fully set and the flavors will have melded. Just keep it in the fridge until you’re ready to serve. It travels well too, as long as you keep it cool.
Can I freeze these bars?
I don’t recommend it. The whipped topping doesn’t freeze well. It tends to separate and become grainy when thawed. The texture won’t be the same. It’s best to make these fresh or store them in the fridge for up to 5 days.
Do I have to use Cool Whip?
You can use homemade whipped cream, but it’s less stable. If you use homemade whipped cream, you’ll need to add a stabilizer like gelatin or instant pudding mix to keep it from deflating. Cool Whip is convenient and holds its shape well in no-bake desserts, which is why I prefer it.
How do I store leftovers?
Store in an airtight container in the fridge for up to 5 days. They might get a little soft if the container isn’t sealed well, so make sure it’s tight. Do not leave them out at room temperature for more than 2 hours.
Can I double this recipe?
Yes! Double everything and use a 9×13 inch pan. The thickness will be the same, so the chilling time remains the same. I do this when I’m feeding a crowd. Just make sure your mixing bowl is big enough to hold all the filling.
Pin This Recipe!
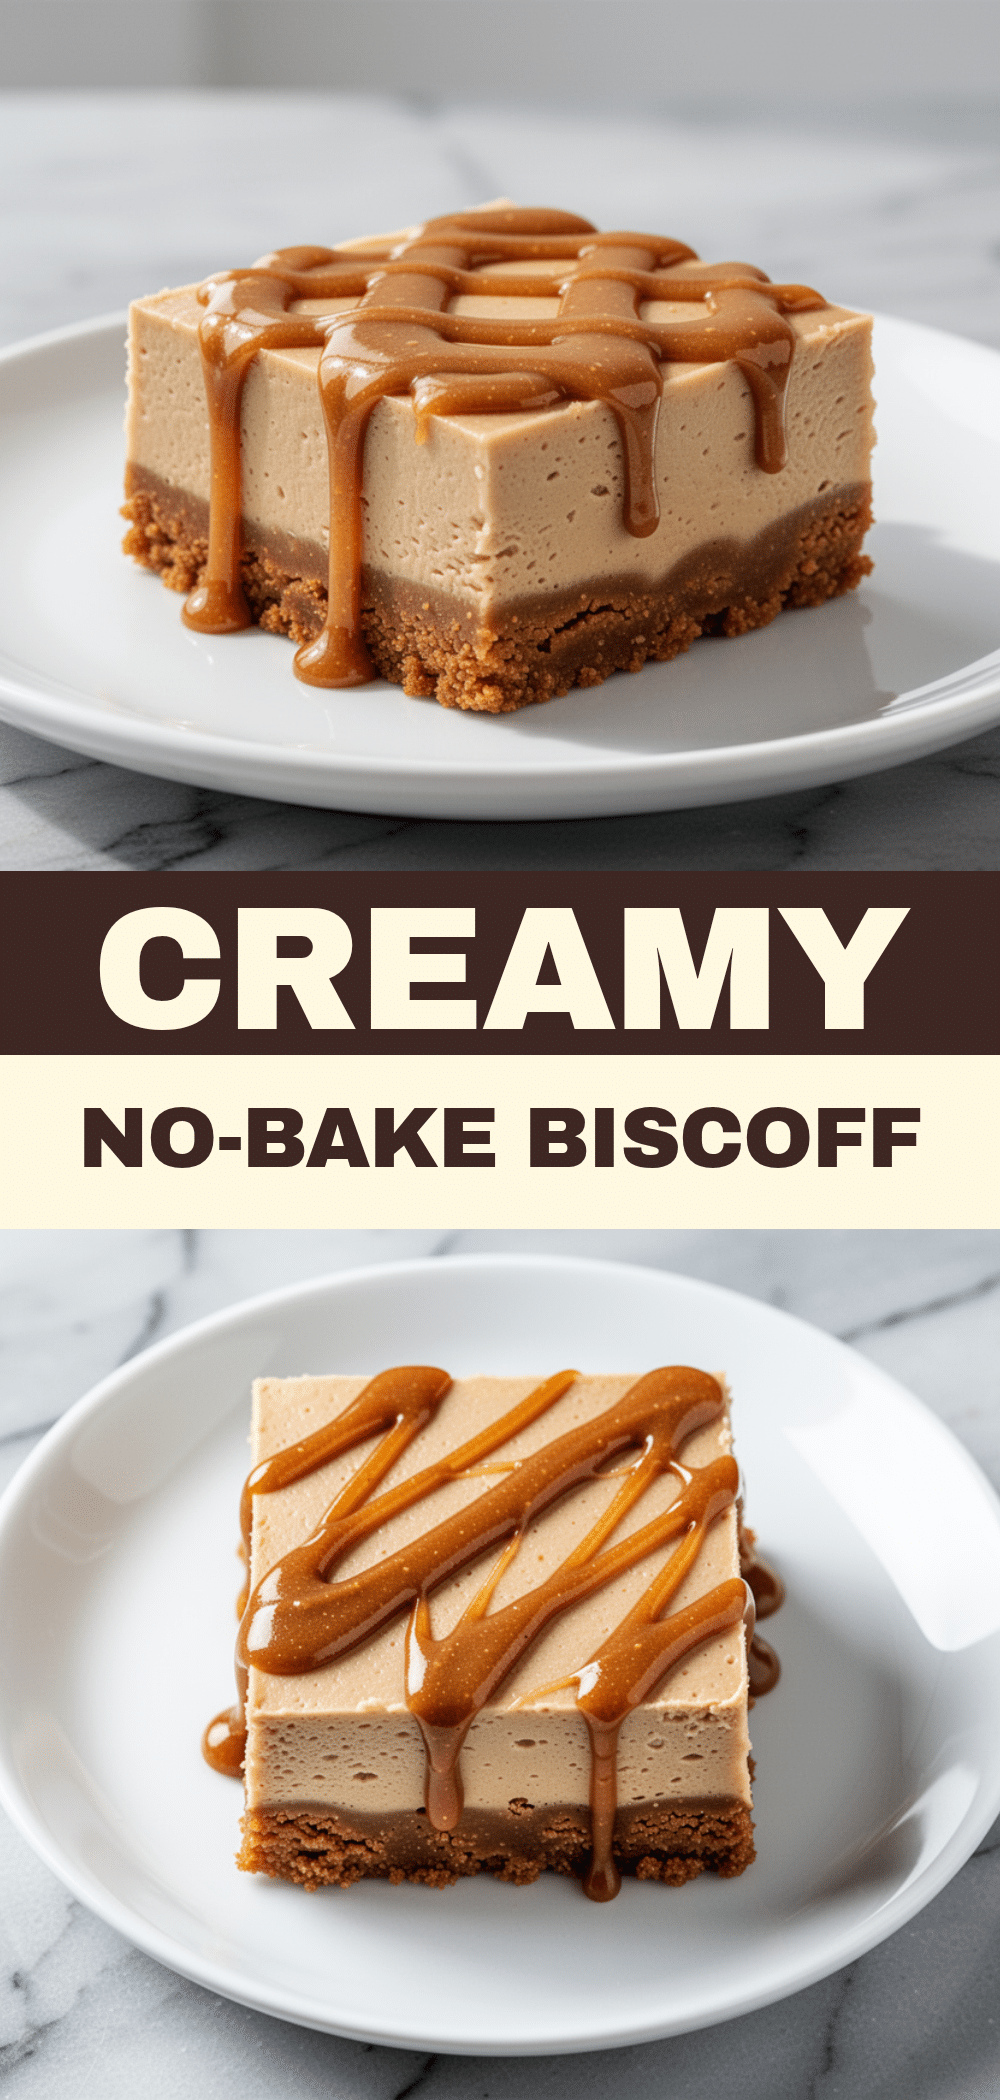
No-Bake Biscoff Cheesecake Bars
- Total Time: 4 hours 15 minutes
- Yield: 16 servings 1x
Description
These creamy, tangy, and deeply spiced no-bake Biscoff cheesecake bars require zero oven time and only five core ingredients. They are foolproof, make-ahead friendly, and offer a perfect balance of crunchy crust and light, fluffy filling.
Ingredients
- 1.5 cups (200g) Lotus Biscoff cookies, crushed
- 6 tablespoons (85g) unsalted butter, melted
- 1 tablespoon granulated sugar
- 16 oz (450g) full-fat cream cheese, softened
- 1 cup (120g) confectioners’ sugar, sifted
- 1 teaspoon vanilla extract
- 8 oz (225g) whipped topping, thawed
- Optional: Extra Biscoff cookies for garnish
- Optional: 2-3 tablespoons Biscoff spread for drizzle
Instructions
- Line a 9×9 inch baking pan with parchment paper, leaving an overhang on the sides for easy removal.
- Crush Biscoff cookies into fine crumbs using a food processor or rolling pin. Mix crumbs with melted butter and sugar until it resembles wet sand.
- Press the crust mixture firmly into the bottom of the prepared pan. Chill in the fridge while making the filling.
- In a large bowl, beat the softened cream cheese on medium-high speed until completely smooth and creamy, scraping down the sides.
- Add powdered sugar and vanilla extract to the cream cheese. Beat on low speed just until combined.
- Gently fold in the thawed whipped topping using a spatula until the mixture is uniform in color and texture, being careful not to deflate the air.
- Pour the filling over the chilled crust and spread evenly. Smooth the top.
- Cover the pan and refrigerate for at least 4 hours, or overnight, until set.
- Lift the bars out of the pan using the parchment paper. Slice into squares using a sharp knife, wiping the blade between cuts for clean edges.
- Serve chilled, optionally garnished with crushed Biscoff cookies or a drizzle of Biscoff spread.
Notes
Ensure cream cheese is fully softened to avoid lumps. Whipped topping must be completely thawed to prevent ice crystals. The crust must be pressed firmly to ensure bars hold together. For clean slices, dip the knife in hot water and wipe dry between cuts. Do not freeze, as the texture of the whipped topping will become grainy.
- Prep Time: 15 minutes
- Cook Time: 0 minutes
- Category: Dessert
- Cuisine: American
Nutrition
- Serving Size: 1 bar
- Calories: 180
- Sugar: 15
- Sodium: 130
- Fat: 9
- Saturated Fat: 5
- Carbohydrates: 22
- Fiber: 1
- Protein: 3
Keywords: no-bake, Biscoff, cheesecake bars, easy dessert, make-ahead dessert, crowd-pleaser, Lotus Biscoff, cream cheese dessert


