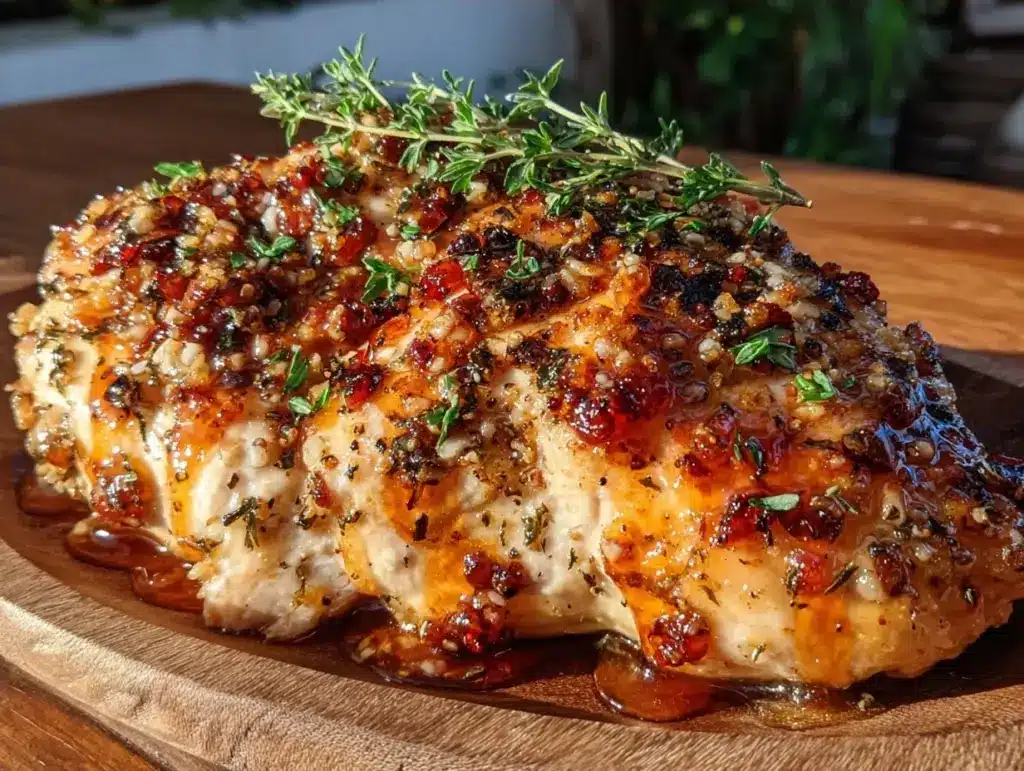
I have a confession to make. For years, I was the person who bought the cheapest chicken breasts at the grocery store, threw them in the oven, and prayed they wouldn’t come out tasting like rubber soles. You know the type. The kind of chicken that’s so dry you need to drown it in gravy just to get it down. My kids would push it around their plates, and I’d feel that familiar pang of guilt, wondering if I was failing at basic dinner duty.
Then came the Tuesday that changed everything. I was running late, the house was a mess, and I had about 20 minutes before the kids got home from school. I panicked. I usually avoid chicken breasts because they’re so finicky, but I had a pack of them on sale for $1.99 a pound. I couldn’t pass that up. So, I did something I’d never tried before: I brined them. Just a quick soak in salt water. I threw them in the oven, set a timer, and actually sat down for five minutes.
When I pulled them out, they weren’t just edible. They were juicy. Tender. The kind of chicken that didn’t need sauce to hide its flaws. That simple trick—brining—turned my weeknight dread into a reliable win. Since then, I’ve made this never-dry oven-baked chicken breast at least once a week. It’s become the backbone of our dinner rotation because it’s cheap, it’s healthy, and best of all, it actually tastes good.
If you’ve been burned by dry chicken before (and let’s be honest, who hasn’t?), this recipe is your redemption arc. It’s not fancy. It doesn’t require expensive ingredients or special equipment. It just requires knowing one or two tricks that keep that meat moist and flavorful. Let me walk you through exactly how I do it.
Why You’ll Love This Recipe
There are a few reasons this never-dry oven-baked chicken breast has earned a permanent spot in my meal planning, but if I had to narrow it down, it’s these:
- Stupid Simple — Seriously, if you can mix salt and water, you can make this. I’ve had my 10-year-old do it when I’m overwhelmed with laundry. No fancy techniques, just straightforward steps.
- Budget-Friendly — Chicken breasts are often the most affordable protein option, especially when you catch them on sale. This recipe stretches a pound of chicken into a full meal for four people, often costing less than $8 total.
- Meal Prep Gold — I make a double batch every Sunday. These chicken breasts stay moist in the fridge for up to four days. I slice them up for salads, pack them in sandwiches, or reheat them with veggies. It’s the ultimate time-saver.
- Kid-Approved — My picky eaters who usually complain about “dry meat” actually ask for seconds. The mild seasoning lets the chicken shine without overwhelming their palates.
- Versatile — This chicken plays nice with everything. It goes great with my cozy fall pumpkin sage pasta for a hearty dinner, or sliced over a simple green salad for something lighter.
This isn’t gourmet cooking. It’s real food for real families. It’s the kind of dinner that lets you relax because you know it’s going to work.
Ingredients You’ll Need
The beauty of this recipe is that you probably have most of this in your kitchen already. I’m keeping it simple with pantry staples and fresh basics. Here’s what you need:
For the Brine (The Secret Weapon)
Water (2 cups / 480ml) — Cold water. You’ll be soaking the chicken in this.
Table Salt (2 tablespoons) — Don’t skip the salt. This is what helps the chicken retain moisture. I use regular kosher salt or table salt.
Brown Sugar (1 tablespoon) — Optional, but it helps with browning and adds a tiny bit of sweetness that balances the savory spices.
For the Chicken
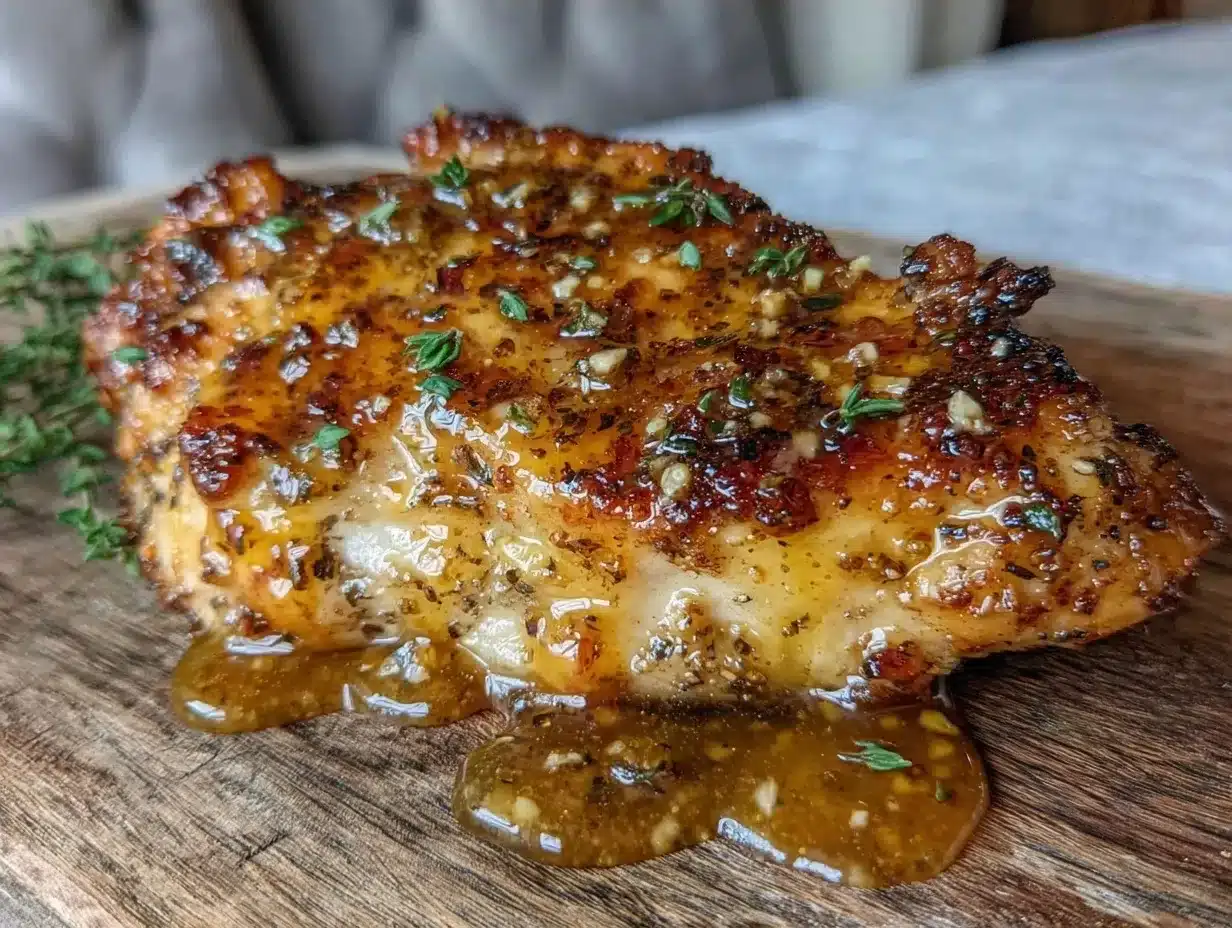
Chicken Breasts (1.5 to 2 pounds / 700-900g) — Look for boneless, skinless breasts. Try to get them of similar size so they cook evenly. If one is huge and another is tiny, you’ll end up with one dry and one perfect. I usually buy a 3-pack and freeze one for later.
Olive Oil (2 tablespoons) — Just enough to coat the chicken and help the spices stick. You can use melted butter too, if you prefer.
For the Spice Rub
Garlic Powder (1 teaspoon) — I use powder, not fresh garlic, because fresh garlic burns in the oven at high heat. Powder gives that garlic flavor without the char.
Onion Powder (1 teaspoon) — Adds depth without the crunch of raw onion.
Dried Paprika (1 teaspoon) — Gives it a nice color and a mild smoky flavor. Smoked paprika is even better if you have it.
Dried Thyme (½ teaspoon) — Or dried oregano. Both work well here.
Black Pepper (½ teaspoon) — Freshly cracked is best, but ground is fine.
Salt (½ teaspoon) — To taste, depending on how salty your brine was.
Quick Tip: I keep a small jar of this spice mix ready in my cabinet. If I’m in a rush, I just grab that instead of measuring each one. It’s called herbes de provence if you want to buy it pre-mixed, but making it yourself is cheaper.
Equipment Needed
You don’t need anything fancy. Here’s what I actually use:
Baking Dish — A 9×13 inch glass or ceramic baking dish works perfectly. I like glass because you can see the juices bubbling. A metal pan works too, but it might brown the chicken faster.
Measuring Cups and Spoons — Standard stuff. I use the plastic ones from the dollar store; they’re light and easy to clean.
Whisk — For mixing the brine. A fork works in a pinch.
Tongs — To move the chicken in and out of the brine and into the baking dish. My tongs have a rubber grip, which is nice so they don’t slip.
Instant-Read Thermometer — This is non-negotiable for me. It’s the only way to guarantee the chicken isn’t overcooked. I have a cheap one from Amazon that I love. If you don’t have one, just know that 165°F is the safe temp.
How to Make It: Step-by-Step
Alright, let’s get this chicken on the table. I’m going to walk you through it, including the little tricks I’ve picked up over the years.
Step 1: Make the Brine (5 minutes)
In a large bowl or a zip-top bag, combine the water, 2 tablespoons of salt, and 1 tablespoon of brown sugar. Stir until the salt and sugar are mostly dissolved. It doesn’t have to be perfect, but you want the salt gone. If you’re in a rush, you can microwave the water for 30 seconds to help it dissolve faster, then let it cool slightly.
Step 2: Brine the Chicken (15-30 minutes)
Place the chicken breasts in the brine. Make sure they’re fully submerged. If they’re floating, weigh them down with a small plate. I like to do this while I’m prepping other things. 15 minutes is enough for a quick fix, but 30 minutes is ideal for maximum juiciness. Don’t go longer than an hour, or the texture can get a bit mushy.
Step 3: Prep the Oven and Dish
Preheat your oven to 400°F (200°C). While the chicken is brining, grab your baking dish. Lightly grease it with a little olive oil or non-stick spray. This helps prevent sticking, especially if you’re using a glass dish.
Step 4: Dry and Season
Remove the chicken from the brine and pat it dry with paper towels. This step is crucial. If the chicken is wet, it will steam instead of bake. You want that surface dry so the spices stick and the chicken browns nicely. In a small bowl, mix the garlic powder, onion powder, paprika, thyme, black pepper, and ½ teaspoon of salt.
Step 5: Coat and Bake
Drizzle the olive oil over the chicken breasts and rub it in. Then, sprinkle the spice mix evenly over both sides, pressing it in gently so it adheres. Place the chicken in the prepared baking dish. Bake for 20-25 minutes. The exact time depends on the thickness of your breasts. A 6-ounce breast might take 20 minutes, while an 8-ounce breast might take 25.
Step 6: Check the Temp
Insert your instant-read thermometer into the thickest part of the chicken. You want to pull it out when it hits 160°F (71°C). The residual heat will carry it to 165°F (74°C) while it rests. If you wait until it hits 165°F in the oven, it might end up at 170°F, which is dry. Trust the thermometer.
Step 7: Rest
Remove the chicken from the oven and let it rest for 5 minutes before cutting. This allows the juices to redistribute. If you cut into it immediately, all that good moisture runs out onto the plate. I know it’s hard to wait, but it’s worth it.
Expert Tips & Tricks
Here’s everything I’ve learned from making this dozens of times. These tips will save you from my mistakes.
Don’t Skip the Brine
I tried skipping it once because I was in a huge rush. The chicken was fine, but not great. The brine changes the protein structure slightly, allowing it to hold more water. It’s the single biggest factor in keeping it moist.
Pat It Dry
Wet chicken = steamed chicken. I can’t stress this enough. Use paper towels. If you don’t have paper towels, use a clean kitchen towel. Get that surface as dry as possible before adding the oil and spices.
Uniform Thickness
If you have chicken breasts that are wildly different sizes, try to pound the thicker ones down a bit with a meat mallet or a rolling pin. This ensures they cook evenly. Uneven chicken means uneven cooking, which means dry spots.
Resting is Key
I’ve cut into chicken straight out of the oven multiple times. It’s always juicier after resting. Give it those 5 minutes. Set a timer on your phone if you have to.
Leftover Stretching
If you have leftover chicken, don’t just reheat it whole. Chop it up and add it to soups, salads, or grain bowls. It stays moist when chopped and mixed with other ingredients. I love adding it to my vegan fall harvest grain bowl (swap the vegan protein for this chicken) for a quick lunch.
Variations & Substitutions
Once you’ve nailed the basic version, here’s how you can mix it up. I’ve tried all of these.
Lemon Herb
Add the zest of one lemon to the spice rub and squeeze fresh lemon juice over the chicken before serving. Bright and fresh.
Spicy
Add ½ teaspoon of cayenne pepper or red pepper flakes to the spice mix. Gives it a nice kick without being overwhelming.
Honey Garlic
Brush the chicken with a mixture of 2 tablespoons honey and 1 tablespoon soy sauce during the last 5 minutes of baking. Sweet and savory.
Gluten-Free
This recipe is naturally gluten-free, as long as you check your spice blends. Some pre-mixed spices can have fillers. I always stick to single-ingredient spices to be safe.
Dairy-Free
This is naturally dairy-free. Just make sure you use olive oil instead of butter.
Serving & Storage
How to Serve:
I usually serve this with roasted vegetables, like broccoli or asparagus, and some rice or quinoa. It’s a complete meal. It also goes great with diabetic-friendly baked salmon with dijon herb crust if you’re mixing up your protein sources for the week.
Toppings:
I keep it simple. Maybe some fresh parsley on top. Or a dollop of sour cream if I’m feeling indulgent.
Refrigerator:
Store in an airtight container for up to 4 days. The chicken will hold up well in the fridge.
Reheating:
To reheat, add a splash of water or broth to the dish and cover it with foil. Heat in the oven at 350°F for 10-15 minutes. This prevents it from drying out in the microwave. If you must microwave, do it in short bursts and cover it.
Freezing:
You can freeze cooked chicken for up to 3 months. Let it cool completely, then store in freezer bags. Thaw in the fridge overnight before reheating.
Nutrition Information
I’m not a nutritionist, but here’s the breakdown if you’re tracking.
Per Serving (based on 4 servings, 1 breast each):
– Calories: 280
– Protein: 35g
– Carbs: 2g
– Fiber: 0g
– Sugar: 1g
– Fat: 12g
– Saturated Fat: 2g
– Cholesterol: 90mg
– Sodium: 650mg (varies based on brine absorption)
What’s Good:
– High protein
– Low carb
– Healthy fats from olive oil
What to Know:
– Sodium content is higher due to the brine, but you can rinse the chicken briefly before seasoning to reduce it if needed.
Final Thoughts
So that’s my go-to never-dry oven-baked chicken breast! I’ve probably talked your ear off at this point, but when you make a recipe this often, you have a lot to say about it.
This has saved weeknight dinners more times than I can count. It’s my answer to “what’s for dinner” when I’m tired, don’t want takeout, and still want something that tastes really good. My kids are happy, my husband’s happy, and I’m happy because I’m not stressed about cooking.
Make it yours! Try different spices, add veggies to the pan, or serve it with different sides. The best recipes are the ones you adapt to your family’s tastes.
If you make this, drop a comment and let me know what you think! I love hearing how recipes turn out in your kitchen. And if something doesn’t work, tell me that too—I’m here to help troubleshoot.
Happy cooking! And I hope your kitchen smells half as good as mine does right now.
Frequently Asked Questions
Can I use frozen chicken breasts?
You can, but you need to thaw them completely first. Cooking frozen chicken in the oven will result in uneven cooking—burnt on the outside, raw on the inside. Thaw them in the fridge overnight or in cold water for a faster thaw.
Why is my chicken still dry?
Most likely, it was overcooked. Chicken breast cooks quickly, and it’s easy to go past 165°F. Use a thermometer! Also, make sure you didn’t skip the brine. The brine is the key to moisture.
Can I grill this chicken instead of baking it?
Yes! The brine works great for grilling too. Just grill over medium heat for about 6-7 minutes per side, until it hits 160°F. The spices might burn slightly on the grill, so keep an eye on it.
How do I store leftovers?
Store in an airtight container in the fridge for up to 4 days. Reheat gently with a splash of liquid to keep it moist.
Can I double this recipe?
Absolutely! Just use a larger baking dish or two dishes. The cooking time might increase by a few minutes if the chicken is crowded, so keep an eye on the temperature.
What spices can I substitute?
Feel free to swap thyme for rosemary, or paprika for chili powder. The base is flexible. Just keep the garlic and onion powder—they’re the flavor backbone.
Is this recipe kid-friendly?
Yes! The spices are mild and savory. If your kids are super sensitive, you can reduce the paprika and pepper by half. Most kids love it because it’s not “weird” tasting.
Pin This Recipe!


Never-Dry Oven-Baked Chicken Breast: Easy Family Dinner
- Total Time: 30 minutes
- Yield: 4 servings 1x
Description
A simple, budget-friendly recipe for juicy and tender oven-baked chicken breasts using a quick brine technique to prevent dryness, perfect for weeknight family dinners.
Ingredients
- 2 cups cold water
- 2 tablespoons table salt
- 1 tablespoon brown sugar
- 1.5 to 2 pounds boneless, skinless chicken breasts
- 2 tablespoons olive oil
- 1 teaspoon garlic powder
- 1 teaspoon onion powder
- 1 teaspoon dried paprika
- 1/2 teaspoon dried thyme
- 1/2 teaspoon black pepper
- 1/2 teaspoon salt
Instructions
- In a large bowl or zip-top bag, combine water, 2 tablespoons salt, and brown sugar. Stir until dissolved.
- Submerge chicken breasts in the brine for 15-30 minutes. Ensure they are fully submerged.
- Preheat oven to 400°F (200°C) and lightly grease a 9×13 inch baking dish.
- Remove chicken from brine and pat dry thoroughly with paper towels.
- In a small bowl, mix garlic powder, onion powder, paprika, thyme, black pepper, and 1/2 teaspoon salt.
- Drizzle olive oil over chicken and rub in. Sprinkle spice mix evenly over both sides, pressing gently to adhere.
- Place chicken in the prepared baking dish and bake for 20-25 minutes.
- Check internal temperature with an instant-read thermometer; remove when it reaches 160°F (71°C).
- Let chicken rest for 5 minutes before cutting or serving.
Notes
Patting the chicken dry is crucial to ensure it bakes rather than steams. Use a thermometer to avoid overcooking; residual heat will bring the temperature up to 165°F during resting. For uniform cooking, pound thicker chicken breasts to an even thickness. Leftovers can be stored in the fridge for up to 4 days or frozen for up to 3 months.
- Prep Time: 5 minutes
- Cook Time: 25 minutes
- Category: Main Course
- Cuisine: American
Nutrition
- Serving Size: 1 chicken breast
- Calories: 280
- Sugar: 1
- Sodium: 650
- Fat: 12
- Saturated Fat: 2
- Carbohydrates: 2
- Protein: 35
Keywords: chicken breast, oven baked chicken, juicy chicken, brined chicken, easy dinner, weeknight meal, gluten-free, dairy-free, high protein


