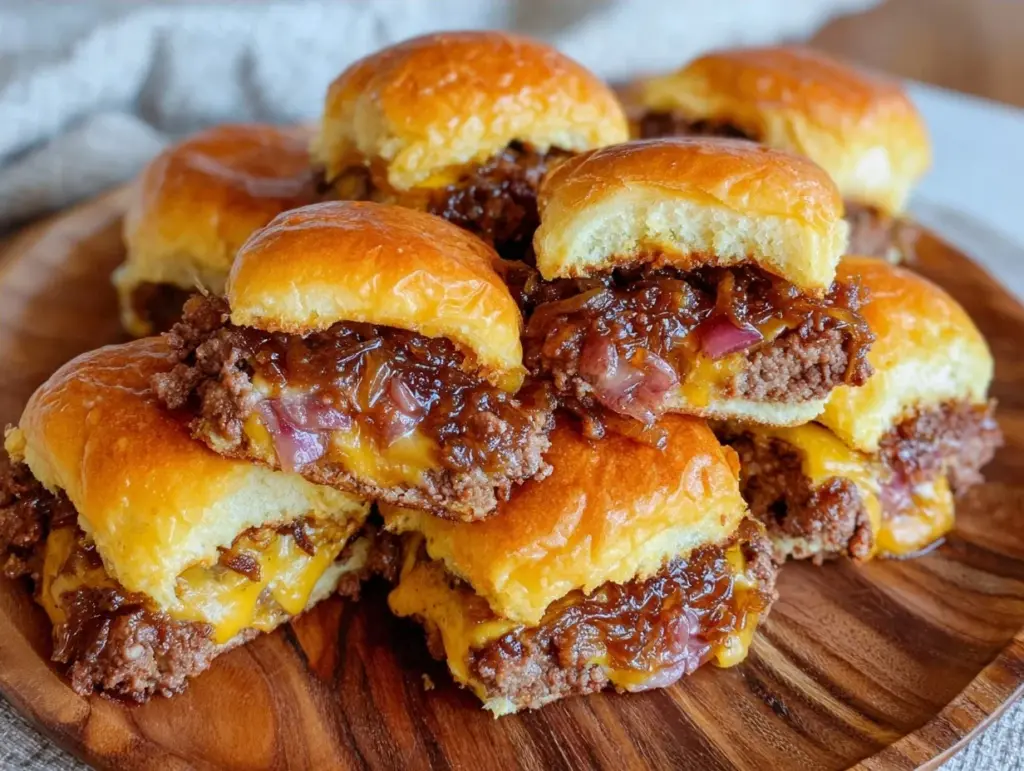
There is a specific kind of panic that sets in around 4 PM on Labor Day. You’re staring at a grill that’s just barely warm enough, a half-empty cooler of beer, and a guest list that keeps growing. Everyone expects something “special” but nobody wants to deal with heavy, complicated food that sits around getting cold. I used to stress over this until I discovered the magic of smash burger sliders. It’s not just a shortcut; it’s a strategy. And honestly? These Labor Day smash burger sliders with caramelized onions have saved my social life more times than I can count.
Last year, I was making these sliders while trying to finish my outfit for the evening. I had 20 minutes before the first car pulled into the driveway. I threw together a batch of these little beef beauties, topped them with onions I’d been slowly cooking down for an hour, and served them on a platter. Within ten minutes, the plate was empty. My friend Mike, who usually complains about “party food,” asked for the recipe. That’s when I knew I had struck gold.
These sliders are the ultimate crowd-pleaser because they hit every note people crave at a summer gathering: salty, savory, crispy, and soft. They’re small enough to eat while standing around talking, but substantial enough to feel like a real treat. Plus, the caramelized onions add that sweet, rich depth that makes them taste like they came from a high-end burger joint, not your backyard grill. If you’ve ever wanted to impress your guests without spending hours in the kitchen, this is the answer. It’s the best 15-minute party appetizer because it delivers maximum flavor with minimal fuss.
Why You’ll Love This Recipe
I’ve tested enough party food to know what works and what ends up as a soggy mess in the trash. These smash burger sliders check every box. Here’s why they’re going to become your go-to for any gathering:
- Stupid Simple Execution — Seriously, if you can boil water and flip a pancake, you can make these. I’ve walked my teenage nephew through it over FaceTime. The “smash” technique is intuitive, and the sliders cook so fast you don’t even need to watch them constantly.
- Lightning Fast — From start to finish, you’re looking at about 15-20 minutes of active time. I make these on weeknights when I’m hosting a quick game night, and they go from fridge to plate before anyone realizes dinner is served. It’s the perfect 15-minute party appetizer that doesn’t feel rushed.
- The Caramelized Onion Factor — This is the game-changer. Most people skip the onions or just throw raw slices on top. But slow-cooked, golden-brown onions add a sweetness that cuts through the salty beef perfectly. It’s the difference between a snack and a gourmet experience.
- Customizable for Everyone — I’ve served these to picky kids who only like cheeseburgers and foodie friends who usually scoff at party food. Everyone loves them. You can easily swap beef for turkey or add different cheeses to accommodate preferences.
- Make-Ahead Friendly — You can caramelize the onions hours before your guests arrive. The beef patties can be pre-portioned into balls and chilled. When the clock hits party time, you just smash, sear, and serve. It takes the stress out of hosting.
- Budget-Smart — Ground beef is affordable, and you’re using small portions. You can feed a crowd of 10-15 people for a fraction of the cost of ordering takeout or catering. It’s indulgent without being expensive.
This is my go-to when I need dinner or party food to just work. No complicated techniques, no weird ingredients, just reliable, delicious food that makes everyone happy. And if you’re looking for other crowd-pleasers, check out these loaded cheeseburger casserole for a heartier main course option.
Ingredients You’ll Need
Here’s the best part: you probably have most of this already in your pantry or fridge. I’m particular about three ingredients here, and I’ll tell you exactly why.
For the Beef Patties
Ground beef (1.5 lbs / 680g) — I use 80/20 blend. You need that fat content for juiciness and flavor. Lean beef will make these dry and tough. Don’t skimp on the fat; it’s what makes them melt-in-your-mouth.
Salt and black pepper — Coarse kosher salt is best for seasoning the outside. It creates that beautiful crust. Freshly cracked pepper adds a nice bite.
Shredded cheese (1 cup / 100g) — American cheese is traditional for a reason—it melts smoothly. But cheddar, pepper jack, or Swiss work great too. Shred it yourself; pre-shredded cheese has anti-caking agents that prevent proper melting.
For the Caramelized Onions
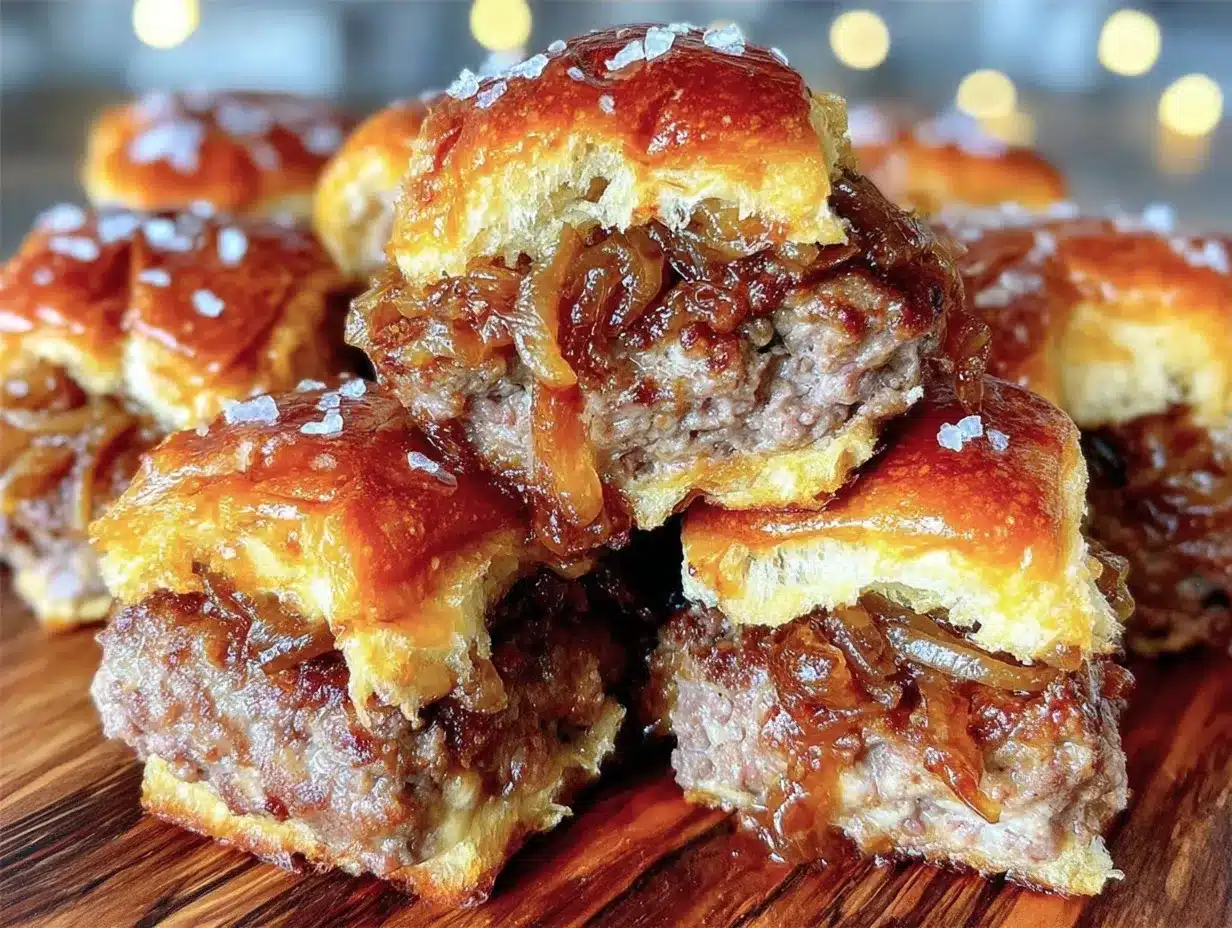
Yellow onions (2 large, thinly sliced / about 600g) — Yellow onions are sweet and savory when cooked. Sweet onions work too, but yellow gives better depth. White onions are too sharp for this.
Butter (2 tablespoons / 30g) — Unsalted butter adds richness. Olive oil works, but butter gives that classic burger-shop flavor.
Sugar (1 teaspoon) — Just a pinch helps speed up the caramelization. It’s optional but recommended for those deep golden-brown colors.
For the Buns and Assembly
Hawaiian sweet rolls (12-15 rolls) — These are soft, slightly sweet, and hold up well to toppings. Potato rolls are a good alternative. Avoid dense brioche; it can overwhelm the small slider.
Slider sauce — Ketchup, mayo, and a dash of pickle juice or relish. Mix it up. It’s creamy, tangy, and ties everything together.
Pickle chips — A classic pairing. The acidity cuts through the richness of the beef and cheese.
Optional Add-ins — Fried onions, bacon bits, or sautéed mushrooms. I love adding crispy fried onions for extra crunch.
Personal Tips:
- Brand recommendations: I always use Kirkland Signature ground beef—it’s consistent and high quality.
- Shopping shortcuts: I buy pre-sliced onions if I’m in a rush, but hand-sliced cooks more evenly.
- Substitutions: No Hawaiian rolls? Regular dinner rolls work, just toast them lightly.
- Storage: Caramelized onions keep for a week in the fridge. Make a big batch and use them for everything.
Equipment Needed
You don’t need fancy equipment for this. Here’s what I actually use.
Cast iron skillet or griddle — I use a 12-inch cast iron skillet. It holds heat beautifully, which is crucial for getting that crust on the burgers. If you don’t have cast iron, a heavy stainless steel skillet works too. Avoid thin non-stick pans; they won’t get hot enough.
Small heavy-bottomed saucepan — For cooking the onions. I use a 2-quart saucepan. It prevents burning and allows for even stirring.
Meat mallet or heavy skillet — To smash the burgers. I use a flat-bottomed mallet, but the bottom of a heavy skillet works just as well. You need something flat and heavy.
Spatula — A thin, flexible spatula is essential for scraping up the crust from the pan. I prefer stainless steel.
Sharp knife and cutting board — For slicing the onions and rolls. Dull knives make you cry more—learned this the hard way.
Measuring cups and spoons — Pretty standard stuff. Dollar store versions work fine.
Platter or serving tray — Something large and sturdy to hold the sliders. I love using a wooden board for a rustic look.
Optional but nice:
- Burger press — Those metal discs that help shape patties. Not necessary, but helpful for uniform size.
- Toaster oven — For toasting the buns quickly.
How to Make It: Step-by-Step
Alright, let’s make this! I’m walking you through exactly how I do it, including the little tricks I’ve picked up.
Step 1: Caramelize the Onions (25-30 minutes)
Start with the onions because they take the longest. Slice two large yellow onions into thin half-moons. Heat 2 tablespoons of butter in a small saucepan over medium-low heat. Add the onions and a pinch of salt and sugar. Stir occasionally. This isn’t a rush job. Let them cook slowly for 25-30 minutes until they’re deep golden brown and sweet. If they start sticking, add a splash of water. Set aside.
Step 2: Prep the Beef and Rolls (5 minutes)
While the onions cook, portion your ground beef into 1.5-ounce balls. You want them small—about the size of a golf ball. Place them on a parchment-lined baking sheet. Separate your Hawaiian rolls and keep them ready. Mix your slider sauce in a small bowl.
Step 3: Heat the Skillet (2 minutes)
Place your cast iron skillet or griddle over medium-high heat. Let it get hot—about 2 minutes. You want it sizzling when the beef hits it. No need to add oil; the beef fat will do the work.
Step 4: Smash the Patties (3-4 minutes)
Place 4-5 beef balls in the hot skillet. Immediately press down hard with your mallet or heavy skillet. You want them thin—about ¼ inch thick. This creates the crispy edges. Season generously with salt and pepper. Cook for 2 minutes until a dark crust forms.
Step 5: Flip and Cheese (1 minute)
Scrape the patties up, keeping the crust intact. Flip them quickly. Immediately top each patty with shredded cheese. Cook for another 30-60 seconds until the cheese is melted. Remove from heat.
Step 6: Toast the Buns (1 minute)
While the cheese melts, cut your Hawaiian rolls in half. Place them cut-side down in the hot skillet for 30 seconds. Toast until golden. This prevents sogginess.
Step 7: Assemble and Serve
Spread sauce on the bottom bun. Add the cheesy patty. Top with a generous pile of caramelized onions. Add pickle chips if desired. Close with the top bun. Serve immediately.
Total Time: About 30 minutes (15 minutes active, 15 minutes mostly hands-off for onions)
Expert Tips & Tricks
Here’s everything I’ve learned from making this dozens of times. These tips will save you from my mistakes.
High Heat is Non-Negotiable
Your skillet must be screaming hot. If it’s not hot enough, the beef will steam instead of sear. You won’t get that crispy, lacy edge. I wait until the water droplet sizzles and evaporates instantly before adding the beef.
Don’t Touch the Patties
Once you smash them, don’t move them. Let the crust form. If you try to flip too early, the meat will stick to the pan. You’ll know it’s ready when you can see the browned edges and the juices rise to the top.
Keep the Beef Cold
Keep your beef balls in the fridge until the last minute. Cold fat hits the hot pan and creates steam, which helps separate the fibers and creates a better texture. Warm beef smears and doesn’t crisp up.
Toast the Buns
Never skip toasting the buns. It adds a crucial textural contrast and acts as a barrier against the juices. I toast mine in the same skillet after the burgers, so they absorb all that delicious beef fat flavor.
Caramelized Onions Shortcut
Short on time? Use store-bought caramelized onions. It’s not “from scratch,” but it’s delicious and saves 30 minutes. Or, make a big batch on Sunday and freeze them in portions.
Common Mistakes
- Sauce too runny: Use thick mayo, not thin salad dressing. Mix with ketchup for consistency.
- Patties too thick: If you don’t smash them thin, they’ll be burger-sized, not slider-sized. Aim for ¼ inch.
- Overcrowding the pan: Cook in batches. If you put too many patties in at once, the pan temperature drops, and you lose the sear.
Variations & Substitutions
Once you’ve nailed the basic version, here’s how you can mix it up. I’ve tried all of these.
Turkey Smash Sliders
Swap ground beef for 93% lean ground turkey. Add 1 teaspoon of garlic powder and 1 teaspoon of onion powder to the meat. Turkey is leaner, so add a tablespoon of olive oil to the pan. These are lighter but still delicious. Check out my crispy air fryer turkey meatballs for another lean protein option.
Bacon BBQ Sliders
Add crispy bacon bits and a drizzle of BBQ sauce instead of the slider sauce. Top with cheddar cheese. This is a crowd favorite at summer cookouts.
Veggie Smash Sliders
Use black bean burgers or mushroom patties. Smash them just like beef. Top with avocado and sprouts. Great for vegetarian guests.
Spicy Jalapeño Sliders
Add diced jalapeños to the beef before smashing. Use pepper jack cheese and a spicy mayo (mix mayo with sriracha). For a kick, try my spicy habanero lime salsa as a topping.
Gluten-Free Option
Use gluten-free Hawaiian-style rolls. Most brands work well for sliders. Everything else is naturally gluten-free.
Dairy-Free Option
Use dairy-free cheese slices and butter substitute. The caramelized onions are naturally dairy-free if you use oil instead of butter.
Serving & Storage
How to Serve: I usually serve these on a large wooden board or platter. It looks rustic and inviting. Arrange them in rows or a spiral pattern. Garnish with fresh parsley or chives for a pop of color.
Side Dishes: These sliders are hearty, so keep sides light. A simple green salad, crispy garlic parmesan broccoli, or roasted sweet potato wedges work perfectly. Avoid heavy starches; you don’t want guests feeling stuffed before dessert.
Wine Pairing: Not a wine expert, but my wine-snob friend says a crisp Pinot Grigio or a light lager beer works great with these. The acidity cuts through the richness.
Storage: Store leftovers in an airtight container in the fridge for up to 3 days. The onions keep for a week.
Reheating: Best method: Reheat the patties in a skillet over medium heat for 1 minute. Toast the buns separately. Microwave makes the buns soggy and the beef rubbery. Avoid the microwave if you can.
Freezing: You can freeze the cooked patties and onions separately. Thaw in the fridge overnight. Reheat in a skillet. Do not freeze assembled sliders; the buns will disintegrate.
Meal Prep: Make the caramelized onions on Sunday. Portion the beef into balls on Monday. When the party starts, you just smash and serve. It’s the ultimate stress-free hosting hack.
Nutrition Information
I’m not a nutritionist, but here’s the breakdown if you’re tracking. This is per slider (based on 12 sliders).
- Calories: 280
- Protein: 14g
- Carbs: 22g
- Fiber: 1g
- Sugar: 4g
- Fat: 14g
- Saturated Fat: 6g
- Cholesterol: 45mg
- Sodium: 450mg
What’s Good: Decent protein from the beef. The onions add some fiber and vitamins. You can control sodium by using low-sodium beef and no added salt in the sauce.
What to Know: Higher in calories from the beef fat, cheese, and buttery buns. Contains gluten and dairy. Moderate sodium.
My Take: Look, these are party sliders. They’re meant to be indulgent. Enjoy them! When I want to make it lighter, I use leaner turkey and less cheese. But usually? I just eat a reasonable portion and enjoy the moment.
Final Thoughts
So that’s my secret to the perfect Labor Day smash burger sliders! I’ve probably talked your ear off at this point, but when you make a recipe this often, you have a lot to say about it. These sliders have saved my social life more times than I can count. They’re my answer to “what’s for party food” when I’m tired, don’t want takeout, and still want something that tastes really good. My guests are happy, my husband’s happy, and I’m happy because I’m not stressed about cooking.
Make it yours! Try different add-ins, swap in your favorite vegetables, adjust the garlic (though more is always better in my opinion). The best recipes are the ones you adapt to your family’s tastes.
If you make this, drop a comment and let me know what you think! I love hearing how recipes turn out in your kitchen. And if something doesn’t work, tell me that too—I’m here to help troubleshoot.
Happy cooking! And I hope your kitchen smells half as good as mine does right now.
Frequently Asked Questions
Can I use ground turkey instead of beef?
Yes! Use 93% lean ground turkey. Add a tablespoon of olive oil to the pan since turkey is leaner. Season with garlic powder and onion powder for extra flavor. They’ll be lighter but still delicious.
Why did my patties stick to the pan?
Usually means the pan wasn’t hot enough, or you tried to flip too soon. Let the crust form. If you see juices rising to the top and the edges are browned, they’ll release naturally. Don’t force it.
Can I make the caramelized onions ahead?
Absolutely. Make them up to 3 days ahead and store in the fridge. Reheat gently in a pan or microwave. They actually taste better the next day as the flavors meld.
What’s the best cheese for sliders?
American cheese melts best and has that classic diner flavor. But cheddar, Swiss, or pepper jack work great too. Shred your own cheese for the best melt.
Can I freeze the sliders?
Freeze the cooked patties and onions separately. Do not freeze assembled sliders. The buns will become soggy and unpleasant when thawed. Reheat components separately and assemble fresh.
How do I keep the buns from getting soggy?
Toast them! Toasting creates a barrier between the bun and the juices. Also, don’t overload them with wet toppings like too much sauce or pickles. Use a light hand.
Can I make these in the oven?
You can, but you won’t get the same crust. Bake patties at 400°F for 8-10 minutes, flipping halfway. Add cheese in the last 2 minutes. It’s less crispy but works in a pinch.
Pin This Recipe!
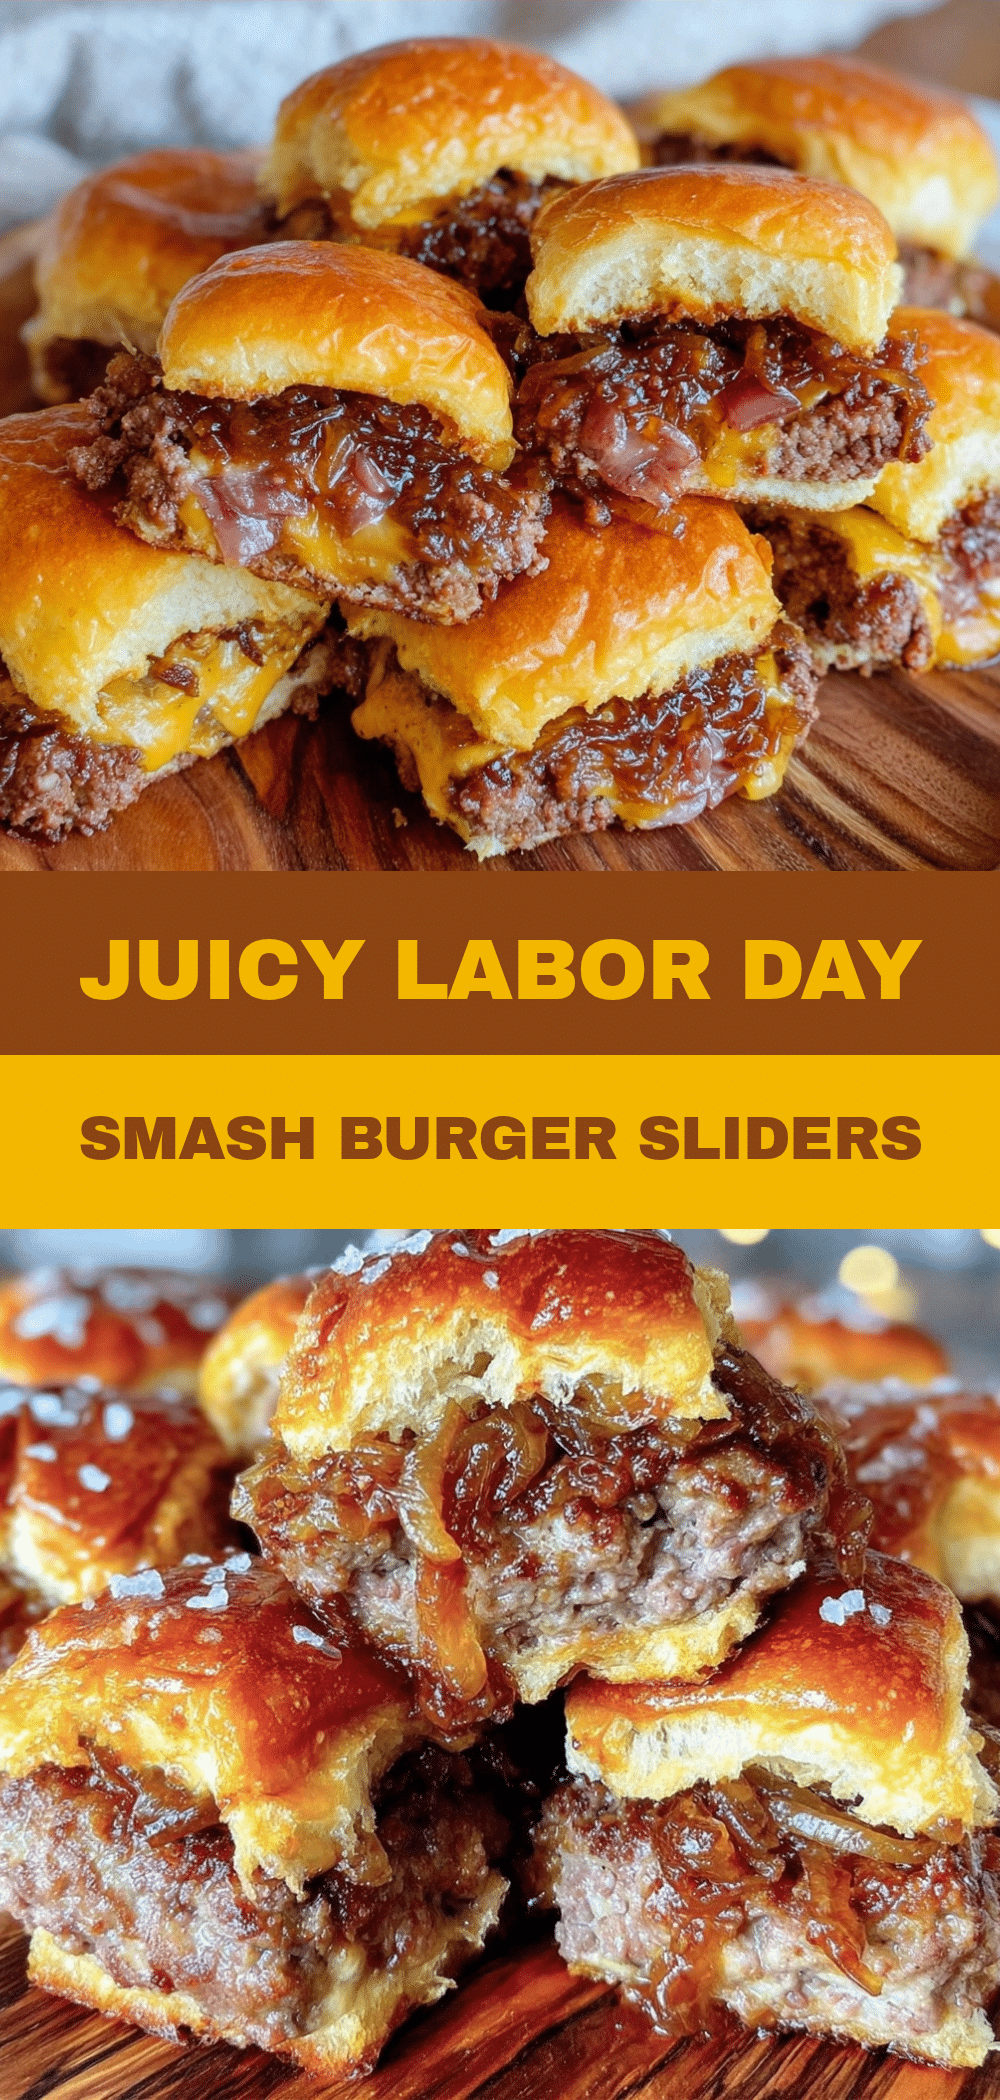
Labor Day Smash Burger Sliders: Best 15-Min Party Appetizer
- Total Time: 30 minutes
- Yield: 12 servings 1x
Description
These Labor Day smash burger sliders are the ultimate crowd-pleasing party appetizer, featuring crispy beef patties, melted cheese, and sweet caramelized onions on soft Hawaiian rolls. Ready in about 30 minutes with minimal effort, they deliver maximum flavor with minimal fuss.
Ingredients
- 1.5 lbs (680g) ground beef (80/20 blend)
- 2 large yellow onions, thinly sliced (about 600g)
- 2 tablespoons unsalted butter
- 1 teaspoon sugar
- Coarse kosher salt
- Freshly cracked black pepper
- 1 cup (100g) shredded cheese (American, cheddar, pepper jack, or Swiss)
- 12–15 Hawaiian sweet rolls
- Slider sauce (ketchup, mayo, and pickle juice or relish)
- Pickle chips
- Optional: Fried onions, bacon bits, or sautéed mushrooms
Instructions
- Caramelize the onions: Slice onions into thin half-moons. Heat butter in a small saucepan over medium-low heat. Add onions, a pinch of salt, and sugar. Cook slowly for 25-30 minutes, stirring occasionally, until deep golden brown and sweet. Set aside.
- Prep the beef and rolls: While onions cook, portion ground beef into 1.5-ounce balls. Place on a parchment-lined baking sheet. Separate Hawaiian rolls and mix the slider sauce in a small bowl.
- Heat the skillet: Place a cast iron skillet or griddle over medium-high heat for about 2 minutes until very hot. Do not add oil.
- Smash the patties: Place 4-5 beef balls in the hot skillet. Immediately press down hard with a meat mallet or heavy skillet to flatten to about ¼ inch thick. Season generously with salt and pepper. Cook for 2 minutes until a dark crust forms.
- Flip and add cheese: Scrape patties up, keeping the crust intact. Flip quickly. Top each patty with shredded cheese. Cook for 30-60 seconds until cheese is melted. Remove from heat.
- Toast the buns: Cut Hawaiian rolls in half. Place cut-side down in the hot skillet for 30 seconds until golden. This prevents sogginess.
- Assemble and serve: Spread sauce on the bottom bun. Add the cheesy patty. Top with a generous pile of caramelized onions and pickle chips. Close with the top bun and serve immediately.
Notes
Keep beef cold until cooking to ensure better texture. Do not overcrowd the pan; cook in batches to maintain high heat. Toasting buns is crucial to prevent sogginess. Caramelized onions can be made ahead and stored in the fridge for up to a week. For gluten-free options, use gluten-free rolls. For dairy-free, use dairy-free cheese and oil instead of butter.
- Prep Time: 15 minutes
- Cook Time: 15 minutes
- Category: Appetizer
- Cuisine: American
Nutrition
- Serving Size: 1 slider
- Calories: 280
- Sugar: 4
- Sodium: 450
- Fat: 14
- Saturated Fat: 6
- Carbohydrates: 22
- Fiber: 1
- Protein: 14
Keywords: smash burger sliders, labor day appetizer, party food, caramelized onions, beef sliders, quick party appetizer, 15 minute recipe, crowd pleaser


