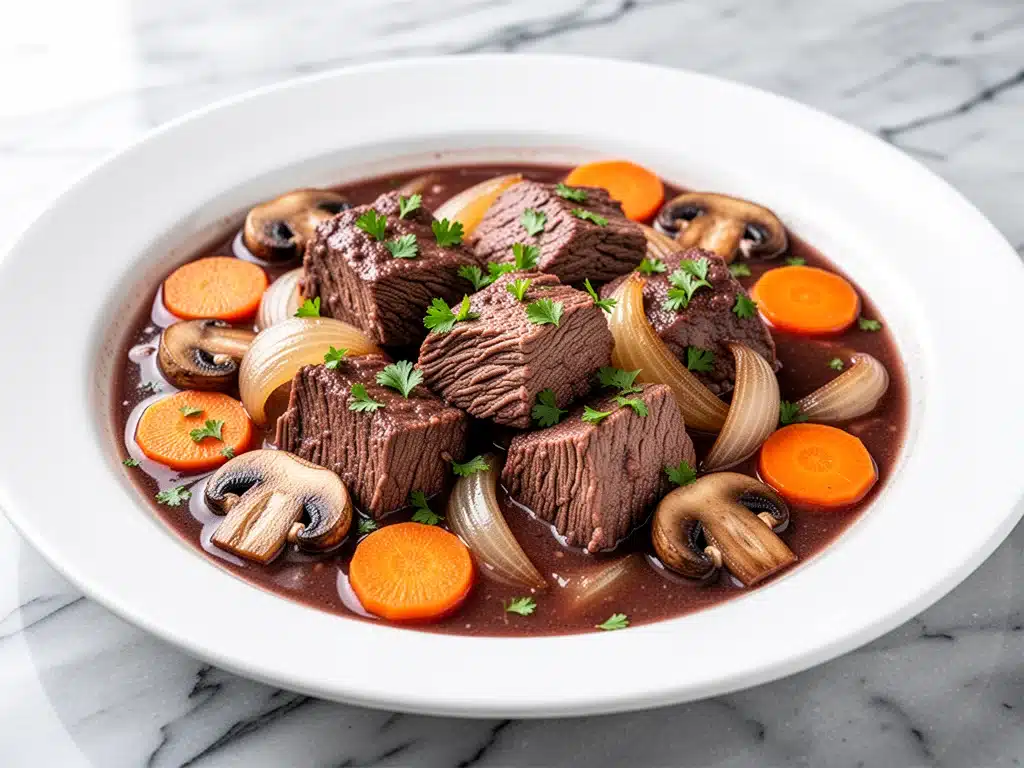
I still remember the exact look on my husband’s face when I opened the front door, dropped my keys in the bowl, and shouted, “Dinner is ready!” It wasn’t because I’m a miraculous cook who always has a gourmet meal waiting. It was because I was standing there with a giant pot of dark, rich, fork-tender beef stew, and the smell was so good it had practically walked the kids home from school.
But here’s the secret: I didn’t actually plan it. Three hours earlier, I was exhausted. I had come home from work with a headache, a full inbox, and zero energy to stand over a stove stirring a pot for two hours. I wanted comfort food, but I didn’t want to spend my entire evening in the kitchen. So, I looked at my Instant Pot, sighed, and decided to throw everything in.
I was skeptical. I’ve made beef stew on the stove top before. It’s a labor of love. You have to brown the meat in batches, chop vegetables while your arm cramps up, and then wait. And wait. I was ready to give up on the idea of a proper stew until I realized that my pressure cooker could do the heavy lifting for me. I added frozen carrots (yes, frozen), tough chuck roast chunks, and a bunch of herbs I usually ignore. I hit “Manual” for 35 minutes and went to take a nap.
When the timer went off, I opened the lid and found… magic. The beef was falling apart. The sauce was thick and glossy, not watery or thin. It tasted like I had simmered it all day. That was the day I stopped making slow-cooker stew (which always feels a bit mushy) and started making this Instant Pot beef stew. It’s become my weeknight savior, my rainy day comfort, and the dish that saves me when I just don’t have it in me to cook.
If you’ve been intimidated by pressure cooking, or if you think beef stew has to take six hours to taste good, I need you to try this. It’s tender, it’s savory, and it’s ready in about 30 minutes of active time. Let me show you how to make the best pot roast-style stew without the all-day commitment.
Why You’ll Love This Instant Pot Beef Stew
There are about ten reasons I keep making this recipe, but let’s be real—you probably just need to know why it’s going to make your life easier. Here’s the deal:
It’s Actually Tender — This is the biggest one. The high pressure breaks down the collagen in cheaper cuts of meat (like chuck roast) faster than any slow cooker ever could. I’m talking about chunks that yield to the gentlest nudge of a fork. No chewing required.
Frozen Veggie Friendly — I’m not going to lie: I am lazy. I don’t always have time to chop fresh carrots and celery. This recipe is forgiving. I’ve made it with fresh veggies, and I’ve made it with a bag of frozen mixed vegetables. The pressure cooker handles both perfectly. It’s a lifesaver for busy weeknights.
One-Pot Cleanup — Do you know how much I love a one-pot meal? With this Instant Pot beef stew, you brown the meat in the pot, sauté the aromatics in the pot, and cook everything in the pot. When dinner is done, you have one pot to wash. That’s it. My husband thinks I’m a genius for this specific reason.
Deep, Rich Flavor — Some people think pressure cooking makes food bland. I disagree. Because the lid is sealed tight, all those savory flavors from the beef, the Worcestershire sauce, and the herbs get trapped and intensify. The result is a sauce that’s incredibly robust and coats every bite.
Freezes Like a Dream — I make a double batch when I have the energy. This stew tastes even better the next day, and it freezes beautifully. I have tupperware containers of this in my freezer for those nights when I’m too tired to think about dinner. It’s basically meal prep gold.
This is my go-to when I need dinner to just work. No complicated techniques, no weird ingredients, just reliable, delicious food that makes everyone happy.
Ingredients You’ll Need
Here’s the best part: you probably have most of this already. This isn’t a recipe that requires a special trip to three different specialty stores. It’s pantry-friendly and practical.
For the Meat:
Beef Chuck Roast (2 to 2.5 pounds / 900-1100g) — This is the star. Look for a roast that has good marbling (white streaks of fat). You want to cut it into 1.5-inch cubes. Don’t buy pre-cut stew meat from the store if you can help it; it’s often weird shapes and includes tougher cuts. Cutting your own ensures even cooking.
Flour (2 tablespoons / 15g) — All-purpose flour. This is for dredging the beef before browning. It helps create a crust and thickens the sauce later. Don’t skip this step!
Salt and Black Pepper — To taste. I use about 1 teaspoon of kosher salt and ½ teaspoon of black pepper for the dredge.
Oil (2 tablespoons / 30ml) — I use vegetable or canola oil for browning because of the high smoke point. Olive oil works, but it can burn at high heat.
For the Sauce and Aromatics:
Onion (1 large yellow onion, diced / about 250g) — Yellow onion is standard, but sweet onions work too. I like to dice it medium-sized so it breaks down into the sauce.
Garlic (4 cloves, minced / about 2 tablespoons) — Fresh garlic is non-negotiable here. Jarred garlic just doesn’t have the punch this recipe needs. If you’re being lazy, buy pre-peeled cloves, but mince them yourself.
Worcestershire Sauce (1 tablespoon / 15ml) — This is the secret umami bomb. It adds that deep, savory depth that makes you ask, “What’s in this?” Don’t substitute this; it’s key to the flavor profile.
Tomato Paste (2 tablespoons / 30g) — Not sauce, paste. It adds richness and body. Sauté it for a minute to remove the metallic tinny taste before adding liquid.
Beef Broth (2 cups / 480ml) — Use low-sodium broth so you can control the saltiness. If you only have regular, reduce the added salt in the recipe. I like to use a good quality beef bone broth if I have it, but standard broth works fine.
Red Wine (Optional) (½ cup / 120ml) — I use a dry red like Cabernet or Merlot. It adds complexity. If you don’t drink alcohol, substitute with extra beef broth or a splash of balsamic vinegar for acidity.
Herbs:
Dried Thyme (1 teaspoon) — Dried herbs hold up better to pressure cooking than fresh. Fresh thyme can get slimy. I use dried thyme leaves.
Bay Leaf (1 large leaf) — This adds a subtle background note. Remove it before serving!
For the Vegetables:
Carrots (3 medium, chopped into 1-inch chunks / about 300g) — If using fresh, cut them chunky so they don’t turn to mush. If using frozen baby carrots, just rinse them.
Potatoes (2 large russet or Yukon Gold, cut into 1.5-inch cubes / about 500g) — Russets break down a bit and thicken the stew (which I like). Yukon Golds hold their shape better. I usually do a mix.
Celery (2 stalks, chopped / about 100g) — Adds that classic savory crunch. If you hate celery, skip it. I won’t judge.
Optional Add-ins:
Green Beans (1 cup, trimmed) — Add these in the last 5 minutes of cooking if you want them to stay bright green and crisp.
Peas (½ cup, frozen) — Stir these in after you open the lid. The residual heat will cook them perfectly.
Equipment Needed
You don’t need fancy equipment for this. Here’s what I actually use.
Instant Pot (or any 6-quart electric pressure cooker) — I use the Instant Pot Duo Plus. It’s reliable and has a great “Sauté” function. Any 6-quart model works perfectly. You need the size so the pot doesn’t get too full, which is a safety requirement.
Sharp Chef’s Knife — For cutting the beef and vegetables. A dull knife is dangerous and makes a mess. I use my Wüsthof, but any good kitchen knife works.
Cutting Board — I use a large plastic board. It’s easy to sanitize and fits under the faucet for quick rinsing.
Wooden Spoon or Silicone Spatula — For stirring the pot during the sauté phase. Metal spoons can scratch the non-stick inner pot, so stick to wood or silicone.
Measuring Cups and Spoons — Standard stuff. Dollar store versions work fine for this.
Ladle — For serving. A big soup ladle makes it easy to scoop up both meat and veggies in one go.
Optional but nice:
Meat Thermometer — Not really needed for stew, but good for checking if the beef is done if you’re unsure.
How to Make It: Step-by-Step
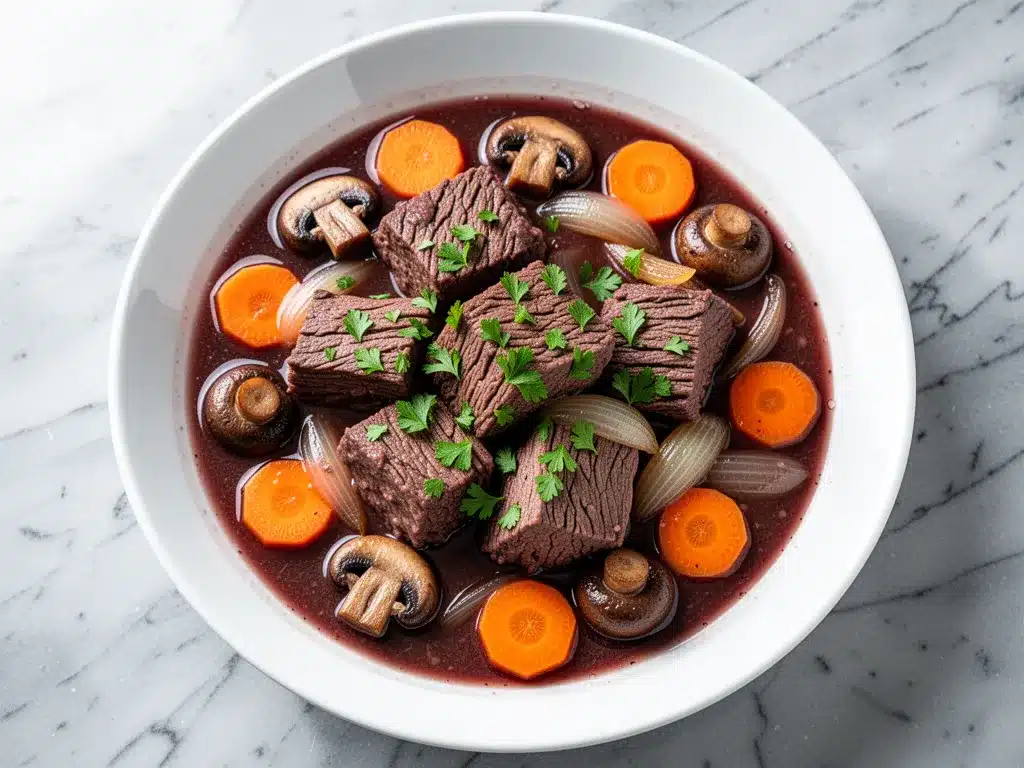
Alright, let’s make this! I’m walking you through exactly how I do it, including the little tricks I’ve picked up over the last year of making this.
Step 1: Prep the Beef (5 minutes)
Pat the beef cubes completely dry with paper towels. This is crucial. Wet meat steams; dry meat browns. Toss the beef in a bowl with the flour, salt, and pepper until evenly coated. Shake off any excess flour.
Step 2: Sear the Meat (8-10 minutes)
Set your Instant Pot to “Sauté” on High. Add the oil and let it get hot. Add the beef in a single layer. Don’t crowd the pot! If you put too much meat in at once, it’ll steam instead of brown. You might need to do this in two batches. Sear for 2-3 minutes per side until you get a nice dark crust. Remove the beef to a plate and set aside.
Step 3: Sauté the Aromatics (3 minutes)
Keep the pot on “Sauté.” Add the onions and celery. Cook for 3-4 minutes until softened. Add the garlic and tomato paste. Stir constantly for 1 minute. The tomato paste should darken slightly. This builds the flavor base.
Step 4: Deglaze (2 minutes)
This is the most important step to prevent a “Burn” error. Pour in the red wine (or extra broth) and scrape the bottom of the pot with your wooden spoon. You need to get all those browned bits (fond) loose. If you leave them stuck, the pot might think it’s burning and stop cooking.
Step 5: Add Ingredients and Pressure Cook (35 minutes)
Add the beef back into the pot. Add the beef broth, Worcestershire sauce, thyme, and bay leaf. Stir to combine. Secure the lid and set the valve to “Sealing.” Select “Manual” or “Pressure Cook” on High Pressure for 35 minutes. The pot will take about 10-15 minutes to come to pressure before the timer starts.
Step 6: Add Vegetables (Optional Early Add or Late Add)
Here’s a trick: If you like soft, melt-in-your-mouth potatoes, add them now with the beef. If you like firm potatoes, wait. Since I’m using the “Quick Release” method below, I usually add the carrots and potatoes at the start. They will be tender but not mushy after 35 minutes of pressure cooking.
Step 7: Release Pressure (5 minutes)
Once the timer beeps, let the pressure release naturally for 10 minutes. Then, carefully turn the valve to “Venting” to release any remaining steam. Open the lid away from your face.
Step 8: Thicken the Sauce (5 minutes)
Remove the bay leaf. If the sauce is too thin, set the pot back to “Sauté” and simmer for 5-10 minutes until it thickens. If you want it thicker faster, mix 1 tablespoon of cornstarch with 1 tablespoon of cold water to make a slurry, stir it in, and simmer for 2 minutes. The sauce should coat the back of a spoon.
Step 9: Serve
Taste and adjust salt and pepper. Serve hot with crusty bread or over mashed potatoes. The steam rises, the smell fills the house, and you’re done.
Expert Tips & Tricks
Here’s everything I’ve learned from making this dozens of times. These tips will save you from my mistakes.
Don’t Skip the Sear
I know it’s tempting to just throw everything in. But browning the beef creates Maillard reaction flavors that pressure cooking alone can’t achieve. It adds depth. Take the 10 minutes to sear. Your taste buds will thank you.
Scrape the Bottom
I mentioned this earlier, but I’ll say it again: scrape the bottom. If you see any brown bits stuck to the bottom when you add the liquid, scrape them off. This prevents the “Burn” notice, which is the most frustrating thing in pressure cooking.
Use Frozen Veggies if You’re Short on Time
If you come home late and don’t want to chop, just toss in frozen carrots and peas. They cook perfectly in the pressure cooker. The texture is slightly softer, but for stew, that’s actually nice.
Natural Release vs. Quick Release
For beef stew, I prefer a 10-minute natural release followed by a quick release. This allows the meat to rest slightly in the hot liquid, keeping it tender. If you quick release immediately, the liquid can boil up into the valve and make a mess.
Cut Uniformly
Try to cut your beef and vegetables into similar sizes. If your potato chunks are huge and your beef is tiny, the beef will overcook before the potatoes are tender. Aim for 1.5-inch cubes for everything.
Make it Ahead
This stew tastes better on day two. The flavors meld together overnight. If you’re meal prepping, this is perfect. Just reheat gently on the stove or in the microwave.
Variations & Substitutions
Once you’ve nailed the basic version, here’s how you can mix it up. I’ve tried all of these.
Gluten-Free Version
Simply use gluten-free beef broth and swap the all-purpose flour for a gluten-free flour blend or cornstarch. The rest of the ingredients are naturally gluten-free.
Slow Cooker Conversion
You can make this in a slow cooker! Brown the meat and sauté veggies in the pot first (or use a skillet). Transfer to the slow cooker. Cook on Low for 6-8 hours or High for 3-4 hours. Add potatoes halfway through if you want them firmer.
Lighter Version
Use leaner cuts of beef, though chuck is best for flavor. Use less oil for searing. The sauce will be less rich, but still tasty.
Veggie-Loaded
Add mushrooms, parsnips, or turnips. Mushrooms add a meaty texture and great umami. I love adding a cup of sliced mushrooms with the onions.
Different Herbs
Swap thyme for rosemary. Rosemary is strong, so use only ½ teaspoon. It gives a more piney, rustic flavor.
Serving & Storage
How to Serve:
I usually serve this straight from the Instant Pot insert if I’m eating at the table—it keeps it warm. But here are other ways I’ve enjoyed it:
Side Dishes:
– Crusty sourdough bread (to soak up the sauce)
– Mashed potatoes (classic comfort)
– Egg noodles
– A simple green salad with vinaigrette to cut the richness
Storage Instructions:
Store in an airtight container in the fridge for up to 4 days. The sauce will thicken in the fridge—totally normal. Just add a splash of water or broth when reheating to loosen it up.
Reheating:
Best method: Add to a saucepan over medium-low heat with a splash of liquid. Stir until heated through.
Microwave method: Heat in 1-minute intervals, stirring between. Add a splash of water if it’s too thick.
Freezing:
Yes, this freezes well! Let it cool completely. Freeze in portion-sized containers for up to 3 months. Thaw in the fridge overnight before reheating. The potatoes might get a little soft, but the flavor remains excellent.
Nutrition Information
I’m not a nutritionist, but here’s the breakdown if you’re tracking. This is per serving (based on 6 servings).
– Calories: 380
– Protein: 28g
– Carbs: 22g
– Fiber: 3g
– Sugar: 4g
– Fat: 18g
– Sodium: 650mg (varies by broth)
What’s Good: High protein from the beef. Good source of iron and zinc. The vegetables add fiber and vitamins.
What to Know: It’s a hearty meal, so portion control matters if you’re watching calories. The sodium can be high if you use regular broth, so low-sodium is the way to go.
Final Thoughts
So that’s my go-to Instant Pot beef stew! I’ve probably talked your ear off at this point, but when you make a recipe this often, you have a lot to say about it.
This has saved weeknight dinners more times than I can count. It’s my answer to “what’s for dinner” when I’m tired, don’t want takeout, and still want something that tastes really good. My kids are happy, my husband’s happy, and I’m happy because I’m not stressed about cooking.
Make it yours! Try different add-ins, swap in your favorite vegetables, adjust the herbs. The best recipes are the ones you adapt to your family’s tastes.
If you make this, drop a comment and let me know what you think! I love hearing how recipes turn out in your kitchen. And if something doesn’t work, tell me that too—I’m here to help troubleshoot.
Happy cooking! And I hope your kitchen smells half as good as mine does right now.
Frequently Asked Questions
Can I use round steak instead of chuck roast?
You can, but chuck roast is much better for stew. It has more fat and connective tissue, which breaks down into gelatin and makes the stew rich and tender. Round steak is leaner and can become dry and tough if overcooked. If you must use round, reduce the cooking time to 30 minutes and don’t overcook it.
Why did my stew turn out watery?
This usually happens if you don’t sear the meat well enough or if you don’t simmer the sauce after opening the lid. The pressure cooker traps all the liquid from the vegetables and meat. After you open the lid, use the “Sauté” function to simmer for 5-10 minutes to reduce the sauce. You can also use a cornstarch slurry (1 tbsp cornstarch + 1 tbsp water) to thicken it quickly.
Can I put frozen meat in the Instant Pot?
It’s not recommended to put large frozen blocks of meat in, especially for browning. The meat needs to be thawed so it can sear properly. If you have frozen cubed beef, you can cook it, but you’ll need to increase the cooking time by 5-10 minutes. However, for the best texture and flavor, thaw the beef first.
How do I prevent the “Burn” error?
The “Burn” error usually means the bottom of the pot is too hot or there aren’t enough liquids. Make sure you scrape the bottom of the pot thoroughly after sautéing. Also, ensure you have enough liquid (at least 1 cup). Don’t add thick ingredients like tomato paste directly to the bottom without stirring them into the liquid.
Can I make this in a Crockpot?
Yes! Transfer the seared meat and sautéed veggies to the Crockpot. Add the liquids and seasonings. Cook on Low for 6-8 hours. Add the potatoes and carrots in the last 2 hours if you want them to hold their shape better. It’s a great option if you’re planning ahead.
What’s the best way to reheat leftovers?
Reheat gently on the stove over medium-low heat with a splash of water or broth. This prevents the sauce from breaking or becoming grainy. If you microwave it, do it in short bursts and stir frequently. The stew will thicken in the fridge, so adding liquid is key.
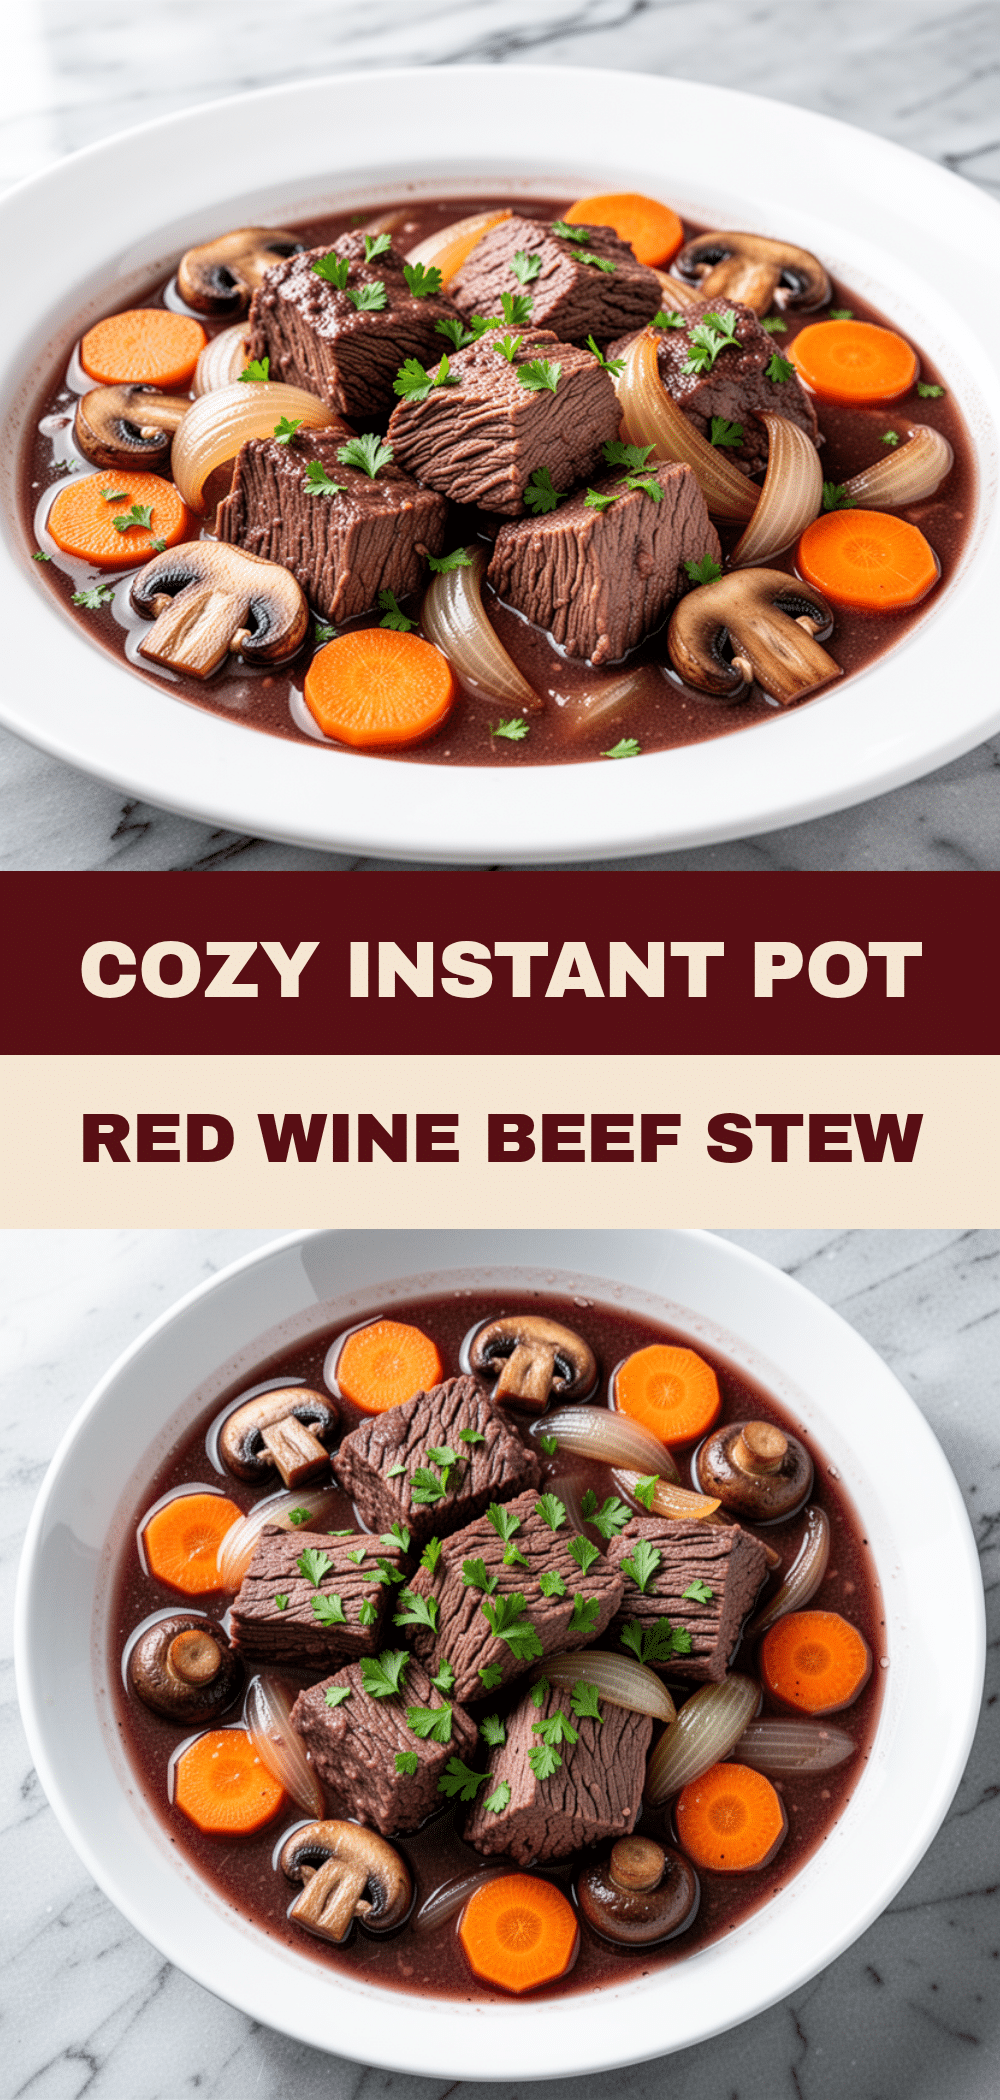
Pin This Recipe!
Instant Pot Beef Stew: Easy 30-Minute Weeknight Dinner
- Total Time: 50 minutes
- Yield: 6 servings 1x
Description
A rich, fork-tender beef stew made in an Instant Pot that requires minimal active time and uses pantry-friendly ingredients, including the option for frozen vegetables.
Ingredients
- 2 to 2.5 pounds beef chuck roast, cut into 1.5-inch cubes
- 2 tablespoons all-purpose flour
- 1 teaspoon kosher salt
- 1/2 teaspoon black pepper
- 2 tablespoons vegetable or canola oil
- 1 large yellow onion, diced
- 4 cloves garlic, minced
- 1 tablespoon Worcestershire sauce
- 2 tablespoons tomato paste
- 2 cups low-sodium beef broth
- 1/2 cup dry red wine (optional)
- 1 teaspoon dried thyme
- 1 large bay leaf
- 3 medium carrots, chopped into 1-inch chunks
- 2 large russet or Yukon Gold potatoes, cut into 1.5-inch cubes
- 2 stalks celery, chopped
Instructions
- Pat beef cubes dry and toss with flour, salt, and pepper until evenly coated.
- Set Instant Pot to ‘Sauté’ on High. Add oil and heat.
- Sear beef in batches (do not crowd the pot) for 2-3 minutes per side until browned. Remove to a plate.
- Add onions and celery to the pot; cook for 3-4 minutes until softened.
- Add garlic and tomato paste; stir constantly for 1 minute.
- Pour in red wine (or extra broth) and scrape the bottom of the pot to deglaze.
- Return beef to the pot. Add beef broth, Worcestershire sauce, thyme, and bay leaf.
- Secure lid, set valve to ‘Sealing’, and select ‘Manual’ or ‘Pressure Cook’ on High for 35 minutes.
- Let pressure release naturally for 10 minutes, then perform a quick release for remaining steam.
- Remove bay leaf. If sauce is thin, simmer on ‘Sauté’ for 5-10 minutes or use a cornstarch slurry to thicken.
- Taste and adjust seasoning. Serve hot.
Notes
You can use frozen carrots and peas to save time. For a gluten-free version, swap flour for cornstarch or GF flour blend. The stew tastes better the next day and freezes well for up to 3 months.
- Prep Time: 15 minutes
- Cook Time: 35 minutes
- Category: Main Course
- Cuisine: American
Nutrition
- Serving Size: 1 bowl
- Calories: 380
- Sugar: 4
- Sodium: 650
- Fat: 18
- Carbohydrates: 22
- Fiber: 3
- Protein: 28
Keywords: Instant Pot, beef stew, pressure cooker, weeknight dinner, comfort food, chuck roast, one pot meal


