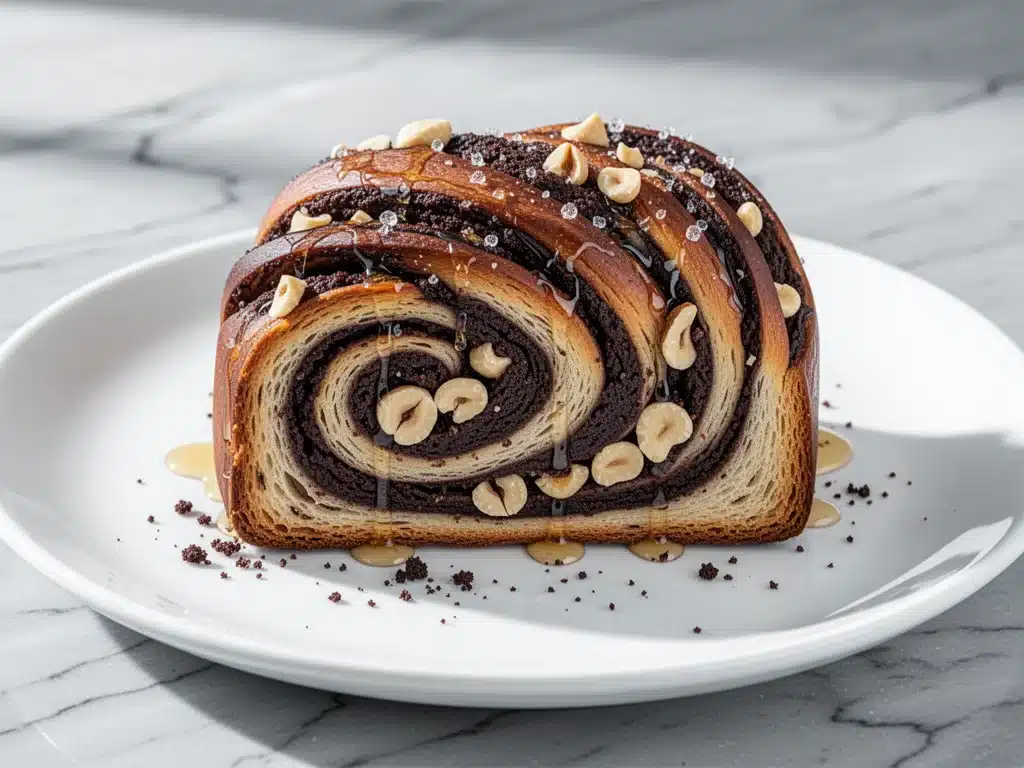
There is a specific kind of magic that happens when you pull a loaf of babka out of the oven on a rainy Saturday morning. It’s not just that the house smells like roasted hazelnuts and dark chocolate—though that alone is worth the two hours of work. It’s the texture. It’s the way the dough pulls apart in those gorgeous, twisted ribbons, glistening with that glossy sugar syrup you brush on top while it’s still hot.
I have to be honest with you: I used to buy babka. Store-bought, from the fancy bakery downtown, wrapped in plastic that always seemed to fight me. It was fine. It was sweet. But it was dense. It didn’t have that pull-apart, cloud-like softness that makes you want to sit on the couch with a cup of coffee and just eat it with your hands.
Then, about three years ago, I decided I was done with plastic wrap. I spent a whole weekend wrestling with yeast, folding dough, and twisting loaves. The first attempt? A flat, dense brick. The second? Better, but the chocolate filling leaked out and made a mess. But the third time? I got it. I cracked the code on how to keep the filling inside, how to get that glossy, jewel-toned syrup on top, and how to achieve that signature twisted architecture without it falling apart in the pan.
Now, this Homemade Chocolate Hazelnut Babka with Glossy Sugar Syrup is my go-to for impressing guests. It’s not just a bread; it’s a statement. I’ve made it for brunches, for holiday mornings, and even for “just because” Tuesdays. Every single time, people ask for the recipe. Every single time, they’re surprised to hear it’s actually not that hard if you know the tricks.
So, let’s get into it. This isn’t about being a professional pastry chef. It’s about making something that tastes like you hired one, but with the comfort of your own kitchen. And trust me, once you taste that first bite—crisp on the outside, soft and chewy on the inside, with chunks of hazelnut and pools of melted chocolate—you’ll never go back to store-bought again.
Why You’ll Love This Chocolate Hazelnut Babka Recipe
Look, I know weekend baking can feel like a chore. You’ve got chores to do, errands to run, and a life to live. But this recipe is different. It’s rewarding in a way that most weeknight dinners aren’t. Here’s why this chocolate hazelnut babka has earned a permanent spot in my rotation:
- It Feels Fancy, But It’s Actually Simple — Don’t let the twisted shape fool you. The dough is a standard enriched brioche-style dough. You mix it, let it rise, roll it out, and twist it. No laminating like croissants. No intricate piping. It’s straightforward, and the result looks like you spent hours on it.
- The Glossy Syrup Is a Game-Changer — Most babka recipes skip the syrup or just glaze it with simple sugar. I make a glossy, slightly caramelized sugar syrup that you brush on immediately after baking. It gives the top that beautiful, shiny finish and adds a hint of crunch that contrasts with the soft dough. It’s the detail that makes people ask, “What is that?”
- Hazelnuts Add Real Depth — Plain chocolate babka is good. Chocolate and hazelnut babka is unforgettable. The nuttiness of the roasted hazelnuts cuts through the sweetness of the chocolate and the syrup. It adds a savory, earthy note that keeps every bite interesting. I use a mix of finely chopped nuts and whole halves for that visual pop.
- It Freezes Like a Dream — Here’s the best part: this babka is actually better the next day, and it freezes beautifully. I often make it on Sunday, wrap it up, and have perfect breakfasts for the rest of the week. Just thaw and warm it up. It’s the ultimate meal-prep dessert.
- It’s a Conversation Starter — I’ve served this at dinner parties where we were having savory courses, and people still stopped by to grab a slice. It’s impressive enough for a holiday brunch but casual enough for a casual weekend treat. It pairs perfectly with coffee, tea, or even a glass of cold milk.
This recipe has saved my brunch game more times than I can count. It’s my answer to “What should I bring to the potluck?” or “How do I impress my in-laws?” without ordering takeout. It’s reliable, delicious, and totally worth the effort.
Ingredients You’ll Need for the Perfect Babka
Before we start twisting and baking, let’s talk about what goes into this loaf. I’m particular about a few things here, especially the chocolate and the nuts, because they make or break the flavor profile. You probably have most of the base ingredients already, but the filling is where the magic happens.
For the Dough
All-purpose flour (4 cups / 500g) — I use all-purpose because it gives that perfect balance of chew and tenderness. Bread flour can make it too dense, and cake flour is too soft. King Arthur or Gold Medal both work great.
Active dry yeast (2 packets / 2 teaspoons) — Standard packet size. Make sure it’s fresh! If your yeast is old, your dough won’t rise, and you’ll end up with a hockey puck. I keep mine in the fridge to extend its life.
Whole milk (1 cup / 240ml) — Warm, not hot. Think bathwater temperature. If it’s too hot, it kills the yeast. If it’s too cold, it won’t activate. I test it on my wrist—it should feel warm, not hot.
Granulated sugar (½ cup / 100g) — Feeds the yeast and adds sweetness to the dough. I use white sugar for a neutral flavor that doesn’t overpower the chocolate.
Eggs (3 large, room temperature) — Room temperature eggs incorporate better into the dough. If you forget, just put them in a bowl of warm water for 5 minutes. Cold eggs can make the dough tough.
Unsalted butter (½ cup / 113g, softened) — Softened, not melted. You want it creamed into the dough, not a puddle. This adds richness and helps with the crumb structure.
Salt (1 teaspoon) — Essential for balancing the sweetness. Don’t skip it.
For the Chocolate Hazelnut Filling
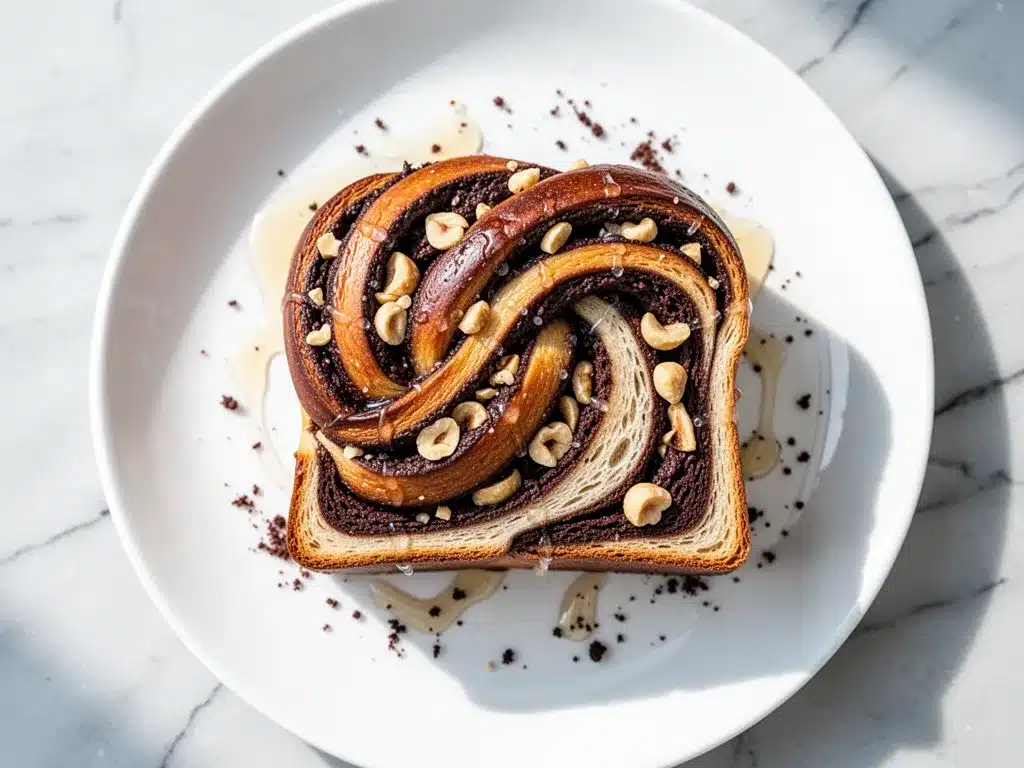
Dark chocolate chips or chopped bars (1 ½ cups / 250g) — I use 60% cocoa dark chocolate. It’s not too sweet and has a deep flavor. If you use semi-sweet, reduce the sugar in the syrup slightly. Chopping a bar yourself gives you better distribution than chips.
Roasted hazelnuts (1 cup / 100g, finely chopped) — Look for “skinless” or “blanched” hazelnuts for a cleaner look. If you buy them with skins, you can roast them in a dry pan and rub them in a towel to remove most of the skins. Finely chop them so they distribute evenly, but keep some larger chunks for texture.
Granulated sugar (2 tablespoons / 25g) — Mixed with the nuts and chocolate to help create that caramelized crunch.
Cocoa powder (2 tablespoons / 15g) — Unsweetened cocoa powder adds a deeper chocolate flavor and helps bind the filling so it doesn’t just slide out.
Butter (2 tablespoons / 30g, softened) — Helps hold the filling together so it stays inside the twists.
For the Glossy Sugar Syrup
Water (½ cup / 120ml)
Granulated sugar (½ cup / 100g)
Light corn syrup (2 tablespoons / 30ml) — This is the secret to the gloss. It prevents crystallization and gives that shiny, jewel-like finish. Honey works too, but corn syrup is more traditional for this specific shine.
Vanilla extract (1 teaspoon) — Adds a warm, aromatic note that ties everything together.
Equipment You’ll Need
You don’t need a fancy kitchen to make this, but having the right tools helps. Here’s what I actually use:
Stand mixer with dough hook — I use mine for the dough because it saves my arms. You can knead by hand, but it takes about 10-12 minutes of vigorous kneading. If you’re doing it by hand, just be prepared for a workout.
9×5 inch loaf pan — Standard size. You’ll make two loaves from this dough, so you need two pans. If you don’t have two, you can bake one and freeze the second dough ball for later.
Rolling pin — A standard wooden rolling pin works fine. You need it to roll the dough into a large rectangle.
Pastry brush — Essential for brushing the syrup on top. Silicone brushes are easier to clean.
Small saucepan — For making the syrup. Keep it small so you can control the heat easily.
Clean kitchen towel or plastic wrap — For covering the dough while it rises. A damp towel is best if your kitchen is dry, as it prevents a crust from forming on the dough.
Sharp knife or bench scraper — For cutting the dough into strips for twisting.
How to Make It: Step-by-Step
Alright, let’s make this! I’m walking you through exactly how I do it, including the little tricks I’ve picked up over years of making babka.
Step 1: Activate the Yeast (5 minutes)
In the bowl of your stand mixer, combine the warm milk, sugar, and yeast. Stir gently and let it sit for 5-10 minutes. You’re looking for a foamy, bubbly layer on top. If it doesn’t foam, your yeast is dead, and you need to start over. This is crucial—don’t skip the test.
Step 2: Make the Dough (10 minutes active)
Add the eggs, melted (but cooled) butter, salt, and 3 cups of flour to the yeast mixture. Mix on low speed with the dough hook until combined. Gradually add the remaining flour, one cup at a time, until the dough pulls away from the sides of the bowl and forms a smooth ball. It should be slightly tacky but not sticky. If it’s too sticky, add a tablespoon more flour. If it’s too dry, add a tablespoon more milk.
Knead on medium-low speed for 5-7 minutes. The dough should become smooth, elastic, and pass the “windowpane test”—stretch a small piece thin enough to see light through it without tearing. This develops the gluten, which gives babka its signature chew.
Step 3: First Rise (1-2 hours)
Transfer the dough to a lightly oiled bowl, turning once to coat. Cover with a damp towel or plastic wrap. Let it rise in a warm, draft-free spot until doubled in size. This usually takes 1-2 hours, depending on your kitchen temperature. I like to do this in the turned-off oven with just the light on—creates a perfect warm environment.
Step 4: Prepare the Filling (10 minutes)
While the dough rises, make the filling. In a small bowl, mix the chopped hazelnuts, cocoa powder, sugar, and softened butter until it forms a crumbly paste. Set aside. Also, chop your chocolate into small chunks if you’re using a bar. Having the filling ready before you roll out the dough saves stress later.
Step 5: Roll and Fill (15 minutes)
Punch down the risen dough and divide it in half. Work with one half at a time, keeping the other covered. On a lightly floured surface, roll the dough into a large rectangle, about 12×18 inches. Spread the hazelnut mixture evenly over the dough, leaving a ½-inch border on the long sides. Sprinkle the chocolate chunks generously over the nut layer.
Step 6: Twist the Loaves (10 minutes)
This is the fun part! Starting from one of the long edges, roll the dough up tightly into a log. Pinch the seam to seal. Using a sharp knife or a piece of dental floss, cut the log lengthwise down the center, but not all the way through—the bottom should stay connected. You now have two strands.
Take the left strand and twist it away from you (to the right). Take the right strand and twist it away from you (to the left). Now, twist the two strands together around each other. Tuck the ends under. Place the twisted loaf into your greased loaf pan. Repeat with the second half of the dough.
Step 7: Second Rise and Bake (30 minutes rise, 35-40 minutes bake)
Cover the loaves again and let them rise in the pan for 30-45 minutes. They should puff up and touch the top of the pan. Preheat your oven to 350°F (175°C) during the last 15 minutes of rising.
Bake for 35-40 minutes. The top should be golden brown, and if you insert a skewer into the center, it should come out clean. If the top is browning too fast, tent it with foil for the last 10 minutes.
Step 8: Make and Apply the Syrup (5 minutes)
While the babka bakes, make the syrup. In a small saucepan, combine water, sugar, and corn syrup. Bring to a boil over medium heat, stirring until dissolved. Let it boil for 2-3 minutes until it thickens slightly. Remove from heat and stir in vanilla.
As soon as the babka comes out of the oven, brush the hot syrup generously over the top. You’ll hear it sizzle, and the syrup will soak in slightly, creating that glossy, sticky finish. Let the loaves cool in the pans for 10 minutes, then transfer to a wire rack to cool completely.
Expert Tips & Tricks for Success
Here’s everything I’ve learned from making this dozens of times. These tips will save you from my mistakes.
Don’t Over-Roll the Dough — If you roll the dough too thin, the filling will leak out during baking. Aim for about ¼-inch thickness. You want enough dough to hold the chocolate and nuts inside.
Chop the Chocolate Small — Large chunks of chocolate can cause the dough to tear when you twist it. Small chips or finely chopped pieces distribute evenly and melt into those beautiful pools of chocolate.
Keep the Seams Tight — When rolling the dough up before cutting, make sure there are no air pockets. Air pockets mean gaps in your final loaf. Roll it tight and firm.
Use the Syrup While Hot — The syrup needs to be applied to the hot babka. If the babka cools down, the syrup will just sit on top and get sticky and hard in a bad way. Hot bread + hot syrup = glossy magic.
Patience with the Rise — Don’t rush the second rise. If you bake it before it’s puffy, you’ll get dense, heavy babka. It should look like it’s about to overflow the pan.
Variations & Substitutions
Once you’ve nailed the basic version, here’s how you can mix it up. I’ve tried all of these.
Cinnamon Sugar Babka — Skip the chocolate and hazelnuts. Mix cinnamon and sugar, roll with butter, and sprinkle the cinnamon sugar on top before twisting. Simple and classic.
Almond Joy Babka — Swap hazelnuts for sliced almonds and add shredded coconut to the filling. Drizzle with white chocolate after baking for a tropical twist.
Peanut Butter Cup Babka — Spread a thin layer of peanut butter over the dough before adding chocolate chips. The combo of peanut and chocolate is unbeatable.
Gluten-Free Option — Use a 1:1 gluten-free flour blend with xanthan gum. The texture will be slightly more cake-like, but it still works. Add an extra egg to help with structure.
Dairy-Free Version — Use plant-based milk and butter. The syrup stays the same. The dough might be slightly less rich, but it’s still delicious.
Serving & Storage
How to Serve:
I usually slice this babka about an inch thick. It’s best served warm, straight from the counter. Pair it with a strong black coffee or a cup of Earl Grey tea. It’s also amazing with a glass of cold milk or even a scoop of vanilla ice cream for dessert.
Storage:
Store leftover babka in an airtight container at room temperature for up to 3 days. The syrup will keep it moist. If your kitchen is very hot, you might want to refrigerate it, but it will firm up slightly. Bring it to room temperature before eating for the best texture.
Freezing:
Babka freezes beautifully! Wrap the cooled loaves tightly in plastic wrap, then in aluminum foil. Freeze for up to 3 months. To serve, thaw at room temperature and warm in the oven at 300°F for 10 minutes. It tastes almost as good as fresh.
Reheating:
To revive the gloss and softness, wrap the slice in foil and warm it in the oven for 5-10 minutes. You can also microwave it for 15-20 seconds, but it might get a bit chewy.
Nutrition Information
I’m not a nutritionist, but here’s the breakdown if you’re tracking. This is a rich, indulgent treat, so enjoy it in moderation!
Per Serving (based on 12 slices per loaf, 2 loaves total):
- Calories: 320
- Protein: 6g
- Carbs: 42g
- Fiber: 2g
- Sugar: 22g
- Fat: 14g
- Saturated Fat: 6g
- Cholesterol: 35mg
- Sodium: 180mg
What’s Good:
Decent protein from the nuts and eggs. The hazelnuts add healthy fats. It’s more filling than it looks.
What to Know:
Higher in sugar from the syrup and filling. Contains dairy and gluten. Moderate sodium.
My Take:
Look, this is babka. It’s sweet, rich, and made with butter and sugar. It’s not a diet food. But it’s homemade, so you know exactly what’s in it. When I make it, I enjoy a slice with my coffee and feel good about treating myself. Balance is key.
Final Thoughts
So that’s my homemade chocolate hazelnut babka! I know it looks intimidating, but once you twist that dough and see it rise in the pan, you’ll realize it’s just simple, beautiful baking. This recipe has become my weekend ritual. There’s something calming about the process—the kneading, the waiting, the twisting—and the reward is absolutely worth it.
It’s my go-to for impressing friends, feeding a hungry family, or just having something special to look forward to on a lazy Saturday. The glossy syrup, the nutty crunch, the melty chocolate—it’s all there. And once you make it, you’ll never buy it from a store again.
If you make this, I’d love to hear how it turns out! Drop a comment and let me know if you added any extra nuts or tried a different chocolate. Happy baking, and I hope your kitchen smells amazing!
Frequently Asked Questions
Can I make this dough ahead of time?
Yes! After the first rise, you can punch down the dough, wrap it tightly in plastic, and refrigerate it overnight. Let it come to room temperature for about an hour before rolling and filling. This can actually improve the flavor as the yeast develops more complexity.
Why did my babka leak filling?
This usually happens if the dough was rolled too thin or if the filling was too wet. Make sure you leave a border around the edges when rolling. Also, ensure your butter in the filling is softened, not melted, so it doesn’t slide out.
Can I use milk chocolate instead of dark?
You can, but it will be much sweeter. If you use milk chocolate, consider reducing the sugar in the syrup slightly or using less sugar in the filling. Dark chocolate balances the sweetness of the dough and syrup better.
How do I get the glossy finish?
The key is the corn syrup in the sugar syrup and applying it while both the babka and syrup are hot. The corn syrup prevents the sugar from crystallizing, which gives it that shiny, glass-like appearance. Don’t skip it!
Can I freeze the unbaked dough?
Yes, but it’s tricky. You can freeze the dough after the first rise, but it might lose some of its rise power. It’s better to bake it, cool it, and then freeze the finished loaf. If you must freeze raw dough, do it after the second rise in the pan, then thaw and bake as usual.
What if I don’t have a stand mixer?
You can knead by hand! It takes about 10-12 minutes of vigorous kneading on a floured surface. The dough should be smooth and elastic. It’s a bit of work, but totally doable.
Pin This Recipe!
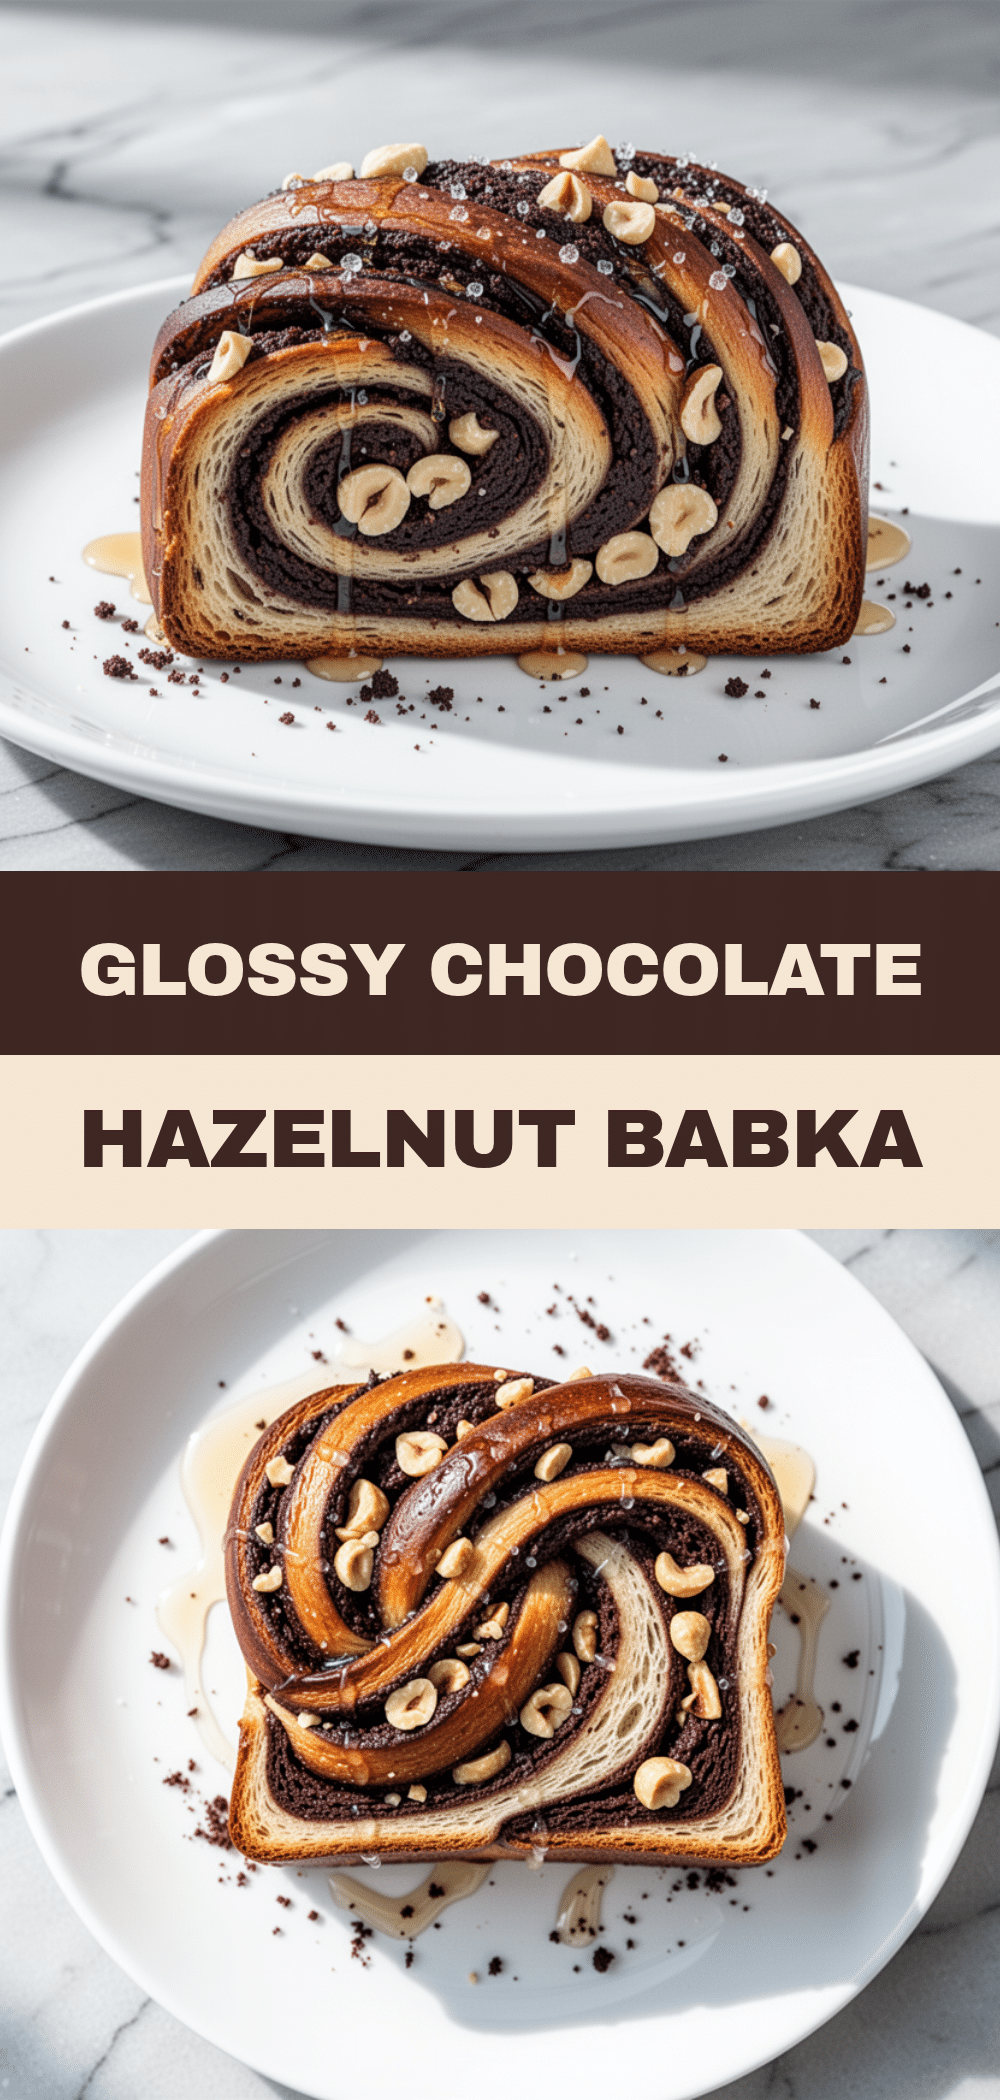
Homemade Chocolate Hazelnut Babka with Glossy Sugar Syrup
- Total Time: 3 hours 25 minutes
- Yield: 2 loaves (24 servings) 1x
Description
A rich, twisted brioche-style loaf filled with dark chocolate and roasted hazelnuts, finished with a glossy caramelized sugar syrup for a shiny, crunchy finish.
Ingredients
- 4 cups (500g) all-purpose flour
- 2 packets (2 teaspoons) active dry yeast
- 1 cup (240ml) whole milk, warm
- 1/2 cup (100g) granulated sugar
- 3 large eggs, room temperature
- 1/2 cup (113g) unsalted butter, softened
- 1 teaspoon salt
- 1 1/2 cups (250g) dark chocolate chips or chopped bars
- 1 cup (100g) roasted hazelnuts, finely chopped
- 2 tablespoons (25g) granulated sugar
- 2 tablespoons (15g) unsweetened cocoa powder
- 2 tablespoons (30g) unsalted butter, softened
- 1/2 cup (120ml) water
- 1/2 cup (100g) granulated sugar
- 2 tablespoons (30ml) light corn syrup
- 1 teaspoon vanilla extract
Instructions
- Activate the yeast: In a stand mixer bowl, combine warm milk, 1/2 cup sugar, and yeast. Let sit for 5-10 minutes until foamy.
- Make the dough: Add eggs, softened butter, salt, and 3 cups of flour to the yeast mixture. Mix on low. Gradually add remaining flour until dough pulls away from sides. Knead on medium-low for 5-7 minutes until smooth and elastic.
- First rise: Transfer dough to an oiled bowl, cover, and let rise in a warm spot for 1-2 hours until doubled in size.
- Prepare filling: While dough rises, mix chopped hazelnuts, cocoa powder, 2 tablespoons sugar, and 2 tablespoons softened butter into a crumbly paste. Chop chocolate into small chunks.
- Roll and fill: Punch down dough and divide in half. Roll one half into a 12×18 inch rectangle. Spread hazelnut mixture evenly, leaving a border. Sprinkle with chocolate chunks.
- Twist the loaves: Roll dough tightly into a log and pinch seam. Cut log lengthwise down the center (not all the way through). Twist strands away from you, then twist the two strands together. Tuck ends under and place in a greased 9×5 inch loaf pan. Repeat with second half.
- Second rise: Cover loaves and let rise for 30-45 minutes until puffy and touching the top of the pan. Preheat oven to 350°F (175°C) during the last 15 minutes.
- Bake: Bake for 35-40 minutes until golden brown and a skewer comes out clean. Tent with foil if browning too fast.
- Make syrup: While baking, combine water, 1/2 cup sugar, and corn syrup in a saucepan. Boil for 2-3 minutes until slightly thickened. Remove from heat and stir in vanilla.
- Apply syrup: Immediately brush hot syrup over the hot babka as it comes out of the oven. Cool in pans for 10 minutes, then transfer to a wire rack to cool completely.
Notes
Ensure yeast is fresh and milk is warm but not hot to avoid killing the yeast. Do not roll dough too thin to prevent filling leakage. Apply syrup while both babka and syrup are hot for the best glossy finish. Can be frozen for up to 3 months.
- Prep Time: 45 minutes
- Cook Time: 40 minutes
- Category: Dessert
- Cuisine: Eastern European
Nutrition
- Serving Size: 1 slice
- Calories: 320
- Sugar: 22
- Sodium: 180
- Fat: 14
- Saturated Fat: 6
- Carbohydrates: 42
- Fiber: 2
- Protein: 6
Keywords: babka, chocolate hazelnut, homemade bread, glossy syrup, weekend baking, brunch recipe, twisted bread


