
Last October, I stood in my kitchen at 11 PM, staring at a bag of refrigerated crescent roll dough like it owed me money. I had zero decorations, my kids were already in costumes, and the party was in two hours. I needed something that looked impressive, tasted good, and didn’t require me to actually bake anything from scratch. That night, I shaped those boring triangles into creepy little fingers, added a sesame seed nail, and baked them until they were golden. The next morning, my neighbor’s kid sent me a text: “Your witch finger breadsticks were the best thing I ate all night.”
I’ve made these Halloween Witch Finger Breadsticks every year since. Not because I’m obsessed with Halloween (though I do love a good spooky theme), but because they are the absolute easiest appetizer you will ever make. Seriously. If you can roll dough and press a sesame seed into it, you can make these. There is no yeast to proof, no complex shaping, and no waiting for rise times. It’s just dough, cheese, and a little bit of creativity. And the best part? They taste incredible. Flaky, buttery, garlicky, and cheesy—just like your favorite dinner roll, but with a terrifying twist.
I know what you’re thinking. “Breadsticks? For Halloween?” Yes. Because there is nothing scarier than a hungry guest at a party who hasn’t eaten since lunch. These Halloween Witch Finger Breadsticks hit that sweet spot of savory comfort and seasonal fun. They disappear fast. Like, “oh-crap-I-only-made-two-batches” fast. So, if you’re looking for a party snack that is foolproof, delicious, and visually striking, stop scrolling. This is the one.
Why You’ll Love This Recipe
There are about ten reasons I keep coming back to this recipe, but here are the big ones. These aren’t just cute cookies; they’re a legitimate crowd-pleaser that works for parties, game days, or just a Tuesday night snack when you want to feel festive.
- Stupid Simple — Seriously, if you can boil water, you can make this. I use store-bought crescent roll dough because it’s already pre-shaped and pre-flaked. No kneading, no rolling pins, no mess. I’ve walked my teenage son through it over FaceTime, and he nailed it.
- Lightning Fast — 15 minutes from start to finish. 5 minutes of prep, 10 minutes in the oven. I make these when I have an hour to kill, or when I’m running late and need to look like I tried. Spoiler: No one knows you bought the dough.
- Ingredient Minimalist — You probably have everything you need already. Crescent rolls, cream cheese, cheddar, garlic powder, onion powder, and sesame seeds. That’s it. Five ingredients. Maybe six if you count the butter spray.
- Customizable — Got picky eaters? Skip the garlic. Want them spicy? Add cayenne. Need them vegetarian? They naturally are. These Halloween Witch Finger Breadsticks adapt to whatever your fridge has sitting around.
- Make-Ahead Friendly — You can assemble these the night before, cover them, and bake them right before guests arrive. They also freeze beautifully if you have leftovers (which is rare, but happens).
This is my go-to when I need a snack that feels homemade but requires zero effort. It’s reliable, it’s delicious, and it always gets a laugh. Plus, it’s way cheaper than buying appetizers at the store, and they taste a million times better.
Ingredients You’ll Need
Here’s the best part: you probably have most of this already. This recipe relies on pantry staples and a couple of fridge items. I’m keeping the list short because simplicity is the point.
For the Dough Base
Crescent Roll Dough (1 can / 8 oz) — I use Pillsbury or any store brand. It doesn’t matter. Just make sure it’s the standard triangular sheet, not the flaky biscuits. Let it sit on the counter for 10 minutes so it’s easier to handle. Cold dough tears; room temp dough is friendly.
Butter (2 tablespoons, melted) — For brushing on top. This gives them that golden, bakery-style shine. You can use melted butter or just spray them with cooking spray, but butter tastes better. Trust me.
Sesame Seeds (2-3 tablespoons) — These are the fingernails. Use white sesame seeds for the classic “dirty nail” look. Black sesame seeds are cool too, but white is the traditional spooky choice. You can find them in the spice aisle.
For the Filling

Cream Cheese (4 oz / ½ block) — Softened is best. If you’re in a rush, microwave it for 10 seconds. It needs to be spreadable, not chunky.
Cheddar Cheese (½ cup, shredded) — Use a block and shred it yourself. Pre-shredded cheese has anti-caking agents that make it melt poorly. For these, you want gooey, stretchy cheese. Sharp cheddar adds the best flavor, but mild works if you’re feeding kids.
Garlic Powder (1 teaspoon) — Not fresh garlic. Powder distributes evenly and doesn’t burn. It gives that classic breadstick flavor.
Onion Powder (½ teaspoon) — Adds depth without chunks. If you don’t have onion powder, skip it, but it really helps.
Italian Seasoning (1 teaspoon) — Or just dried oregano and basil. It ties the flavors together. If you don’t have it, dried parsley works too.
Red Food Coloring (Optional) — Just a drop or two. This is for the “blood” look. Don’t overdo it. You want a subtle stain, not a horror movie scene. Ketchup is a fun alternative if you want to keep it edible-for-kids safe.
Equipment Needed
You don’t need fancy equipment for this. Here’s what I actually use.
Baking Sheet — A standard 13×9 inch sheet works perfectly. I line mine with parchment paper because cleanup is easier, and the cheese sticks to everything if you don’t.
Small Mixing Bowl — For mixing the cream cheese and spices. A ramekin works too.
Pastry Brush — For brushing the melted butter. A silicone brush is nice, but a paper towel dipped in butter works in a pinch.
Fork — To press the sesame seeds in. You can use your fingers, but a fork gives you better control and prevents your fingers from getting covered in sticky dough.
Knife — For cutting the dough into strips. A pizza cutter is fun but not necessary.
How to Make It: Step-by-Step
Alright, let’s make this! I’m walking you through exactly how I do it, including the little tricks I’ve picked up over the years.
Step 1: Prep Your Oven and Dough (5 minutes)
Preheat your oven to 375°F (190°C). Line a baking sheet with parchment paper. Open your can of crescent roll dough. Unroll it onto the counter. If the triangles have perforations, press them together to form one large rectangle. If they’re already a sheet, leave it. The goal is a flat, even surface.
Step 2: Make the Filling (3 minutes)
In a small bowl, mix the softened cream cheese, shredded cheddar, garlic powder, onion powder, and Italian seasoning. Stir until it’s smooth and combined. It should look like a thick, cheesy paste. If it’s too stiff, add a tiny splash of milk. If it’s too runny, add a bit more cheese.
Step 3: Spread the Filling (5 minutes)
Spread the cream cheese mixture evenly over the entire sheet of dough. Use an offset spatula or the back of a spoon. Get to the edges! You want every bite to have that cheesy center. Don’t worry if it’s not perfect; these are rustic, not fancy.
Step 4: Cut and Roll (10 minutes)
This is the fun part. Take a knife and cut the dough into strips about 1 inch wide. You’ll get roughly 12-15 strips depending on your dough size. Take one strip and gently roll it up from the wide end to the narrow end. It should look like a little finger. Pinch the bottom end closed with your fingers to seal it. If it looks too round, pinch the top slightly to make it look more like a knuckle. Repeat with all strips.
Step 5: Add the Nails (2 minutes)
Place the rolled “fingers” on the baking sheet, leaving a little space between them. Take a sesame seed and press it into the top of each finger. This is the fingernail. If the dough is too dry, dab a tiny bit of water on the spot first so the seed sticks. Space them out evenly.
Step 6: The “Blood” Effect (Optional)
If you want that spooky red look, take a toothpick, dip it in red food coloring, and drag it down the side of each finger. Or, just dot a tiny bit of ketchup on the tip. Keep it subtle. You want creepy, not gory.
Step 7: Bake and Serve (10 minutes)
Brush the tops with melted butter. Bake for 10-12 minutes, or until they are golden brown and puffy. Let them cool for 2 minutes before eating. They’re hot! And crunchy! And amazing.
Total Time: About 25 minutes (5 prep, 10 bake, 5 cool).
Expert Tips & Tricks
Here’s everything I’ve learned from making these dozens of times. These tips will save you from my mistakes.
- Don’t Overwork the Dough — Crescent dough is delicate. Handle it gently. If you tear it, just patch it with a scrap piece. No one will know.
- Seal the Ends Well — The bottom end is where the cheese can leak out. Press that end firmly with your fingers. If you see cheese oozing, it’s fine, but sealing it keeps them looking neat.
- Sesame Seed Hack — If your seeds aren’t sticking, mix them with a tiny bit of water or egg wash in a small bowl, then dip the tops of the fingers. This guarantees they stay on during baking.
- Don’t Skip the Butter — Brushing with butter before baking gives them that golden, savory crust. Without it, they taste like plain bread. With it, they taste like dinner rolls.
- Watch the Oven — Ovens vary. Check them at 8 minutes. If they’re browning too fast, cover with foil. If they’re pale, give them 2 more minutes.
Variations & Substitutions
Once you’ve nailed the basic version, here’s how you can mix it up. I’ve tried all of these.
Spicy Version
Add a pinch of cayenne pepper or red pepper flakes to the cream cheese filling. It adds a nice kick that balances the cheese. Great for adults.
Jalapeño Cream Cheese
Mix in some chopped jalapeños or a jar of pickled jalapeños. It’s spicy, creamy, and perfect for game day. Pairs well with a cold beer.
Herb Garden
Swap the Italian seasoning for fresh chopped chives and dill. It tastes lighter and fresher. Good for spring parties.
Gluten-Free
Use gluten-free crescent roll dough if you can find it (brands like Bob’s Red Mill make some). The technique is the same. Note: GF dough can be stickier, so handle with care.
Vegan
Use vegan cream cheese and vegan cheddar shreds. Use vegan butter for brushing. They taste surprisingly similar to the original!
Serving & Storage
These Halloween Witch Finger Breadsticks are best served warm, right out of the oven. I usually put them on a platter with a little bowl of marinara sauce for dipping. It’s classic, it’s easy, and everyone loves dipping bread.
Storage: Store leftovers in an airtight container at room temperature for up to 2 days. They’ll stay soft. If they get stale, reheat them in the oven at 350°F for 5 minutes to crisp them back up.
Freezing: You can freeze them before baking! Assemble them, freeze on the tray, then transfer to a bag. Bake straight from frozen, adding 2-3 minutes to the bake time. This is great for meal prep.
Reheating: Microwave doesn’t work well—they get chewy. Oven or toaster oven is best. 350°F for 5-7 minutes.
Nutrition Information
I’m not a nutritionist, but here’s the breakdown if you’re tracking. Keep in mind, this is an estimate based on standard ingredients.
| Per Serving (approx. 3 fingers) | Amount |
|---|---|
| Calories | 180 |
| Protein | 5g |
| Carbs | 18g |
| Fat | 9g |
| Sodium | 250mg |
It’s not a diet food, obviously. It’s dough and cheese. But it’s a reasonable snack size. If you want to lighten it up, use low-fat cream cheese and less cheddar. But honestly? That’s not why we make these. We make them for flavor.
Final Thoughts
So that’s my go-to Halloween Witch Finger Breadsticks! I’ve probably talked your ear off at this point, but when you make a recipe this often, you have a lot to say about it. These have saved my social life more times than I can count. They are my answer to “what’s for the party?” when I’m tired, don’t want takeout, and still want something that looks homemade.
Make it yours! Try different spices, swap the sesame seeds for poppy seeds (they look like eyeballs if you’re feeling extra spooky), or add bacon bits to the filling. The best recipes are the ones you adapt to your family’s tastes.
If you make these, drop a comment and let me know what you think! I love hearing how recipes turn out in your kitchen. And if something doesn’t work, tell me that too—I’m here to help troubleshoot. Happy cooking! And I hope your kitchen smells half as good as mine does right now.
Frequently Asked Questions
Can I use puff pastry instead of crescent rolls?
You can! Puff pastry will give you a flakier, more buttery result. Just roll it out, spread the filling, cut into strips, and roll. The bake time might be slightly longer (12-15 minutes). It’s delicious, but crescent rolls are easier for beginners because they’re pre-cut.
Why did my sesame seeds fall off?
Usually, the dough was too dry or the seeds weren’t pressed in hard enough. Try dabbing a tiny bit of water or egg wash on the tip before placing the seed. Or, mix the seeds with a little melted butter and brush that onto the dough first.
Can I make these ahead of time?
Yes! Assemble them fully, cover tightly with plastic wrap, and refrigerate for up to 24 hours. Bake them straight from the fridge, adding 2 minutes to the bake time. This is perfect for party prep.
Are these good for kids?
Absolutely. They’re mild, cheesy, and fun. If you’re worried about the “blood” look scaring younger kids, skip the red food coloring or use ketchup. They’re basically just cheese-stuffed breadsticks with a cute shape.
Can I freeze the dough?
If you buy the dough and aren’t using it immediately, freeze it in the unopened can. Thaw it in the fridge overnight before using. Do not freeze the assembled breadsticks for more than a month, or the dough might get soggy when baked.
What dips go well with these?
Marinara sauce is the classic choice. But they’re also great with ranch dressing, garlic butter, or even a spicy honey drizzle. I’ve even served them with a side of game day crispy air fryer loaded potato skins for a full party spread.
These Halloween Witch Finger Breadsticks are perfect for any spooky gathering. They’re easy, tasty, and totally unforgettable. Enjoy!
Pin This Recipe!
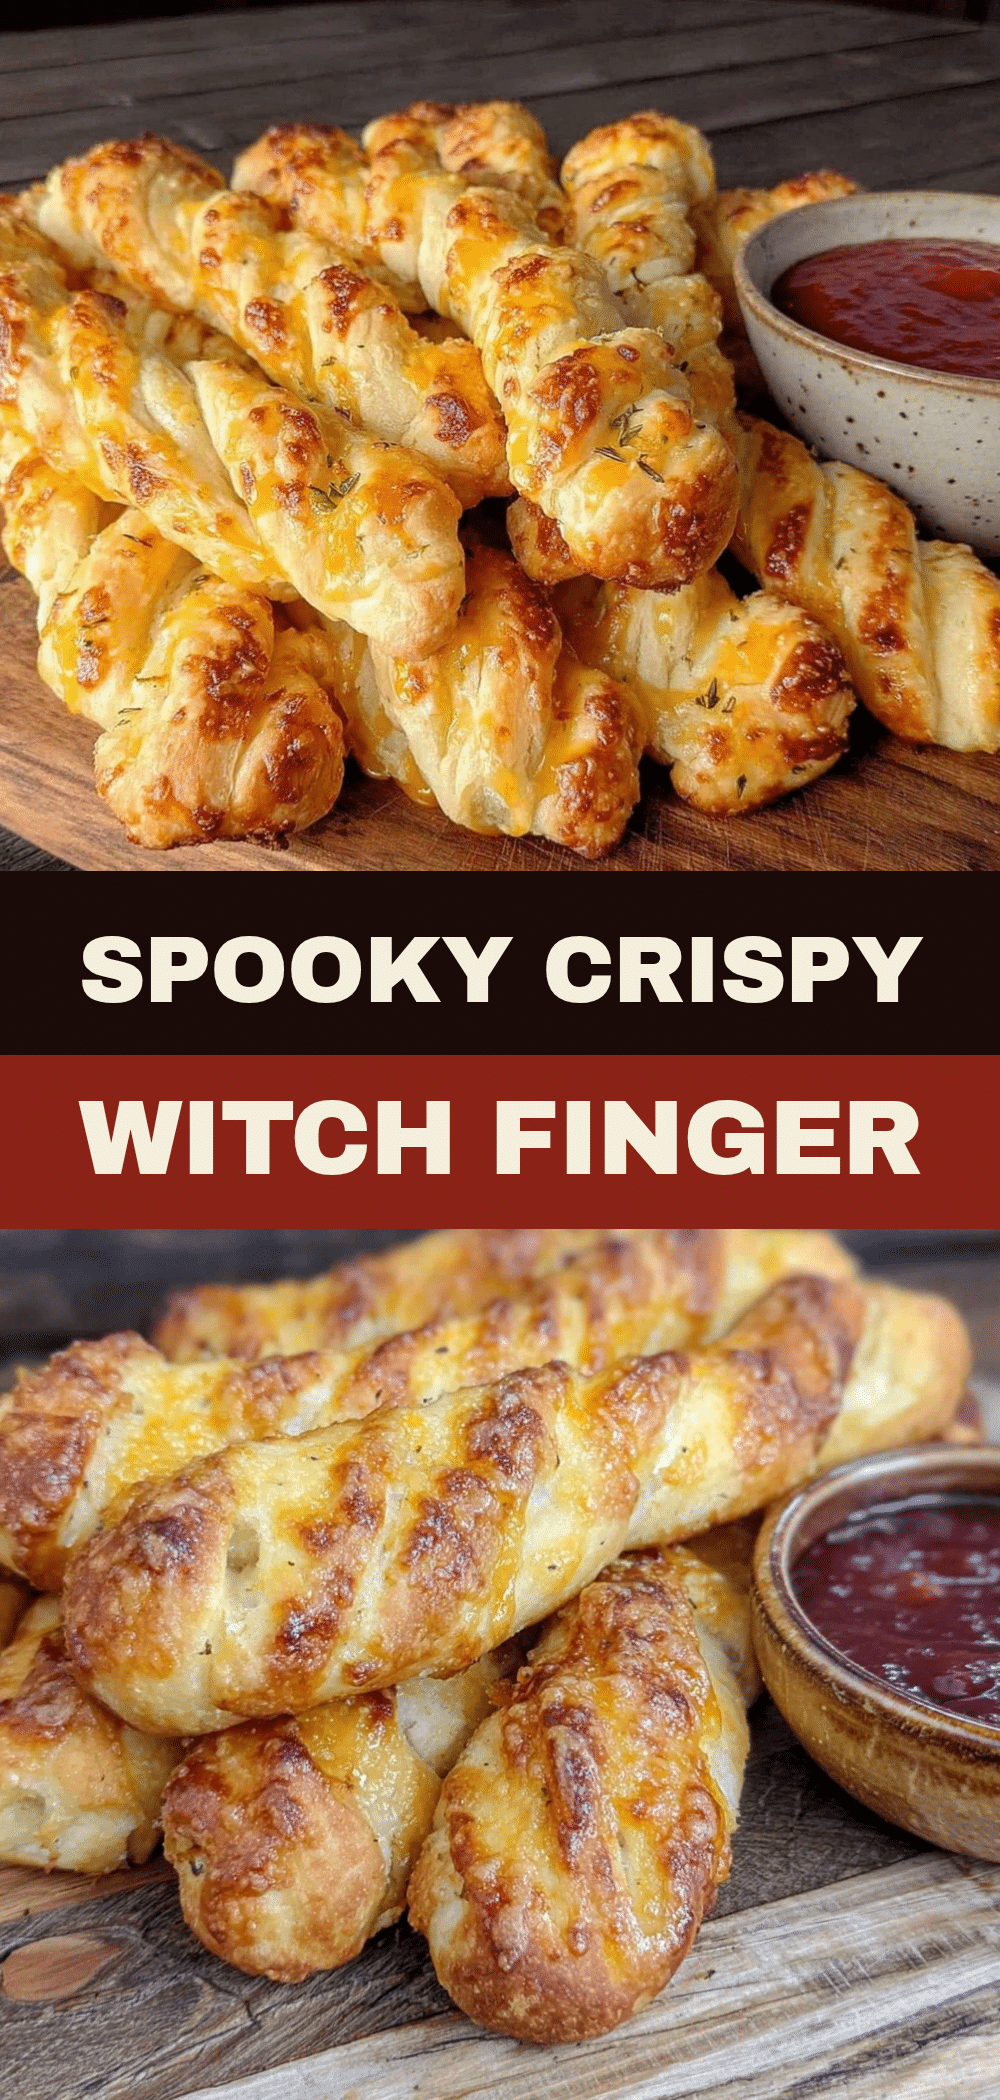

Halloween Witch Finger Breadsticks
- Total Time: 25 minutes
- Yield: 12-15 servings 1x
Description
These spooky yet delicious Halloween Witch Finger Breadsticks are made with store-bought crescent roll dough, a creamy cheese filling, and sesame seed nails. They are foolproof, lightning fast to prepare, and perfect for parties or festive snacks.
Ingredients
- 1 can (8 oz) crescent roll dough
- 2 tablespoons butter, melted
- 2–3 tablespoons white sesame seeds
- 4 oz cream cheese, softened
- 1/2 cup shredded cheddar cheese
- 1 teaspoon garlic powder
- 1/2 teaspoon onion powder
- 1 teaspoon Italian seasoning
- Red food coloring or ketchup (optional, for blood effect)
Instructions
- Preheat oven to 375°F (190°C) and line a baking sheet with parchment paper.
- Unroll the crescent roll dough onto a counter. If using triangular sheets, press perforations together to form one large rectangle.
- In a small bowl, mix softened cream cheese, shredded cheddar, garlic powder, onion powder, and Italian seasoning until smooth.
- Spread the cream cheese mixture evenly over the entire sheet of dough.
- Cut the dough into strips about 1 inch wide.
- Roll each strip from the wide end to the narrow end to form a finger shape. Pinch the bottom end to seal.
- Place fingers on the baking sheet. Press a sesame seed into the top of each finger to create a nail.
- Optionally, use a toothpick dipped in red food coloring or ketchup to add a ‘blood’ effect.
- Brush the tops with melted butter.
- Bake for 10-12 minutes until golden brown and puffy.
- Let cool for 2 minutes before serving.
Notes
Handle the dough gently to avoid tearing. Ensure the bottom end of the rolled dough is sealed well to prevent cheese leakage. If sesame seeds don’t stick, dab a tiny bit of water or egg wash on the tip first. For a gluten-free version, use gluten-free crescent dough. For a vegan version, use vegan cream cheese, cheddar, and butter.
- Prep Time: 15 minutes
- Cook Time: 10 minutes
- Category: Appetizer
- Cuisine: American
Nutrition
- Serving Size: 3 fingers
- Calories: 180
- Sugar: 2
- Sodium: 250
- Fat: 9
- Saturated Fat: 4
- Carbohydrates: 18
- Fiber: 1
- Protein: 5
Keywords: Halloween appetizer, witch finger breadsticks, crescent roll recipes, easy party snacks, spooky food, cheese breadsticks, kid-friendly recipes


