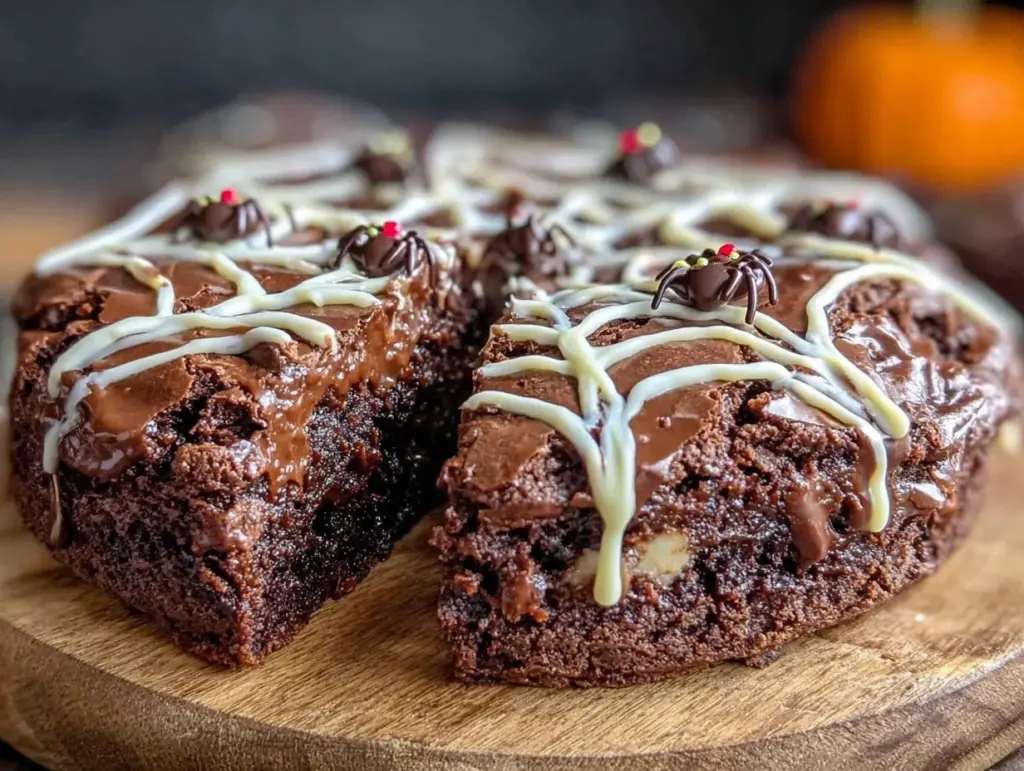
Last week, I was staring at the clock. It was 5pm. I had zero plans for the neighborhood kids trick-or-treating around 6:30, and my pantry looked like a desert. No cookies. No candy bars. Just a half-empty bag of flour and a block of chocolate that had been hiding in the back of the cupboard since October.
I panicked. I really did. I’ve been the “Mom who forgot the snacks” before, and it’s a special kind of social embarrassment. But then I remembered I had sugar, butter, eggs, and cocoa powder. I threw them into a bowl, mixed it up, and pressed it into a pan. I didn’t even plan to make a spiderweb. I just wanted *something*.
But here’s the thing about this Halloween Chocolate Spiderweb Cookie Cake: it looks like you spent hours piping intricate designs with food coloring. In reality? It took me 15 minutes of active work. The “web” happens because I drag a toothpick through two contrasting layers of cookie dough. It’s an optical illusion of baking magic.
When I pulled it out of the oven, the smell of rich chocolate and warm vanilla hit the kitchen. The kids arrived, saw the giant cookie cake with its creepy-crawly web design, and lost their minds. It was the centerpiece of the night. And the best part? It’s basically a giant chocolate chip cookie, so it’s familiar comfort food dressed up in its Halloween best.
I’ve made this three times since then—once for a school party, once for my in-laws, and once just because I needed a chocolate fix. It’s become my go-to answer for “5pm and nothing planned” during the spooky season. If you’re looking for a dessert that screams “Halloween party” without requiring a culinary degree, this is it.
Why You’ll Love This Spiderweb Cookie Cake
There are about ten reasons I keep making this, but here are the big ones that make it a party hero.
Zero Fancy Equipment — Seriously, if you can mix batter and press it into a pan, you can make this. I don’t use a stand mixer. I don’t use fancy piping bags. Just a bowl, a spoon, and a toothpick. It’s the kind of recipe that feels impressive but requires zero skill.
Lightning Fast — 30 minutes from start to finish. I know, baking usually takes longer. But this is a sheet pan cookie cake, not a layered cake. It bakes quickly, and the prep is minimal. I make this on weeknights when I get home at 7pm and still want to serve something homemade.
Looks Way Harder Than It Is — The spiderweb design is pure visual trickery. Guests assume you’re a pro decorator. I’m just a home cook who knows how to drag a toothpick through dough. It’s the easiest “wow” factor you’ll ever get in the kitchen.
Makes Amazing Leftovers — Actually, it doesn’t even last until the next day. But if it does, it tastes like a giant, soft chocolate cookie. I deliberately make extra for breakfast (yes, cookie for breakfast is a valid meal plan). It reheats well in the microwave for 10 seconds.
Budget-Smart — You probably have all these ingredients already. Flour, sugar, butter, cocoa, eggs. That’s it. No expensive fondant, no special Halloween sprinkles (though I add a few for fun). It feeds a crowd for under $10.
This is my go-to when I need a dessert to just work. No complicated techniques, no weird ingredients, just reliable, delicious food that makes everyone happy and fits the spooky theme perfectly.
Ingredients You’ll Need
Here’s the best part: you probably have most of this already. This looks like a standard cookie recipe, which is exactly why it’s so easy. I’m particular about the chocolate here, and I’ll tell you exactly why.
Unsalted Butter (1 cup / 225g) — Softened, not melted. This gives the cookie its rich texture. I use salted butter if I’m in a hurry, but I reduce the added salt in the recipe. Room temperature is key for creaming.
Granulated Sugar (1 cup / 200g) — For the sweet, crisp edges. I use white sugar for the main batch.
Brown Sugar (1 cup / 200g) — Packed. This is what makes the center chewy. Dark brown sugar is better if you have it, but light works fine. It adds that molasses depth.
Eggs (2 large) — Room temperature. They bind everything together. Don’t skip them, or you’ll have a crumbly mess.
Vanilla Extract (2 teaspoons) — Real vanilla, please. I know it’s pricey, but in a chocolate cookie, you taste it. I use the pure stuff, not the imitation.
All-Purpose Flour (2 ½ cups / 315g) — The structure. Don’t use cake flour; it’ll be too tender. Spoon and level your flour so you don’t pack it down.
Cocoa Powder (½ cup / 50g) — Unsweetened. This is for the dark “base” layer of the web. I use Dutch-processed cocoa for a deeper, darker color, which makes the web contrast pop more.
Baking Soda (1 teaspoon) — For lift. Make sure it’s not expired. I keep a fresh can on hand because old baking soda makes cookies flat.
Salt (1 teaspoon) — Enhances the chocolate flavor. Don’t skip it, even if it’s a sweet recipe.
Chocolate Chips (1 cup / 170g) — Semi-sweet. I use Ghirardelli or Nestlé. They melt into pockets of gooey goodness.
For the Web Design:
- White Chocolate Chips (½ cup / 85g) — Melted for the white lines of the web. You can use white baking chips or real white chocolate.
- Black Food Gel (or purple/blue) — A tiny bit of gel food coloring mixed into the melted white chocolate to make it spooky. Liquid coloring makes the dough seize up, so use gel.
Optional Add-ins:
- Orange Food Coloring — A dab in the white chocolate for a more traditional Halloween vibe.
- Edible Spider Glitter — For that extra creepy touch on top.
Equipment Needed
You don’t need fancy equipment for this. Here’s what I actually use.
9×13 Inch Baking Pan — Greased or lined with parchment. I prefer parchment so I can lift the whole cake out later if I want to serve it on a platter. A metal pan works best for even baking.
Large Mixing Bowl — I use a glass bowl because I can see the butter mixing better. A ceramic one works too.
Electric Hand Mixer — Or a sturdy wooden spoon. I use a hand mixer because it’s faster, but a spoon works if you’re strong. Don’t use a whisk; you need to cream the butter and sugar.
Spatula — For scraping the bowl. I have a silicone one that’s perfect for getting every bit of batter out.
Toothpicks — You’ll need a few. These are your tools for drawing the web. I keep a box of them on the counter.
Small Microwave-Safe Bowl — For melting the white chocolate and food coloring. I use a ramekin. Microwave in 15-second bursts.
Oven — Preheated to 350°F (175°C). Make sure it’s calibrated. My oven runs hot, so I check 2 minutes early.
How to Make It: Step-by-Step
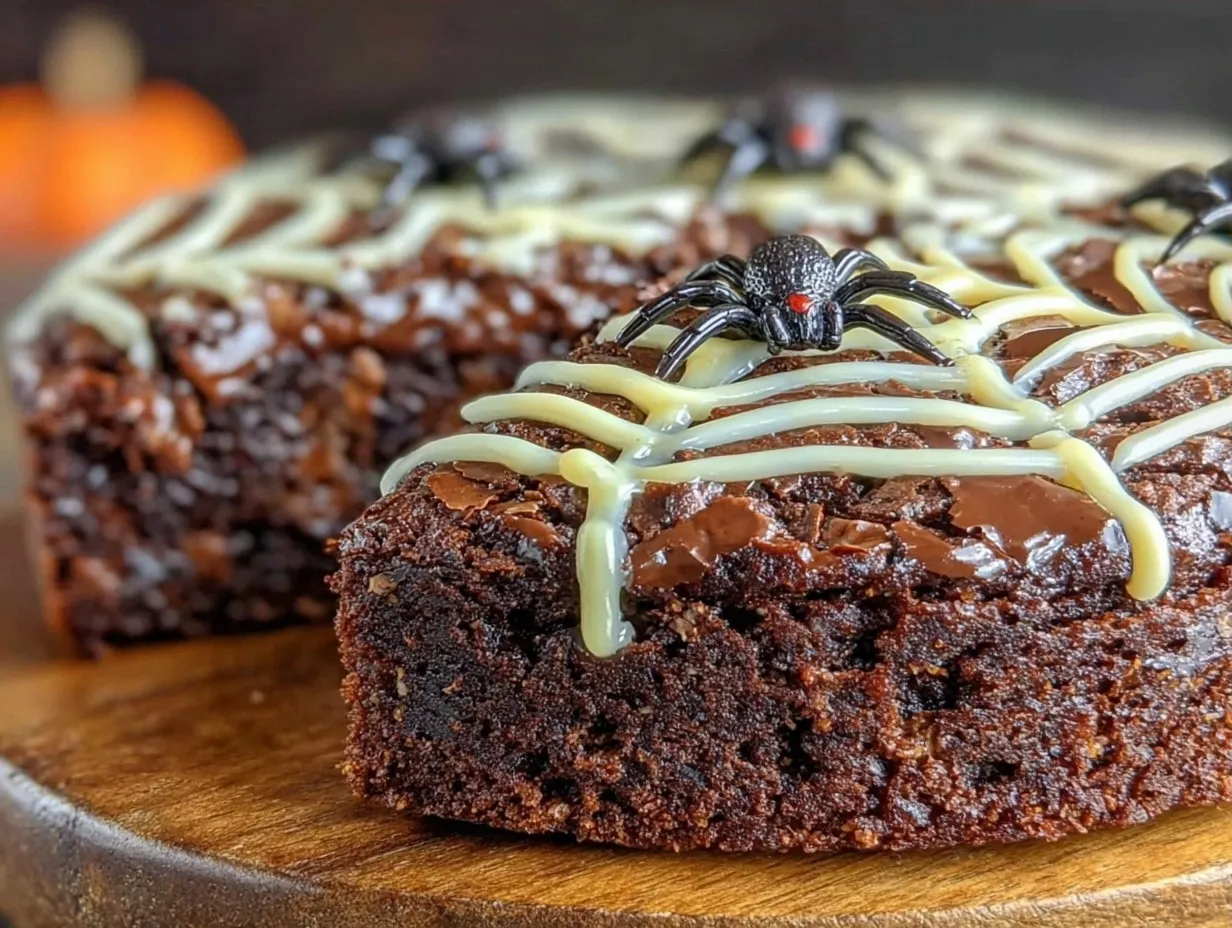
Alright, let’s make this! I’m walking you through exactly how I do it, including the little tricks I’ve picked up. This Halloween Chocolate Spiderweb Cookie Cake is simpler than it looks.
Step 1: Prep Your Pan and Oven (5 minutes)
Preheat your oven to 350°F (175°C). Grease a 9×13 inch baking pan with butter or non-stick spray. If you want easy cleanup, line it with parchment paper, leaving a little overhang on the sides. This helps you lift the cake out later. Set out your mixing bowl.
Step 2: Cream the Butter and Sugars (3 minutes)
In your large bowl, beat the softened butter, granulated sugar, and brown sugar together until light and fluffy. This takes about 2-3 minutes with a mixer. You want the mixture to look pale and airy. If you’re using a spoon, it takes about 5 minutes of elbow grease. This step is crucial for the texture—don’t rush it.
Step 3: Add Wet Ingredients (1 minute)
Add the eggs one at a time, beating well after each addition. Then stir in the vanilla extract. The mixture should look smooth and combined. Scrape down the sides of the bowl with your spatula to make sure nothing is stuck at the bottom.
Step 4: Mix Dry Ingredients (1 minute)
In a separate small bowl (or just sprinkle it in), whisk together the flour, cocoa powder, baking soda, and salt. I usually just sprinkle them in, but if you’re worried about lumps of cocoa, whisk them first. Add the dry ingredients to the wet mixture. Beat on low speed just until combined. Do not overmix, or the cookies will be tough. It should look like a thick, dark brown batter.
Step 5: Fold in Chocolate Chips (1 minute)
Stir in the semi-sweet chocolate chips by hand. You want them distributed evenly throughout the dough. This is your base layer—the “dark” part of the web.
Step 6: Press into Pan (2 minutes)
Transfer the dark dough into your prepared pan. Use your hands or a spatula to press it into an even layer. It should cover the bottom completely. Don’t worry about it being perfectly flat; it will spread a bit in the oven. Set this aside.
Step 7: Make the White Chocolate Layer (5 minutes)
Melt the white chocolate chips in a microwave-safe bowl. Heat in 15-second intervals, stirring in between, until smooth. Let it cool for just a minute so it’s not piping hot. Add a tiny drop of black (or orange) food gel. Stir it in. You want it a very pale gray or off-white, not stark white. This contrast is what makes the web visible.
Step 8: Spread the White Layer (2 minutes)
Pour the melted white chocolate mixture over the dark dough in the pan. Use a spatula to spread it evenly. It will cover the dark dough completely. You should have a smooth, two-toned surface. If it’s too thick, you can thin it with a tiny bit more melted white chocolate, but usually, the ratio is perfect.
Step 9: Draw the Spiderweb (5 minutes)
This is the fun part. Take a toothpick. Start in the center of the pan and drag it out to the edge. Then drag another line from the center to the opposite edge. Keep doing this, creating spokes like a wheel. Don’t make them perfectly straight—slightly wobbly lines look more like a real web.
Next, drag the toothpick in curved lines connecting the spokes, moving outward from the center. It looks chaotic, but that’s the point. It’s a web! If you mess up, just smooth it out with the spatula and start again. The heat will blend it a bit.
Step 10: Bake and Cool (15-18 minutes)
Bake for 15-18 minutes. The edges should be set and slightly firm, but the center should still look a little soft. It will firm up as it cools. Don’t overbake, or it’ll be dry. Let it cool in the pan for at least 10 minutes before cutting. This helps it set so it doesn’t crumble.
Expert Tips & Tricks
Here’s everything I’ve learned from making this dozens of times. These tips will save you from my mistakes.
Don’t Overmix the Dough
Once you add the flour, mix just until no streaks remain. Overmixing develops gluten, which makes your cookie cake tough instead of chewy. I’ve ruined batches by being too thorough. Stop when it looks combined.
Use Gel Food Coloring
Liquid food coloring has water content, which can cause the white chocolate to seize up and become grainy. Gel coloring is concentrated and doesn’t add moisture. It’s worth buying a small bottle of black gel if you do a lot of Halloween baking.
Keep the Layers Thin
Don’t make the white chocolate layer too thick. If it’s too heavy, it will sink into the dark dough and muddle the web design. A thin, even layer is best. If you have leftover white chocolate, save it for dipping apples later.
Drag, Don’t Poke
When drawing the web, drag the toothpick through the surface. Don’t poke holes. You’re creating lines, not indentations. If you poke, the lines won’t show up clearly after baking.
Cool Completely for Clean Cuts
I know it’s tempting to cut into it hot. But a warm cookie cake is messy. Let it cool for at least 20 minutes. If you’re impatient, put the pan in the fridge for 10 minutes to speed up the setting process.
Common Mistakes (and how to avoid them):
- Mistake: The web disappears. Fix: Make sure your white chocolate layer is distinct. If it’s too thin, add a bit more. Also, ensure your dark dough is dark enough (use enough cocoa).
- Mistake: The cookie is flat. Fix: Your butter was too melted. Softened butter holds air; melted butter spreads. Chill the dough for 15 minutes if your kitchen is hot.
- Mistake: The center is raw. Fix: Your oven temperature might be off. Use an oven thermometer. If the edges are done but the center is wet, cover with foil and bake 2 more minutes.
Variations & Substitutions
Once you’ve nailed the basic version, here’s how you can mix it up. I’ve tried all of these.
Pumpkin Spice Web
Add 1 teaspoon of pumpkin pie spice to the dark dough. Swap the white chocolate for a cinnamon-sugar drizzle. Perfect for autumn parties.
Red Velvet Web
Replace the cocoa powder with red food coloring and keep the cocoa minimal. Use white chocolate for the web. It looks like a classic red velvet cake cookie.
Gluten-Free
Use a 1:1 gluten-free flour blend. I’ve used Bob’s Red Mill and it works great. The texture might be slightly more crumbly, but it tastes the same.
Dairy-Free
Use dairy-free butter sticks and dairy-free chocolate chips. The white chocolate needs to be dairy-free too (some brands use milk solids). It’s harder to find good dairy-free white chocolate, but it exists.
Vegan
Use flax eggs (1 tbsp ground flax + 3 tbsp water per egg) and vegan butter. Use vegan chocolate chips. The web might not hold as well, but it’s still delicious.
Chocolate Lovers
Add ½ cup of mini chocolate chips to the white chocolate layer before spreading. It creates little white clouds with chocolate spots.
Serving & Storage
How to Serve:
I usually cut this into squares and serve it on a spooky platter. It’s perfect for Halloween parties, school events, or just a movie night. Pair it with a glass of cold milk or a cup of pumpkin spice hot chocolate for the ultimate cozy treat.
Side Dishes:
Since it’s a dessert, you don’t need much. Maybe some fresh fruit on the side if you want balance. Or serve it alongside crispy air-fryer potato skins for a savory-sweet contrast at parties.
Storage Instructions:
Refrigerator: Store in an airtight container at room temperature for up to 3 days. It stays soft and chewy. If your house is hot, refrigerate it, but let it come to room temperature before eating for the best texture.
Freezing: Yes, you can freeze it! Wrap the whole pan in plastic wrap and then foil. Freeze for up to 2 months. Thaw overnight in the fridge. It reheats well in the microwave.
Reheating: Microwave individual squares for 10-15 seconds. It brings back that fresh-baked softness. Don’t overheat, or the chocolate will burn.
Nutrition Information
I’m not a nutritionist, but here’s the breakdown if you’re tracking. This is a rich, dense cookie cake, so portions matter.
Per Serving (based on 12 servings):
- Calories: 320
- Protein: 4g
- Carbs: 42g
- Fiber: 2g
- Sugar: 28g
- Fat: 16g
- Saturated Fat: 9g
What’s Good:
It’s a decent treat. The cocoa has some antioxidants. It’s filling, so you don’t need a huge piece.
What to Know:
Higher in sugar and saturated fat due to the butter and chocolate. It’s a special occasion treat, not a daily snack. But it’s better than store-bought candy because you control the ingredients.
Final Thoughts
So that’s my spooky Halloween Chocolate Spiderweb Cookie Cake! I’ve probably talked your ear off at this point, but when you make a recipe this often, you have a lot to say about it.
This has saved my sanity more times than I can count. It’s my answer to “what’s for the party?” when I’m tired, don’t want to bake a complex cake, and still want something that looks impressive. The kids are happy, the adults are impressed, and I’m happy because I’m not stressed about cooking.
Make it yours! Try different food coloring, add sprinkles, or swap the chips. The best recipes are the ones you adapt to your family’s tastes.
If you make this, drop a comment and let me know what you think! I love hearing how recipes turn out in your kitchen. And if something doesn’t work, tell me that too—I’m here to help troubleshoot.
Happy cooking! And I hope your kitchen smells half as good as mine does right now.
Frequently Asked Questions
Can I use milk chocolate instead of semi-sweet?
You can, but the web design might be harder to see. Milk chocolate is lighter, so the contrast with the white chocolate layer won’t be as sharp. Semi-sweet or dark chocolate gives that deep, dark base that makes the web pop. If you use milk chocolate, make sure your white chocolate layer is thin and distinct.
Why did my web disappear after baking?
Usually, this happens if the white chocolate layer was too thin or if the dark dough wasn’t dark enough. Make sure you use enough cocoa powder in the base. Also, don’t spread the white chocolate too thickly. It should be a thin glaze, not a thick layer. The heat will blend the layers slightly, so the contrast needs to be strong to start.
Can I make this ahead for a party?
Absolutely. You can make the dough and press it into the pan a day ahead. Cover it tightly with plastic wrap and refrigerate. When you’re ready to bake, let it sit at room temperature for 15 minutes, then add the white chocolate layer and bake as directed. Or, bake the whole cake a day ahead and store it in an airtight container. It actually tastes better the next day as the flavors meld.
What if I don’t have gel food coloring?
Use liquid food coloring, but add it very sparingly. Start with a tiny drop and stir. Liquid coloring can make the white chocolate seize up if you add too much. If it looks grainy, add a teaspoon of vegetable oil to smooth it out. Gel is better, but liquid works in a pinch.
Can I bake this in a different pan?
Yes. A 9×9 inch square pan will make it thicker and denser. Bake time will be longer, about 20-25 minutes. Check for doneness by looking for set edges. A 10-inch round pan will make it thinner and crispier. Adjust baking time accordingly. The 9×13 is best for the classic “cookie cake” texture.
Is this recipe safe for kids to help with?
Yes! This is a great recipe for kids. They can help mix the dough (with supervision), press it into the pan, and most importantly, draw the spiderweb. It’s a fun, messy activity that results in a delicious treat. Just watch the oven for the actual baking part.
Can I freeze the cookie cake?
Yes, it freezes well. Wrap the whole pan tightly in plastic wrap and then foil. Freeze for up to 2 months. Thaw overnight in the fridge. It reheats well in the microwave for 10-15 seconds. Don’t freeze it with frosting on top, as the frosting might weep. This recipe doesn’t need frosting, but if you add it, freeze it separately.
Pin This Recipe!
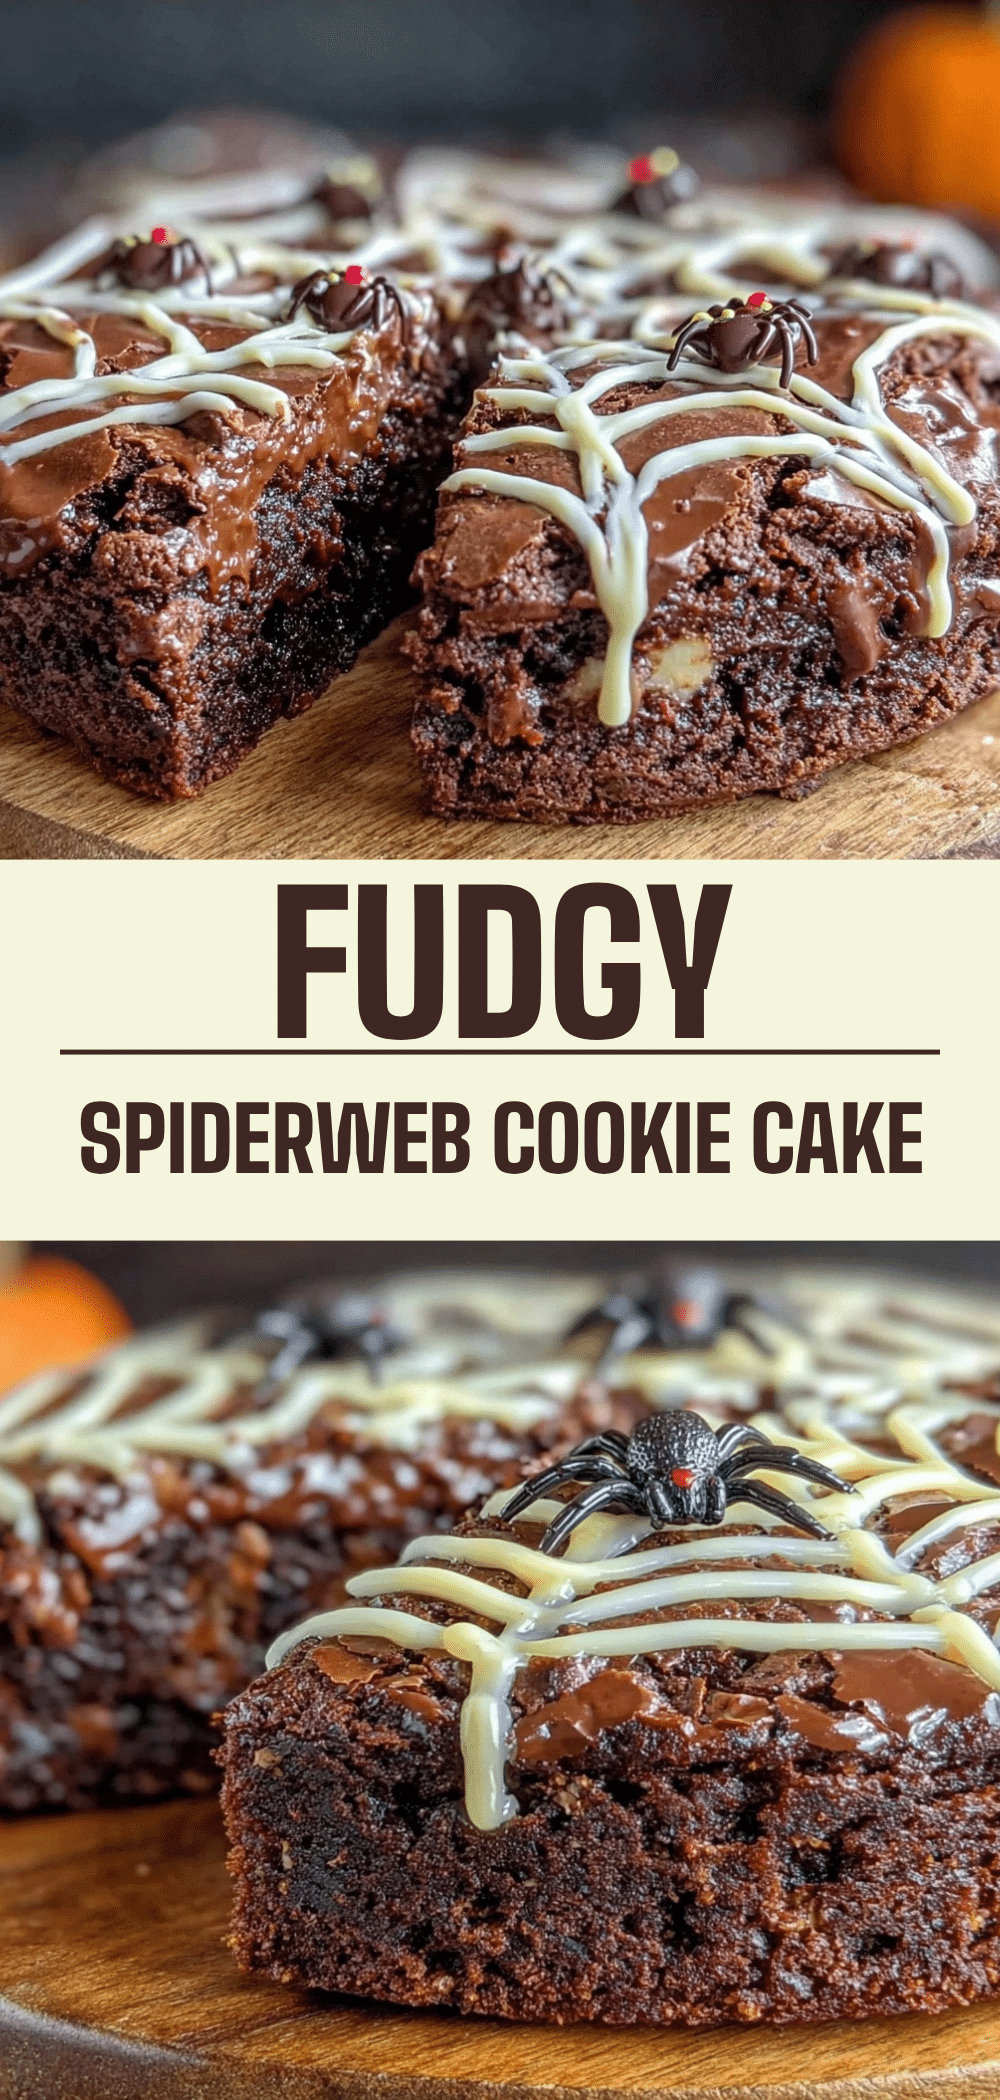

Halloween Chocolate Spiderweb Cookie Cake
- Total Time: 30 minutes
- Yield: 12 servings 1x
Description
A spooky yet simple sheet pan cookie cake featuring a dark chocolate base and a white chocolate spiderweb design. It looks impressive but requires minimal active time and basic equipment.
Ingredients
- 1 cup (225g) unsalted butter, softened
- 1 cup (200g) granulated sugar
- 1 cup (200g) packed brown sugar
- 2 large eggs, room temperature
- 2 teaspoons vanilla extract
- 2 ½ cups (315g) all-purpose flour
- ½ cup (50g) unsweetened cocoa powder
- 1 teaspoon baking soda
- 1 teaspoon salt
- 1 cup (170g) semi-sweet chocolate chips
- ½ cup (85g) white chocolate chips
- Black or purple gel food coloring
Instructions
- Preheat oven to 350°F (175°C). Grease a 9×13 inch baking pan or line with parchment paper.
- In a large bowl, beat softened butter, granulated sugar, and brown sugar until light and fluffy (2-3 minutes).
- Add eggs one at a time, beating well after each addition. Stir in vanilla extract.
- Whisk together flour, cocoa powder, baking soda, and salt. Add to wet ingredients and mix on low speed just until combined.
- Fold in semi-sweet chocolate chips by hand.
- Press the dark dough evenly into the prepared pan.
- Melt white chocolate chips in a microwave-safe bowl in 15-second intervals. Stir in a tiny drop of black gel food coloring.
- Spread the melted white chocolate mixture evenly over the dark dough layer.
- Use a toothpick to drag lines from the center to the edges, then drag curved lines connecting the spokes to create a spiderweb pattern.
- Bake for 15-18 minutes until edges are set but center is still soft. Cool in pan for at least 10 minutes before cutting.
Notes
Do not overmix the dough to avoid tough cookies. Use gel food coloring instead of liquid to prevent the white chocolate from seizing. Ensure the white chocolate layer is thin so the web design remains visible after baking. Cool completely for clean cuts.
- Prep Time: 15 minutes
- Cook Time: 15-18 minutes
- Category: Dessert
- Cuisine: American
Nutrition
- Serving Size: 1 square
- Calories: 320
- Sugar: 28
- Fat: 16
- Saturated Fat: 9
- Carbohydrates: 42
- Fiber: 2
- Protein: 4
Keywords: Halloween, cookie cake, spiderweb, chocolate, easy dessert, party treat, spooky baking


