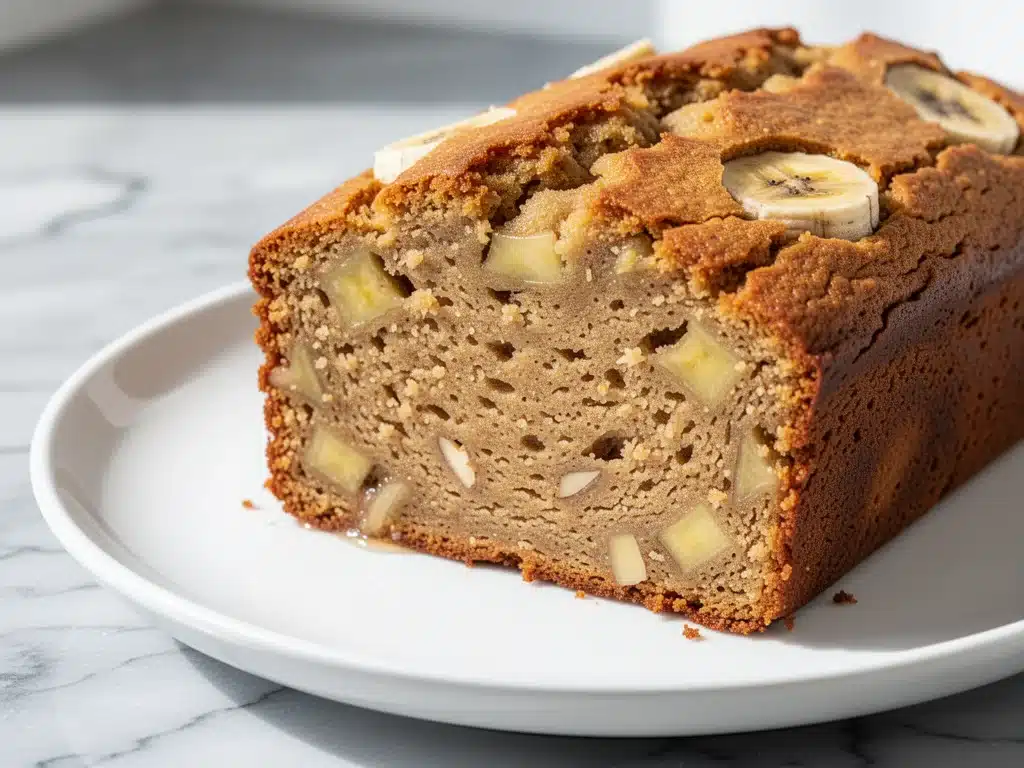
Last November, I was sitting at my kitchen table with a slice of “gluten-free” banana bread that was essentially a dense, dry brick. It crumbled into dust before I could even take a bite. I stared at it, then at my husband, who was trying very hard not to make a face, and I sighed. “We’re never eating banana bread again,” I declared dramatically.
But here’s the thing. I love banana bread. I love the smell of it baking. I love the comfort of a warm slice with morning coffee. I just didn’t want to deal with the guilt or the texture issues anymore.
So, I went on a mission. I tested twelve different recipes. I used tapioca flour. I used rice flour. I tried adding xanthan gum, which I have since learned is the enemy of moist baking in this specific context. I even tried using sweet potato puree, which was… interesting, but not what I wanted.
Then, three weeks ago, I stumbled onto a basic principle of gluten-free baking that changed everything: fat is your friend. Specifically, almond flour.
I mixed overripe bananas with almond flour, a little honey, an egg, and some vanilla. I threw it in the oven. When the smell hit the house, I knew. It smelled like real banana bread. Not the artificial kind you get from a box, but the kind your grandmother made. When I took a bite, the texture was tender, moist, and slightly crumbly in the best way possible. No dryness. No weird aftertaste. Just pure, banana-y goodness.
That was the moment I stopped worrying about gluten-free alternatives and started loving this gluten-free lemon blueberry bundt cake style of baking. I’ve made this gluten-free almond flour banana bread at least five times since then. My kids, who are not gluten-free, have asked for it more than my regular wheat-based versions. My sister, who is celiac, actually cried when she tried it (in a good way, I promise).
This isn’t just a substitute. It’s better than the original. And it uses only six ingredients. Seriously.
Why You’ll Love This 6-Ingredient Gluten-Free Banana Bread
There are about ten reasons I keep making this loaf, but here are the big ones that keep it in my regular rotation.
Stupid Simple — You don’t need a mixer. You don’t need a stand mixer. You don’t even need a whisk. You just need a fork and a bowl. I’ve made this while holding my toddler. It’s that easy. If you can mash a banana, you can make this bread.
Actually Moist — This is the holy grail of gluten-free baking. Most gluten-free breads are dry because they lack the elasticity of gluten. Almond flour is naturally high in fat, which keeps this bread incredibly moist for days. I’ve eaten leftovers on day four, and they were still soft. (I’m not proud of this, but I am grateful.)
Pantry-Friendly — You probably have most of this already. Almond flour, bananas, eggs, honey, vanilla. If you have those, you have dinner (or breakfast, or a snack). I keep almond flour stocked specifically for this, but I’ve also made it when I ran out and just went to the store. It’s worth the trip.
Protein-Packed — Compared to regular flour, almond flour has way more protein and healthy fats. This means the bread keeps you full longer. It’s not just a sugar rush. I eat a slice with my morning coffee, and I don’t hit the 10 a.m. slump. It’s a game-changer for busy mornings.
Naturally Gluten-Free — No xanthan gum, no guar gum, no weird additives. Just real food. If you have dietary restrictions, this is a safe, delicious option that doesn’t feel like you’re missing out. It’s safe for my celiac sister and my gluten-sensitive neighbors.
This is my go-to when I need a treat that feels indulgent but is actually pretty good for me. No complicated techniques, no weird ingredients, just reliable, delicious food that makes everyone happy.
Ingredients You’ll Need
Here’s the best part: you probably have most of this already. I’m particular about three ingredients here, and I’ll tell you exactly why.
Ripe Bananas (3 large, about 1 ½ cups mashed / 350g) — The riper, the better. I mean brown-spotted, almost black peels. Those bananas are sweeter and mash easier. If your bananas are green, put them in the oven at 300°F for 15 minutes to speed up the process. Trust me, it works.
Almond Flour (1 ½ cups / 150g) — Use fine-ground almond flour. Not almond meal (which has skins and is chunky). Not blanched almond meal (which is different). Just fine-ground almond flour. I use Bob’s Red Mill because it’s consistent. Brands matter here because the texture changes the final product.
Eggs (2 large / 100g) — Room temperature eggs work best. They emulsify better with the wet ingredients. If you’re in a rush, just crack them into a bowl and let them sit for 10 minutes while you prep the bananas.
Honey (¼ cup / 85g) — I use raw honey because it adds a nice floral note. Maple syrup works too, but the flavor profile changes slightly. Agave nectar is another option if you want to keep it vegan (but you’ll need to swap the egg too—see variations). Honey keeps the bread moist.
Vanilla Extract (1 teaspoon / 5ml) — Pure vanilla only. I know it’s expensive, but imitation vanilla tastes chemical in baked goods. A little goes a long way.
Baking Soda (½ teaspoon / 2g) — This is what makes it rise. Make sure it’s fresh. If your baking soda is older than six months, it might not work as well. I keep a fresh box in my fridge.
Pinch of Salt — Optional but recommended. It balances the sweetness and enhances the banana flavor. I always add it.
Optional Add-ins:
Chocolate Chips (½ cup / 85g) — Dairy-free or regular. I love the contrast of sweet chocolate and earthy almond flour.
Walnuts (½ cup / 60g) — Toasted and chopped. Adds crunch. I skip these if I’m making it for the kids, but I add them for myself.
Cinnamon (1 teaspoon) — If you like a hint of spice. It pairs beautifully with banana.
Equipment Needed
You don’t need fancy equipment for this. Here’s what I actually use.
Medium Mixing Bowl — I use a 3-quart bowl. It needs to be big enough to mash the bananas and mix the batter without splattering. Glass or ceramic works best, but plastic is fine.
Fork or Potato Masher — For mashing the bananas. A fork is easier for cleanup, but a masher makes it quicker. I use a fork because it gives me more control over the texture.
9×5 Inch Loaf Pan — Standard size. I use a metal pan because it conducts heat evenly. Glass pans take longer to bake and can result in a darker crust. If you use a glass pan, reduce the oven temperature by 25°F.
Parchment Paper — I line the pan with parchment paper. This is non-negotiable for me. Almond flour batter is sticky, and without parchment, you’ll be scraping bits of bread out of the pan for days. It makes cleanup a breeze.
Wire Cooling Rack — For cooling the bread. I learned the hard way that cutting into hot banana bread makes it gummy. Let it cool completely.
Measuring Cups and Spoons — Pretty standard stuff. Dollar store versions work fine. But for almond flour, I prefer weighing it if I have a scale. It’s more accurate.
Optional but nice:
Small Saucepan — If you need to warm the honey slightly to make it pourable. Not necessary, but helpful if your honey is crystallized.
How to Make It: Step-by-Step
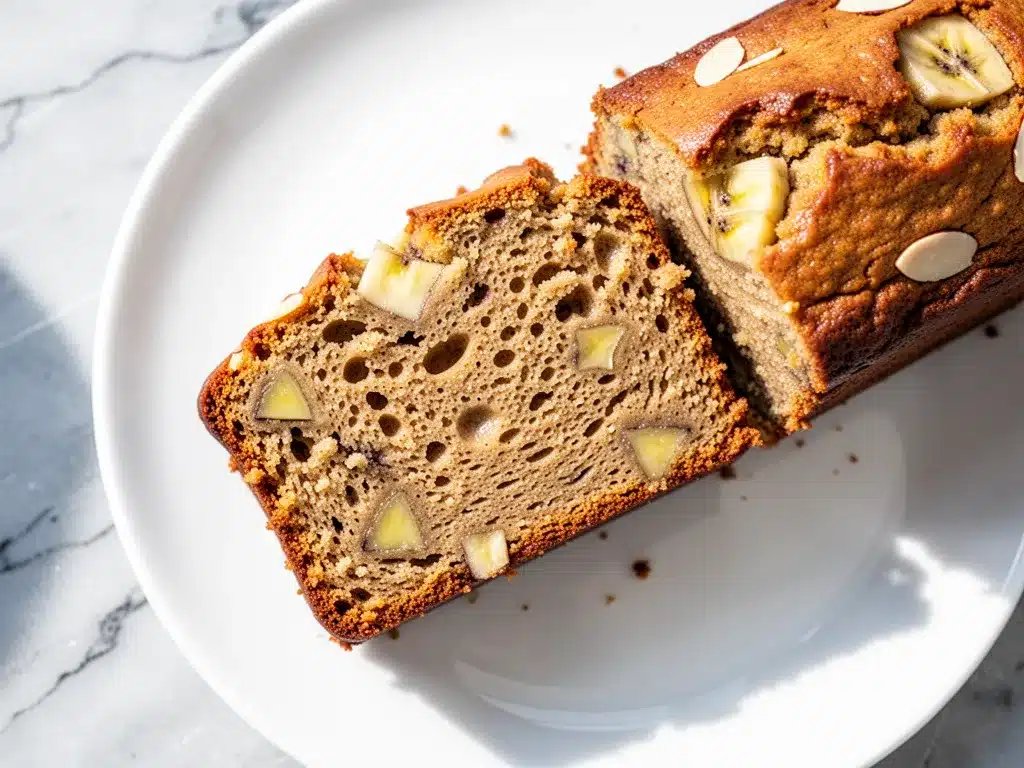
Alright, let’s make this! I’m walking you through exactly how I do it, including the little tricks I’ve picked up.
Step 1: Prep Your Oven and Pan (2 minutes)
Preheat your oven to 350°F (175°C). Line your 9×5 inch loaf pan with parchment paper. Leave some overhang on the sides so you can lift the bread out easily later. This is crucial. I’ve tried unmolding without parchment, and it’s a disaster. Just do it.
Step 2: Mash the Bananas (2 minutes)
In your medium mixing bowl, add the peeled, ripe bananas. Use a fork to mash them until they’re mostly smooth with a few small lumps. I like a few lumps for texture. If you want a smoother bread, mash more. If you want chunky, mash less. Aim for about 1 ½ cups of mashed banana.
Step 3: Mix the Wet Ingredients (1 minute)
To the mashed bananas, add the eggs, honey, vanilla extract, and salt. Whisk everything together with a fork or a small whisk until well combined. The mixture will look a bit curdled at first—that’s normal. Keep whisking until it’s smooth.
Step 4: Add the Dry Ingredients (1 minute)
Add the almond flour and baking soda to the wet mixture. Stir gently with a spatula or fork until just combined. Do not overmix. Almond flour doesn’t have gluten, so overmixing doesn’t develop structure, but it can make the bread dense. Mix until there are no dry streaks of flour left. It will look thick and heavy.
Step 5: Add Mix-ins (Optional) (1 minute)
If you’re adding chocolate chips, walnuts, or cinnamon, fold them in now. Be gentle. Just enough to distribute them evenly.
Step 6: Bake (50-55 minutes)
Pour the batter into the prepared loaf pan. Smooth the top with a spatula. Bake in the preheated oven for 50-55 minutes. The top should be golden brown, and a toothpick inserted into the center should come out clean or with just a few moist crumbs. If it comes out wet with batter, bake for another 5 minutes.
Pro Tip: If the top is browning too quickly, tent it loosely with aluminum foil after 30 minutes.
Step 7: Cool Completely (1 hour)
Let the bread cool in the pan for 10 minutes, then lift it out using the parchment paper overhang and transfer it to a wire rack. Let it cool completely before slicing. This is the hardest part. I know. But if you cut it hot, it will be gummy. Patience pays off.
Expert Tips & Tricks
Here’s everything I’ve learned from making this dozens of times. These tips will save you from my mistakes.
Use Super Ripe Bananas
This is the #1 tip. The riper the banana, the sweeter the bread. If your bananas are yellow with green tips, they won’t be sweet enough, and you’ll need to add more honey. Look for bananas with brown spots or black peels. If you can’t find them, freeze your bananas and thaw them before using. It concentrates the flavor.
Don’t Skip the Parchment
I cannot stress this enough. Almond flour batter is sticky. Without parchment, you will lose half your bread to the pan. Line the pan, leave the overhang, and lift it out. It makes slicing and cleaning so much easier.
Check for Doneness Early
Ovens vary. Start checking at 45 minutes. If the toothpick comes out clean, it’s done. If it’s wet, check every 5 minutes. Almond flour can burn on the outside while staying raw inside, so keep an eye on it.
Cool Completely
I know it’s tempting. But cooling completely allows the structure to set. If you cut it hot, it will be dense and gummy. Let it cool on the rack for at least an hour.
Store Properly
This bread stays fresh at room temperature for 2 days, covered. After that, refrigerate it. It will last up to 5 days in the fridge. You can also freeze slices for up to 3 months. Wrap them tightly in plastic wrap and then in foil.
Variations & Substitutions
Once you’ve nailed the basic version, here’s how you can mix it up. I’ve tried all of these.
Chocolate Chip Banana Bread
Add ½ cup dairy-free chocolate chips to the batter. I love the contrast of sweet chocolate and earthy almond flour. It’s like a dessert version.
Walnut Banana Bread
Add ½ cup chopped walnuts. Toast them in a dry pan for 2-3 minutes before adding for extra flavor. This is my favorite for breakfast.
Gluten-Free Pumpkin Banana Bread
Swap ½ cup of almond flour for ½ cup pumpkin puree. Add 1 teaspoon pumpkin pie spice. This is similar to the ultra-moist pumpkin bread but with a banana twist.
Vegan Version
Replace the eggs with 2 flax eggs (2 tablespoons ground flaxseed mixed with 6 tablespoons water, let sit for 5 minutes). Replace honey with maple syrup. The texture will be slightly denser, but still delicious.
Sugar-Free Version
Use ripe bananas for sweetness and skip the honey. Add a sugar-free sweetener like erythritol if needed. The bread will be less sweet, so add extra vanilla or cinnamon.
Different Flours
You can substitute almond flour with oat flour (certified gluten-free) for a lighter texture, but you’ll need to add an extra egg. Coconut flour is too absorbent and will make the bread dry. Stick with almond flour for best results.
Serving & Storage
How to Serve:
I usually serve this warm, sliced thick. It’s perfect with a cup of coffee or tea. For a special treat, toast a slice and top it with a pat of butter or a smear of cream cheese. It’s like a breakfast sandwich without the bread.
Side Dishes:
Pair it with a fresh fruit salad, Greek yogurt with berries, or a smoothie. It’s also great with crispy baked zucchini fries if you’re doing a savory-sweet brunch.
Toppings Bar:
When I have guests, I put out: nut butter, honey, fresh berries, whipped cream. Everyone customizes their slice.
Storage Instructions:
Refrigerator: Store in an airtight container for up to 5 days. The bread will firm up in the fridge. Let it come to room temperature or warm it up before eating.
Freezer: Slice the bread, wrap each slice tightly in plastic wrap, and then in foil. Freeze for up to 3 months. Thaw at room temperature or warm in the microwave.
Reheating: Microwave a slice for 20-30 seconds. Or toast it in the oven at 350°F for 5-10 minutes. It comes out crispy on the edges and soft inside.
Nutrition Information
I’m not a nutritionist, but here’s the breakdown if you’re tracking.
| Per Serving (1/8 of loaf) | Amount |
|---|---|
| Calories | 180 |
| Protein | 6g |
| Carbs | 12g |
| Fiber | 3g |
| Sugar | 8g |
| Fat | 12g |
| Saturated Fat | 1g |
| Cholesterol | 35mg |
| Sodium | 100mg |
What’s Good: High in protein and healthy fats from almond flour. Low in carbs compared to regular banana bread. Good source of potassium from bananas.
What to Know: Higher in calories due to almond flour. Contains tree nuts. Not suitable for nut allergies.
My Take: This is a healthy treat. It’s not a diet food, but it’s nutritious. I enjoy it as a snack or breakfast. When I want to make it lighter, I reduce the honey and add more berries. But usually? I just eat a slice and enjoy it.
Final Thoughts
So that’s my go-to gluten-free almond flour banana bread! I’ve probably talked your ear off at this point, but when you make a recipe this often, you have a lot to say about it.
This has saved my mornings more times than I can count. It’s my answer to “what’s for breakfast” when I’m tired, don’t want to cook, and still want something that tastes really good. My kids are happy, my husband’s happy, and I’m happy because I’m not stressed about cooking.
Make it yours! Try different add-ins, swap in your favorite nuts, adjust the sweetness. The best recipes are the ones you adapt to your family’s tastes.
If you make this, drop a comment and let me know what you think! I love hearing how recipes turn out in your kitchen. And if something doesn’t work, tell me that too—I’m here to help troubleshoot.
Happy baking! And I hope your kitchen smells half as good as mine does right now.
Frequently Asked Questions
Q: Can I use almond meal instead of almond flour?
A: You can, but the texture will be different. Almond meal has skins and is chunkier. The bread will be denser and have a speckled look. If you don’t mind that, go ahead. But for a smooth, light bread, use fine-ground almond flour.
Q: Why did my banana bread turn out dry?
A: Usually, this means you used bananas that weren’t ripe enough, or you overbaked it. Make sure your bananas are very ripe. Also, check for doneness at 45 minutes. Almond flour can dry out if baked too long.
Q: Can I use honey substitute?
A: Yes, maple syrup works well. Agave nectar is another option. Just keep in mind that honey adds a distinct flavor that maple syrup doesn’t. The texture will be similar.
Q: How do I store leftovers?
A: Store in an airtight container at room temperature for 2 days. After that, refrigerate. You can also freeze slices for up to 3 months. Wrap them tightly in plastic wrap and foil.
Q: Can I make this into muffins?
A: Absolutely! Divide the batter into a muffin tin lined with liners. Bake at 350°F for 20-25 minutes. Check with a toothpick. They’re perfect for on-the-go breakfasts.
Q: Is this recipe nut-free?
A: No, it uses almond flour. If you have a nut allergy, you can try using oat flour or sunflower seed flour, but the texture and flavor will be different. You may need to adjust the liquid.
Q: Can I double this recipe?
A: Yes, but you’ll need two loaf pans or a larger pan. Double the baking time by 5-10 minutes. Keep an eye on it to avoid overbaking.
Pin This Recipe!
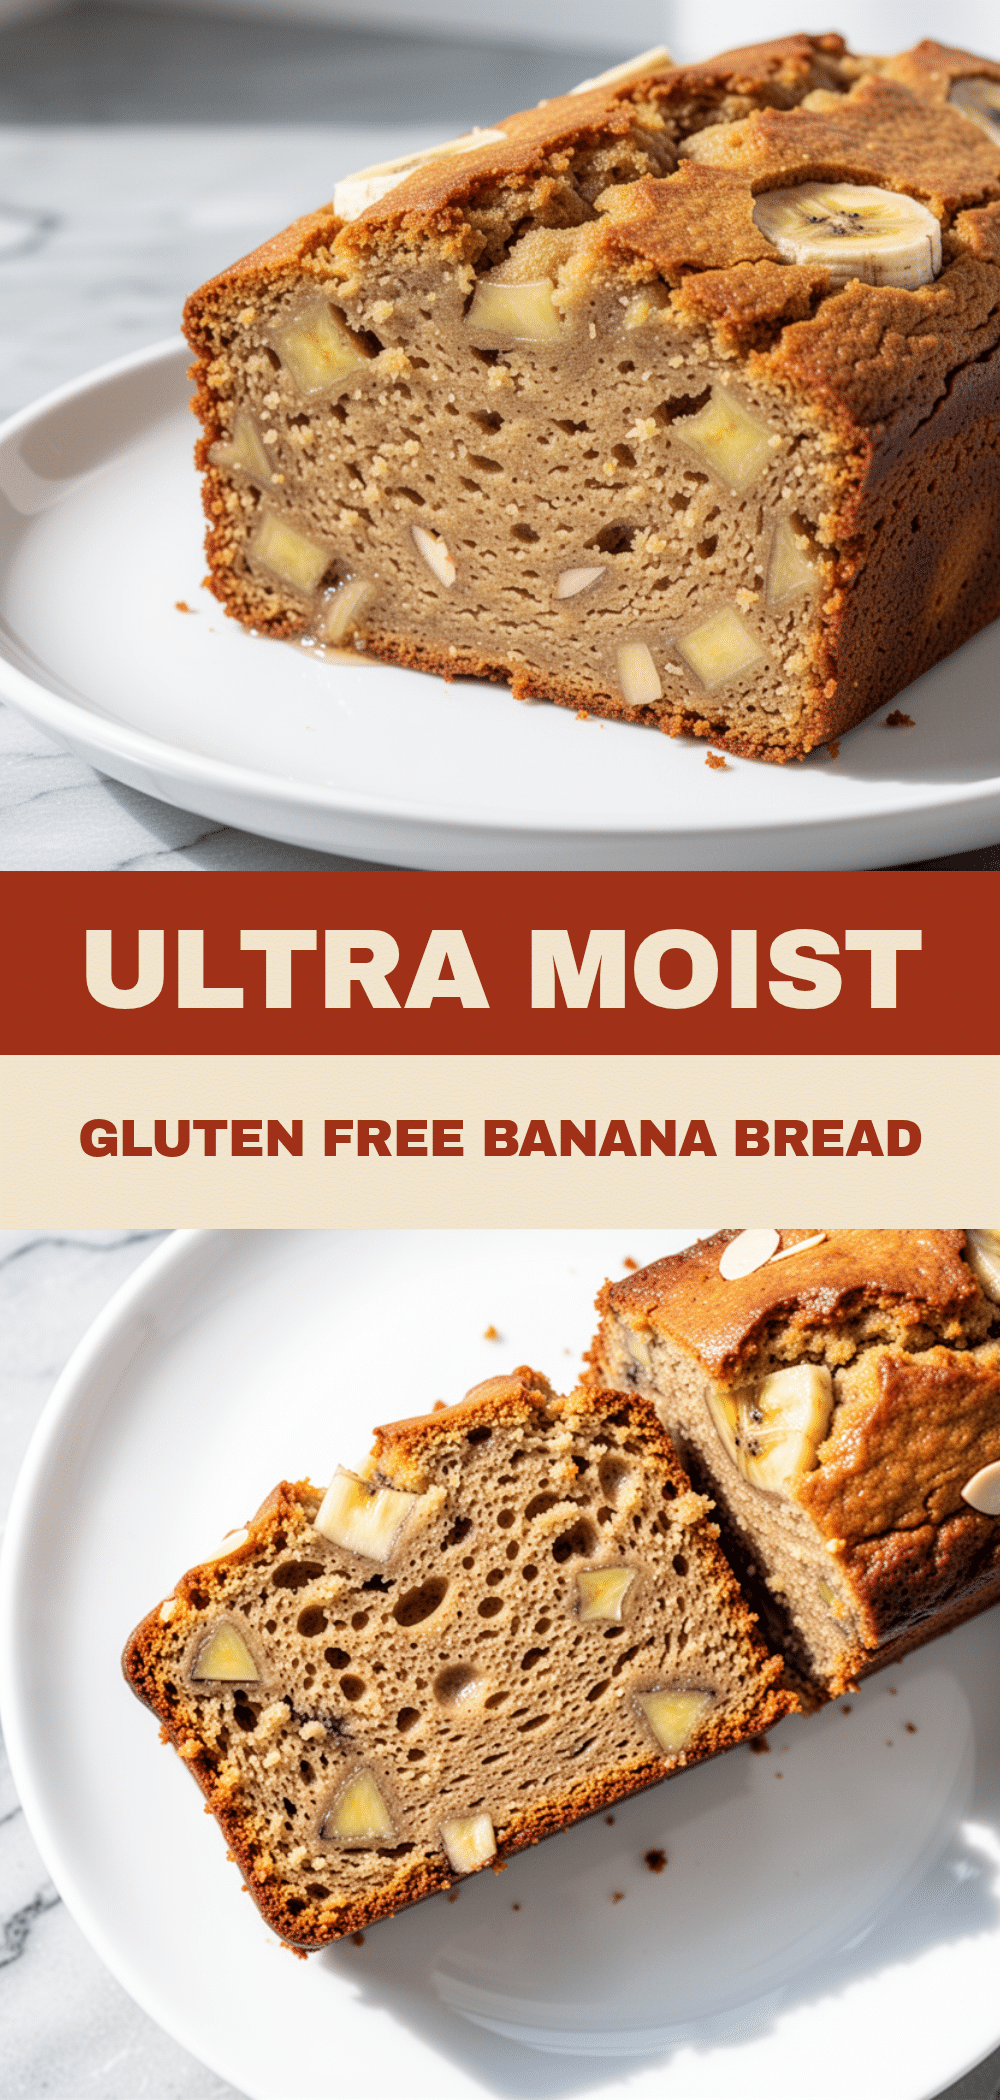
Gluten-Free Almond Flour Banana Bread: Easy 6-Ingredient Recipe
- Total Time: 1 hour 55 minutes
- Yield: 8 servings 1x
Description
A moist, tender, and naturally gluten-free banana bread made with just six simple ingredients. This recipe uses almond flour for a protein-packed, delicious treat that is easy to make with just a fork and bowl.
Ingredients
- 3 large ripe bananas (about 1 ½ cups mashed / 350g)
- 1 ½ cups fine-ground almond flour (150g)
- 2 large eggs (room temperature)
- ¼ cup honey (85g)
- 1 teaspoon pure vanilla extract (5ml)
- ½ teaspoon baking soda (2g)
- Pinch of salt
- Optional: ½ cup chocolate chips, ½ cup toasted chopped walnuts, or 1 teaspoon cinnamon
Instructions
- Preheat oven to 350°F (175°C). Line a 9×5 inch loaf pan with parchment paper, leaving an overhang on the sides for easy removal.
- In a medium mixing bowl, mash the peeled ripe bananas with a fork until mostly smooth with a few small lumps.
- Add the eggs, honey, vanilla extract, and salt to the mashed bananas. Whisk together with a fork or small whisk until well combined and smooth.
- Add the almond flour and baking soda to the wet mixture. Stir gently with a spatula or fork until just combined. Do not overmix.
- If using, fold in optional add-ins like chocolate chips, walnuts, or cinnamon.
- Pour the batter into the prepared loaf pan and smooth the top with a spatula.
- Bake for 50-55 minutes, or until the top is golden brown and a toothpick inserted into the center comes out clean or with moist crumbs. If the top browns too quickly, tent with aluminum foil after 30 minutes.
- Let the bread cool in the pan for 10 minutes, then lift it out using the parchment paper overhang and transfer to a wire rack.
- Allow the bread to cool completely before slicing to ensure the structure sets and prevents gumminess.
Notes
Use super ripe bananas with brown spots or black peels for maximum sweetness and moisture. Almond flour batter is sticky, so lining the pan with parchment paper is crucial for easy removal and cleanup. Cool the bread completely before slicing to avoid a gummy texture. Store leftovers in an airtight container at room temperature for 2 days, or refrigerate for up to 5 days. Can be frozen for up to 3 months.
- Prep Time: 5 minutes
- Cook Time: 50-55 minutes
- Category: Breakfast
- Cuisine: American
Nutrition
- Serving Size: 1/8 of loaf
- Calories: 180
- Sugar: 8
- Sodium: 100
- Fat: 12
- Saturated Fat: 1
- Carbohydrates: 12
- Fiber: 3
- Protein: 6
Keywords: gluten-free, almond flour, banana bread, healthy breakfast, easy recipe, nut-free alternative, dairy-free option, vegan option


