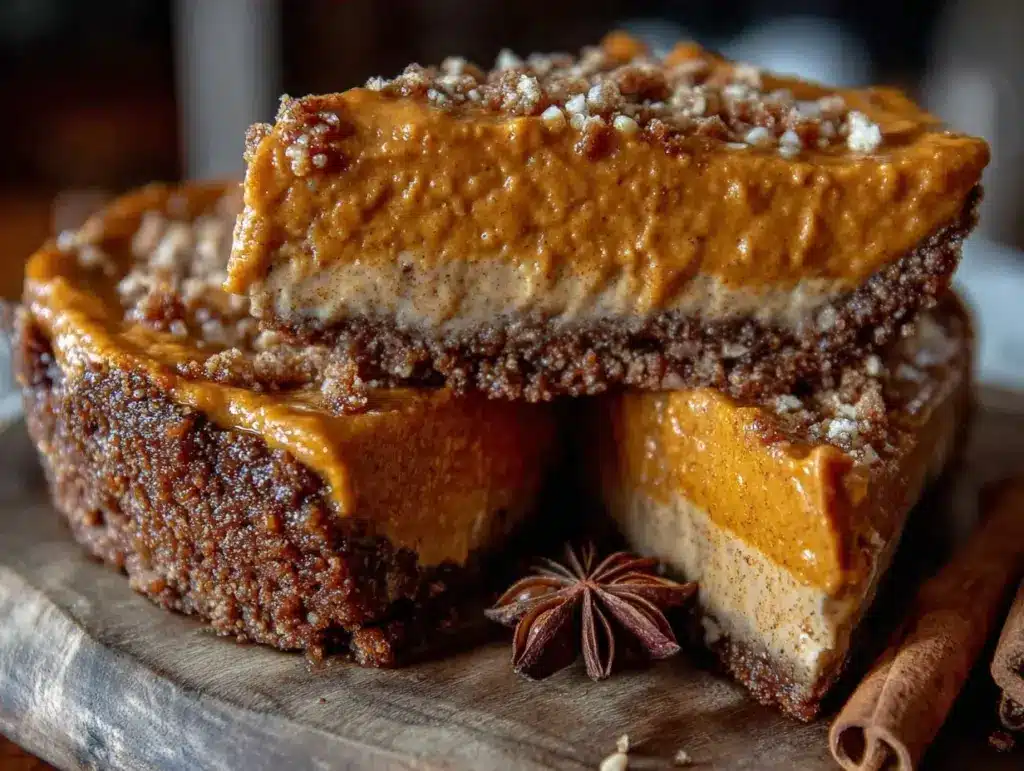
Three years ago, I almost cancelled Thanksgiving dinner. Not because I forgot to buy the turkey, but because I tried to make a “no-bake” pumpkin pie for the first time and ended up with a sad, soupy mess that slid out of the gingersnap crust like a wet sponge. It wasn’t dessert. It was a cautionary tale. My in-laws were polite, but I could see them wondering if I’d lost my mind. I was ready to throw in the towel and order takeout ice cream, but then I remembered a trick I’d learned while testing hundreds of cheesecakes.
The problem wasn’t the pumpkin. The problem was the moisture. I was treating it like a traditional baked pie, where the oven evaporates the excess liquid. But in a no-bake recipe, that moisture has nowhere to go. So, I stopped trying to force it. Instead, I changed one tiny thing: I reduced the pumpkin puree first. I cooked it down in a saucepan to evaporate the water before it ever touched the cream cheese. That’s it. That single step is the difference between a pie that holds its shape and one that collapses under its own weight.
This fall, I’m sharing that exact method. This fall no-bake pumpkin pie with gingersnap crust is the one I make every single year now. It’s creamy, it’s spiced perfectly, and the crust actually stays crisp. It’s perfect for holidays because you can make it the night before, so you’re not sweating over a hot oven when the turkey comes out. Plus, it pairs beautifully with everything else on the table. If you’re looking for other easy fall treats, this fits right in with my fall cranberry orange bundt cake or my dairy-free fall spiced sweet potato pie for variety. But honestly? Once you try this no-bake version, you might never go back to baking.
Why You’ll Love This No-Bake Pumpkin Pie
There are a few reasons I keep coming back to this recipe, but they all boil down to one thing: stress-free hosting. Here’s the real talk on why this dessert works so well.
Zero Oven Required — Seriously. The kitchen stays cool, which is a huge win in November when you’re already running a turkey, stuffing, and sides. I can prep this while the main meal is cooking without turning my kitchen into a sauna.
The Crust Actually Stays Crunchy — Most no-bake gingersnap crusts get soggy within hours. Because I press it firmly and chill it properly, it stays crisp for days. I’ve made this three days in advance, and the texture is still perfect. It’s a game-changer for meal preppers.
It’s Foolproof — There’s no baking temperature to guess at. No risk of over-beating the eggs or curdling the custard. You just mix, chill, and slice. I’ve walked my teenage nephew through this recipe over FaceTime, and he nailed it on the first try.
Flavor That Punches Above Its Weight — Some people think no-bake means “meh.” Not this. The reduced pumpkin concentrate makes the flavor deep and rich, while the gingersnap crust adds a spicy kick that cuts through the sweetness. It’s sophisticated but totally approachable.
Makes Incredible Leftovers — It tastes even better the next day. The flavors meld together in the fridge, making it richer and more cohesive. I deliberately make extra for Friday morning coffee.
This is my go-to when I need a show-stopping dessert that doesn’t require show-stopping effort. No complicated techniques, no weird ingredients, just reliable, delicious food that makes everyone happy.
Ingredients You’ll Need
Here’s the best part: you probably have most of this already. This isn’t a recipe that requires a trip to a specialty store. I’m particular about two things here: the pumpkin and the gingersnaps. Everything else is pantry staples.
For the Crust
Gingersnap cookies (24 cookies / about 300g) — Do not use gingerbread men. They’re too soft and cake-like. You need hard, crisp gingersnaps. I love House Foods brand because they have that sharp snap. If you can’t find them, look for “ginger snaps” in the cookie aisle, not the “gingerbread” section.
Unsalted butter (6 tablespoons / 85g) — Melted. Use good quality butter here. It binds the crumbs. If you’re out, you can use coconut oil, but it changes the flavor slightly.
Granulated sugar (2 tablespoons / 25g) — Just a touch to help the crust caramelize slightly in the pan. Optional, but I recommend it.
Salt (¼ teaspoon) — Essential. It balances the sweetness of the cookies and butter.
For the Filling
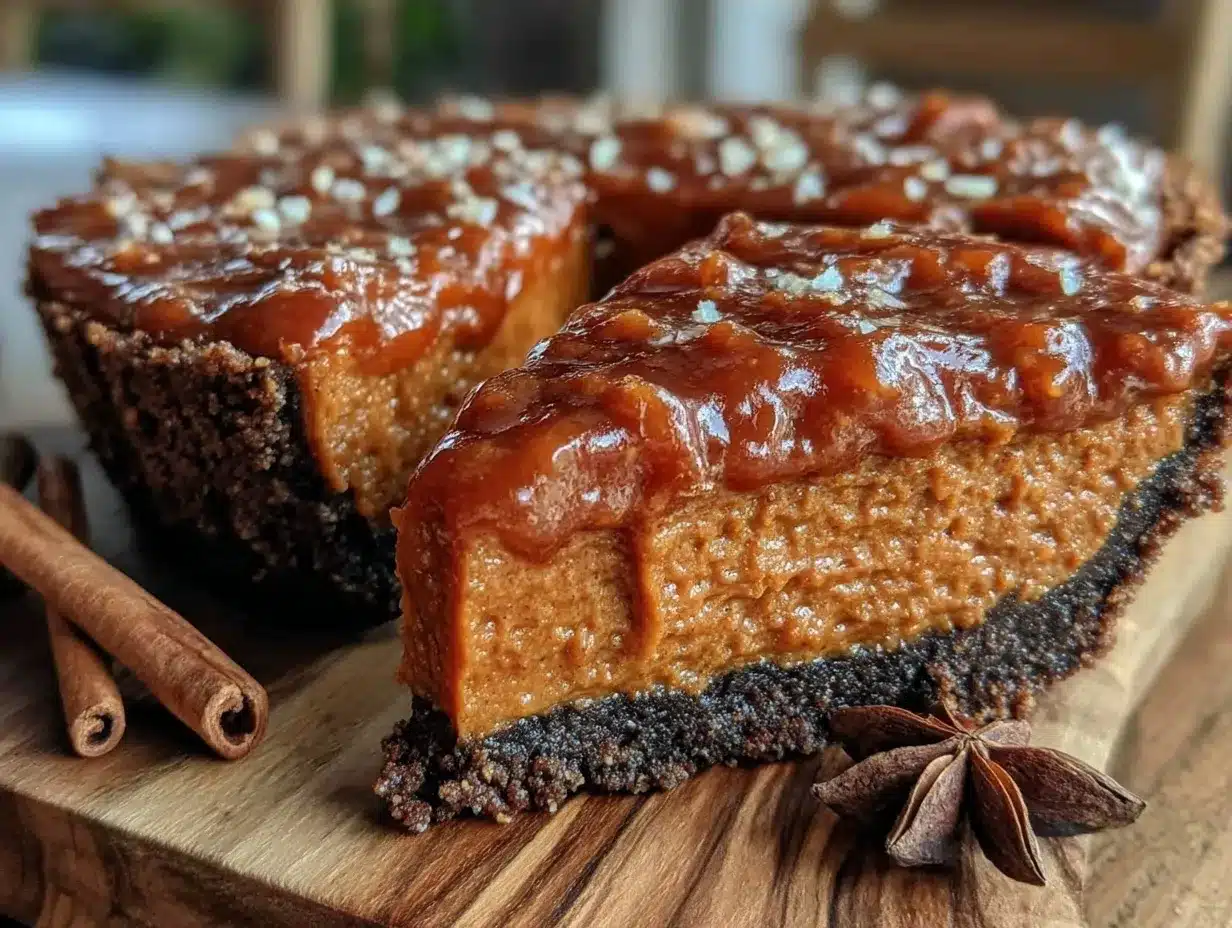
Pumpkin puree (15 oz / 425g can) — Plain pumpkin puree. NOT pumpkin pie filling. Check the label. If it says “pie filling,” it has sugar and spices already added, and your pie will be way too sweet. You want 100% pure pumpkin.
Full-fat cream cheese (16 oz / 450g) — Softened to room temperature. This is crucial. If it’s cold, you’ll get lumps. I take it out of the fridge 30 minutes before I start. Neufchâtel (half-fat) works, but the texture won’t be as rich.
Heavy cream (1 cup / 240ml) — Cold. You’re whipping this. If you use half-and-half, it won’t hold peaks. Trust me on this.
Confectioners’ sugar (1 cup / 120g) — Sifted. This adds sweetness and helps stabilize the whipped cream. Don’t skip the sifting, or you’ll get little white specks in your pie.
Pumpkin pie spice (2 teaspoons) — Or make your own: 1 tsp cinnamon, ½ tsp ginger, ¼ tsp nutmeg, ¼ tsp cloves. If you don’t have pumpkin spice, cinnamon is fine, but you’ll miss that warm, spicy depth.
Vanilla extract (1 teaspoon) — Pure vanilla. I know it’s expensive, but artificial vanilla tastes harsh in a simple dessert like this.
Equipment Needed
You don’t need fancy equipment for this. Here’s what I actually use.
9-inch springform pan — This is non-negotiable. The sides pop off, making it easy to get clean slices. If you don’t have one, a regular 9-inch pie dish works, but slicing will be messier. I use a 9-inch pan because it gives the right depth.
Food processor — For crushing the cookies. It takes 10 seconds. If you don’t have one, put cookies in a zip-top bag and crush them with a rolling pin. It takes more effort, but it works.
Electric mixer — Handheld or stand mixer. You need to whip the cream to stiff peaks. Doing this by hand is possible, but it’s an arm workout I don’t recommend.
Saucepan — For reducing the pumpkin puree. Any small pot works.
Spatula — Silicone is best for scraping bowls clean.
Chinois or fine-mesh sieve — Optional, but I recommend it. Straining the pumpkin puree removes any fibrous bits, making the filling silky smooth.
How to Make It: Step-by-Step
Alright, let’s make this! I’m walking you through exactly how I do it, including the little tricks I’ve picked up over the years.
Step 1: Reduce the Pumpkin (15 minutes)
This is the “one trick” I mentioned. Pour the canned pumpkin puree into a small saucepan. Cook it over medium-low heat, stirring constantly, for about 10-15 minutes. You want to evaporate the water. The puree will thicken and darken slightly. It should look like paste, not liquid. Let it cool completely. If you skip this, your pie will be watery. I learned this the hard way. Once it’s cool, strain it through a sieve to remove any fibers. Set aside.
Step 2: Make the Crust (5 minutes)
Crush your gingersnap cookies into fine crumbs. You want a sandy texture, not chunks. Mix them with the melted butter, sugar, and salt. The mixture should look like wet sand. If it’s too dry, add a teaspoon more butter. Press this firmly into the bottom of your springform pan. Use the bottom of a measuring cup to pack it down tight. This prevents crumbling later. Chill the crust in the fridge while you make the filling.
Step 3: Whip the Cream (5 minutes)
In a large bowl, whip the cold heavy cream and confectioners’ sugar until you see stiff peaks. This means when you lift the beaters, the cream stands up straight. Don’t over-whip, or it’ll turn into butter. Set this aside.
Step 4: Mix the Filling (5 minutes)
In a separate large bowl, beat the softened cream cheese until smooth. Add the reduced pumpkin puree, pumpkin pie spice, and vanilla. Mix until combined. The mixture should be thick and uniform.
Step 5: Fold It Together (2 minutes)
Here’s the delicate part. Gently fold the whipped cream into the pumpkin mixture. Use a spatula and lift from the bottom. Do this just until no white streaks remain. Over-mixing will deflate the cream, and your pie won’t be as fluffy. It should look light and airy.
Step 6: Chill and Set (4 hours minimum)
Pour the filling into the chilled crust. Smooth the top. Cover loosely with plastic wrap and refrigerate for at least 4 hours, preferably overnight. This is where the magic happens. The pie needs time to set. If you eat it too soon, it’ll be soft and messy.
Step 7: Serve
Remove the springform ring. Slice with a warm, sharp knife for clean cuts. Top with whipped cream, a sprinkle of cinnamon, or candied pecans if you’re feeling fancy.
Expert Tips & Tricks
Here’s everything I’ve learned from making this dozens of times. These tips will save you from my mistakes.
Reduce the Pumpkin — I can’t stress this enough. Canned pumpkin is mostly water. If you don’t cook it down, that water will seep into the crust and make it soggy. Cook it until it’s thick. It’s worth the 15 minutes.
Room Temperature Cream Cheese — Cold cream cheese creates lumps. If you forget to soften it, microwave it in 10-second bursts until it’s pliable. But don’t melt it.
Cold Cream — Your heavy cream must be ice cold for it to whip properly. If your kitchen is warm, chill your bowl and beaters in the fridge for 15 minutes first.
Don’t Over-Mix — When folding the cream into the pumpkin, be gentle. You want to keep the air in the whipped cream. This is what makes the pie light, not dense.
Chill the Pan — A cold crust helps the filling set faster and prevents the crust from absorbing moisture too quickly. It’s a small step that makes a big difference.
Common Mistakes
- Soggy crust: This happens if the pumpkin wasn’t reduced enough, or if you didn’t press the crust firmly enough.
- Grainy texture: Usually means the cream cheese wasn’t smooth before adding the pumpkin. Beat it longer.
- Flat pie: Over-mixing the whipped cream deflates it. Fold gently.
Variations & Substitutions
Once you’ve nailed the basic version, here’s how you can mix it up. I’ve tried all of these.
Spiced Pecan Topping — Toast ½ cup pecans with a little brown sugar and cinnamon. Sprinkle on top before serving. Adds crunch and nuttiness.
Chocolate Chip Pumpkin — Fold ½ cup mini chocolate chips into the filling before pouring into the crust. It’s like a pumpkin cookie in pie form. My kids love this.
Maple Glaze — Drizzle 2 tablespoons of maple syrup over the top before serving. Adds a nice autumn flavor.
Dairy-Free Version — Use coconut cream instead of heavy cream, and vegan cream cheese. It’s different but still creamy. I’ve made this for my lactose-intolerant friend, and she loved it.
Gluten-Free — Use gluten-free gingersnap cookies. Most brands work fine. Check the label to ensure they’re crisp, not soft.
Serving & Storage
How to Serve: I usually serve this straight from the fridge. It’s best cold. Slice with a warm knife for clean cuts. Dip the knife in hot water, wipe dry, and cut. It prevents sticking.
Side Dishes: This pairs well with fall pumpkin spice overnight oats for a full fall breakfast, or just enjoy it as is. It’s rich, so you don’t need much.
Storage: Store in the fridge for up to 5 days. Cover tightly with plastic wrap or foil. It actually tastes better on day 2 or 3 as the flavors meld.
Freezing: You can freeze this pie, but the texture changes slightly. The whipped cream may separate a bit when thawed. If you must freeze it, wrap it tightly in plastic and foil. Thaw in the fridge overnight. It’s still good, just not as fluffy.
Pro Tip: If you’re making this ahead, prepare the crust and filling separately. Store them in the fridge. Assemble the pie the day before serving. This ensures the best texture.
Nutrition Information
I’m not a nutritionist, but here’s the breakdown if you’re tracking.
Per serving (based on 12 slices):
- Calories: 320
- Protein: 4g
- Carbs: 35g
- Fiber: 1g
- Sugar: 22g
- Fat: 18g
- Saturated Fat: 10g
- Cholesterol: 45mg
- Sodium: 180mg
What’s Good: It’s a great source of vitamin A from the pumpkin. The gingersnap crust adds a bit of fiber.
What to Know: It’s higher in sugar and fat due to the cream cheese and whipped cream. It’s a treat, not a health food. But it’s way better than store-bought, and you know exactly what’s in it.
Final Thoughts
So that’s my go-to fall no-bake pumpkin pie with gingersnap crust! I’ve probably talked your ear off at this point, but when you make a recipe this often, you have a lot to say about it. This has saved holiday dinners more times than I can count. It’s my answer to “what’s for dessert” when I’m tired, don’t want to bake, and still want something that tastes really good. My family is happy, my guests are happy, and I’m happy because I’m not stressed about cooking.
Make it yours! Try different toppings, swap in your favorite spices, or add chocolate chips. The best recipes are the ones you adapt to your family’s tastes. If you make this, drop a comment and let me know what you think! I love hearing how recipes turn out in your kitchen. And if something doesn’t work, tell me that too—I’m here to help troubleshoot.
Happy cooking! And I hope your kitchen smells half as good as mine does right now.
Frequently Asked Questions
Can I use pumpkin pie filling instead of puree?
No. Pumpkin pie filling already has sugar and spices added. If you use it, your pie will be way too sweet and the texture will be off. You need 100% pure pumpkin puree.
Why did my crust crumble when I sliced it?
This usually means the crust wasn’t pressed firmly enough, or it wasn’t chilled long enough before adding the filling. Make sure you pack it down tight with the bottom of a measuring cup. Also, chill the assembled pie for at least 4 hours.
Can I make this ahead of time?
Yes! This is actually better made ahead. You can make it up to 3 days in advance. Store it in the fridge, covered. It will keep its shape and flavor.
Why did my filling turn out watery?
This happens if you didn’t reduce the pumpkin puree enough, or if you used cold cream cheese that created lumps. Make sure you cook the pumpkin until it’s thick, and let the cream cheese come to room temperature.
Can I use a different cookie for the crust?
You can try graham crackers or vanilla wafers, but gingersnaps provide the best flavor contrast to the pumpkin. If you use graham crackers, add a teaspoon of cinnamon and a pinch of ginger to the crust mixture.
How do I store leftovers?
Store in an airtight container or covered tightly with plastic wrap in the fridge for up to 5 days. It’s best eaten cold.
Can I freeze this pie?
You can, but the texture may change slightly. The whipped cream might separate a bit when thawed. If you must freeze it, wrap it tightly in plastic and foil. Thaw in the fridge overnight.
Pin This Recipe!
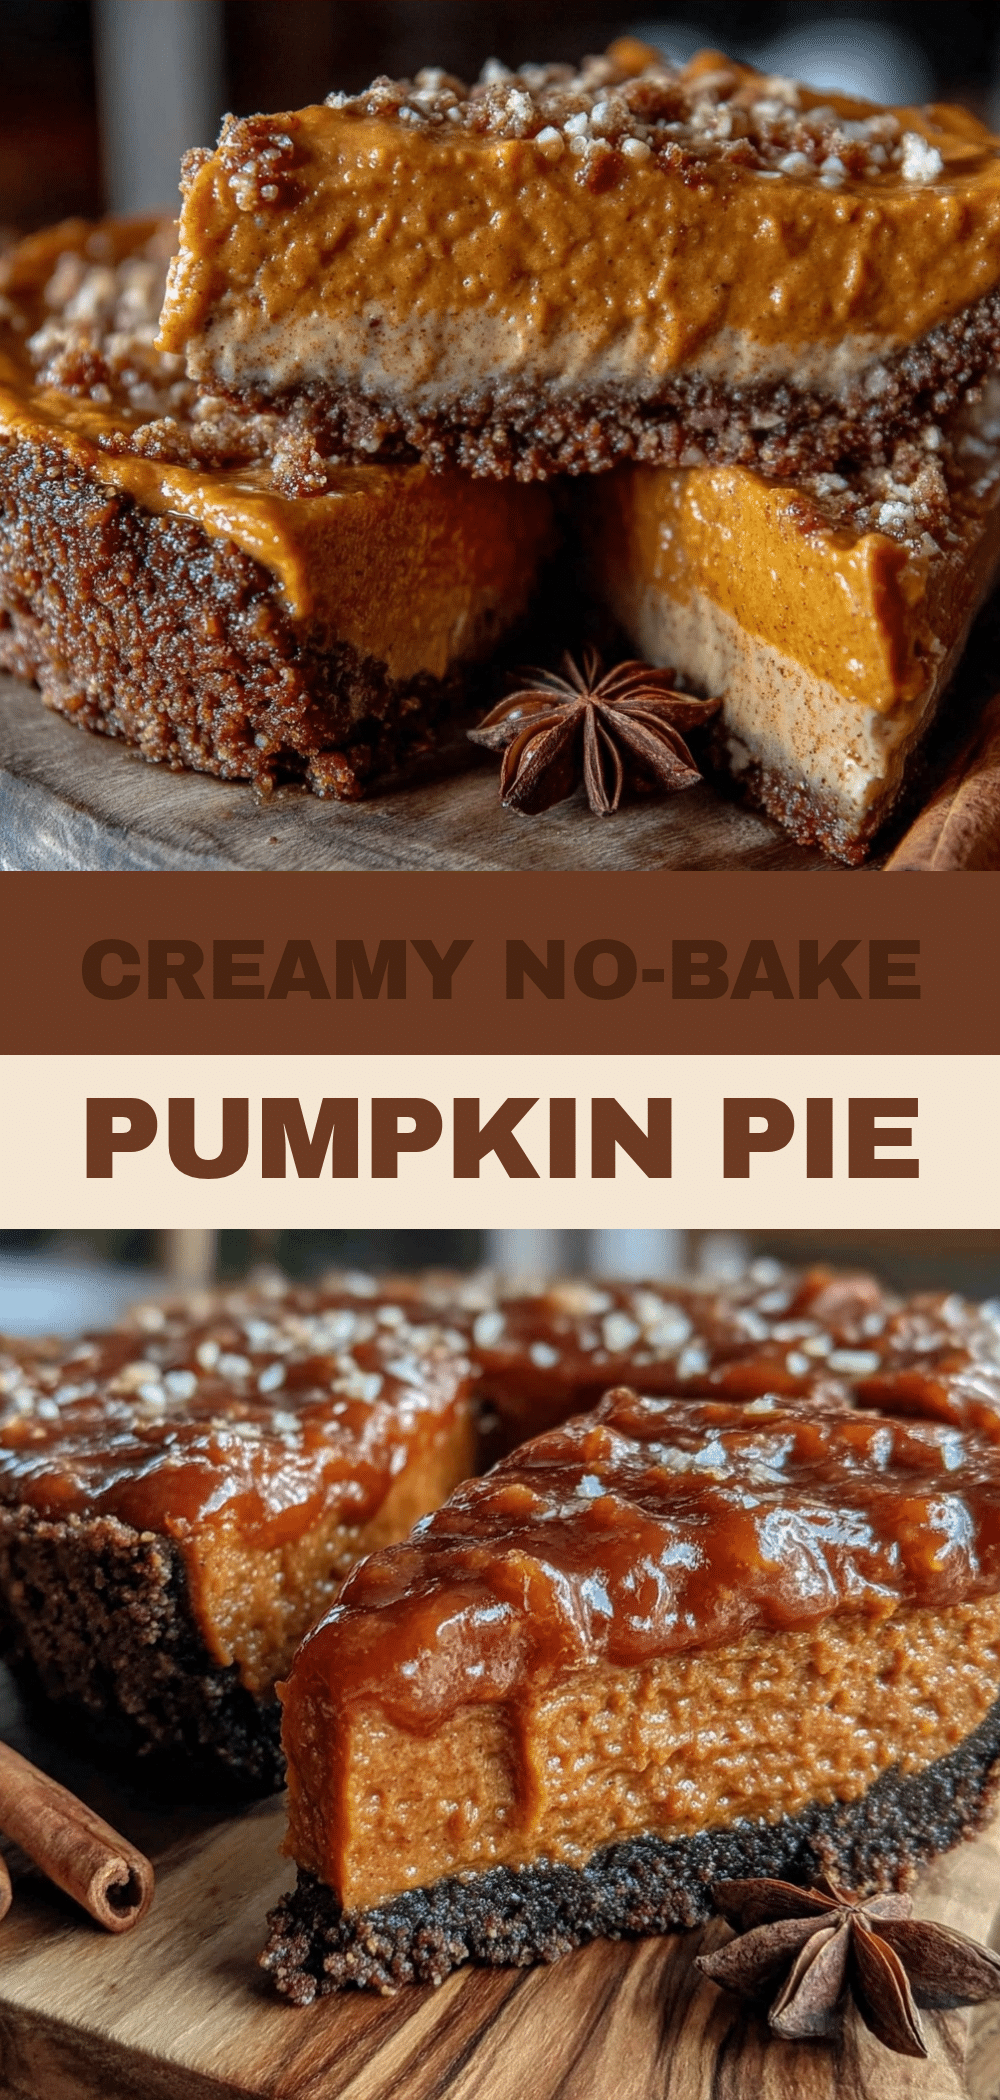
Fall No-Bake Pumpkin Pie: 1 Trick for Perfect Gingersnap Crust
- Total Time: 4 hours 45 minutes
- Yield: 12 servings 1x
Description
A stress-free, no-bake pumpkin pie featuring a creamy, reduced-pumpkin filling and a crunchy gingersnap crust. This foolproof dessert holds its shape perfectly and can be made ahead of time for holidays.
Ingredients
- 24 gingersnap cookies (about 300g)
- 6 tablespoons unsalted butter, melted
- 2 tablespoons granulated sugar
- 1/4 teaspoon salt
- 15 oz (425g) plain pumpkin puree
- 16 oz (450g) full-fat cream cheese, softened to room temperature
- 1 cup (240ml) heavy cream, cold
- 1 cup (120g) confectioners’ sugar, sifted
- 2 teaspoons pumpkin pie spice
- 1 teaspoon vanilla extract
Instructions
- Reduce the pumpkin: Pour pumpkin puree into a saucepan and cook over medium-low heat for 10-15 minutes until thickened and water has evaporated. Let cool completely, then strain through a sieve to remove fibers.
- Make the crust: Crush gingersnap cookies into fine crumbs. Mix with melted butter, sugar, and salt. Press firmly into the bottom of a 9-inch springform pan. Chill in the fridge.
- Whip the cream: In a large bowl, whip cold heavy cream and confectioners’ sugar until stiff peaks form. Set aside.
- Mix the filling: Beat softened cream cheese until smooth. Add reduced pumpkin puree, pumpkin pie spice, and vanilla. Mix until combined.
- Fold together: Gently fold the whipped cream into the pumpkin mixture until no white streaks remain. Do not over-mix.
- Chill and set: Pour filling into the chilled crust. Smooth the top, cover with plastic wrap, and refrigerate for at least 4 hours or overnight.
- Serve: Remove springform ring. Slice with a warm, sharp knife. Top with whipped cream, cinnamon, or candied pecans if desired.
Notes
Ensure pumpkin puree is reduced to remove excess moisture to prevent a soggy crust. Cream cheese must be at room temperature to avoid lumps. Heavy cream must be cold to whip properly. Do not over-mix when folding in whipped cream to maintain fluffiness. The pie tastes better the next day as flavors meld.
- Prep Time: 30 minutes
- Cook Time: 15 minutes
- Category: Dessert
- Cuisine: American
Nutrition
- Serving Size: 1 slice
- Calories: 320
- Sugar: 22
- Sodium: 180
- Fat: 18
- Saturated Fat: 10
- Carbohydrates: 35
- Fiber: 1
- Protein: 4
Keywords: no-bake pumpkin pie, gingersnap crust, fall dessert, holiday recipe, easy pumpkin pie, make ahead dessert


