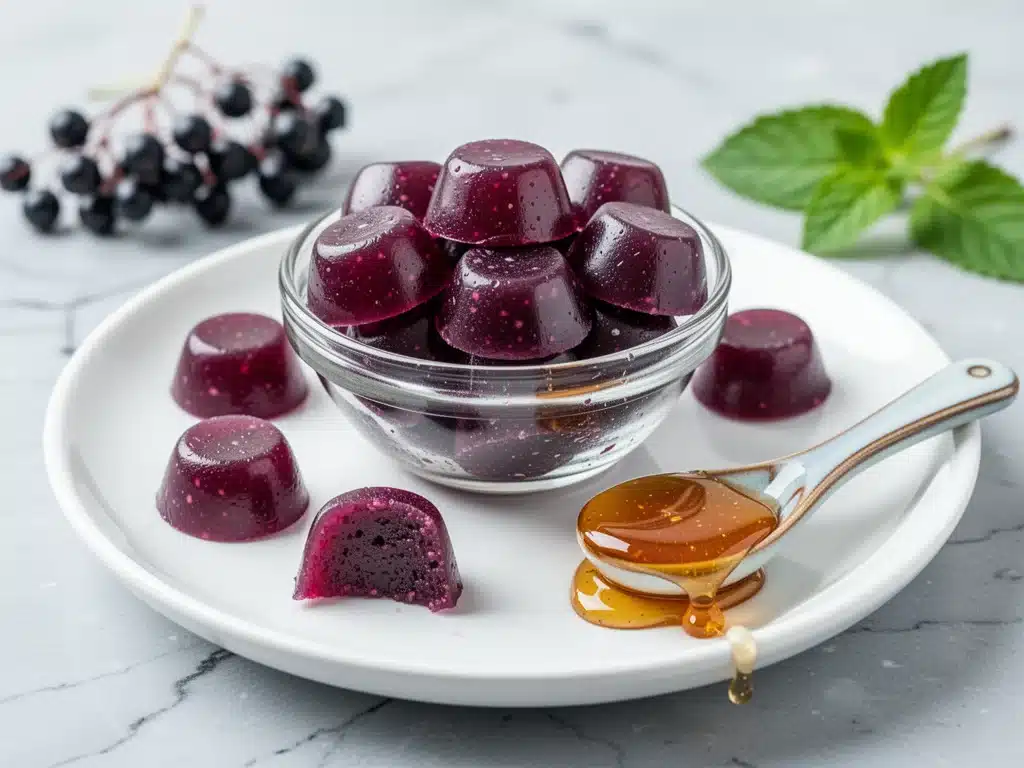
It was three years ago, during the absolute worst of the pandemic flu season. I was standing in the aisle of a big-box store, staring at a jar of fancy, organic-looking elderberry gummies that cost more than a decent bottle of wine. The ingredients list was three pages long. Preservatives. Artificial colors. High-fructose corn syrup. And the price? Twelve dollars for a month’s supply of something that barely looked like real fruit.
I put the jar back. I walked out empty-handed and went straight to my kitchen.
That decision changed everything for my family. Since then, I’ve made this homemade elderberry gummy recipe so many times I’ve lost count. It started as a survival tactic during a health scare, but it quickly became a ritual. There’s something deeply satisfying about turning dark, mysterious purple berries into chewy, sweet little bursts of immune support that my kids actually beg for. They think they’re getting candy. I know they’re getting antioxidants, vitamins A and C, and a serious immune boost.
Real talk: store-bought gummies are often more sugar than substance. They’re fluffy, airy, and mostly just taste like artificial grape. Homemade elderberry gummies with honey are different. They’re dense, rich, and packed with actual elderberry extract. They taste like a sophisticated dessert, not a vitamin supplement. And the best part? You can control exactly what goes into them. No weird chemicals. Just berries, honey, gelatin, and a splash of lemon to balance the tartness.
I’ve tested this recipe through every version of flu season, from mild sniffles to full-blown fevers. It’s become our family’s go-to preventive measure. My daughter used to hate taking vitamins because they tasted like chalk. Now, she asks for her “purple gummies” every morning before school. It’s a small thing, but it’s one of those kitchen wins that makes a huge difference in how we handle the cold months.
If you’ve ever felt overwhelmed by the supplement aisle or just want to avoid a truckload of preservatives, you need to try making these. It’s easier than you think. You don’t need special equipment or advanced culinary skills. Just a pot, some jars, and about 20 minutes of active time. Let me walk you through exactly how I make them, including the little tricks that ensure they’re chewy, not sticky, and delicious, not medicinal.
Why You’ll Love This Elderberry Gummy Recipe
There are a ton of reasons to switch to homemade elderberry gummies, but here are the ones that actually matter to your daily life:
It’s a Flavor Game-Changer — Most people expect elderberry to taste like medicine. It doesn’t. When you balance the tartness of the berries with honey and a touch of lemon, it tastes like a rich, fruity treat. My kids think they’re getting a snack, not a supplement.
Zero Artificial Junk — Store-bought versions often contain artificial colors (like Red 40) and preservatives. Here, the deep purple color comes naturally from the berries. It’s real food, nothing fake.
Cost-Effective — Making a batch costs about $10-15, depending on where you buy your dried berries and gelatin. That same amount would get you maybe two jars of high-end brand-name gummies. Plus, they last for weeks in the fridge.
Customizable Sweetness — I love honey for its natural antimicrobial properties, but you can adjust the amount to your taste. If you’re not a honey fan, you can swap it for agave or maple syrup, though honey really is the gold standard here.
Quick and Easy — You might think making gummies from scratch is hard. It’s not. It’s basically boiling fruit, straining it, mixing it with gelatin, and letting it set. I can have these ready in under an hour of active work, plus a few hours in the fridge.
Immune Support That Actually Works — Elderberries are loaded with antioxidants and vitamins that help boost the immune system. I’ve seen firsthand how consistent use helps my family bounce back faster during cold season. It’s preventive care that tastes good.
This recipe has saved us from buying overpriced, low-quality supplements. It’s become a staple in our kitchen, especially from October through March. If you’re looking for a natural way to support your family’s health, this is the way to do it.
Ingredients You’ll Need
Here’s the thing: you don’t need a pantry full of exotic ingredients. Most of this is stuff you might already have, or can grab at any local grocery store. I’m particular about a few key items, so pay attention to the notes below.
Dried Elderberries (1 cup / 100g) — This is the star. Look for high-quality, organic dried elderberries. Avoid fresh elderberries as they can be toxic if not cooked properly. Dried berries are safer and more concentrated. I buy mine from bulk bins or reputable online herbal suppliers.
Water (2 cups / 480ml) — Just plain, filtered water. You want enough liquid to extract the flavor and nutrients from the berries without making the gummies too runny.
Unflavored Gelatin (3 tablespoons / 27g) — I use high-quality beef gelatin (like Vital Proteins or Great Lakes). It’s neutral in flavor and sets beautifully. Avoid gelatin with added flavors or sweeteners. This is crucial for the texture. If you’re vegan, see the substitutions section below.
Honey (½ cup / 170g) — Raw, local honey is best because it has additional health benefits, but any good quality honey works. Honey acts as both a sweetener and a natural preservative. It also adds a lovely floral note that complements the berries.
Lemon Juice (2 tablespoons / 30ml) — Freshly squeezed lemon juice is non-negotiable. It cuts through the sweetness, brightens the flavor, and helps preserve the gummies. Bottled lemon juice often has preservatives that can alter the taste.
Optional: Orange Zest (1 teaspoon) — I love adding a bit of orange zest for a citrusy twist. It pairs beautifully with elderberry. If you’re sensitive to citrus, skip it.
Optional: Vanilla Extract (1 teaspoon) — A drop of vanilla adds warmth and depth, making the gummies taste more like a dessert. I usually add this if I’m making them for a treat rather than just for health.
Tip: Don’t skimp on the gelatin. If you use too little, your gummies will be mushy and won’t hold their shape. If you use too much, they’ll be rubbery. Three tablespoons is the sweet spot for this amount of liquid.
Equipment Needed
You don’t need fancy gadgets. Here’s what I actually use, plus some alternatives:
Medium Saucepan — I use a 3-quart saucepan. It needs to be big enough to hold the berries and water without boiling over. Stainless steel is best because it doesn’t react with the acidic berries.
Fine-Mesh Strainer or Nut Milk Bag — This is the most important tool. You need to strain out the berry skins and seeds. A fine-mesh strainer works well, but a nut milk bag or cheesecloth gives you a smoother extract. I prefer the bag because it catches all the tiny bits.
Whisk — For mixing the gelatin into the liquid. A small whisk is perfect for getting rid of clumps.
Gummy Molds — Silicone molds are the easiest. I have a bear shape and a simple square shape. If you don’t have molds, you can pour the mixture into a shallow pan and cut it into squares later, but molds are much more fun for kids.
Measuring Cups and Spoons — Standard stuff. Make sure your gelatin measurements are accurate.
Small Bowl — For blooming the gelatin. This is just a small bowl where you mix the gelatin with a bit of cold water before adding it to the hot liquid.
Refrigerator — Obviously, you need space in your fridge for the gummies to set. Give them at least 2-3 hours, but overnight is best.
How to Make It: Step-by-Step
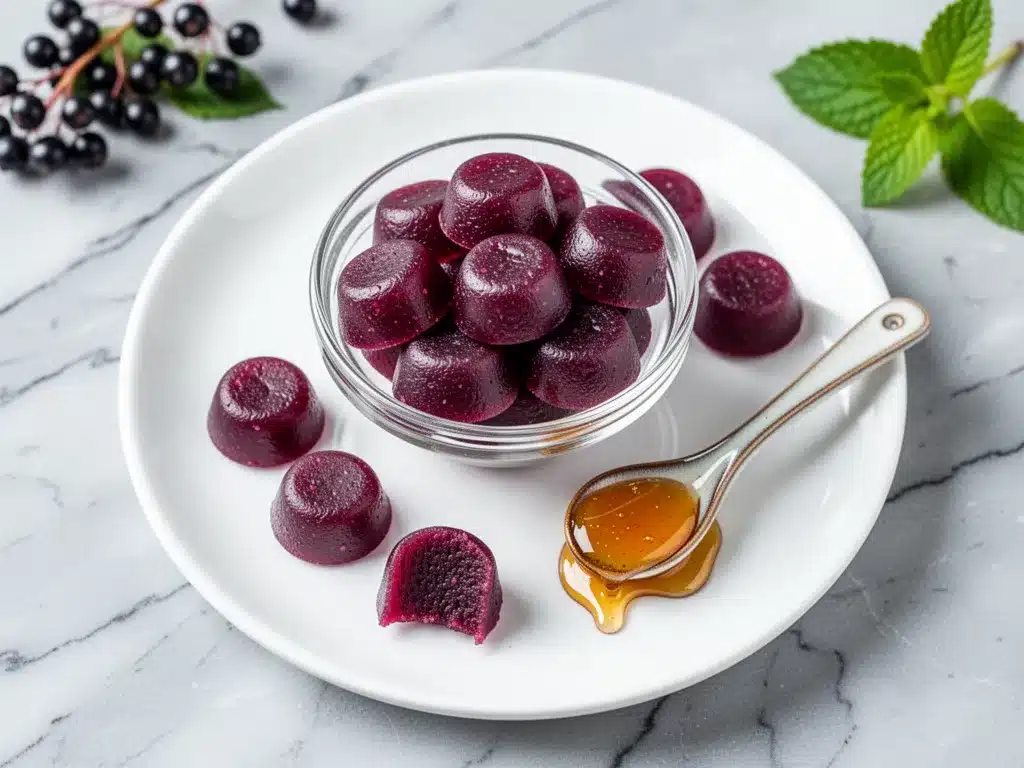
Alright, let’s make these! I’m walking you through exactly how I do it, including the little tricks I’ve picked up over the years.
Step 1: Bloom the Gelatin (5 minutes)
Before you start cooking, take 3 tablespoons of unflavored gelatin and sprinkle it over ½ cup of cold water in a small bowl. Let it sit for 5-10 minutes. This is called “blooming.” It softens the gelatin so it dissolves smoothly later. Don’t skip this step, or you’ll end up with clumpy gummies.
Step 2: Make the Elderberry Extract (15-20 minutes)
In your saucepan, combine 1 cup of dried elderberries and 2 cups of water. Bring it to a boil over medium-high heat. Once it boils, reduce the heat to low and let it simmer for 15-20 minutes. The berries will burst, and the water will turn a deep, dark purple. You want to extract as much flavor and pigment as possible. If the water reduces too much before the berries are soft, add a splash more water.
Step 3: Strain the Liquid
Remove the pot from heat. Pour the mixture through a fine-mesh strainer or nut milk bag into a clean bowl or measuring cup. Press down on the berries with a spoon to get all the liquid out. Discard the skins and seeds. You should have about 1.5 to 2 cups of dark purple liquid. If you have less than 1.5 cups, add a little more water to compensate.
Step 4: Dissolve the Gelatin
Return the strained elderberry liquid to the saucepan over low heat. Warm it up gently—don’t boil it. Add the bloomed gelatin mixture to the warm liquid. Whisk constantly until the gelatin is completely dissolved. This should take about 2-3 minutes. If you see any clumps, keep whisking. The liquid should look smooth and slightly thickened.
Step 5: Add Sweetener and Flavor
Remove the pot from heat. Stir in ½ cup of honey, 2 tablespoons of lemon juice, and any optional ingredients like orange zest or vanilla. Whisk well to combine. Taste the mixture. It should be sweet-tart. If it’s too tart, add a bit more honey. If it’s too sweet, add a splash more lemon juice.
Step 6: Pour into Molds
Using a spoon or a small pitcher, carefully pour the liquid into your silicone gummy molds. Fill them to the top. Tap the mold gently on the counter to release any air bubbles. Air bubbles can make the gummies look unappetizing.
Step 7: Chill and Set
Place the molds in the refrigerator. Let them set for at least 2-3 hours, but overnight is best. The gummies are ready when they are firm to the touch and pop out of the molds easily.
Step 8: Store
Once set, pop the gummies out of the molds. Store them in an airtight container in the fridge. They will last for up to 2 weeks. For longer storage, you can freeze them for up to 3 months, though they’re usually gone before then!
Troubleshooting: If your gummies are sticky, they didn’t set long enough. Put them back in the fridge for another hour. If they’re too hard, you used too much gelatin. Next time, reduce the gelatin by ½ tablespoon.
Expert Tips & Tricks
Here’s everything I’ve learned from making these dozens of times. These tips will save you from my mistakes.
Don’t Boil the Gelatin — Once you add the gelatin, keep the heat low. Boiling can break down the gelatin’s setting power, resulting in soft gummies. Gentle heat is key.
Strain Thoroughly — I know it’s tempting to skip straining, but the skins and seeds are tough and unpleasant. A nut milk bag gives the smoothest result. If you use a strainer, press hard to get every drop of juice.
Honey Quality Matters — Use raw, unprocessed honey if you can. It has a better flavor and more health benefits. Avoid honey that has been heavily processed or mixed with corn syrup.
Acidity is Your Friend — The lemon juice isn’t just for flavor. It helps preserve the gummies and balances the sweetness. Don’t skip it, or the gummies might spoil faster.
Cool Molds Help — If you’re having trouble getting the gummies out of the molds, put the molds in the freezer for 10 minutes before popping them out. They’ll release much easier.
Powdered Sugar Dusting — If your gummies are a bit sticky, toss them lightly in powdered sugar or cornstarch. This gives them a nice finish and prevents them from sticking together in the container.
Be Patient — Rushing the setting process is the most common mistake. Give them a full 2-3 hours, or better yet, leave them overnight. Patience pays off with perfect texture.
Variations & Substitutions
Once you’ve nailed the basic version, here’s how you can mix it up. I’ve tried all of these.
Vegan Elderberry Gummies — Swap the gelatin for 2 tablespoons of agar-agar. Note: Agar sets firmer and has a different texture (more brittle). You may need to adjust the liquid ratio slightly. Also, use maple syrup instead of honey.
Berry Blast — Add ½ cup of frozen strawberries or blueberries to the boiling step. This creates a mixed-berry flavor that’s even more complex. Just strain as usual.
Spiced Elderberry — Add a cinnamon stick, a star anise, or a slice of fresh ginger to the boiling water. Strain out the spices before adding the gelatin. This adds a warming, medicinal flavor that’s great for colds.
Lower Sugar — Reduce the honey to ¼ cup and add a zero-calorie sweetener like stevia or monk fruit to taste. The gummies will be less sweet but still flavorful.
Extra Vitamin C — Add 1 teaspoon of powdered vitamin C (ascorbic acid) to the mixture after removing from heat. This boosts the immune support even further.
Different Gelatin — You can use pork gelatin if you prefer, but beef gelatin is generally higher in collagen and has a neutral taste. Avoid flavored gelatins.
Serving & Storage
How to Serve: I usually serve these straight from the fridge. They’re best when they’re cool and firm. My kids eat them like candy, but I limit them to 2-3 per day for adults and 1-2 for kids. They’re a treat, not a meal replacement.
Storage: Store in an airtight container in the refrigerator. They will last for up to 2 weeks. If you live in a very humid climate, they might get sticky faster, so keep them in the fridge.
Freezing: Yes, you can freeze them! Place them in a freezer-safe bag or container. They’ll last for up to 3 months. Thaw them in the fridge for an hour before eating. Freezing is great for making a big batch and having a supply on hand.
Pro Tip: If you’re traveling, take them in a small container. They’re a great way to keep your immune system up while on the go, and they don’t melt as easily as chocolate.
Nutrition Information
I’m not a nutritionist, but here’s the breakdown if you’re tracking. This is per gummy (assuming about 30 gummies per batch).
Per Serving (1 gummy):
- Calories: 15
- Protein: 1g
- Carbs: 3g
- Sugar: 2g
- Fat: 0g
What’s Good:
- Low calorie
- Rich in antioxidants from elderberries
- Natural sweeteners
What to Know:
- Contains honey (not safe for infants under 1 year)
- Contains gelatin (not vegan)
- Sugar content is low compared to store-bought gummies
My Take: Look, these are still a treat. They have sugar from the honey, but it’s natural sugar, and the benefits from the elderberries far outweigh the calories. I don’t stress about the numbers; I just enjoy them as a healthy habit.
Final Thoughts
So that’s my go-to homemade elderberry gummy recipe! I’ve probably talked your ear off at this point, but when you make a recipe this often, you have a lot to say about it.
This has saved us from buying overpriced, low-quality supplements. It’s become a staple in our kitchen, especially from October through March. If you’re looking for a natural way to support your family’s health, this is the way to do it.
Make it yours! Try different add-ins, swap in your favorite sweeteners, or adjust the spices. The best recipes are the ones you adapt to your family’s tastes.
If you make this, drop a comment and let me know what you think! I love hearing how recipes turn out in your kitchen. And if something doesn’t work, tell me that too—I’m here to help troubleshoot.
Happy cooking! And I hope your kitchen smells half as good as mine does right now.
Frequently Asked Questions
Can I use fresh elderberries instead of dried?
I don’t recommend it. Fresh elderberries contain cyanogenic glycosides, which can be toxic if not cooked properly. Dried elderberries are safer and more concentrated in flavor. If you forage for fresh berries, you must cook them thoroughly for a long time, but even then, the texture and yield are different. Stick with dried for consistency and safety.
Why are my gummies too soft or sticky?
This usually means one of two things: either you didn’t use enough gelatin, or you didn’t let them set long enough. Double-check your gelatin measurements. Also, make sure you’re giving them a full 2-3 hours in the fridge, or better yet, overnight. Humidity can also affect setting, so keep them in the fridge.
Can I make these vegan?
Yes! Swap the beef gelatin for agar-agar. Use 2 tablespoons of agar-agar powder instead of 3 tablespoons of gelatin. Note that agar sets firmer and has a slightly different texture. You’ll also need to use maple syrup or agave instead of honey. The flavor will be slightly different, but still delicious.
How long do these last?
In the fridge, they last up to 2 weeks in an airtight container. In the freezer, they last up to 3 months. If you notice any mold or off-smells, discard them. Because they contain no preservatives, they don’t last as long as store-bought versions.
Can I double this recipe?
Absolutely! Just use a larger saucepan and a larger mold or multiple molds. The cooking times and ratios stay the same. I often double the recipe when I’m feeling productive.
Do these taste like medicine?
Not if you make them right! The honey and lemon mask the medicinal taste of elderberries. The result is sweet-tart and fruity. If they taste too bitter, you might not have strained them well enough, or you can add a bit more honey.
Can I give these to toddlers?
Yes, but be careful with the size. Cut them into small pieces to prevent choking. Also, remember that honey is not safe for infants under 1 year old. For toddlers over 1, these are a great way to introduce immune support in a fun, edible form.
Pin This Recipe!
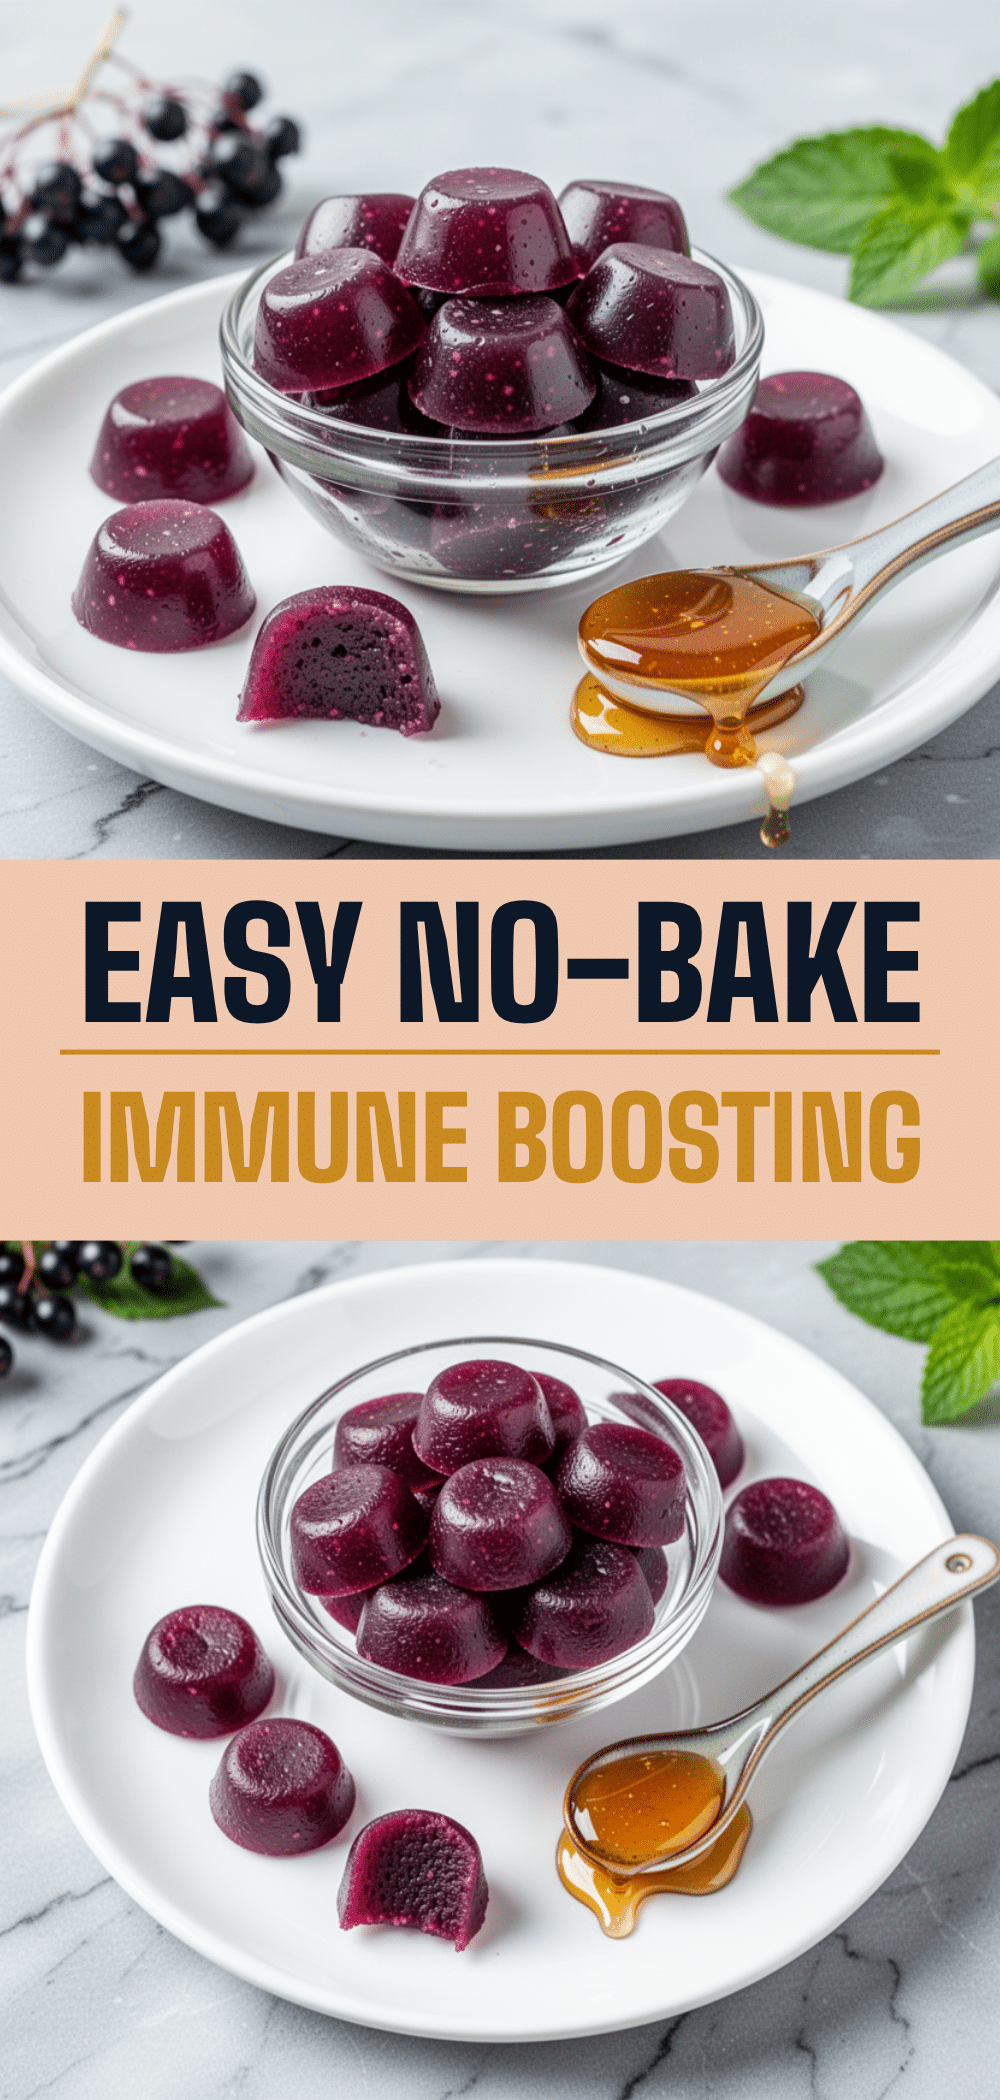
Elderberry Gummies: Easy Homemade Immune Support Recipe
- Total Time: 2 hours 25 minutes
- Yield: 30 servings 1x
Description
Homemade elderberry gummies made with real berries, honey, and gelatin. A natural, preservative-free immune support treat that is easy to make and loved by kids.
Ingredients
- 1 cup dried elderberries (100g)
- 2 cups water
- 3 tablespoons unflavored gelatin (27g)
- 1/2 cup honey (170g)
- 2 tablespoons lemon juice
- 1 teaspoon orange zest (optional)
- 1 teaspoon vanilla extract (optional)
Instructions
- Bloom the gelatin: Sprinkle 3 tablespoons of unflavored gelatin over 1/2 cup of cold water in a small bowl and let sit for 5-10 minutes.
- Make the extract: In a medium saucepan, combine 1 cup of dried elderberries and 2 cups of water. Bring to a boil over medium-high heat, then reduce heat to low and simmer for 15-20 minutes until berries burst and liquid is dark purple.
- Strain the liquid: Remove from heat and pour through a fine-mesh strainer or nut milk bag into a clean bowl. Press on berries to extract all liquid. Discard skins and seeds. You should have about 1.5 to 2 cups of liquid.
- Dissolve gelatin: Return the strained elderberry liquid to the saucepan over low heat. Add the bloomed gelatin mixture and whisk constantly until completely dissolved (2-3 minutes). Do not boil.
- Add flavorings: Remove from heat. Stir in 1/2 cup honey, 2 tablespoons lemon juice, and optional orange zest or vanilla. Taste and adjust sweetness/tartness if needed.
- Pour into molds: Carefully pour the liquid into silicone gummy molds, filling to the top. Tap gently to release air bubbles.
- Chill and set: Refrigerate for at least 2-3 hours, or overnight, until firm.
- Store: Pop gummies out of molds and store in an airtight container in the fridge for up to 2 weeks, or freeze for up to 3 months.
Notes
Do not boil the liquid after adding gelatin as it can break down the setting power. Ensure thorough straining to remove skins and seeds. If gummies are sticky, they may need more setting time or a dusting of powdered sugar. Honey is not safe for infants under 1 year old.
- Prep Time: 5 minutes
- Cook Time: 20 minutes
- Category: Snack
- Cuisine: American
Nutrition
- Serving Size: 1 gummy
- Calories: 15
- Sugar: 2
- Carbohydrates: 3
- Protein: 1
Keywords: elderberry gummies, homemade gummies, immune support, natural remedies, healthy snacks, elderberry recipe, gelatin gummies, kids snacks


