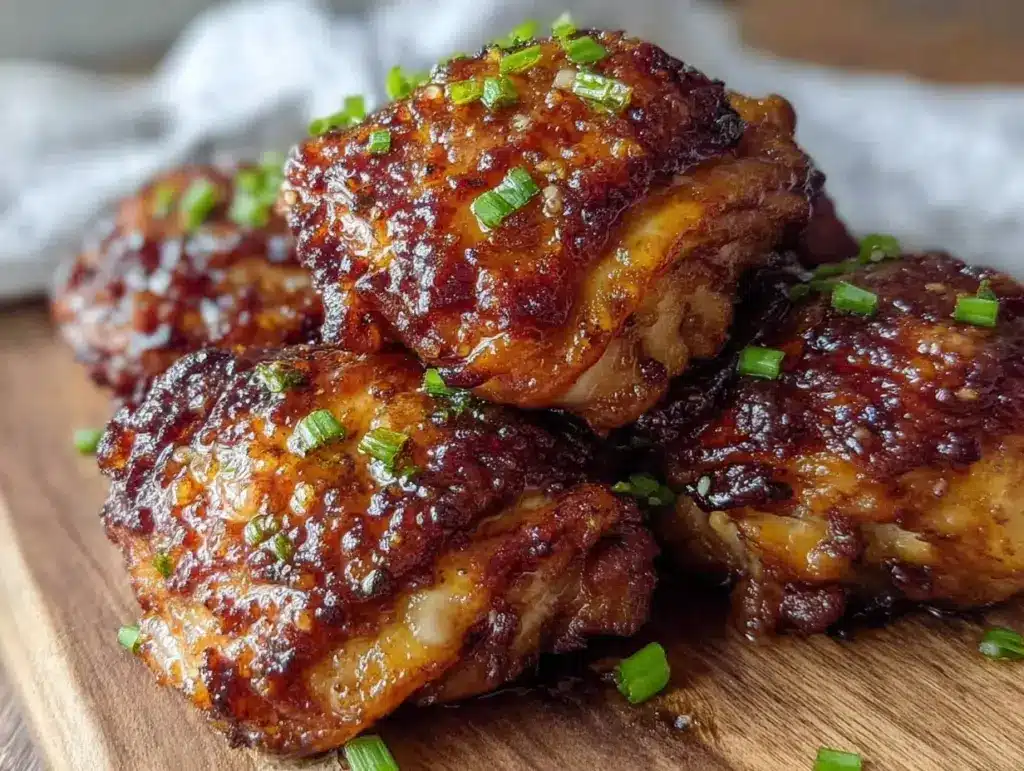
Last Saturday, I was staring at my air fryer basket with a mix of hope and skepticism. I had just come from a dinner party where the host served these incredible, sticky-sweet chicken thighs that everyone was fighting over. I’d tried to recreate it in my oven, but the result was either soggy skin or dried-out meat. It was frustrating. I was hungry, my guests were gone, and I still had that craving for something savory, sweet, and crispy all at once.
So, I decided to stop trying to force the oven to work and just let the air fryer do what it does best: circulate hot air until things get gloriously crunchy. I tossed boneless, skinless chicken thighs in a little cornstarch, threw them in the basket, and while they cooked, I whipped up a honey garlic sauce that smelled like pure comfort. When I pulled them out, they were golden, textured, and glistening. I took one bite and immediately texted my neighbor: “You need to come over. Now.”
That was the birth of my crispy air fryer honey garlic chicken thighs. What started as a desperate attempt to salvage my weekend turned into a recipe I make at least twice a month. It’s become the ultimate weeknight savior for me. It’s sweet, it’s savory, it’s got that addictive crunch, and it’s ready in about 20 minutes. Honestly, it’s better than takeout, and I don’t have to wait for delivery or deal with greasy takeout boxes. Plus, my kids actually eat the vegetables when they’re paired with this because they’re too busy fighting over the last piece of chicken. It’s the kind of dinner that makes everyone happy, and that’s worth more than any fancy restaurant meal.
Why You’ll Love This Recipe
There are a few reasons why this crispy air fryer honey garlic chicken thighs has taken over my kitchen routine, but let’s be real—it’s mostly about that texture contrast. Here’s why this dish is worth the hype:
- Actually Crispy Skin (Without the Skin) — I use boneless, skinless thighs, which can sometimes turn out rubbery in an air fryer. But here’s the secret: a light dusting of cornstarch. It creates this incredible, shattering crunch that mimics deep-fried chicken without the oil mess. It’s addictive.
- Sauce That Sticks — Many honey garlic recipes result in chicken that’s just wet and sticky. By cooking the chicken first and tossing it in the sauce at the very end, the coating stays crisp. The sauce clings to every nook and cranny without making the chicken soggy. It’s a game-changer.
- Under 20 Minutes — From preheating to plating, this takes less time than it takes to scroll through food delivery apps. It’s perfect for those nights when you’re exhausted, hungry, and don’t want to spend an hour in the kitchen.
- Family-Approved Flavor — It’s sweet but not dessert-sweet. It’s garlicky but not overpowering. It hits that perfect balance that even the pickiest eaters (including my husband, who usually claims he’s “too tired to eat”) will devour. It’s familiar enough to be comforting but exciting enough to feel special.
- One-Bowl Cleanup — Well, mostly. You have your air fryer basket and one small saucepan. That’s it. No scrubbing multiple pans, no greasy stovetop splatter. My favorite kind of cooking.
This recipe is my go-to when I want to impress without trying too hard. It looks like something from a trendy bistro but tastes like home. Whether you’re feeding a crowd or just treating yourself, these thighs are pure comfort food with a modern twist.
Ingredients You’ll Need
One of the best things about this crispy air fryer honey garlic chicken thighs recipe is how simple the ingredient list is. You probably have most of this in your pantry already. I’m particular about a few things here, though, so pay attention to the details.
For the Chicken
Boneless, skinless chicken thighs (1.5 pounds / 680g) — Thighs are non-negotiable here. They stay juicy and flavorful even when cooked quickly. Breast meat dries out too easily in an air fryer. Look for thighs that are relatively uniform in size so they cook evenly.
Cornstarch (3 tablespoons / 25g) — This is the magic ingredient. It draws out surface moisture and creates that crispy crust. Don’t skip it, and don’t substitute with flour—it won’t get the same crunch.
Garlic powder (1 teaspoon / 2g) — A little extra garlic flavor in the crust. If you’re out, onion powder works, but garlic powder is better here.
Salt and black pepper (to taste) — Basic seasoning. I use about ½ teaspoon of kosher salt and a generous crack of black pepper.
For the Honey Garlic Sauce
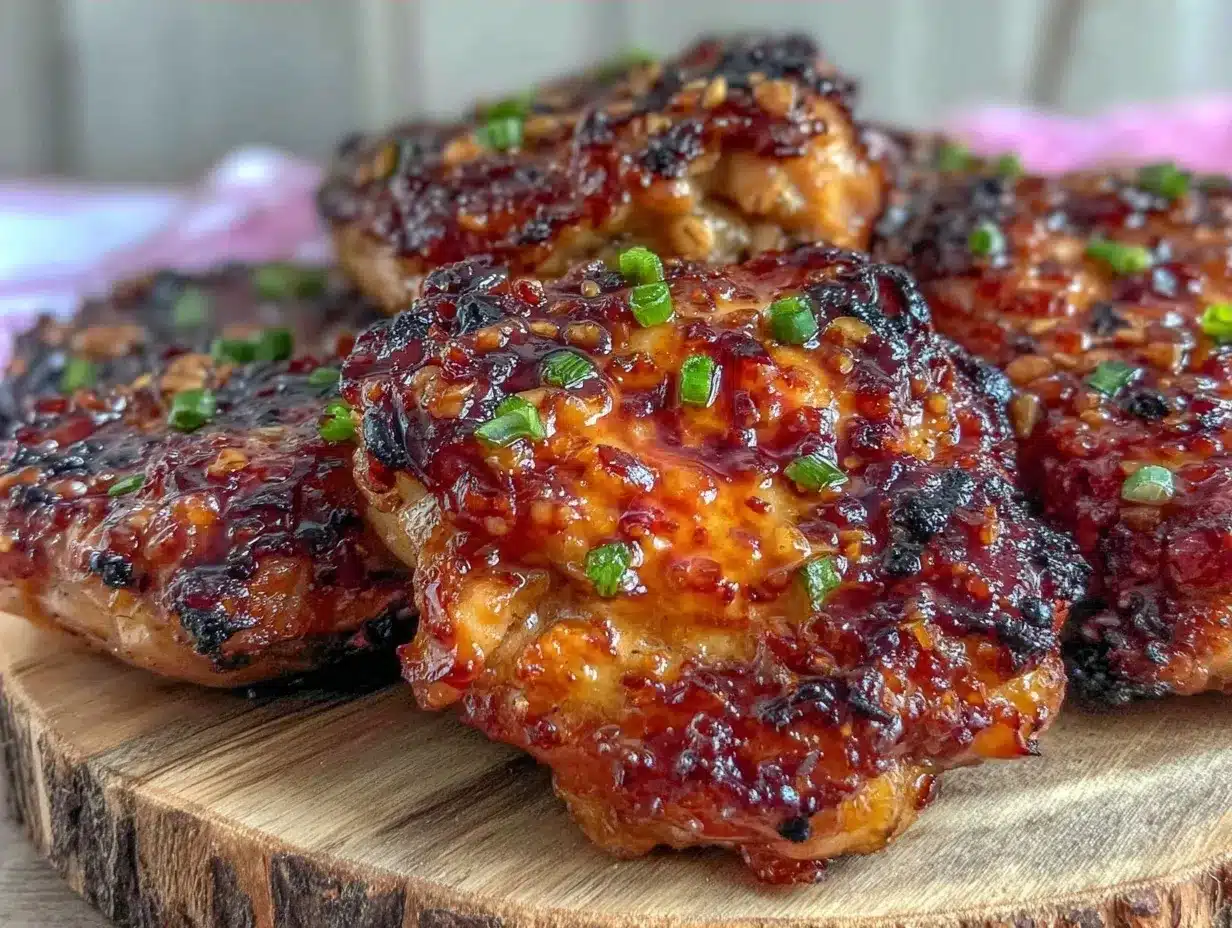
Garlic (6-8 cloves, minced / about 3 tablespoons) — Yes, a lot of garlic. Fresh is mandatory. Jarred garlic has a metallic taste that clashes with the honey. Use a microplane or a fine mince so it integrates smoothly into the sauce.
Fresh ginger (1 tablespoon, grated / about 5g) — This adds a bright, spicy kick that cuts through the sweetness. If you don’t have fresh ginger, ½ teaspoon of ground ginger works, but fresh is best.
Honey (½ cup / 170g) — Use good quality honey. Clover or wildflower adds a nice floral note. Avoid overly processed, cheap honey if you can help it.
Soy sauce (¼ cup / 60ml) — Adds that necessary salty, umami depth. Low-sodium soy sauce is preferred so you can control the saltiness. Tamari is a great gluten-free alternative.
Rice vinegar (2 tablespoons / 30ml) — This provides acidity to balance the sweet honey. Apple cider vinegar works in a pinch, but rice vinegar is more authentic and milder.
Water (¼ cup / 60ml) — Thins the sauce so it coats the chicken without being too thick or sticky.
Red pepper flakes (½ teaspoon / optional) — For a little heat. I always add this because it adds complexity, but leave it out if you’re serving kids or spice-averse guests.
Sesame oil (1 teaspoon / 5ml) — Just a drizzle at the end for that nutty aroma. It’s optional but highly recommended for that “restaurant-style” finish.
Garnishes
Green onions (2 stalks, sliced) — For color and a fresh, oniony bite. Essential for presentation.
Sesame seeds (1 tablespoon) — Toasted sesame seeds add a nice visual contrast and a subtle crunch.
Lime wedges (optional) — A squeeze of lime right before eating brightens everything up. I love this trick.
Equipment Needed
You don’t need fancy gadgets for this. Here’s what I actually use:
Air Fryer — Obviously. I use a 5.8-quart basket style. If you have a smaller one, you might need to cook in two batches. Don’t overcrowd the basket, or the chicken will steam instead of crisp.
Small Saucepan — For making the sauce. A 1-quart saucepan works perfectly.
Whisk — To combine the sauce ingredients smoothly.
Measuring cups and spoons — Standard stuff.
Tongs — For flipping the chicken and tossing it in the sauce. Metal tongs are best.
Sharp knife and cutting board — For mincing garlic and ginger.
Small bowl — For tossing the chicken in cornstarch.
How to Make It: Step-by-Step
Alright, let’s make this! I’m walking you through exactly how I do it, including the little tricks I’ve picked up over time.
Step 1: Prep the Chicken (5 minutes)
Pat the chicken thighs completely dry with paper towels. This is crucial. If they’re wet, they won’t crisp up. Place the dried thighs in a bowl and sprinkle with salt, pepper, and garlic powder. Toss to coat. Then, sprinkle the cornstarch over the chicken and toss again until each piece is lightly coated in a fine, powdery layer. You don’t want a thick batter, just a dusting.
Step 2: Air Fry the Chicken (12-15 minutes)
Preheat your air fryer to 400°F (200°C). This helps ensure immediate crisping. Lightly spray the basket with oil. Arrange the chicken thighs in a single layer, making sure they aren’t touching. Cook for 6 minutes, then flip the chicken and cook for another 6-9 minutes, depending on thickness. The chicken is done when it’s golden brown and reaches an internal temperature of 165°F (74°C). The edges should look crispy and textured.
Step 3: Make the Sauce (5 minutes)
While the chicken cooks, combine the minced garlic, grated ginger, honey, soy sauce, rice vinegar, water, and red pepper flakes in a small saucepan over medium heat. Whisk constantly. Bring it to a gentle simmer. Let it cook for about 2-3 minutes until it thickens slightly and becomes glossy. It should coat the back of a spoon. Remove from heat and stir in the sesame oil.
Step 4: Combine and Glaze (2 minutes)
Transfer the cooked chicken thighs to a large bowl. Pour the warm honey garlic sauce over the chicken. Toss gently but thoroughly, ensuring every piece is coated. The residual heat from the chicken will warm the sauce and help it adhere to the crispy crust.
Step 5: Serve
Transfer to a serving platter. Garnish generously with sliced green onions and toasted sesame seeds. Serve immediately while the chicken is still hot and crispy. Pair with steamed rice or roasted vegetables.
Expert Tips & Tricks
Here’s everything I’ve learned from making this dozens of times. These tips will save you from my mistakes.
Don’t Overcrowd the Basket
This is the #1 reason people fail with air fryer chicken. If the pieces are touching, they steam. Give each thigh some space. If you have a small air fryer, cook in two batches. It’s worth the extra few minutes.
Pat Dry, Always
Moisture is the enemy of crispiness. I’ve made the mistake of skipping this step once, and the result was sad, soggy chicken. Take the time to pat them dry with paper towels. It makes a huge difference.
Double the Sauce
This sauce is liquid gold. I always make double the amount because my family loves dipping their rice in it. It keeps well in the fridge for a week, so I often have extra on hand for other meals.
Toast Your Sesame Seeds
Raw sesame seeds are fine, but toasted ones add a nutty flavor and better texture. Just throw them in a dry pan for 1-2 minutes until they’re golden. It’s a small step that makes a big impact.
Adjust Sweetness
If you prefer less sweet, reduce the honey to ⅓ cup and add a splash more rice vinegar. If you like it sweeter, add another tablespoon of honey. Taste the sauce before tossing the chicken in.
Variations & Substitutions
Once you’ve nailed the basic version, here’s how you can mix it up. I’ve tried all of these.
Spicy Honey Garlic
Add 1 teaspoon of gochujang (Korean chili paste) or sriracha to the sauce. It adds a deep, fermented heat that pairs beautifully with the honey. This is my favorite version for when I want a kick.
Gluten-Free
Simply swap regular soy sauce for tamari or coconut aminos. The rest of the ingredients are naturally gluten-free. I use coconut aminos when I want a slightly sweeter, milder flavor.
Honey Soy Salmon
This sauce works amazingly with salmon too. Air fry salmon fillets for 8-10 minutes at 400°F, then toss in the sauce. It’s a lighter option that’s just as delicious.
Veggie Version
Toss air-fried cauliflower florets or broccoli in the sauce instead of chicken. They get wonderfully crispy and hold the sauce well. I serve this as a side dish or a light main.
Alternative Sweeteners
If you’re avoiding honey, use maple syrup. It has a richer, earthier flavor that works well with the garlic. Agave nectar is another option, though it’s less flavorful.
Serving & Storage
How to Serve:
I usually serve this over fluffy jasmine rice. The rice soaks up the extra sauce, which is delicious. Steamed broccoli or roasted asparagus make great sides. For a low-carb option, serve over cauliflower rice or zucchini noodles. It’s also amazing in lettuce wraps for a lighter meal.
Storage:
Store leftovers in an airtight container in the refrigerator for up to 3 days. The chicken will keep, but the crust may soften slightly. To restore crispiness, reheat in the air fryer at 375°F for 3-4 minutes. Do not microwave, or it will get chewy.
Freezing:
I don’t recommend freezing this dish. The cornstarch coating doesn’t freeze well, and the texture suffers. It’s best enjoyed fresh. If you have extra sauce, freeze it separately for up to 3 months. Thaw and reheat to pour over fresh chicken or rice.
Nutrition Information
I’m not a nutritionist, but here’s the breakdown if you’re tracking. This is based on 4 servings.
Per Serving:
- Calories: 380
- Protein: 30g
- Carbs: 28g
- Fiber: 1g
- Sugar: 22g
- Fat: 18g
- Saturated Fat: 4g
- Cholesterol: 110mg
- Sodium: 650mg
It’s a decent source of protein, but it’s higher in sugar due to the honey. If you’re watching sugar, reduce the honey or use a sugar-free alternative. Overall, it’s a balanced meal, especially if you pair it with lots of vegetables.
Final Thoughts
So that’s my go-to crispy air fryer honey garlic chicken thighs! I’ve probably talked your ear off at this point, but when you make a recipe this often, you have a lot to say about it. This has saved weeknight dinners more times than I can count. It’s my answer to “what’s for dinner” when I’m tired, don’t want takeout, and still want something that tastes really good.
Make it yours! Try different add-ins, swap in your favorite vegetables, adjust the garlic (though more is always better in my opinion). The best recipes are the ones you adapt to your family’s tastes. If you make this, drop a comment and let me know what you think! I love hearing how recipes turn out in your kitchen. And if something doesn’t work, tell me that too—I’m here to help troubleshoot.
Happy cooking! And I hope your kitchen smells half as good as mine does right now.
Frequently Asked Questions
Can I use chicken breasts instead of thighs?
You can, but thighs are much better for this recipe. They stay juicy and flavorful. Breasts tend to dry out quickly in an air fryer. If you must use breasts, reduce the cooking time to 10-12 minutes total and check the temperature frequently to avoid overcooking.
Why is my chicken not crispy?
Usually, this happens because the chicken wasn’t patted dry enough, or the basket was overcrowded. Make sure to pat them thoroughly with paper towels and give each piece space in the basket. Also, ensure your air fryer is preheated.
Can I make the sauce ahead of time?
Yes! The sauce can be made up to 3 days in advance. Store it in an airtight container in the fridge. Reheat gently before tossing with the chicken. It actually tastes better after the flavors have melded.
Is this recipe spicy?
It’s mildly spicy if you add red pepper flakes. The base recipe is sweet and savory. You can control the heat level by adjusting the amount of red pepper flakes or adding sriracha. For kids, just omit the flakes.
What sides go well with this?
Steamed jasmine rice is the classic pairing. Roasted broccoli, green beans, or a simple cucumber salad also work great. If you’re looking for more air fryer sides, check out my air fryer sweet potato wedges for a sweet and savory complement.
How do I reheat leftovers?
Reheat in the air fryer at 375°F for 3-4 minutes to restore crispiness. You can also reheat in a skillet over medium heat. Avoid the microwave, as it will make the chicken soggy.
Pin This Recipe!
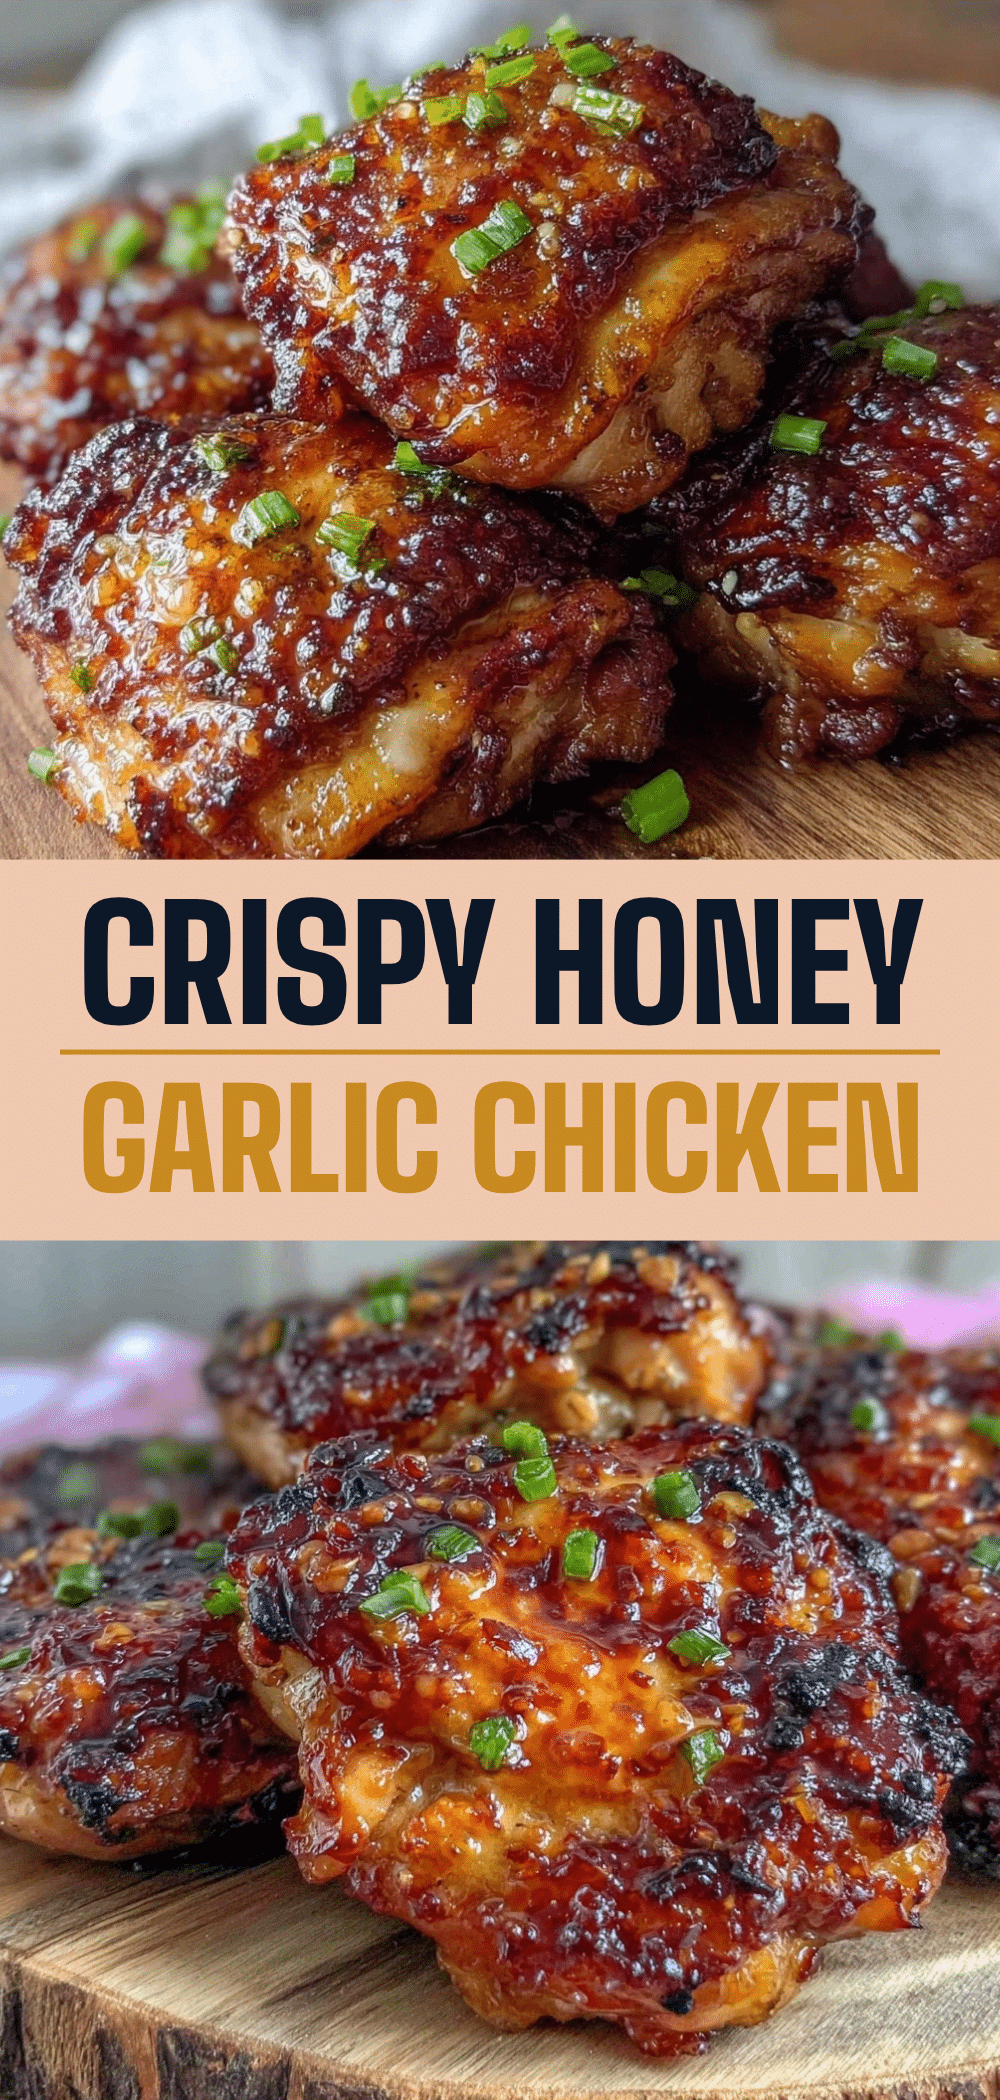

Crispy Air Fryer Honey Garlic Chicken Thighs
- Total Time: 20 minutes
- Yield: 4 servings 1x
Description
A quick and easy 20-minute dinner featuring boneless, skinless chicken thighs coated in cornstarch for extra crispiness, tossed in a sticky, sweet, and savory honey garlic sauce. Perfect for weeknights and family-friendly.
Ingredients
- 1.5 pounds boneless, skinless chicken thighs
- 3 tablespoons cornstarch
- 1 teaspoon garlic powder
- 1/2 teaspoon kosher salt
- Generous crack of black pepper
- 6–8 cloves garlic, minced
- 1 tablespoon fresh ginger, grated
- 1/2 cup honey
- 1/4 cup soy sauce (or tamari for gluten-free)
- 2 tablespoons rice vinegar
- 1/4 cup water
- 1/2 teaspoon red pepper flakes (optional)
- 1 teaspoon sesame oil
- 2 stalks green onions, sliced
- 1 tablespoon toasted sesame seeds
- Lime wedges for serving (optional)
Instructions
- Pat chicken thighs completely dry with paper towels. Place in a bowl and sprinkle with salt, pepper, and garlic powder. Toss to coat.
- Sprinkle cornstarch over the chicken and toss again until each piece is lightly coated in a fine, powdery layer.
- Preheat air fryer to 400°F (200°C). Lightly spray the basket with oil.
- Arrange chicken thighs in a single layer in the air fryer basket, ensuring they are not touching. Cook for 6 minutes.
- Flip the chicken and cook for another 6-9 minutes, or until golden brown and internal temperature reaches 165°F (74°C).
- While chicken cooks, combine minced garlic, grated ginger, honey, soy sauce, rice vinegar, water, and red pepper flakes in a small saucepan over medium heat.
- Whisk constantly and bring to a gentle simmer. Cook for 2-3 minutes until sauce thickens slightly and becomes glossy.
- Remove sauce from heat and stir in sesame oil.
- Transfer cooked chicken to a large bowl. Pour warm sauce over chicken and toss gently to coat evenly.
- Serve immediately on a platter, garnished with sliced green onions and toasted sesame seeds. Pair with steamed rice or vegetables.
Notes
Do not overcrowd the air fryer basket to ensure crispiness; cook in batches if necessary. Pat chicken dry thoroughly before coating. The sauce can be made ahead and stored in the fridge for up to 3 days. Do not microwave leftovers as it makes the chicken soggy; reheat in the air fryer at 375°F for 3-4 minutes to restore crispness.
- Prep Time: 5 minutes
- Cook Time: 15 minutes
- Category: Main Course
- Cuisine: Asian Fusion
Nutrition
- Serving Size: 1 chicken thigh with
- Calories: 380
- Sugar: 22
- Sodium: 650
- Fat: 18
- Saturated Fat: 4
- Carbohydrates: 28
- Fiber: 1
- Protein: 30
Keywords: air fryer chicken, honey garlic chicken, crispy chicken thighs, quick dinner, weeknight meals, gluten-free option, family friendly


