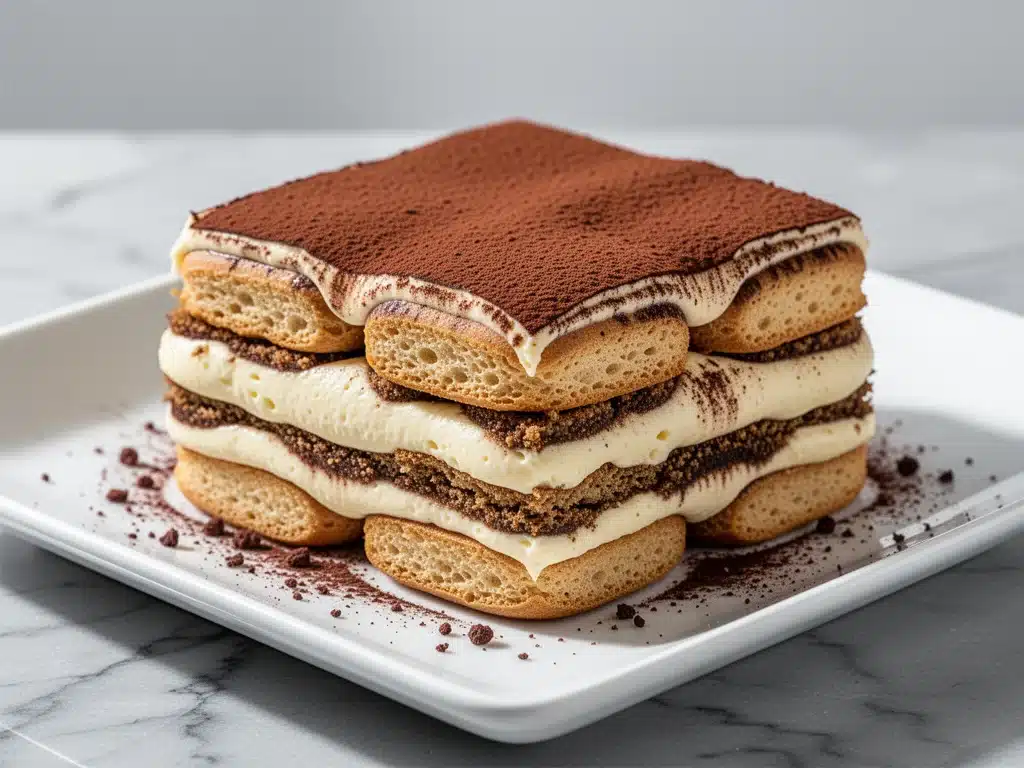
I still remember the first time I tried tiramisu at a tiny, candlelit trattoria in Rome. It wasn’t the fancy, layered, Instagram-perfect version I see everywhere now. It was messy. The mascarpone was slightly loose, the coffee was strong and bitter, and the ladyfingers had turned into these soft, custard-like pillows that dissolved on my tongue. I sat there for ten minutes, just staring at the empty bowl, convinced I’d never taste anything that good again. Fast forward twenty years, and I’ve made this dessert hundreds of times in my own kitchen. Some batches have been good, some have been great, and a few? Well, let’s just say I learned the hard way that “more coffee” isn’t always the answer.
This classic tiramisu recipe is the one I’ve stuck with. It’s the version I make when I want to impress dinner party guests without spending hours in the kitchen. It’s elegant, it’s rich, and it’s surprisingly simple because it requires zero baking. The secret isn’t fancy equipment or rare ingredients; it’s patience. Letting those espresso-soaked ladyfingers rest in the fridge allows the flavors to meld into something truly magical. If you’ve been intimidated by the idea of raw eggs or complicated techniques, this 5-ingredient no-bake dessert is your gateway drug. I promise, once you taste that perfect balance of bitter coffee, sweet cream, and cocoa, you’ll be hooked.
I’ve tested this recipe so many times that I can probably make it blindfolded. I’ve swapped out brands, adjusted the sweetness, and even tried making it with decaf when my husband wanted a late-night treat. This specific combination of ingredients just works. It’s reliable. It’s foolproof. And honestly, it’s the only dessert I make anymore because it always gets a reaction. You know that moment when someone takes the first bite and their eyes widen? That’s what I’m chasing. And this classic tiramisu delivers every single time.
Why You’ll Love This Recipe
There are a dozen reasons I keep coming back to this no-bake tiramisu, but here are the ones that actually matter to your dinner party success:
- Zero Baking Required — Seriously. If you can whisk cream and dip a cookie, you can make this. No oven, no water bath, no burnt edges. This is perfect for when it’s 90 degrees outside and you don’t want to heat up your kitchen.
- Make-Ahead Friendly — This is the ultimate stress-buster for hosts. You can assemble it the morning of your dinner party (or even the night before). The longer it sits, the better it gets. I’ve made it 24 hours in advance, and it’s always better on day two.
- Impressive but Simple — It looks like you spent hours at a French patisserie, but it takes about 20 minutes of active work. Your guests will think you’re a genius. You won’t tell them you did most of the work while they were drinking wine in the living room.
- Gluten-Free Option — Not everyone eats gluten, and that’s okay. Using gluten-free ladyfingers makes this accessible to more people at your table. I use the same recipe, just swap the cookies, and nobody notices the difference.
- Rich and Satisfying — This isn’t a light, airy fruit salad. It’s decadent. A small square is enough to satisfy a sweet tooth. I usually cut mine into 12 small squares because everyone wants just one bite (but you know they’ll want more).
This is my go-to when I need to bring a dessert that feels special but doesn’t require me to stress. It’s reliable, delicious, and always a crowd-pleaser.
Ingredients You’ll Need
Here’s the best part: you probably have most of this already. This classic tiramisu recipe relies on just five core ingredients, but the quality of each one matters. I’m particular about three of them, and I’ll tell you exactly why.
For the Coffee Soak
Strong Espresso (1 cup / 240ml) — This is non-negotiable. You want a rich, bold coffee flavor. I use a dark roast espresso, but strong brewed coffee works in a pinch. Let it cool completely before dipping your ladyfingers—hot coffee melts the cookies too fast.
Unsweetened Cocoa Powder (2 tablespoons) — For dusting the top. Use high-quality cocoa powder for a deeper chocolate flavor. I love Dutch-processed cocoa because it’s less acidic and has a smoother taste.
For the Cream Filling
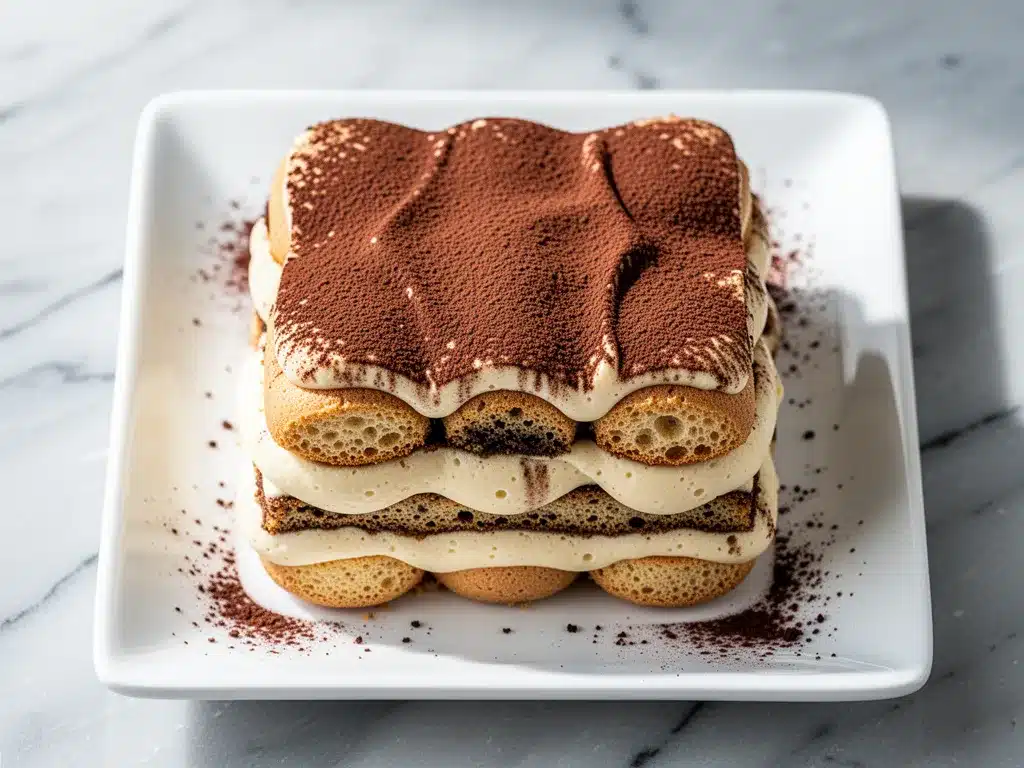
Mascarpone Cheese (16 oz / 450g) — This is the star. Don’t substitute with cream cheese. The texture is completely different. Mascarpone is richer and less tangy. Keep it cold until you’re ready to use it.
Heavy Cream (1 cup / 240ml) — Full-fat heavy cream is essential for whipping. It gives the filling that light, airy structure. Don’t use half-and-half or skim milk—it won’t whip.
Granulated Sugar (¼ cup / 50g) — Not too sweet. You want the bitterness of the coffee to shine through. If you like it sweeter, add another tablespoon, but I recommend starting here.
For the Structure
Ladyfingers (1 package / 24-30 cookies) — These are the sponge-like cookies you dip in coffee. I use Savoiardi cookies because they hold their shape well but absorb enough liquid to get soft. Make sure they’re fresh—stale ladyfingers won’t soak up the coffee properly.
Optional Add-ins
Amaretto or Marsala Wine (2 tablespoons) — For an adult twist. I add this to the coffee soak for a subtle almond or wine flavor. It’s optional but highly recommended for dinner parties.
Equipment Needed
You don’t need fancy equipment for this. Here’s what I actually use:
8×8 Inch Baking Dish — I prefer glass or ceramic so I can see the layers. A metal pan works too, but glass keeps the structure nice and firm.
Electric Mixer — Hand mixer or stand mixer. Whisking by hand is possible but tiring. I use my hand mixer because it’s faster and gives better results.
Mixing Bowls — Two medium bowls. One for the mascarpone mixture, one for whipping the cream.
Whisk or Spatula — For folding the cream into the mascarpone gently. You want to keep the air in the mixture.
Small Plate or Pie Dish — For pouring the cooled espresso so you can dip the ladyfingers easily.
Microplane or Fine Sieve — For dusting the cocoa powder on top. A microplane gives a finer, more elegant finish.
How to Make It: Step-by-Step
Alright, let’s make this! I’m walking you through exactly how I do it, including the little tricks I’ve picked up over the years.
Step 1: Brew and Cool the Espresso
Brew a strong cup of espresso or very strong coffee. Pour it into a shallow bowl or plate. Let it cool to room temperature. If you rush this step, the hot coffee will melt the ladyfingers instantly, and you’ll end up with a mushy mess. I usually brew it an hour ahead so it’s ready to go.
Step 2: Whip the Heavy Cream
In a large bowl, whip the heavy cream until stiff peaks form. This means when you lift the beaters, the cream stands up straight. Don’t over-whip it into butter, but make sure it’s firm enough to hold its shape. Set it aside.
Step 3: Mix the Mascarpone and Sugar
In another bowl, beat the mascarpone cheese and sugar together until smooth and creamy. It should be lump-free. If the mascarpone is too cold, it might be stiff. Let it sit at room temperature for 10 minutes if needed. Don’t overbeat it here—you just want it smooth.
Step 4: Fold the Cream Together
Gently fold the whipped cream into the mascarpone mixture. Use a spatula and cut down through the middle, then sweep along the bottom and fold over. Do this until just combined. You want to keep as much air in the mixture as possible. This is what makes the tiramisu light and fluffy.
Step 5: Dip the Ladyfingers
This is the most important step. Take a ladyfinger and dip it quickly into the cooled espresso. I mean quickly—1-2 seconds per side. You want it soaked but not falling apart. If you leave it in too long, it’ll disintegrate. Place the dipped ladyfingers in a single layer in your baking dish.
Step 6: Layer the Cream
Spread half of the mascarpone cream mixture over the ladyfingers. Smooth it out evenly with a spatula. Then, repeat the process: dip another layer of ladyfingers in the coffee and place them on top of the cream. Spread the remaining cream over the second layer.
Step 7: Chill and Dust
Cover the dish with plastic wrap and refrigerate for at least 4 hours, preferably overnight. This chilling time is crucial—it allows the flavors to meld and the ladyfingers to soften into a cake-like texture. Just before serving, dust the top generously with unsweetened cocoa powder using a sieve or microplane.
Expert Tips & Tricks
Here’s everything I’ve learned from making this dozens of times. These tips will save you from my mistakes.
Don’t Over-Dip the Ladyfingers — I’ve seen people drown their cookies in coffee. Don’t do that. They’re meant to be moist, not soggy. A quick dip is all you need. If they’re too wet, your tiramisu will be a soup.
Keep Everything Cold — Mascarpone and heavy cream behave best when cold. If your mascarpone is warm, it might split when you fold in the cream. Keep your bowls and beaters cold if possible.
Use Fresh Ladyfingers — Stale ladyfingers won’t absorb the coffee properly. Check the expiration date and buy them fresh. If you can’t find them, you can substitute with sponge cake cut into strips, but ladyfingers are traditional for a reason.
Chill Longer for Better Texture — 4 hours is the minimum, but 8-12 hours is ideal. I usually make it the night before my dinner party. The texture improves dramatically with more time.
Don’t Skip the Cocoa — The cocoa powder adds a bitter contrast to the sweet cream. It’s not just for decoration. Dust it evenly for a professional look.
Variations & Substitutions
Once you’ve nailed the basic version, here’s how you can mix it up. I’ve tried all of these.
Almond Tiramisu — Add 1 teaspoon almond extract to the mascarpone mixture. It pairs beautifully with the coffee.
Chocolate Tiramisu — Add 2 tablespoons of cocoa powder to the mascarpone mixture. It’s richer and more chocolate-forward.
Strawberry Tiramisu — Layer fresh sliced strawberries between the cream layers. It’s lighter and perfect for summer.
Gluten-Free — Use gluten-free ladyfingers. I’ve tested this with several brands, and they work just as well as regular ones.
Decaf Version — Use decaf espresso for the soak. Great for evening parties or when you have kids around.
Serving & Storage
How to Serve: Cut into 12 small squares. Serve chilled. A dusting of cocoa powder is essential. You can also add a small mint leaf for garnish if you want to look fancy.
Side Dishes: This is rich, so it doesn’t need much else. A simple espresso or a glass of dessert wine like Port or Moscato pairs perfectly. If you’re serving a full dinner, maybe a light salad before, like my creamy southern coleslaw to balance the richness.
Storage: Store in the refrigerator, covered with plastic wrap, for up to 3 days. It actually tastes better on day two. Do not freeze it—the texture of the cream will change and become grainy.
Nutrition Information
I’m not a nutritionist, but here’s the breakdown if you’re tracking. This is a rich dessert, so portion control is key.
Per Serving (based on 12 servings):
- Calories: 280
- Protein: 4g
- Carbs: 22g
- Fiber: 1g
- Sugar: 15g
- Fat: 18g
- Saturated Fat: 11g
- Cholesterol: 60mg
- Sodium: 40mg
This is comfort food with cream and sugar. It’s not a diet recipe. But it’s way better than store-bought, and you know exactly what’s in it. When I want to make it lighter, I use less sugar and more cocoa. But usually? I just enjoy a small square and savor it.
Final Thoughts
So that’s my classic tiramisu! I’ve probably talked your ear off at this point, but when you make a recipe this often, you have a lot to say about it. This has saved my dinner parties more times than I can count. It’s my answer to “what’s for dessert?” when I want something impressive but easy. My guests are happy, my husband’s happy, and I’m happy because I’m not stressed about cooking.
Make it yours! Try different coffee blends, add a splash of liqueur, or switch up the cocoa. The best recipes are the ones you adapt to your family’s tastes. If you make this, drop a comment and let me know what you think! I love hearing how recipes turn out in your kitchen. And if something doesn’t work, tell me that too—I’m here to help troubleshoot.
Happy cooking! And I hope your kitchen smells half as good as mine does right now.
Frequently Asked Questions
Can I use instant coffee instead of espresso?
You can, but it won’t be as rich. If you use instant coffee, dissolve 2 tablespoons in 1 cup of hot water and let it cool completely. It’s a good backup, but fresh espresso is best for that authentic flavor.
Why did my tiramisu turn out runny?
Usually, this means you over-dipped the ladyfingers, or the mascarpone mixture wasn’t stiff enough. Make sure you whip the cream to stiff peaks, and don’t soak the cookies for more than 1-2 seconds. Also, chill it longer—sometimes it just needs more time to set.
Can I make this ahead for a dinner party?
Absolutely! This is the best part. Make it the night before. The flavors meld overnight, and it’s easier to slice when it’s fully chilled. I usually assemble it in the morning, but the night before is even better.
Can I use cream cheese instead of mascarpone?
I don’t recommend it. Mascarpone is richer and less tangy. Cream cheese will make the filling denser and tangier. If you must substitute, mix cream cheese with a little heavy cream to soften it, but it won’t be the same.
How long does tiramisu last in the fridge?
Up to 3 days. After that, the ladyfingers might get too soggy, and the cream might start to separate. Make it fresh or store it for no more than 3 days.
Can I freeze tiramisu?
No, don’t freeze it. The cream and mascarpone will separate when thawed, and the texture will be grainy. It’s best eaten fresh or chilled.
What wine pairs best with tiramisu?
I love it with a sweet dessert wine like Moscato d’Asti or a Port. The sweetness balances the bitterness of the coffee and cocoa. A strong espresso is also a great non-alcoholic option.
Pin This Recipe!
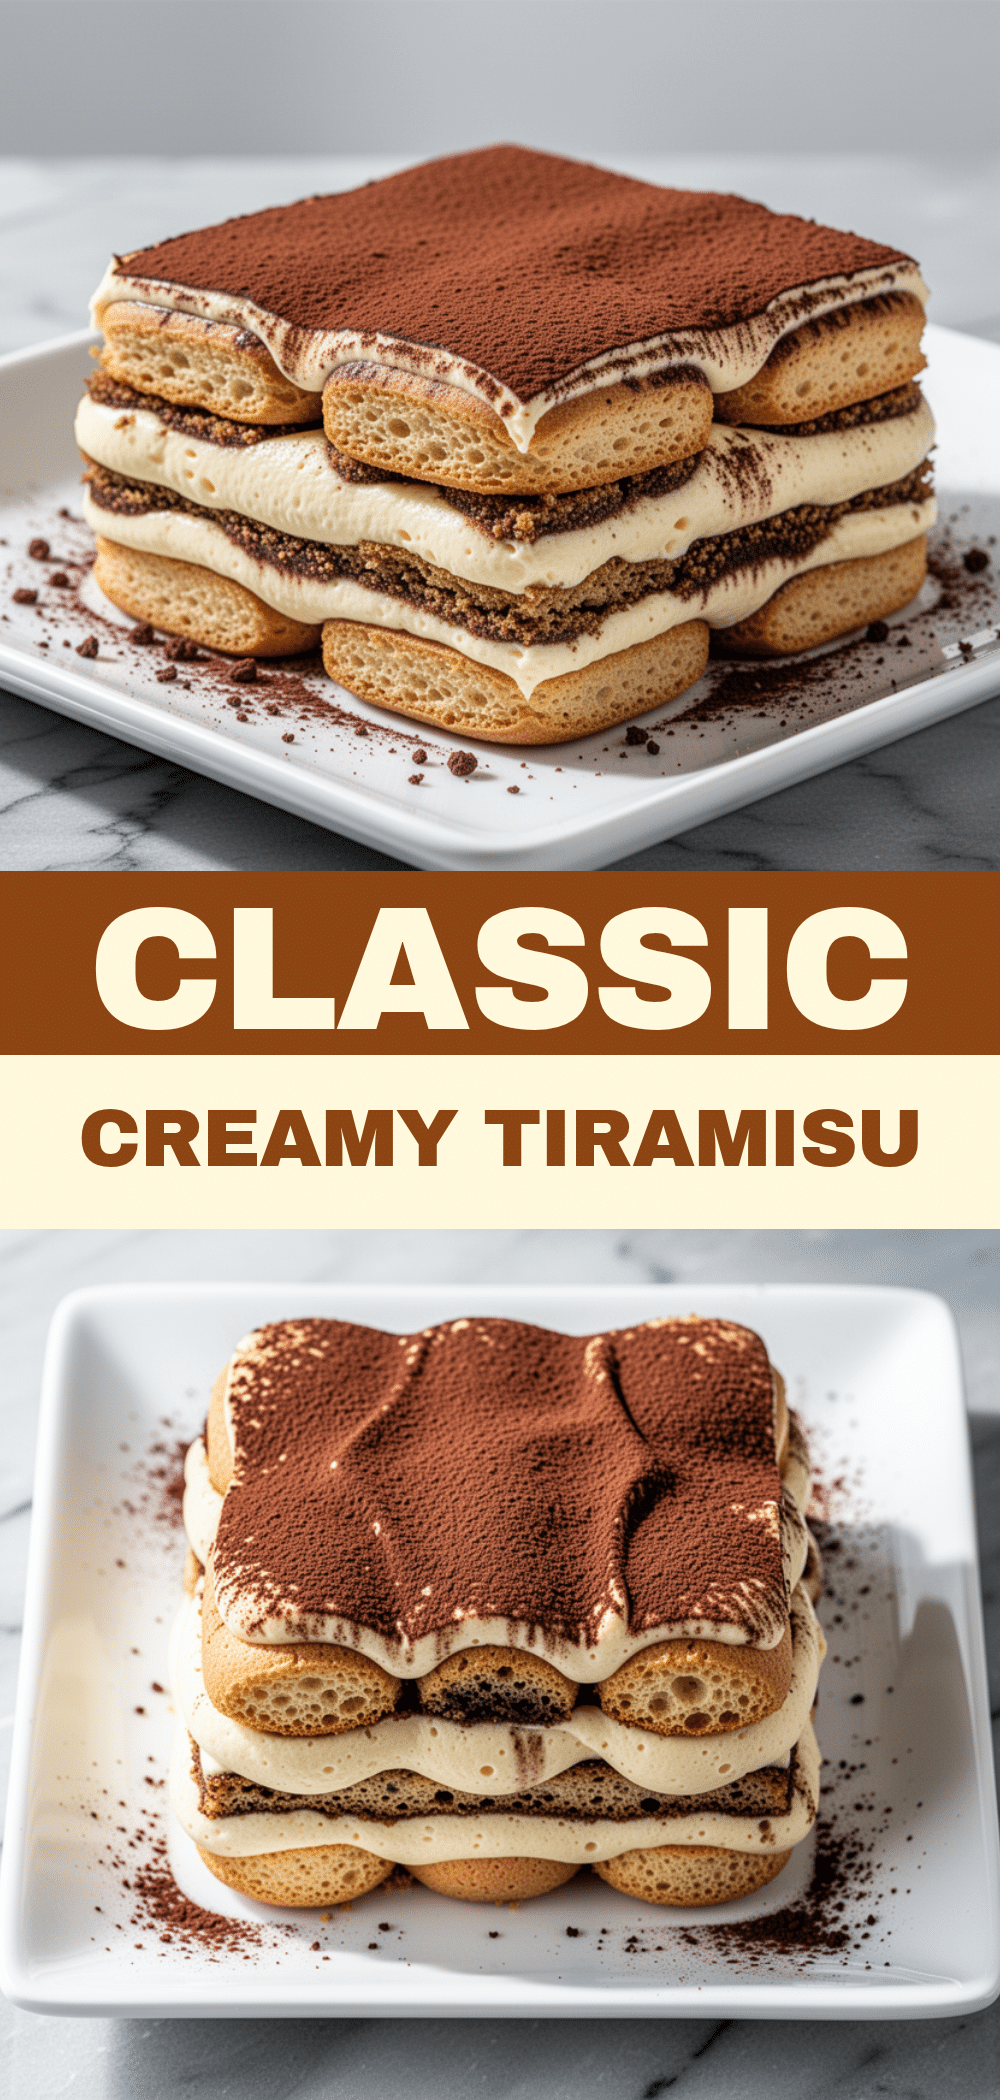
Classic Tiramisu: Best 5-Ingredient No-Bake Dessert
- Total Time: 4 hours 20 minutes
- Yield: 12 servings 1x
Description
A rich, elegant, and surprisingly simple no-bake tiramisu that requires zero baking and just five core ingredients. This make-ahead friendly dessert features espresso-soaked ladyfingers layered with a light mascarpone cream, perfect for dinner parties.
Ingredients
- 1 cup (240ml) strong espresso, cooled
- 16 oz (450g) mascarpone cheese, cold
- 1 cup (240ml) heavy cream, cold
- 1/4 cup (50g) granulated sugar
- 1 package (24-30 cookies) ladyfingers (Savoiardi)
- 2 tablespoons unsweetened cocoa powder, for dusting
- 2 tablespoons Amaretto or Marsala wine (optional)
Instructions
- Brew strong espresso and let it cool completely to room temperature in a shallow bowl.
- In a large bowl, whip the heavy cream until stiff peaks form. Set aside.
- In another bowl, beat the mascarpone cheese and sugar together until smooth and lump-free.
- Gently fold the whipped cream into the mascarpone mixture using a spatula until just combined, keeping as much air in the mixture as possible.
- Quickly dip each ladyfinger into the cooled espresso (1-2 seconds per side) and place them in a single layer in an 8×8 inch baking dish.
- Spread half of the mascarpone cream mixture over the first layer of ladyfingers.
- Repeat the process with a second layer of dipped ladyfingers and spread the remaining cream on top.
- Cover the dish with plastic wrap and refrigerate for at least 4 hours, preferably overnight.
- Just before serving, dust the top generously with unsweetened cocoa powder using a sieve or microplane.
- Cut into 12 small squares and serve chilled.
Notes
Do not over-dip the ladyfingers or they will become soggy. Ensure mascarpone and cream are cold for best texture. This dessert improves with time, so making it the night before is recommended. Do not freeze as the texture will become grainy.
- Prep Time: 20 minutes
- Cook Time: 0 minutes
- Category: Dessert
- Cuisine: Italian
Nutrition
- Serving Size: 1 small square
- Calories: 280
- Sugar: 15
- Sodium: 40
- Fat: 18
- Saturated Fat: 11
- Carbohydrates: 22
- Fiber: 1
- Protein: 4
Keywords: tiramisu, no-bake dessert, italian dessert, mascarpone, espresso, ladyfingers, make-ahead dessert, dinner party dessert


