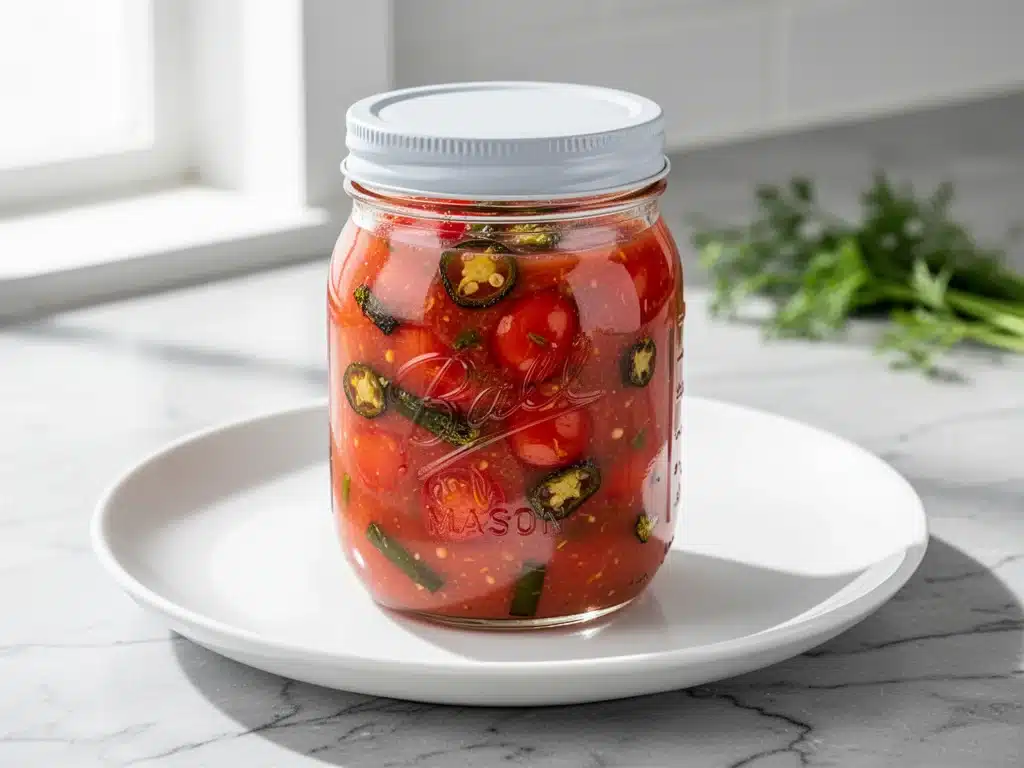
It was late July, the kind of heat where the asphalt shimmers and the only thing cooler than the breeze is the condensation on your iced tea glass. I had just come from the farmer’s market, arms full of bags that felt suspiciously heavy for their size. Inside those bags were pounds of cherry tomatoes—bright red, yellow, and orange varieties that looked like jewels but smelled like summer itself. My husband looked at the mountain of produce on our kitchen counter and said the words every home cook dreads: “So, what are we doing with all of this?”
I wasn’t planning to do much. I thought I’d make a fresh salsa for the weekend and maybe a few salads. But then I remembered the jar of salsa I’d made two years ago, sitting in the back of my pantry, still sealed and vibrant. That jar had saved me during a power outage when I had nothing but crackers and canned beans. It tasted like sunshine captured in glass. That’s when it hit me: I needed to preserve this flavor before it spoiled. Not in the freezer, where ice crystals ruin the texture, but in jars. Canned.
I’ve made this canned cherry tomato salsa for small-batch preserves many times since that July afternoon, and I can honestly say it’s the best small-batch recipe I’ve ever tested. Why small-batch? Because cherry tomatoes are small, sweet, and intense. You don’t need a huge vat to make a difference. A few pounds of tomatoes, some vinegar, some heat, and you’ve got a condiment that lasts all winter. It’s not about canning for survival; it’s about canning for joy. It’s about opening a jar in January and tasting the memory of July.
If you’ve ever been intimidated by water bath canning, this is your gateway drug. The acidity levels are perfect, the prep is simple, and the result is magical. I’ve tweaked this recipe over the years, balancing the sweetness of the tomatoes with the tang of vinegar and the kick of peppers. The result is a salsa that’s chunky enough to be substantial but smooth enough to spoon over eggs, tacos, or grilled chicken. Let’s get into why this specific combination works so well and how you can make it in your own kitchen.
Why You’ll Love This Small-Batch Salsa Recipe
There are a million ways to preserve tomatoes, but this canned cherry tomato salsa hits a sweet spot that big-batch recipes often miss. It’s manageable, flavorful, and incredibly versatile. Here’s why I keep coming back to this method year after year.
It’s Actually Manageable — Big batch canning can feel like a military operation. You need massive pots, endless prep time, and a helper. This small-batch approach lets you make just enough for your family’s weekly needs. I usually make two or three batches a season. It’s less overwhelming and easier to clean up.
Cherry Tomatoes Are Flavor Bombs — Regular slicing tomatoes can be watery and bland, especially if they’re not vine-ripened. Cherry tomatoes are concentrated sweetness. They have thicker skins and less water content, which means your salsa won’t be watery or separated. The texture stays intact through the canning process.
Zero Waste Cooking — Farmers market tomatoes often come with bruises or odd shapes. You don’t need pretty, perfect tomatoes for salsa. You just need ripe ones. This recipe is perfect for using up those “ugly” tomatoes that won’t keep fresh in the fridge for long. It’s sustainable and saves money.
It’s a Flavor Chameleon — This salsa isn’t just for chips. I use it as a base for shakshuka, a topping for pizza, a mix-in for omelets, and a condiment for burgers. It adds a burst of acidity and sweetness that elevates simple meals. My kids even eat it straight off the spoon.
It’s Safe and Easy — I know canning sounds scary, but this recipe uses a tested balance of acid and heat. The water bath process is straightforward, and the safety margins are wide. I’ve made this every summer for five years with zero issues. It’s not rocket science; it’s just good cooking.
This salsa has become my secret weapon for winter meals. When the world outside is gray and cold, a jar of bright red salsa reminds me that summer is just a memory away. It’s comforting, practical, and delicious. That’s why I love it.
Ingredients You’ll Need for Small-Batch Preserves
Here’s the best part: you probably have most of this already in your pantry. Canning requires specific ingredients for safety, but the flavor profile is simple and fresh. I’m particular about three things here: the tomatoes, the vinegar, and the peppers. Let’s break it down.
For the Salsa Base
Cherry Tomatoes (4 pounds / 1.8 kg) — This is the star. Use ripe, firm cherry tomatoes. Red, yellow, or a mix. Avoid mushy or spoiled ones. I prefer organic if possible, but conventional works fine if you wash them well. The key is ripeness. Unripe tomatoes lack the necessary natural acidity for safe canning without extra vinegar.
Onion (1 medium yellow onion / about 150g) — Finely chopped. Onion adds depth and savory notes. Yellow onions are standard, but sweet onions like Vidalia work too if you want less sharpness. White onions are too pungent for this balance.
Garlic (4 cloves / 2 tablespoons minced) — Fresh garlic only. No jarred. The heat of the canning process mellows the raw bite, leaving a warm, aromatic flavor. Mince it finely so it distributes evenly.
For the Acid and Heat
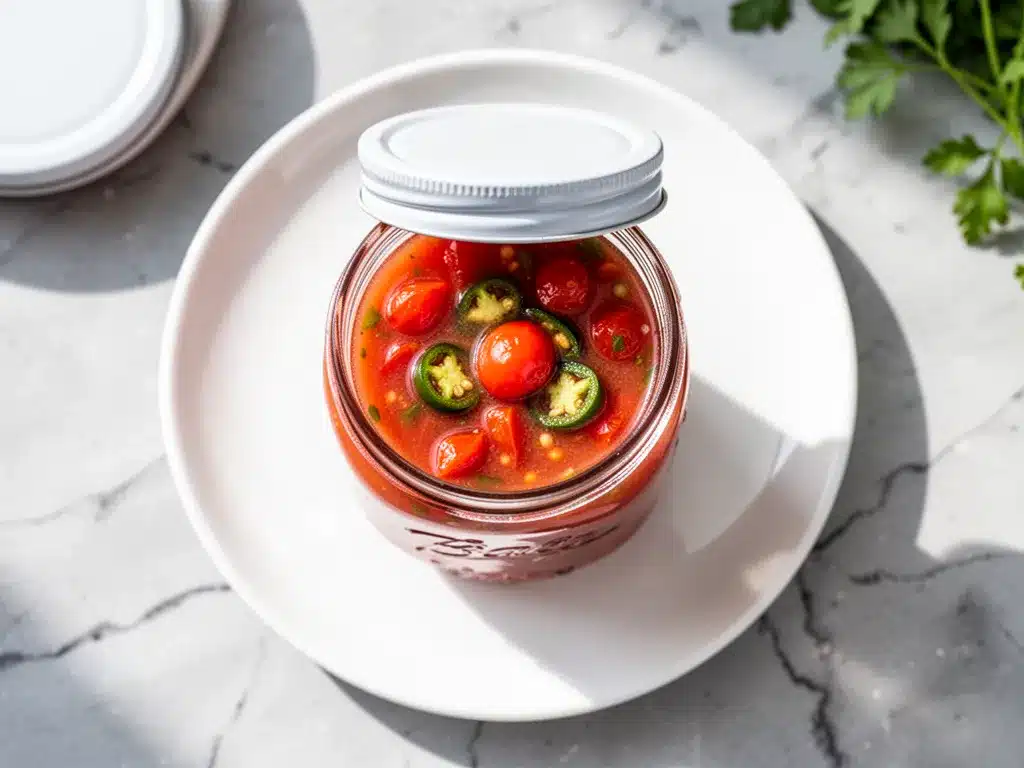
White Vinegar (½ cup / 120ml) — This is non-negotiable for safety. You need 5% acidity vinegar to ensure the salsa is safe for water bath canning. I use distilled white vinegar because it doesn’t change the color or flavor. Apple cider vinegar works but will darken the salsa. Do not use homemade or weak vinegar.
Lemon Juice (2 tablespoons / 30ml, fresh squeezed) — Fresh lemon juice boosts the acidity further, ensuring a safe pH level. Bottled lemon juice works in a pinch, but fresh is brighter and cleaner. This is a safety step, not just flavor.
Jalapeño Peppers (2 medium / 50g) — Finely chopped, seeds and membranes removed for mild heat, or kept for spicy. I remove the seeds for a balanced heat that doesn’t overpower the tomatoes. Wear gloves when handling these! Capsaicin lingers.
Cayenne Pepper (½ teaspoon / 1g) — A pinch of dried cayenne adds a steady, warm heat that complements the fresh peppers. It’s subtle but effective. Adjust to your spice tolerance.
For Seasoning
Fresh Cilantro (½ cup / 15g, chopped) — Adds freshness and herbal brightness. I add this at the end to preserve its flavor. Dried cilantro doesn’t work here; it tastes dusty.
Sea Salt (1 tablespoon / 18g) — Use canning salt or sea salt. Avoid iodized salt if you can, as it can darken the salsa. Salt enhances all the other flavors. Don’t skip it.
Black Pepper (½ teaspoon / 1g) — Freshly ground. Adds a subtle earthy note.
Sugar (1 tablespoon / 15g, optional) — If your tomatoes are very tart, a tablespoon of sugar helps balance the acidity. I usually skip it because cherry tomatoes are sweet enough, but taste test first.
Equipment Essentials
You don’t need fancy gear, but you do need specific tools for safety. I’ll list them in the next section, but here’s a quick note: canning jars (pint or half-pint) are essential. Use new lids every time. Old lids can fail. I use Ball or Kerr jars because I trust their quality. And a wide-mouth funnel makes filling jars so much easier. I’ve spilled salsa on my stove more times than I can count because I didn’t use one.
Equipment Needed for Canning Success
You don’t need a professional kitchen, but you do need the right tools. Here’s what I actually use, with honest opinions on what’s necessary versus what’s nice to have.
Large Stockpot (8-quart) — This is your water bath canner. It needs to be deep enough to hold jars submerged in at least an inch of water. I use an old Le Creuset stockpot that’s seen better days, but any heavy-bottomed pot works. Avoid thin aluminum pots; they heat unevenly.
Canning Jar Lifter — This tongs-like tool is a lifesaver. It grips the jars securely and lowers them into the hot water without slipping. I tried using oven mitts once. Bad idea. Hot jars and slippery skin don’t mix.
Wide-Mouth Funnel — Essential for clean filling. It prevents spills and ensures the headspace is accurate. I’ve bought cheap ones from hardware stores, and they work fine. Just make sure the hole is wide enough for your chunky salsa.
Bubble Remover / Headspace Tool — A plastic tool that helps you remove air bubbles from the jars. Air bubbles can lead to spoilage. I use a chopstick if I forget this, but the tool is better. It’s cheap and worth it.
Canning Towels — Heavy cotton towels to line the bottom of your pot. This prevents jars from cracking due to direct heat contact. I cut up old bath towels for this. Don’t use paper towels; they disintegrate.
Knife and Cutting Board — For prepping tomatoes and peppers. A sharp knife makes quick work of chopping. I use a Santoku knife for veggies.
Measuring Cups and Spoons — Accurate measurements are critical for safety. Don’t eyeball the vinegar or lemon juice. Use proper measuring tools.
Ladle — For filling jars. A heat-resistant ladle works best. I use a stainless steel one.
Canning Ring Bands — These hold the lids on during processing. I reuse bands, but I always buy new lids. Old lids can have dried rubber seals that fail.
That’s it. Nothing fancy. If you have these basics, you’re ready to start.
How to Make Canned Cherry Tomato Salsa: Step-by-Step
Alright, let’s make this! I’m walking you through exactly how I do it, including the little tricks I’ve picked up over the years. This process takes about 45 minutes of prep and 30 minutes of processing. It’s not hard, but it does require focus.
Step 1: Prep Your Jars (10 minutes)
Wash your jars, lids, and bands in hot soapy water. Rinse well. Keep the jars hot by placing them in the oven at 225°F (107°C) or by submerging them in boiling water. Hot jars prevent thermal shock when you add hot salsa. I usually boil the jars in my stockpot while I prep the salsa. It keeps them ready and sterile.
Step 2: Prepare the Tomatoes (10 minutes)
Wash the cherry tomatoes thoroughly. Remove the cores. You don’t need to peel them; the skins soften during canning. I like to halve or quarter larger cherry tomatoes so they distribute evenly. Smaller ones can stay whole. Place them in a large bowl.
Step 3: Chop the Aromatics (5 minutes)
Finely chop the onion, garlic, and jalapeños. If you want milder salsa, remove the seeds and membranes from the jalapeños. If you like heat, leave them in. Wear gloves! Finely chop the cilantro separately. Keep everything organized.
Step 4: Combine the Salsa Base (5 minutes)
In a large non-reactive pot (stainless steel or enameled), combine the tomatoes, onion, garlic, jalapeños, vinegar, lemon juice, salt, pepper, and sugar (if using). Stir well. Bring the mixture to a boil over medium-high heat, stirring frequently. Once it boils, reduce heat and simmer for 10 minutes. This softens the tomatoes and melds the flavors. The salsa will release juice and become saucy.
Step 5: Add the Herbs (2 minutes)
Remove the pot from heat. Stir in the fresh cilantro. The residual heat will wilt the cilantro without cooking it to death, preserving its fresh flavor. Taste and adjust seasoning if needed. Add more salt or cayenne if you want more kick.
Step 6: Fill the Jars (10 minutes)
Using a ladle, fill the hot jars with the hot salsa, leaving ½ inch of headspace at the top. Use the bubble remover or chopstick to release any air bubbles. Wipe the rims with a clean, damp cloth. This is crucial for a good seal. Place a new lid on the jar and screw on the band until fingertip-tight. Don’t overtighten; the steam needs to escape during processing.
Step 7: Process the Jars (30 minutes)
Place the canning towels in the bottom of your stockpot. Add enough water to cover the jars by at least 1 inch. Bring the water to a rolling boil. Carefully lower the jars into the water using the jar lifter. Ensure the water covers the jars by 1-2 inches. Process for 30 minutes (for pints) or 35 minutes (for quarts) at a steady boil. Adjust for altitude: add 5 minutes for every 1,000 feet above sea level.
Step 8: Cool and Store
After processing, turn off the heat and let the jars sit in the water for 5 minutes. This prevents siphoning. Then, remove the jars and place them on a towel-lined counter. Do not touch them for 12-24 hours. As they cool, you’ll hear the “ping” of the lids sealing. Check the seals after 24 hours: the lid should not flex when pressed. Remove the bands for storage. Label and date your jars. Store in a cool, dark place.
Expert Tips & Tricks for Perfect Jars
Here’s everything I’ve learned from making this dozens of times. These tips will save you from my mistakes.
Acidity is Safety — Do not reduce the vinegar or lemon juice. The pH must be low enough to prevent botulism. This isn’t a place to experiment. Trust the recipe.
Fresh Tomatoes Only — Canned or frozen tomatoes have different acidity levels and textures. Always use fresh for this recipe. If you must use frozen, thaw and drain them first, but fresh is best.
Hot Jars, Hot Salsa — Thermal shock is the enemy. If your jars are cold and your salsa is hot, they can crack. Keep everything hot until the jars are sealed.
Headspace Matters — Leave exactly ½ inch of headspace. Too little, and the salsa can expand and break the seal. Too much, and there’s too much air for proper processing.
Wipe the Rims — Any residue on the rim can prevent a seal. Use a clean, damp cloth to wipe every rim before placing the lid. This is the most common reason for failed seals.
Don’t Overtighten Bands — Screw bands until fingertip-tight. If you tighten them like a vice, steam can’t escape, and the lid might bulge or fail to seal properly.
Altitude Adjustments — If you live above 1,000 feet, you must increase processing time. Water boils at a lower temperature at altitude, so you need more time to kill bacteria. Check a reliable altitude chart.
Test the Seals — After cooling, press the center of each lid. If it pops up and down, it didn’t seal. Refrigerate these jars and eat them within a week. Do not store them in the pantry.
Variations & Substitutions
Once you’ve nailed the basic version, here’s how you can mix it up. I’ve tried all of these.
Roasted Garlic Version — Roast 6 cloves of garlic in olive oil before adding. Adds a deep, sweet, smoky flavor. I love this for winter soups.
Spicy Habanero Version — Swap jalapeños for 1 habanero pepper (seeds removed). This is VERY hot. Use gloves and be careful. Adds a fruity heat that pairs well with chicken.
Black Bean Salsa — Add 1 can of drained black beans after simmering. Makes it heartier and great for tacos. Note: This changes the texture significantly.
Herb-Forward Version — Add ½ teaspoon dried oregano and ½ teaspoon cumin with the salt. Gives it a Mexican-inspired profile.
Low-Sodium Version — Reduce salt to ½ teaspoon. Use low-sodium broth if adding any. Note: Salt is a preservative, so this version may not keep as long. Eat within 6 months.
Dairy-Free — This recipe is naturally dairy-free. Perfect for vegans and those with allergies.
Gluten-Free — Naturally gluten-free. Just ensure your vinegar and spices are certified gluten-free if you have celiac disease.
Serving & Storage
How to Serve: I usually serve this straight from the jar with tortilla chips, but it’s also amazing over scrambled eggs, mixed into rice, or as a topping for grilled fish. It’s versatile and delicious.
Side Dishes: Serve with crusty bread, avocado slices, or black beans. It pairs well with any Mexican or Mediterranean dish.
Storage Instructions: Store sealed jars in a cool, dark place for up to 1 year. Once opened, refrigerate and use within 2 weeks. The color may darken slightly over time, but the flavor remains good.
Reheating: No reheating needed. Serve cold or at room temperature. If you want it warm, microwave a small portion for 30 seconds.
Freezing: Do not freeze canned salsa. The texture will become mushy upon thawing. Stick to canning for long-term storage.
Pro Tip: If your salsa looks separated after opening, just stir it. It’s normal. The solids settle, but the flavor is still perfect.
Nutrition Information
I’m not a nutritionist, but here’s the breakdown if you’re tracking. Per serving (2 tablespoons):
- Calories: 15
- Protein: 0.5g
- Carbs: 3g
- Fiber: 0.5g
- Sugar: 2g
- Fat: 0g
- Sodium: 150mg
This salsa is low-calorie and low-fat, making it a great addition to any meal. It adds flavor without many extra calories. The sodium comes mainly from the salt, so you can adjust it to your needs.
Final Thoughts
So that’s my go-to canned cherry tomato salsa! I’ve probably talked your ear off at this point, but when you make a recipe this often, you have a lot to say about it. This has saved my winter meals more times than I can count. It’s my answer to “what’s for dinner” when I’m tired of salads and want something with a bit of zing. My kids are happy, my husband’s happy, and I’m happy because I’m not stressed about cooking.
Make it yours! Try different peppers, adjust the herbs, or add beans. The best recipes are the ones you adapt to your family’s tastes. If you make this, drop a comment and let me know what you think! I love hearing how recipes turn out in your kitchen. And if something doesn’t work, tell me that too—I’m here to help troubleshoot.
Happy canning! And I hope your kitchen smells half as good as mine does right now.
Frequently Asked Questions
Can I use regular tomatoes instead of cherry tomatoes?
You can, but cherry tomatoes are safer and tastier for this recipe. Regular tomatoes have higher water content and lower natural acidity, which can lead to a watery salsa and potential safety issues. If you must use regular tomatoes, peel them, remove the seeds, and drain the juice. But cherry tomatoes are just better for this.
Why did my lids not seal?
This usually happens for three reasons: food residue on the rim, a faulty lid, or insufficient processing time. Wipe the rims thoroughly before sealing. Use new lids every time. And ensure your water bath is at a rolling boil for the full processing time. Don’t panic if a few fail; just refrigerate and eat them first.
How long does this salsa last?
Properly canned and stored in a cool, dark place, this salsa lasts up to 1 year. The flavor is best within the first 6 months. Once opened, refrigerate and use within 2 weeks. Always check for signs of spoilage before eating: bulging lids, off smells, or mold.
Can I double this recipe?
Yes, but you must use a larger pot and ensure the jars are fully submerged in water. Do not process more jars than your canner can handle at once. Overcrowding leads to uneven processing. If you have a lot of tomatoes, make multiple batches.
Is it safe to skip the vinegar?
No. Vinegar provides the necessary acidity to prevent botulism. Cherry tomatoes are sweet and low-acid. Without vinegar, the salsa is not safe for water bath canning. You can use lemon juice, but you still need the vinegar. Trust the science.
Can I freeze this salsa instead of canning it?
You can, but the texture will change. Freezing makes the tomatoes mushy. It’s fine for cooking in soups or sauces, but not for eating as a fresh salsa. Canning preserves the texture much better. I recommend canning if you want to eat it as is.
What if I live at high altitude?
If you live above 1,000 feet, you must increase the processing time by 5 minutes for every 1,000 feet of elevation. This ensures the jars reach a high enough temperature to kill bacteria. Check a reliable altitude adjustment chart for your specific location.
Pin This Recipe!
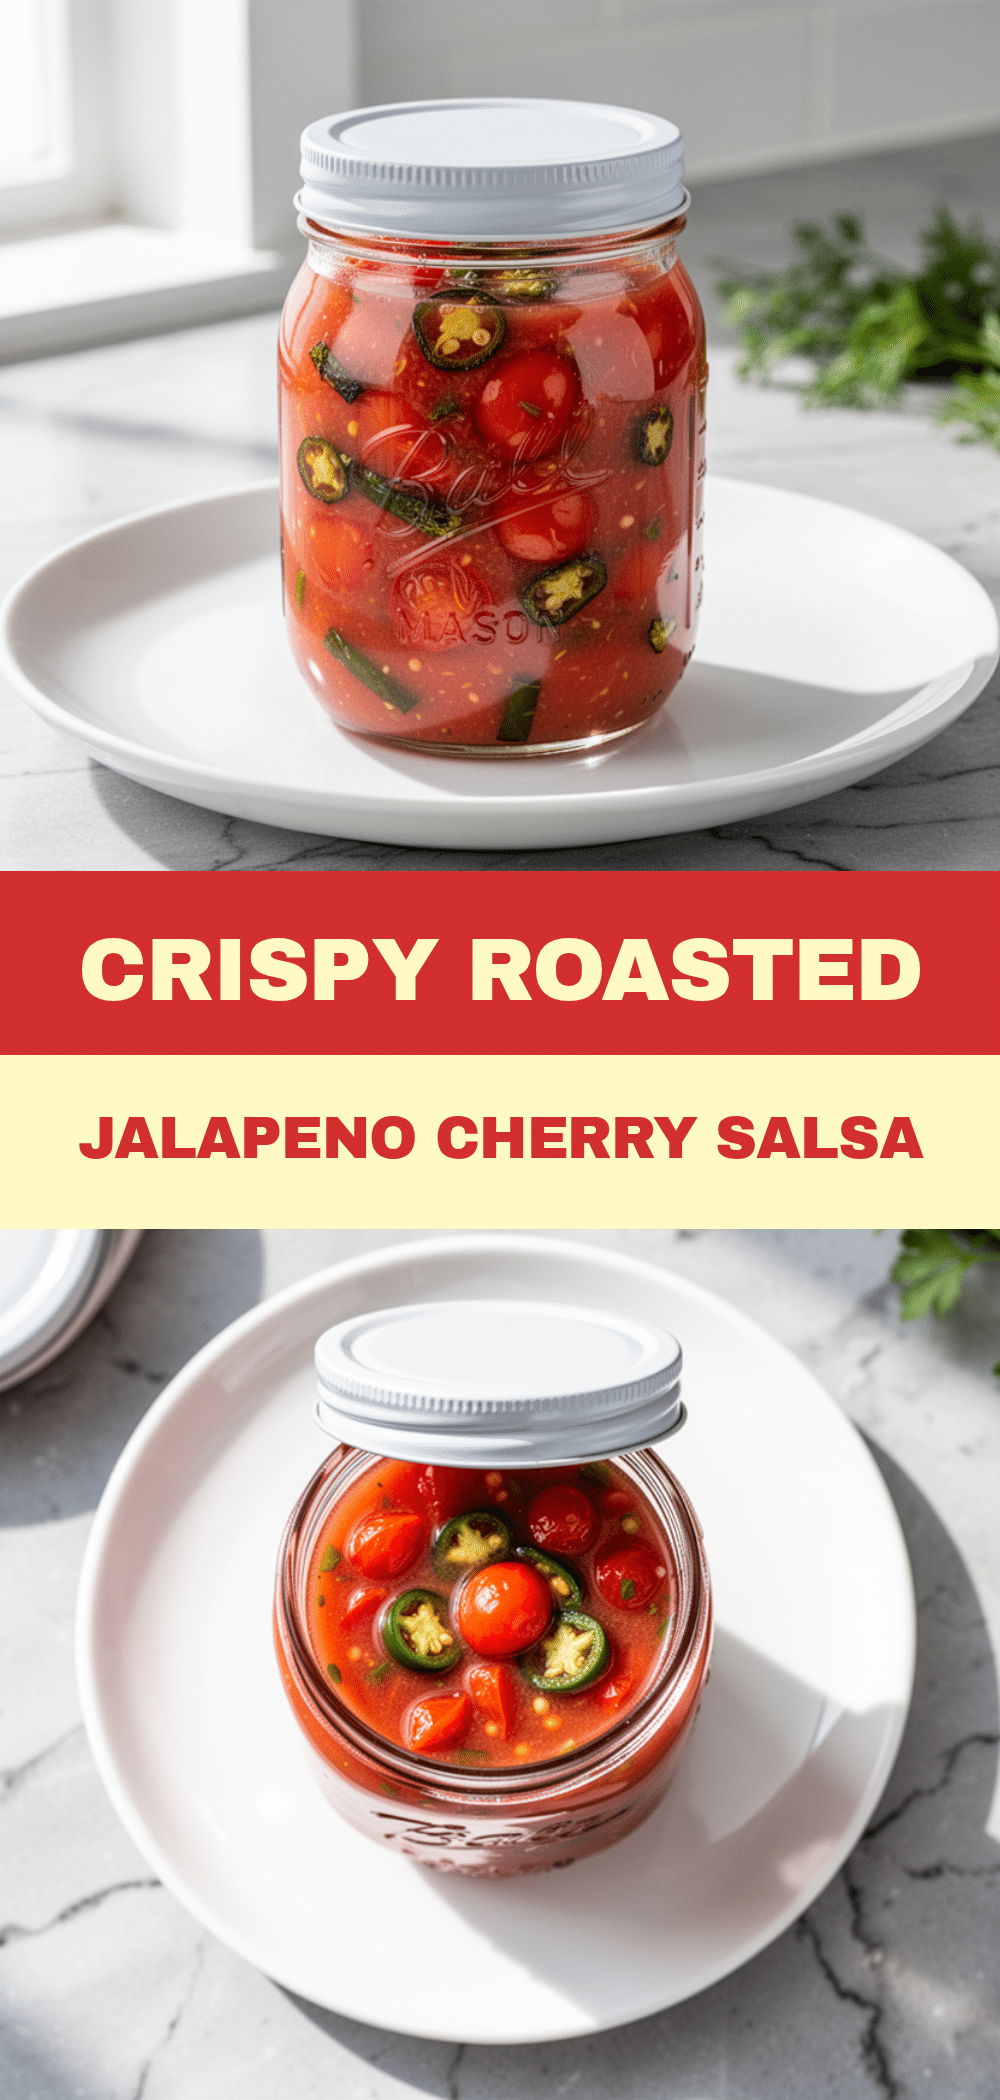
Canned Cherry Tomato Salsa: Best Small-Batch Recipe
- Total Time: 75 minutes
- Yield: Approximately 4-5 pint jars 1x
Description
A safe and flavorful small-batch canned cherry tomato salsa that preserves the taste of summer. This recipe uses tested acidity levels for water bath canning, resulting in a versatile condiment perfect for winter storage.
Ingredients
- 4 pounds (1.8 kg) ripe cherry tomatoes
- 1 medium yellow onion (about 150g), finely chopped
- 4 cloves garlic (2 tablespoons minced)
- ½ cup (120ml) distilled white vinegar (5% acidity)
- 2 tablespoons (30ml) fresh lemon juice
- 2 medium jalapeño peppers (50g), finely chopped, seeds removed for mild heat
- ½ teaspoon cayenne pepper
- ½ cup (15g) fresh cilantro, chopped
- 1 tablespoon (18g) sea salt or canning salt
- ½ teaspoon black pepper, freshly ground
- 1 tablespoon (15g) sugar (optional, if tomatoes are tart)
Instructions
- Wash jars, lids, and bands in hot soapy water. Keep jars hot by placing them in a 225°F (107°C) oven or submerging them in boiling water.
- Wash cherry tomatoes thoroughly, remove cores, and halve or quarter larger tomatoes. Place in a large bowl.
- Finely chop the onion, garlic, and jalapeños. Remove seeds from jalapeños for milder heat. Chop cilantro separately.
- In a large non-reactive pot (stainless steel or enameled), combine tomatoes, onion, garlic, jalapeños, vinegar, lemon juice, salt, pepper, and sugar. Stir well.
- Bring the mixture to a boil over medium-high heat, stirring frequently. Reduce heat and simmer for 10 minutes to soften tomatoes and meld flavors.
- Remove pot from heat and stir in fresh cilantro. Taste and adjust seasoning if needed.
- Ladle hot salsa into hot jars, leaving ½ inch of headspace. Remove air bubbles with a bubble remover or chopstick.
- Wipe rims with a clean, damp cloth. Place new lids on jars and screw bands on until fingertip-tight.
- Place canning towels in the bottom of a large stockpot. Add water to cover jars by at least 1 inch. Bring to a rolling boil.
- Carefully lower jars into the water using a jar lifter. Ensure water covers jars by 1-2 inches.
- Process for 30 minutes for pints or 35 minutes for quarts at a steady boil. Adjust processing time for altitude (add 5 minutes for every 1,000 feet above sea level).
- Turn off heat and let jars sit in water for 5 minutes. Remove jars and place on a towel-lined counter. Do not touch for 12-24 hours.
- Check seals after 24 hours; lids should not flex when pressed. Remove bands for storage. Label, date, and store in a cool, dark place.
Notes
Acidity is critical for safety; do not reduce vinegar or lemon juice. Use fresh tomatoes only. Ensure jars are hot to prevent thermal shock. Leave exactly ½ inch headspace. Wipe rims thoroughly to ensure a seal. Do not overtighten bands. Adjust processing time for altitude if living above 1,000 feet. Check seals after cooling; refrigerate any unsealed jars and consume within a week.
- Prep Time: 45 minutes
- Cook Time: 30 minutes
- Category: Condiments
- Cuisine: American
Nutrition
- Serving Size: 2 tablespoons
- Calories: 15
- Sugar: 2
- Sodium: 150
- Carbohydrates: 3
- Fiber: 0.5
- Protein: 0.5
Keywords: canned salsa, cherry tomato salsa, small batch canning, water bath canning, summer preserves, vegetarian salsa, gluten-free salsa


