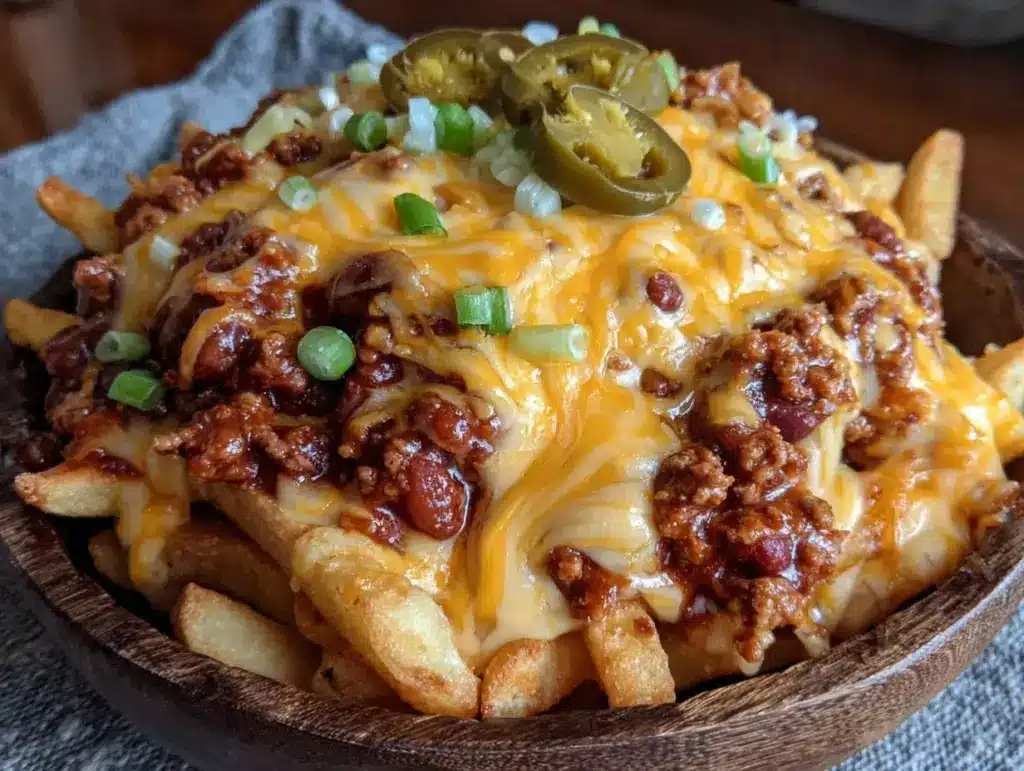
There is a specific kind of magic that happens when you combine crispy fries, savory chili, and melted cheese. It’s not just food; it’s an event. I learned this the hard way during my first serious tailgate attempt about five years ago. I showed up with a bag of frozen fries and a jar of store-bought sauce, thinking I was being “smart.” Big mistake. While other people were pulling out massive grills and slow cookers, I was standing by the car eating lukewarm, soggy potato sticks. My friend Dave looked at my plate, then at his own massive bowl of steaming, cheesy chili, and said, “You could have just stayed home.”
That was the day I decided to stop cutting corners on game day food. I spent the next three seasons perfecting what I now consider the holy grail of tailgate snacks: Football Tailgate Chili Cheese Fries. These aren’t just fries with stuff on them. They are crispy, golden wedges drowning in a rich, slow-simmered beef chili, topped with sharp cheddar, cool sour cream, and maybe some jalapeños if you’re feeling brave. They are messy. They are glorious. And honestly? They are infinitely better than takeout.
I’ve made this recipe for everything from Super Bowl parties to quiet Friday night watch parties with just my husband. Every time, the result is the same: empty platters, sticky fingers, and people asking for the recipe before they’ve even finished their first bite. If you’re looking for a snack that actually brings people together, this is it. It’s comfort food elevated by effort, but don’t worry—I’m going to show you how to make it without spending all day in the kitchen.
Why You’ll Love This Recipe
Let’s be real. Game day food usually falls into one of two categories: tiny, fancy appetizers that disappear in two bites, or heavy, complicated meals that make you sleepy before kickoff. This chili cheese fries recipe sits in the perfect middle ground. It’s substantial enough to be a meal, but fun enough to be a snack. Here’s why this has become my non-negotiable game day staple:
- Maximum Flavor, Minimum Stress — The secret is making the chili ahead of time. You can simmer a huge pot on Sunday, freeze it, and just reheat it on game day. The fries stay crispy because you bake them until they’re golden, not fried in oil. It’s the best of both worlds.
- Visually Stunning — I know, it’s “fries,” but these look incredible. When you pile them high and drizzle that thick chili and bright green jalapeños over the top, it looks like something from a high-end sports bar. It’s Instagram-ready, but in a way that actually makes you hungry.
- Feeds a Crowd Easily — This recipe scales up beautifully. I can double or triple it without any issues. It’s perfect for potlucks, tailgates, or just a family movie night where everyone has different tastes. Everyone loves cheese and fries.
- Customizable for Everyone — Have a vegetarian friend? Swap the beef for lentils. Have someone who hates spice? Skip the jalapeños. This dish is a blank canvas for toppings. I love using it as a base for other ideas, like my loaded cheeseburger casserole, but the fries version is just more fun to eat.
- Better Than Takeout — Seriously. Takeout fries get soggy in the bag. This recipe keeps the fries crisp until the very last bite. Plus, you know exactly what’s in your chili. No mystery meats, no weird preservatives. Just good, honest food.
This is my go-to when I want to impress guests without actually cooking during the game. It’s the culinary equivalent of a warm hug. No complicated techniques, just reliable, delicious food that makes everyone happy.
Ingredients You’ll Need
Here’s the best part: you probably have most of this already, or it’s super easy to grab. I’m particular about a few things here, especially the cheese and the chili base, and I’ll tell you exactly why.
For the Chili Base
Ground beef (1 pound / 450g) — I use 80/20 fat ratio. It keeps the chili juicy. Lean beef gets dry and crumbly, and we want rich, tender chunks. Drain the excess grease, but leave a little bit for flavor.
Yellow onion (1 large, diced / about 250g) — Sweet onions work too, but yellow gives that deep, savory foundation. Mince it finely so it melts into the sauce.
Garlic (4 cloves, minced / about 2 tablespoons) — Fresh only. Jarred garlic just doesn’t have the punch needed for this level of flavor. Don’t skimp.
Chili powder (2 tablespoons) — Use a good quality blend. McCormick is fine, but if you can find a local brand, even better. This is the main flavor driver.
Cumin (1 teaspoon) — Adds that earthy, warm undertone. It’s subtle but necessary.
Smoked paprika (1 teaspoon) — This gives it that “grilled” taste, even if you’re cooking indoors. It’s a game-changer for tailgate vibes.
Tomato sauce (1 can, 15 oz / 425g) — Plain tomato sauce, not paste. It provides the liquid base.
Tomato paste (2 tablespoons) — For depth and thickness. It makes the chili rich and hearty, not watery.
Beef broth (1 cup / 240ml) — Low-sodium is best so you can control the salt. Use what you have.
Black beans (1 can, 15 oz / 425g) — Drained and rinsed. Adds texture and makes the chili more filling. Kidney beans work too, but black beans hold their shape better.
For the Fries & Toppings
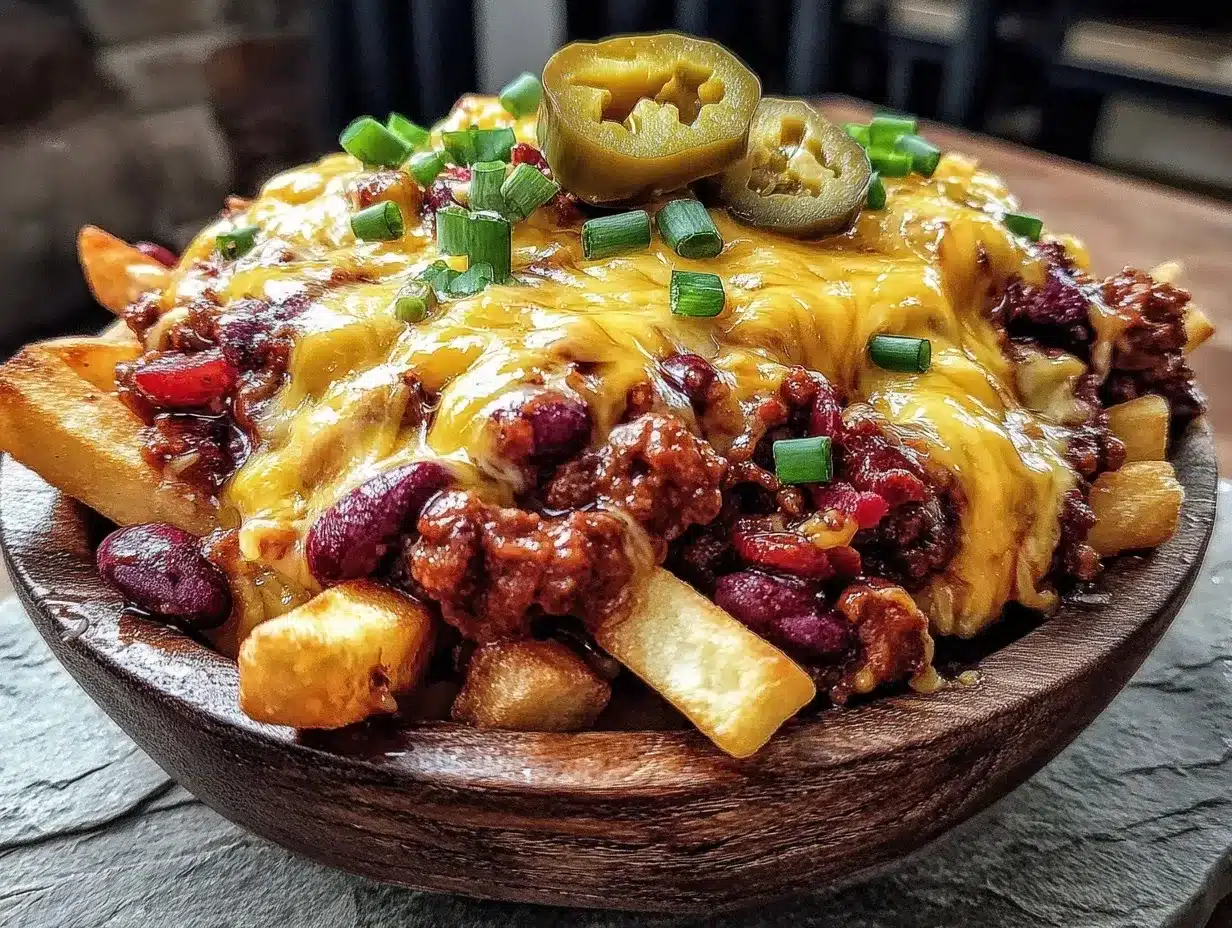
Yukon Gold potatoes (3 large, about 2 pounds / 900g) — I prefer Yukon Gold or Russet. Yukon Golds are creamier and hold up well to baking. Cut them into thick wedges or fries.
Olive oil (3 tablespoons) — Enough to coat the potatoes thoroughly. This is what helps them crisp up.
Sharp Cheddar cheese (2 cups, shredded / 200g) — Buy the block and shred it yourself. Pre-shredded cheese has anti-caking agents that prevent it from melting smoothly. You want gooey, stringy cheese, not grainy bits.
Sour cream (½ cup / 120g) — For cooling contrast. Greek yogurt works if you want it lighter, but sour cream is the classic choice.
Green onions (2 stalks, sliced) — For a fresh, oniony bite and color.
Jalapeños (1-2, sliced) — Optional, but highly recommended. Pickled jalapeños add a nice tang, but fresh ones add heat.
Cilantro (¼ cup, chopped) — For brightness. If you hate cilantro, skip it or use parsley. No judgment.
Salt and black pepper — To taste. Always season your potatoes well before baking.
Equipment Needed
You don’t need fancy equipment for this. Here’s what I actually use.
Large Dutch oven or heavy-bottomed pot — I use a 6-quart pot. It needs to hold all the chili comfortably. My ancient enamel pot from college still works fine, but any big pot with a lid will do.
Baking sheet — I prefer a rimmed baking sheet (half-sheet pan) because it keeps the oil contained. Line it with parchment paper for easy cleanup. I’m lazy, and I like it that way.
Parchment paper — Not strictly necessary, but it saves you from scrubbing the pan later. And let’s be honest, who has time for that?
Sharp knife and cutting board — For chopping onions and cutting potatoes. A dull knife is dangerous and frustrating. Keep it sharp.
Large skillet — For browning the beef if you don’t want to use the Dutch oven for everything. I usually just brown it in the pot to save a dish.
Box grater — For the cheese. Takes about two minutes. Worth it.
Measuring cups and spoons — Standard stuff. Dollar store versions work fine.
How to Make It: Step-by-Step
Alright, let’s make this! I’m walking you through exactly how I do it, including the little tricks I’ve picked up over the years.
Step 1: Prep Your Chili (10 minutes active)
Start with the chili. Heat a splash of oil in your Dutch over medium heat. Add the diced onion and cook for 3-4 minutes until soft and translucent. Add the garlic, chili powder, cumin, and smoked paprika. Stir constantly for 1 minute until it smells amazing. This blooming of spices is crucial for flavor.
Step 2: Brown the Beef (5 minutes)
Add the ground beef to the pot. Break it up with a wooden spoon. Cook until browned, about 5-6 minutes. Drain any excess grease, but leave a tablespoon or two for richness. Stir in the tomato paste and cook for another minute to deepen the flavor.
Step 3: Simmer the Chili (20 minutes)
Pour in the tomato sauce, beef broth, and drained black beans. Stir everything together. Bring to a boil, then reduce heat to low. Cover and simmer for at least 20 minutes. If you have time, let it simmer for an hour. The longer it cooks, the better it tastes. I usually make this the night before, and it’s even better the next day.
Step 4: Prep and Bake the Fries (30 minutes)
While the chili simmers, preheat your oven to 425°F (220°C). Line a baking sheet with parchment paper. Cut the potatoes into uniform wedges or fries. Toss them in a bowl with olive oil, salt, and pepper until evenly coated. Spread them out in a single layer on the baking sheet. Don’t crowd them! If they touch, they’ll steam instead of crisp. Bake for 25-30 minutes, flipping halfway through, until golden and crispy.
Step 5: Assemble the Masterpiece (5 minutes)
Once the fries are done, transfer them to a large serving platter or keep them on the baking sheet if you’re serving family-style. Reheat the chili until it’s hot and bubbly. Spoon the chili generously over the fries. Top with the shredded cheddar cheese. If you want the cheese melted, you can pop the platter back in the oven for 2-3 minutes, or use a kitchen torch for that perfect melt.
Step 6: Add the Toppings
Remove from heat. Dollop with sour cream, sprinkle with sliced jalapeños, green onions, and cilantro. Serve immediately while the fries are still hot and the cheese is gooey.
Expert Tips & Tricks
Here’s everything I’ve learned from making this dozens of times. These tips will save you from my mistakes.
- Cut Uniform Pieces — If your potato fries are different sizes, some will burn while others are raw. Try to keep them all roughly the same thickness for even cooking.
- Don’t Skip the Parchment — Cheese and chili can stick to metal. Parchment paper is your best friend for cleanup. It’s cheap insurance.
- Shred Your Own Cheese — I can’t stress this enough. Pre-shredded cheese won’t melt right. It’ll be clumpy and weird. Take the two minutes to grate a block of cheddar.
- Make Chili Ahead — Chili tastes better the next day. The flavors meld together overnight. Make it on Sunday for Saturday games. It saves so much stress on game day.
- Keep Fries Crispy — If you’re making a big batch, bake the fries in two rounds. Crowding the pan makes them soggy. It’s better to have two trays of crispy fries than one tray of sad, soft ones.
- Use Yukon Golds — Russets are traditional, but Yukon Golds are creamier and hold their shape better. They feel more luxurious in your mouth.
- Balance the Heat — If you’re serving people with low spice tolerance, keep the jalapeños on the side. Let them add their own heat. Don’t assume everyone wants it spicy.
Variations & Substitutions
Once you’ve nailed the basic version, here’s how you can mix it up. I’ve tried all of these.
Veggie Chili Version — Swap the beef for lentils or extra beans. Use vegetable broth instead of beef broth. It’s just as hearty and satisfying. My vegetarian friends love this version.
Turkey Chili — Ground turkey is leaner and works well. Just make sure to add a bit more oil to keep it moist. It’s a good option if you want something slightly lighter.
Chicken Chili — Use shredded rotisserie chicken. Add it at the end just to heat through. It’s milder and great for kids.
Buffalo Style — Swap the chili for buffalo sauce and blue cheese crumbles. It’s a different vibe, but equally delicious.
Potato Swap — Sweet potatoes are great too! Toss them with cinnamon and paprika instead of just salt. They pair beautifully with the spicy chili.
Cheese Swap — Pepper jack cheese adds heat. Monterey Jack is milder. Mix them up for a balanced flavor profile.
Serving & Storage
How to Serve: I usually serve this straight from the baking sheet at the party. It looks rustic and keeps warm. But you can also serve it in bowls for a more sit-down feel. Pair it with a simple green salad or some cornbread to balance the heaviness.
Side Dishes: Garlic bread is obvious, but I love serving it with loaded sweet potato skins for extra variety. A cold beer or a spicy margarita works well too.
Refrigerator: Store chili and fries separately in airtight containers for up to 3 days. The fries will get soft in the fridge, so don’t store them together.
Reheating: Reheat the chili in a pot on the stove. Reheat the fries in the oven at 400°F for 10 minutes to crisp them back up. Microwave fries just make them rubbery. Trust me.
Freezing: Chili freezes beautifully for up to 3 months. Fries do not freeze well. They get mushy when thawed. Make the chili in batches and freeze it for quick game day meals.
Nutrition Information
I’m not a nutritionist, but here’s the breakdown if you’re tracking. This is indulgent food, so keep portions in mind.
Per Serving (based on 6 servings):
Calories: 650
Protein: 25g
Carbs: 45g
Fiber: 6g
Sugar: 4g
Fat: 38g
Saturated Fat: 15g
Cholesterol: 70mg
Sodium: 800mg
Calcium: 300mg
What’s Good: High protein from the beef and cheese. Good fiber from the beans and potatoes. Calcium from the cheese.
What to Know: Higher in calories and fat from the cheese and beef. High sodium. Use low-sodium broth and beans to reduce salt. It’s comfort food, not diet food.
Final Thoughts
So that’s my Football Tailgate Chili Cheese Fries! I’ve probably talked your ear off at this point, but when you make a recipe this often, you have a lot to say about it. This has saved game days more times than I can count. It’s my answer to “what do I bring?” when I’m tired, don’t want to cook a full meal, and still want something that tastes really good. My kids are happy, my husband’s happy, and I’m happy because I’m not stressed about cooking.
Make it yours! Try different add-ins, swap in your favorite vegetables, adjust the spice level. The best recipes are the ones you adapt to your family’s tastes. If you make this, drop a comment and let me know what you think! I love hearing how recipes turn out in your kitchen. And if something doesn’t work, tell me that too—I’m here to help troubleshoot.
Happy cooking! And I hope your kitchen smells half as good as mine does right now.
Frequently Asked Questions
Can I use frozen fries instead of fresh potatoes?
You can, but fresh potatoes taste so much better. Frozen fries often have a weird texture after baking. If you must use frozen, choose thick-cut steak fries and bake them according to package directions. They’ll be fine, but not as good as fresh.
Why did my fries turn out soggy?
Usually means you crowded the baking sheet. The fries need space to air out and crisp up. If they’re touching, they steam. Also, make sure your oven is fully preheated. A cold oven leads to soggy fries.
Can I make this ahead for a party?
Yes! Make the chili a day ahead. Bake the fries right before serving. If you bake them too early, they’ll get soft. Reheat the chili and bake the fries simultaneously. It takes about 30 minutes total.
What cheese is best for this?
Sharp cheddar is the classic choice. It has enough flavor to stand up to the spicy chili. Pepper jack adds heat. Monterey Jack is milder. Mix them up for a balanced flavor profile.
Can I use ground turkey instead of beef?
Absolutely. Ground turkey is leaner and works well. Just make sure to add a bit more oil to keep it moist. It’s a good option if you want something slightly lighter.
How do I reheat leftovers without it getting dry?
Reheat the chili in a pot on the stove. Reheat the fries in the oven at 400°F for 10 minutes to crisp them back up. Microwave fries just make them rubbery. Trust me.
Can I double this recipe?
Yes! Double the chili and bake the fries in two batches. Don’t try to bake a huge batch of fries on one pan; they’ll steam. Two batches of crispy fries is better than one batch of soggy ones.
Pin This Recipe!
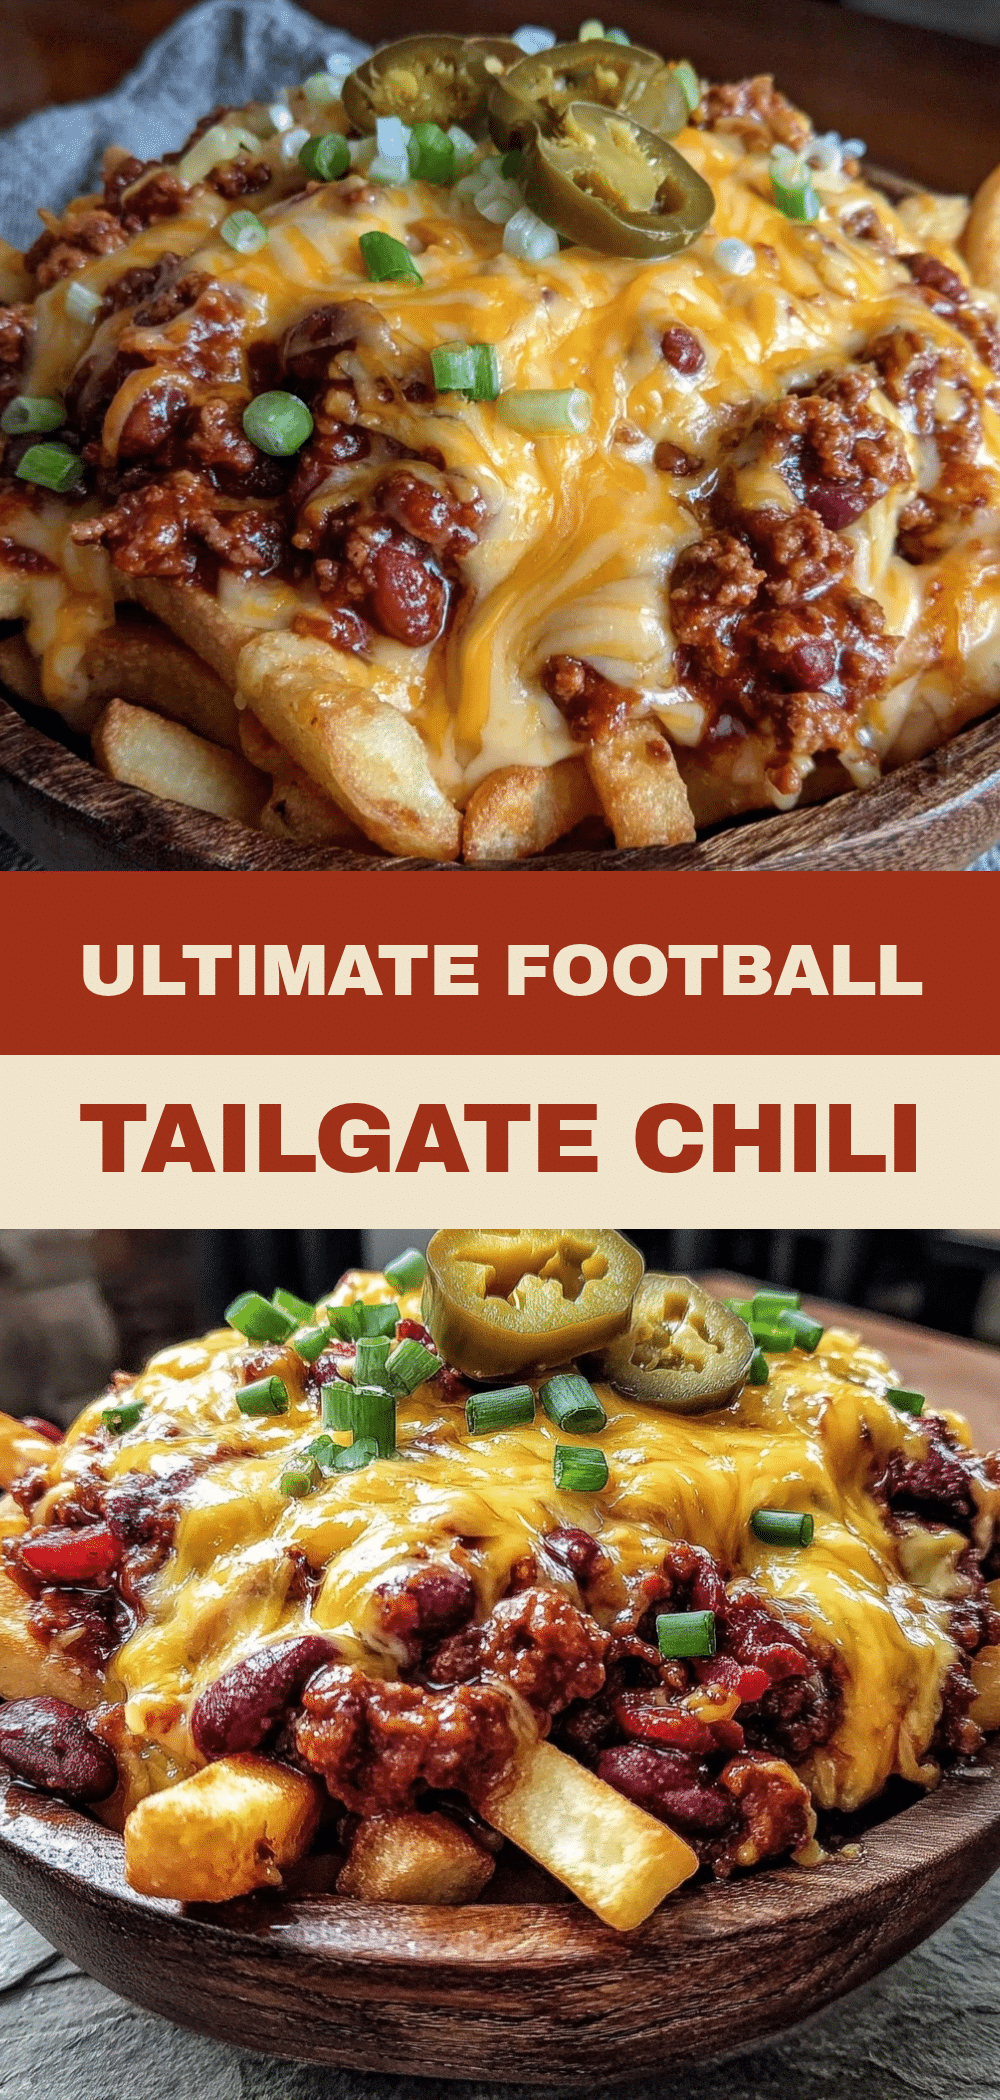
Football Tailgate Chili Cheese Fries: Best Game Day Snack
- Total Time: 1 hour 10 minutes
- Yield: 6 servings 1x
Description
Crispy baked potato wedges topped with rich, slow-simmered beef chili, sharp cheddar cheese, sour cream, and jalapeños. The ultimate customizable game day comfort food.
Ingredients
- 1 pound ground beef (80/20 fat ratio)
- 1 large yellow onion, diced
- 4 cloves garlic, minced
- 2 tablespoons chili powder
- 1 teaspoon cumin
- 1 teaspoon smoked paprika
- 1 can (15 oz) tomato sauce
- 2 tablespoons tomato paste
- 1 cup beef broth (low-sodium)
- 1 can (15 oz) black beans, drained and rinsed
- 3 large Yukon Gold potatoes (about 2 pounds)
- 3 tablespoons olive oil
- Salt and black pepper to taste
- 2 cups sharp cheddar cheese, shredded
- ½ cup sour cream
- 2 stalks green onions, sliced
- 1–2 jalapeños, sliced
- ¼ cup cilantro, chopped
Instructions
- Heat a splash of oil in a large Dutch oven over medium heat. Add diced onion and cook for 3-4 minutes until soft and translucent.
- Add minced garlic, chili powder, cumin, and smoked paprika. Stir constantly for 1 minute until fragrant.
- Add ground beef and break it up with a wooden spoon. Cook until browned, about 5-6 minutes. Drain excess grease, leaving about a tablespoon for richness.
- Stir in tomato paste and cook for another minute to deepen the flavor.
- Pour in tomato sauce, beef broth, and drained black beans. Stir to combine.
- Bring to a boil, then reduce heat to low. Cover and simmer for at least 20 minutes (or up to an hour for better flavor).
- While chili simmers, preheat oven to 425°F (220°C). Line a baking sheet with parchment paper.
- Cut potatoes into uniform wedges or fries. Toss in a bowl with olive oil, salt, and pepper until evenly coated.
- Spread potatoes in a single layer on the baking sheet, ensuring they are not touching. Bake for 25-30 minutes, flipping halfway through, until golden and crispy.
- Transfer crispy fries to a large serving platter.
- Reheat the chili until hot and bubbly. Spoon generously over the fries.
- Top with shredded cheddar cheese. Optionally, return to oven for 2-3 minutes or use a kitchen torch to melt the cheese.
- Dollop with sour cream and sprinkle with sliced jalapeños, green onions, and cilantro. Serve immediately.
Notes
For best results, make the chili ahead of time as flavors meld overnight. Cut potatoes into uniform sizes for even cooking. Do not crowd the baking sheet to ensure fries stay crispy. Pre-shredded cheese contains anti-caking agents that prevent smooth melting, so shred your own block of cheddar.
- Prep Time: 15 minutes
- Cook Time: 55 minutes
- Category: Appetizer
- Cuisine: American
Nutrition
- Serving Size: 1/6 of the recipe
- Calories: 650
- Sugar: 4
- Sodium: 800
- Fat: 38
- Saturated Fat: 15
- Carbohydrates: 45
- Fiber: 6
- Protein: 25
Keywords: chili cheese fries, game day food, tailgate snacks, football recipes, baked fries, beef chili, comfort food, party food


