It was 6:45 PM on a Tuesday, and the house was already too loud. The dishwasher was humming, the dog was begging for scraps, and my kids were arguing over who got the good coloring pencils. I was staring into the fridge, feeling that familiar pinch of dread that comes when you know dinner is twenty minutes away but you have zero energy to cook.
Usually, this is when I reach for the takeout menu. But last week, I was too tired to even pick up the phone. Instead, I grabbed a zucchini, a block of Parmesan, and a bag of flour. I wasn’t trying to make a gourmet meal. I just wanted something hot, something crunchy, and something that would make my kids stop yelling long enough to sit at the table.
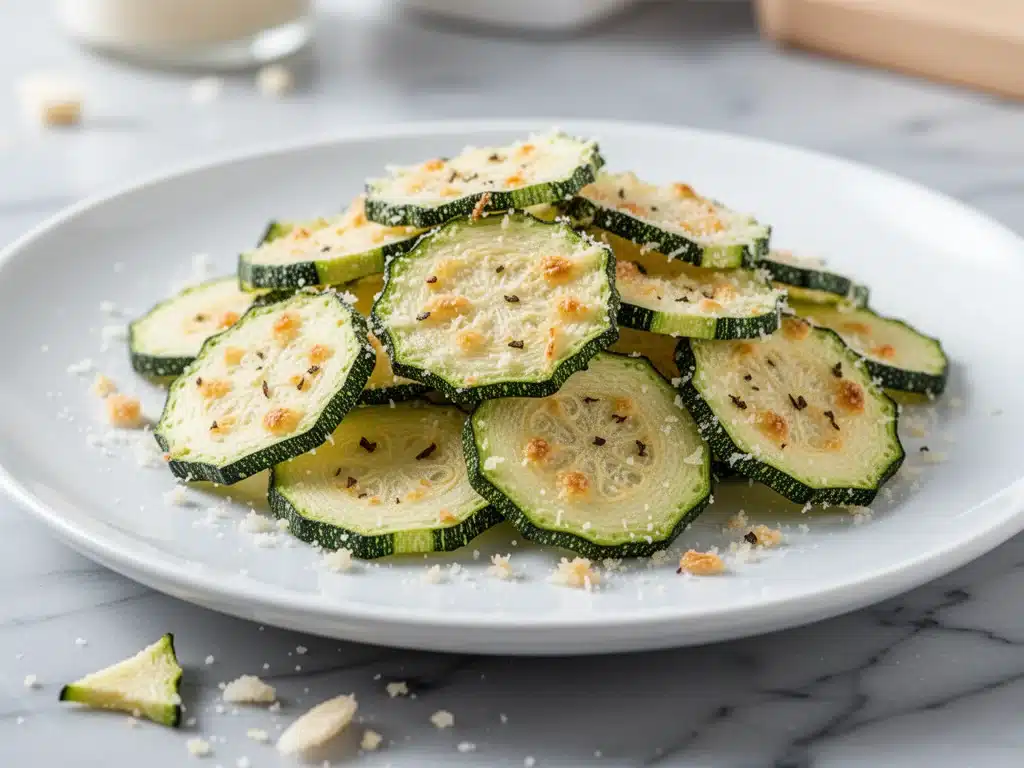
Thirty minutes later, the smell of garlic and baked cheese filled the kitchen. My kids didn’t just sit; they devoured these crispy baked zucchini chips with Parmesan and garlic. They were so surprised by how good a vegetable could taste that they forgot to argue. And honestly? So was I.
I’ve made these chips at least fifteen times since that chaotic Tuesday. Some nights I use them as a side for foolproof cast iron ribeye (the garlic flavor pairs perfectly with beef). Other nights, they’re the main event with a simple salad. But mostly, they’re my secret weapon for busy weeknights when I need to feed four hungry people without turning my kitchen into a war zone.
Here’s the thing about these chips: they aren’t just “diet food.” They aren’t sad, limp vegetables dressed up with spices. They are genuinely, undeniably crispy. The Parmesan forms a golden crust that shatters when you bite into it, and the zucchini stays tender inside. It’s the perfect balance of salty, savory, and satisfying. If you’ve been looking for a way to get your family to eat more veggies—or if you just want a snack that doesn’t involve deep frying—this is it.
Why You’ll Love This Recipe
I know what you’re thinking. “Zucchini chips? Really?” Trust me, once you try these, you’ll be convinced. This isn’t your average baked vegetable side dish. It’s a game-changer for several reasons:
- Actually Crispy — Most baked zucchini turns out soggy. Not this. By using a specific drying technique and a touch of cornstarch, these chips get shatteringly crisp. I’ve tested this method with regular baking sheets and parchment paper, and it consistently delivers that chip-like crunch.
- Ready in 25 Minutes — From prep to plate, this takes less time than it takes to browse TikTok. I make these on weeknights when I get home at 6:30 PM and still need to help with homework by 7:00. It’s fast enough for a Tuesday panic and impressive enough for a Thursday dinner party.
- Kid-Approved — This is the biggest win. My kids are notorious veggie-haters. They’ll pick the broccoli off their pizza crust. But these chips? They eat them like they’re french fries. The Parmesan and garlic mask the “veggie” taste completely. If you can make crispy eggplant parmesan chips, you can definitely master this.
- Healthy Without Being Boring — You’re getting fiber, vitamins, and low calories, but it tastes indulgent. It’s a great way to sneak in nutrients without the kids complaining. Plus, it’s baked, not fried, so you feel good about serving it.
- Super Affordable — Zucchini is cheap, especially in season. A couple of zucchinis, some Parmesan, and pantry staples like garlic and oil cost less than $5. That’s a huge win for a family of four.
This recipe has completely changed our after-school snack routine. No more chips from the bag (which are expensive and full of junk). Now, we have these warm, cheesy, garlicky bites ready in a flash. It’s reliable, it’s delicious, and it makes me feel like a hero mom for five minutes.
Ingredients You’ll Need
Here’s the best part: you probably have most of this already. The ingredient list is short, simple, and focused on flavor. I’m particular about a few items here, so pay attention to the details.
For the Zucchini Base
Zucchini (2 medium / about 400g) — Look for firm, smooth zucchini without soft spots. Medium-sized ones are best because they’re easier to slice evenly. If they’re huge and spongy, the seeds can make the chips watery. I buy mine from the local farmer’s market when I can, but grocery store zucchini works fine too.
Garlic (4 cloves, minced / about 2 tablespoons) — Fresh garlic is non-negotiable here. Jarred garlic has a metallic aftertaste that clashes with the delicate zucchini. Mince it finely so it sticks to the chips. If you’re in a huge rush, you can use a garlic press, but mincing gives better texture.
Extra Virgin Olive Oil (3 tablespoons / 45ml) — You need enough oil to help the breading stick and crisp up, but not so much that it fries them. I use a good quality extra virgin for flavor, but a neutral oil like avocado oil works if you prefer a milder taste.
Cornstarch (2 tablespoons / 15g) — This is the secret weapon. Cornstarch absorbs moisture from the zucchini and helps the Parmesan crust get crunchy. Don’t skip it! Flour works in a pinch, but cornstarch gives a lighter, crispier texture.
For the Flavor Crust
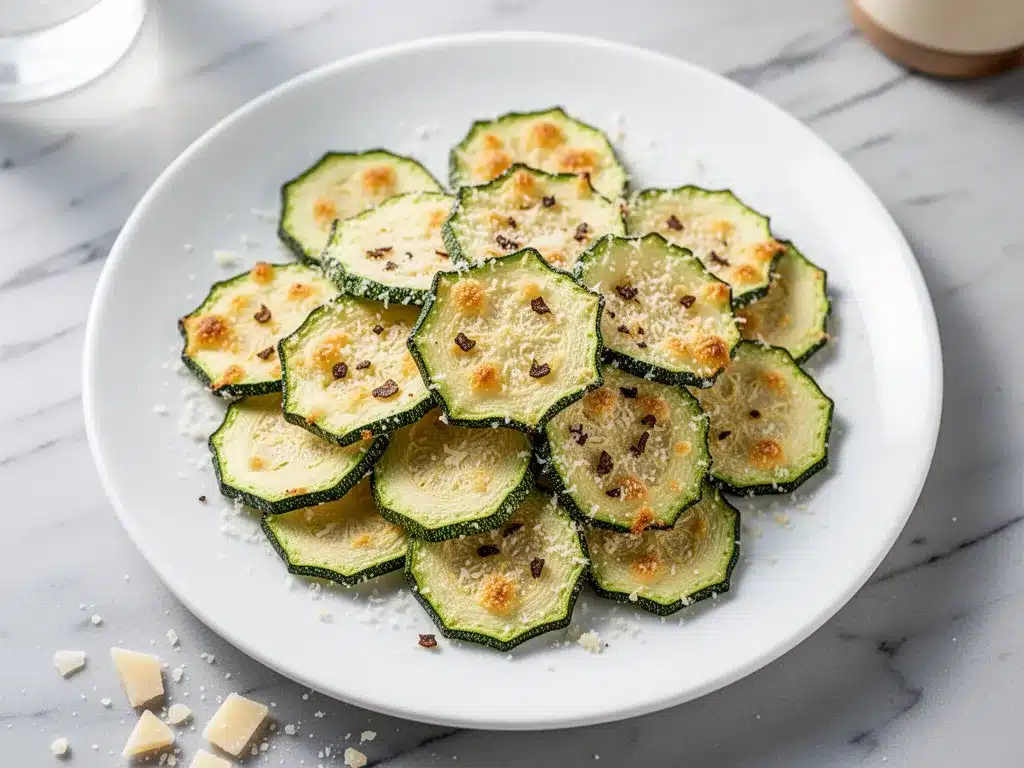
Parmesan Cheese (1 cup / 100g, freshly grated) — Buy the block and grate it yourself. Pre-grated cheese has anti-caking agents that prevent it from melting and crisping properly. Freshly grated Parmesan creates that beautiful golden, crunchy shell. It takes two minutes and makes a huge difference.
Italian Seasoning (1 teaspoon) — Adds herby depth. If you don’t have it, use a mix of dried oregano and basil. It complements the garlic perfectly.
Salt and Black Pepper (to taste) — I use about ½ teaspoon of kosher salt and a good crack of black pepper. Taste your Parmesan first—if it’s very salty, you might need less salt.
Red Pepper Flakes (½ teaspoon, optional) — For a little kick. My kids love this, but you can skip it if you prefer mild.
Pantry Staples
Make sure you have baking sheets and parchment paper. I also recommend a wire rack if you have one—it helps air circulate and makes them even crispier. But if you’re like me and forget to buy one, parchment paper works just fine.
Equipment Needed
You don’t need fancy gadgets for this. Here’s what I actually use:
Baking Sheets — I use two standard half-sheet pans. You need space between the chips so they don’t steam. Crowding the pan is the #1 reason baked chips get soggy.
Parchment Paper — Essential for easy cleanup and preventing sticking. Silicone mats work too, but parchment is cheaper and easier to replace.
Sharp Knife or Mandoline — For slicing the zucchini. A sharp chef’s knife works, but a mandoline gives you perfectly even slices, which ensures they cook uniformly. If you use a mandoline, please be careful—these blades are sharp!
Bowl — For tossing the zucchini with oil and cornstarch.
Small Bowl — For mixing the Parmesan and spices.
Pastry Brush or Spoon — To lightly oil the tops before baking. I use a silicone brush because it’s easier to control the amount of oil.
Cooling Rack — Optional but recommended. Transferring the chips to a wire rack after baking keeps them crispy. If they sit on the hot pan, steam builds up and they soften.
How to Make It: Step-by-Step
Alright, let’s make these crispy baked zucchini chips! I’m walking you through exactly how I do it, including the little tricks that keep them crunchy.
Step 1: Prep the Zucchini (5 minutes)
Wash the zucchini and trim the ends. Slice them into rounds about 1/8-inch thick. Uniform thickness is key—if some slices are thick and some are thin, the thin ones will burn before the thick ones cook. I like to slice them slightly on the diagonal for a prettier shape, but round slices work fine too.
Pro Tip: If your zucchini is very watery, sprinkle the slices with salt and let them sit on paper towels for 10 minutes. This draws out excess moisture. Pat them dry thoroughly before proceeding. This step is optional but helps with crispiness.
Step 2: Dry and Coat (5 minutes)
Place the zucchini slices in a large bowl. Drizzle with the olive oil and toss until every slice is lightly coated. Sprinkle the cornstarch over the zucchini and toss again. You want a thin, even coating of cornstarch on each slice. This is what helps them crisp up in the oven.
Transfer the coated zucchini to a clean plate or tray. Let them sit for 2 minutes while you preheat the oven. This gives the cornstarch time to adhere.
Step 3: Make the Parmesan Mixture (2 minutes)
In a small bowl, combine the freshly grated Parmesan, minced garlic, Italian seasoning, salt, pepper, and red pepper flakes (if using). Mix well. The garlic should be finely minced so it doesn’t burn in the oven.
Step 4: Assemble the Chips (5 minutes)
Line two baking sheets with parchment paper. Arrange the zucchini slices on the sheets in a single layer. Do not overlap them! Give each slice some breathing room. If you don’t have enough room, bake in two batches. Overcrowding leads to steaming, not baking.
Press a generous pinch of the Parmesan mixture onto the center of each zucchini slice. You don’t need to cover the whole slice—just a good layer in the middle. Press it down gently so it sticks. The cheese will melt and spread slightly in the oven.
Step 5: Bake (15-18 minutes)
Preheat your oven to 400°F (200°C). Place the baking sheets in the oven, leaving space between them for air circulation. Bake for 15-18 minutes. You’ll know they’re done when the Parmesan is golden brown and bubbly, and the zucchini edges are slightly crisp.
Important: Rotate the pans halfway through baking (swap top and bottom racks) to ensure even browning. Ovens often have hot spots, and this helps prevent one side from burning.
Step 6: Cool and Serve (5 minutes)
Remove the chips from the oven. Let them cool on the baking sheet for 2 minutes, then transfer them to a wire rack if you have one. Cooling on a rack prevents steam from making the bottoms soggy. They will continue to crisp up as they cool.
Serve warm. They’re best eaten fresh, but they hold up okay for an hour or two if you’re prepping for a gathering.
Expert Tips & Tricks
Here’s everything I’ve learned from making these dozens of times. These tips will save you from my mistakes.
Don’t Skip the Cornstarch
I know it seems like an odd ingredient for a vegetable chip, but it’s crucial. The cornstarch creates a barrier that keeps the zucchini from getting mushy and helps the Parmesan stick and crisp. Without it, you get soft, saucy zucchini. With it, you get chips.
Pat Dry, Then Pat Dry Again
Zucchini is mostly water. The more water you can remove before baking, the crispier they’ll be. After slicing, I always pat them with paper towels. If you skip this step, the chips will steam in the oven instead of bake.
Use Fresh Parmesan
Pre-grated Parmesan is coated with cellulose to keep it from clumping. This coating stops it from melting properly. Buy a wedge of Parmigiano-Reggiano and grate it yourself. It’s worth the extra two minutes. The flavor is also significantly better.
Don’t Overcrowd the Pan
I know it’s tempting to fit as many as possible on the sheet, but resist. Each chip needs space for air to circulate. If they’re touching, they’ll steam each other. Bake in batches if you need to. It’s better to have fewer perfectly crispy chips than a whole pan of soggy ones.
Rotate the Pans
Most home ovens have uneven heat. Rotating the pans halfway through ensures both sides brown evenly. I set a timer for 8 minutes to remind me. It’s a small step that makes a big difference.
Cool on a Rack
This is the step most people skip, but it’s vital for texture. If you leave them on the hot pan, the bottom stays warm and steams, making it soft. A wire rack lets air circulate underneath, keeping them crispy on all sides.
Variations & Substitutions
Once you’ve nailed the basic version, here’s how you can mix it up. I’ve tried all of these.
Spicy Version
Add an extra ½ teaspoon of red pepper flakes to the Parmesan mixture. You can also sprinkle a little cayenne pepper for more heat. My husband likes it spicy, so I always make a batch with extra chili.
Herb-Infused
Swap the Italian seasoning for fresh chopped rosemary and thyme. The piney flavor of rosemary pairs beautifully with garlic and Parmesan. Just chop the herbs finely so they distribute evenly.
Garlic Powder Boost
If you love garlic, add ½ teaspoon of garlic powder to the Parmesan mix. It intensifies the garlic flavor without adding more fresh cloves, which can burn.
Dairy-Free Option
Replace Parmesan with nutritional yeast. It gives a cheesy, nutty flavor. You might need to add a little more cornstarch to help it stick. It’s not exactly the same, but it’s tasty and works for vegans.
Gluten-Free
This recipe is naturally gluten-free if you use cornstarch and check your Parmesan (some pre-grated cheeses have wheat-based anti-caking agents). Freshly grated Parm is always safe. Serve with gluten-free dipping sauces.
Protein Boost
Add 2 tablespoons of ground parmesan or pork rinds to the Parmesan mix for extra crunch and protein. It makes the crust even thicker and crispier.
Serving & Storage
How to Serve
I usually serve these straight from the rack at the dinner table—they look rustic and stay warm. But here are other ways I’ve enjoyed them:
- With Dipping Sauces — Marinara sauce, ranch dressing, or garlic aioli are perfect for dipping. My kids go crazy for the ranch.
- As a Side Dish — They pair well with chicken fried rice for a complete meal. The lightness of the chips balances the heaviness of the rice.
- On Salads — Chop them up and sprinkle over a green salad for a crunchy, cheesy topping. It’s like croutons but healthier.
- With Soup — Serve them alongside a bowl of tomato soup or minestrone. Perfect for dipping.
Storage Instructions
Refrigerator: Store leftovers in an airtight container for up to 2 days. They will lose some crispiness in the fridge, which is normal.
Reheating: The best way to reheat is in the oven or toaster oven at 375°F for 5-7 minutes. This restores the crunch. Avoid the microwave—it will make them soft and chewy. If you must use the microwave, do it for 30 seconds and eat immediately, but expect some texture loss.
Freezing: I don’t recommend freezing these. The zucchini releases water when thawed, and the texture becomes mushy. It’s best to make them fresh.
Meal Prep: You can prep the zucchini slices and coat them with cornstarch up to 24 hours ahead. Store them in a sealed container in the fridge. Assemble and bake right before serving. This saves time on busy weeknights.
Nutrition Information
I’m not a nutritionist, but here’s the breakdown if you’re tracking. Keep in mind that nutrition varies based on specific brands and exact measurements.
Per Serving (based on 4 servings, 8 chips each):
- Calories: 120
- Protein: 6g
- Carbs: 6g
- Fiber: 1g
- Sugar: 2g
- Fat: 8g
- Saturated Fat: 3g
- Sodium: 280mg
What’s Good: Low in calories and carbs. Good source of protein from the Parmesan. Contains vitamins A and C from the zucchini.
What to Know: Higher in sodium due to the Parmesan. If you’re watching salt, use low-sodium Parmesan or reduce the added salt. Contains dairy.
My Take: These are a guilt-free snack. They satisfy the craving for something crunchy and salty without the empty calories of potato chips. When I make these, I feel good about serving them to my family.
Final Thoughts
So that’s my go-to crispy baked zucchini chips! I’ve probably talked your ear off at this point, but when you make a recipe this often, you have a lot to say about it.
This has saved weeknight dinners more times than I can count. It’s my answer to “what’s for snack” when the kids are hungry, I’m tired, and I don’t want to open a bag of processed chips. My kids are happy, my husband’s happy, and I’m happy because I’m not stressed about cooking.
Make it yours! Try different herbs, adjust the garlic, or add some heat. The best recipes are the ones you adapt to your family’s tastes. And if you’re looking for more easy, healthy snacks, check out this crispy hash brown breakfast casserole for a hearty weekend treat.
If you make this, drop a comment and let me know what you think! I love hearing how recipes turn out in your kitchen. And if something doesn’t work, tell me that too—I’m here to help troubleshoot.
Happy cooking! And I hope your kitchen smells half as good as mine does right now.
Frequently Asked Questions
Can I use a dehydrator instead of an oven?
Yes! Dehydrator zucchini chips are a thing. Set your dehydrator to 135°F (57°C) and dry for 6-8 hours. The texture will be more like a hard chip than a soft-baked chip. It’s a great option if you want to meal prep in bulk, but it takes much longer than oven baking.
Why are my chips soggy?
Usually, this means there was too much moisture. Did you pat the zucchini dry before coating? Did you overcrowd the pan? Or did you skip the cornstarch? Also, make sure you’re baking at the right temperature (400°F). Lower temps can lead to steaming instead of crisping. Let them cool on a wire rack too—this is crucial.
Can I use yellow squash instead of zucchini?
Absolutely. Yellow squash has a similar texture and water content. The process is exactly the same. Just be aware that yellow squash can be slightly sweeter, which pairs well with the savory Parmesan.
How do I keep them crispy for a party?
If you’re serving them at a party, bake them 30 minutes ahead and keep them warm in a 200°F oven on a wire rack. Do not cover them, or they’ll steam. Serve them as soon as possible after taking them out of the oven for maximum crunch.
Can I make these in an air fryer?
Yes! Air fryer zucchini chips are amazing. Preheat to 375°F. Cook for 8-10 minutes, shaking the basket halfway through. They get very crispy in the air fryer, sometimes even more so than the oven. Just watch them closely—they can burn faster in an air fryer.
What dipping sauce goes best with these?
Marinara is classic. Ranch is a crowd-pleaser, especially with kids. Garlic aioli is fancy and delicious. For something light, try a lemon-yogurt dip. Basically, whatever you like with chicken nuggets or fries works here.
Can I double the recipe?
Yes, but you’ll need to bake in two batches or use two large sheets. Do not try to bake a double batch on one sheet—it will be crowded and soggy. Two batches take 10 extra minutes but are worth it for the quality.
Pin This Recipe!
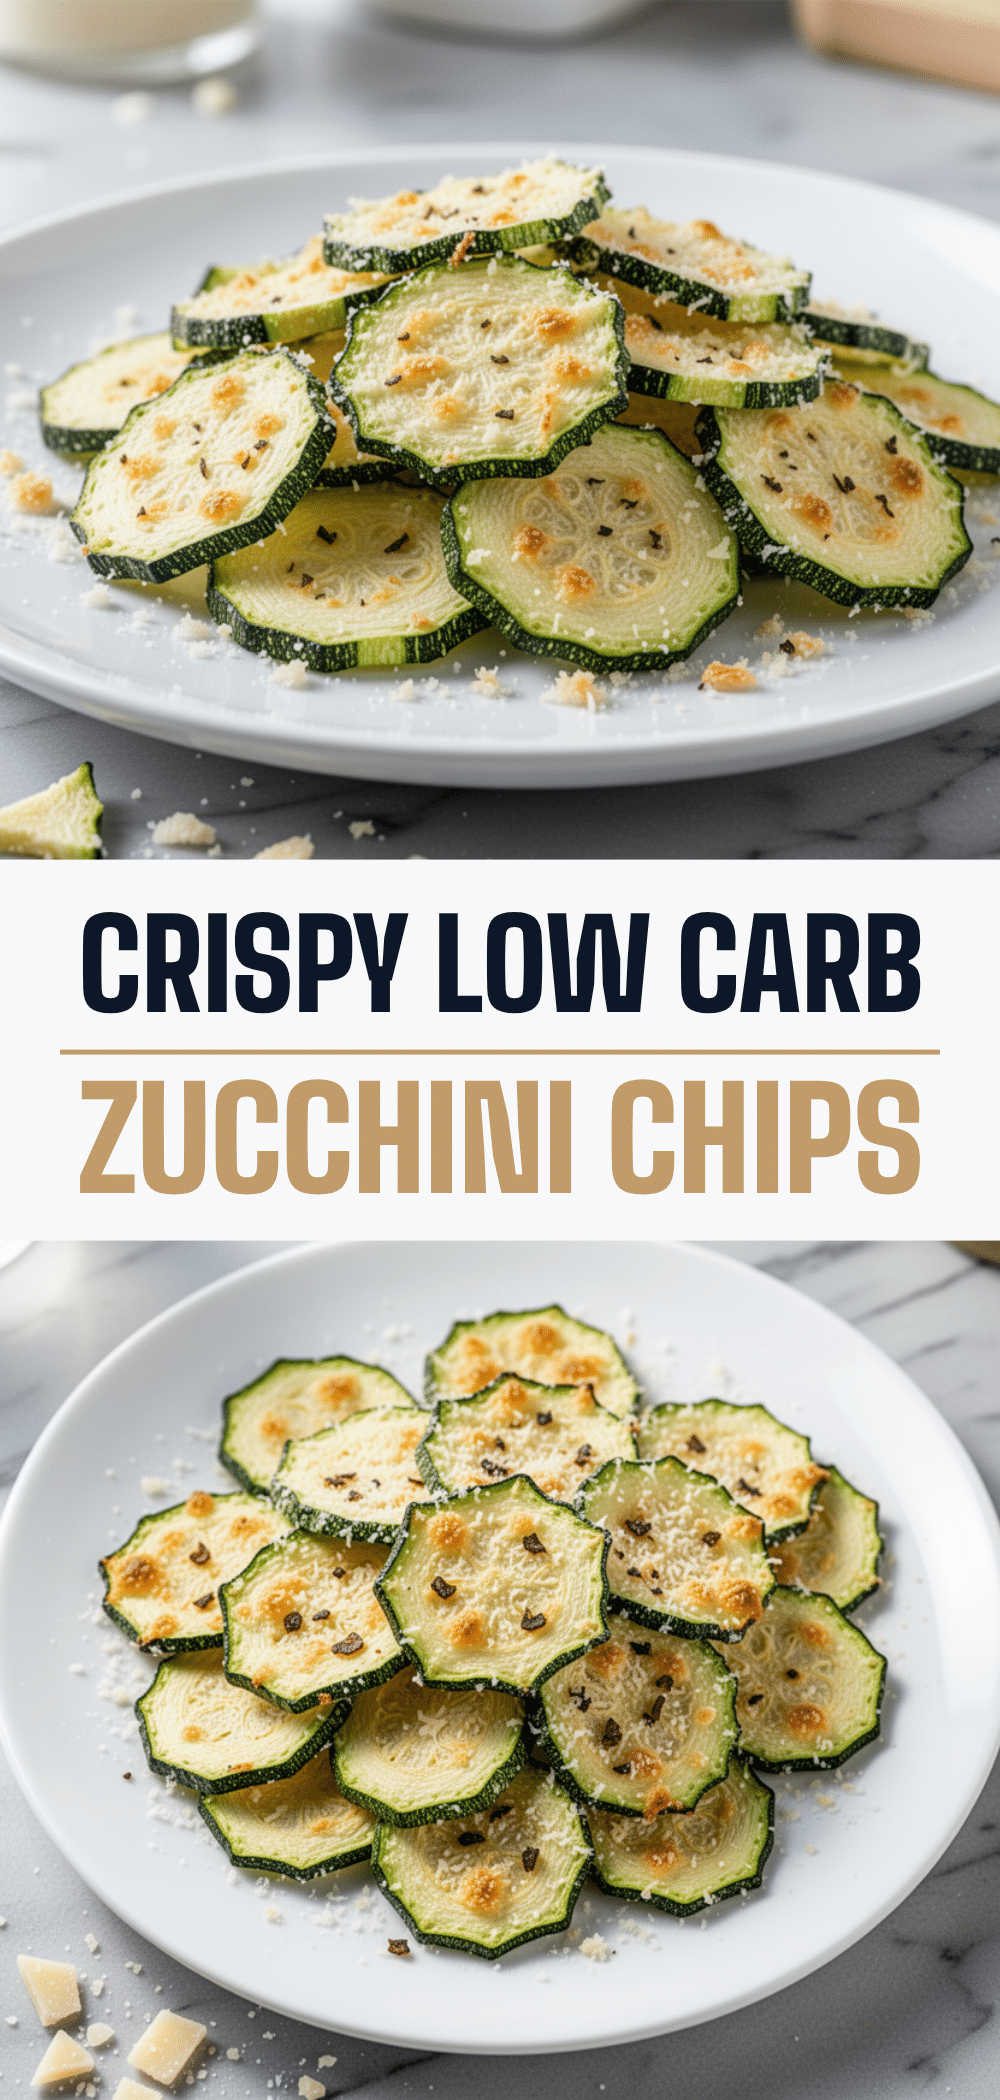
Crispy Baked Zucchini Chips: Best Easy Parmesan Snack
- Total Time: 30 minutes
- Yield: 4 servings 1x
Description
These crispy baked zucchini chips with Parmesan and garlic are a quick, healthy, and kid-approved snack or side dish that delivers a satisfying crunch without deep frying.
Ingredients
- 2 medium zucchini (about 400g)
- 4 cloves garlic, minced
- 3 tablespoons extra virgin olive oil
- 2 tablespoons cornstarch
- 1 cup freshly grated Parmesan cheese
- 1 teaspoon Italian seasoning
- 1/2 teaspoon kosher salt
- Black pepper to taste
- 1/2 teaspoon red pepper flakes (optional)
Instructions
- Preheat oven to 400°F (200°C).
- Wash zucchini and trim ends. Slice into 1/8-inch thick rounds. If watery, sprinkle with salt, sit on paper towels for 10 minutes, then pat dry thoroughly.
- Place zucchini slices in a large bowl. Drizzle with olive oil and toss to coat. Sprinkle with cornstarch and toss again until evenly coated.
- Transfer coated zucchini to a plate and let sit for 2 minutes while oven preheats.
- In a small bowl, mix Parmesan, minced garlic, Italian seasoning, salt, pepper, and red pepper flakes.
- Line two baking sheets with parchment paper. Arrange zucchini slices in a single layer without overlapping.
- Press a generous pinch of the Parmesan mixture onto the center of each zucchini slice, pressing gently to adhere.
- Bake for 15-18 minutes, rotating pans halfway through, until Parmesan is golden brown and bubbly.
- Remove from oven and let cool on the baking sheet for 2 minutes, then transfer to a wire rack to cool completely and crisp up.
Notes
Ensure zucchini slices are dry before coating to maximize crispiness. Do not overcrowd the baking sheet; bake in batches if necessary. Use freshly grated Parmesan for best results, as pre-grated cheese contains anti-caking agents that prevent proper crisping. Cool on a wire rack to prevent sogginess.
- Prep Time: 15 minutes
- Cook Time: 15 minutes
- Category: Snack
- Cuisine: American
Nutrition
- Serving Size: 8 chips
- Calories: 120
- Sugar: 2
- Sodium: 280
- Fat: 8
- Saturated Fat: 3
- Carbohydrates: 6
- Fiber: 1
- Protein: 6
Keywords: zucchini chips, baked zucchini, parmesan snack, healthy snack, gluten-free snack, kid-friendly vegetables, crispy baked veggies, low carb snack


