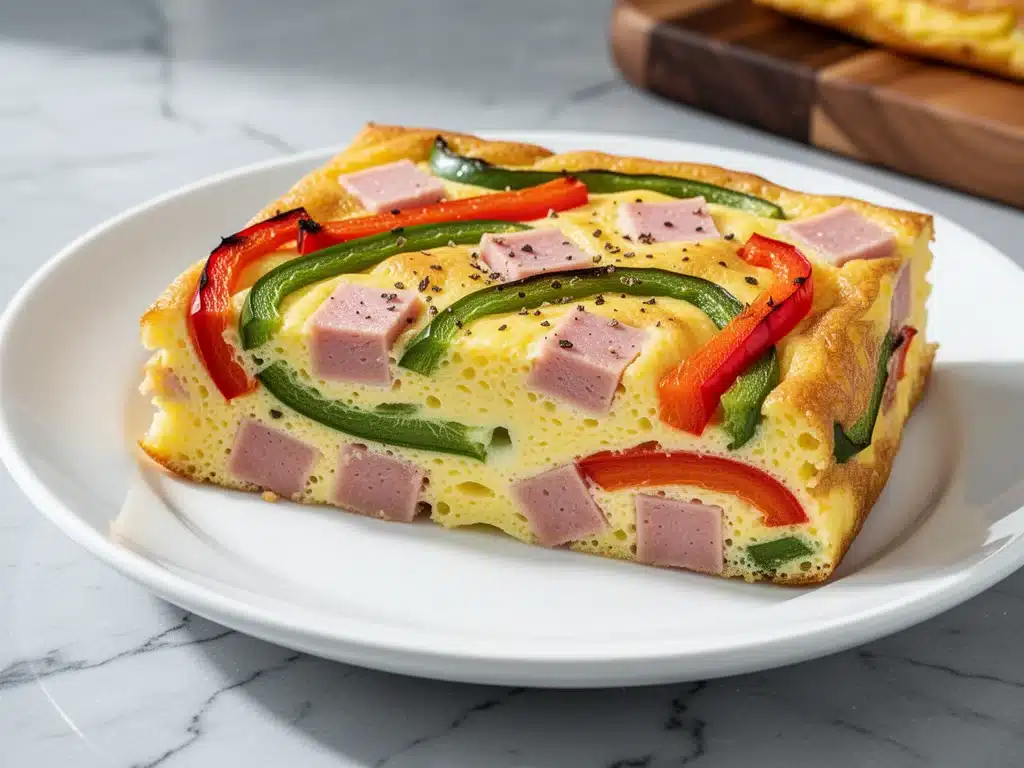
There is a specific kind of panic that hits at 6:45 AM on a Tuesday. You know the one. The alarm went off ten minutes ago, the kids are already screaming about missing the bus, and you realize you have zero plan for breakfast. For years, that was my reality. I’d scramble for cereal, burn toast, or just skip it entirely, leading to a mid-morning crash that felt like a personal failure.
But here’s the thing: breakfast doesn’t have to be a performance. It doesn’t need to be a fancy avocado toast situation with perfect plating. Last month, I was running late for a school event and had exactly twelve minutes to feed three people. I threw together what I thought would be a mediocre scramble, but when I pulled it out of the oven, the kitchen smelled like a diner from the 1970s, and everyone actually stopped to eat. That’s when I realized I didn’t need a new skill set; I needed a new strategy.
That accidental morning led to the creation of my Sheet Pan Denver Omelet Bake. It’s not just a recipe; it’s my peace treaty with the morning rush. It’s the reason I can now drink my coffee while it’s still hot, instead of chasing it down the driveway. I’ve tested this version dozens of times—sometimes with bell peppers, sometimes with ham, sometimes with way too much cheese because I was having a bad day—and it has never let me down. It’s sturdy, it’s flavorful, and it survives the trip to the table without falling apart.
If you’re tired of standing over a sizzling skillet while your family waits, or if you’re trying to feed a crowd without losing your mind, this is the answer. It’s essentially a fluffy, savory cake that tastes like the best omelet you’ve ever had, but requires almost zero active effort. Let me walk you through exactly how I make this happen, every single time.
Why You’ll Love This Sheet Pan Denver Omelet Bake
I’m not going to lie to you—there are a hundred breakfast recipes out there. So why this one? Why spend your Sunday meal-prepping or your Tuesday morning worrying? Because this Sheet Pan Denver Omelet Bake solves the three biggest problems I have with morning cooking: time, cleanup, and picky eaters.
- It’s a One-Pan Wonder — Seriously, one sheet pan. One bowl for mixing. That’s it. If you can boil water, you can make this. I’ve walked my teenage son through it over FaceTime while he was at college, and he nailed it on the first try. The cleanup is basically just washing a bowl and a pan, which feels like winning the lottery on a busy morning.
- It Feeds an Army (or Just Your Hungry Husband) — This recipe yields a big, golden slab of breakfast goodness. It easily feeds 6 to 8 people. Whether you’re hosting a brunch with friends or just trying to keep three growing kids and a husband who claims he’s “starving” until noon, this covers it. I made this for a family of six last Sunday, and there were literally no crumbs left. Not one.
- It’s Make-Ahead Friendly — This is the game-changer. You can mix the batter the night before, cover it, and put it in the fridge. In the morning, you just pop it in the oven. Or, you can bake it, let it cool, wrap it tightly, and freeze it. I’ve made this for busy weeks where I just grab a slice and microwave it for 60 seconds. It reheats beautifully—no rubbery eggs here.
- It’s Customizable Chaos — My kids are weird about veggies. My husband is weird about ham. By keeping the base recipe neutral and the add-ins flexible, I can make one pan that works for everyone. I’ll put peppers on one side and onions on the other, or just toss it all together. It’s forgiving. If you run out of cheese, it’s fine. If you have extra spinach, throw it in. It’s not fussy.
- It Tastes Like Comfort — There’s something about the combination of sharp cheddar, salty ham, and sweet bell peppers that just feels like home. It’s not fancy, but it’s deeply satisfying. It’s the kind of breakfast that makes you want to stay in bed for ten more minutes because you know you’re going to be happy when you finally get up.
- Sides: Fresh fruit salad, toast, or hash browns. A simple green salad with vinaigrette cuts the richness nicely.
- Toppings Bar: When I have guests, I put out hot sauce, salsa, extra cheese, and chives. Everyone customizes their slice.
- Drinks: Coffee is obvious, but orange juice or a mimosa works great for brunch.
This is my go-to when I need breakfast to just work. No complicated techniques, no weird ingredients, just reliable, delicious food that makes everyone happy and gives me five extra minutes of silence.
Ingredients You’ll Need for the Perfect Bake
Here’s the best part: you probably have most of this already in your fridge or pantry. This isn’t a recipe that requires a special trip to the store. It’s built on staples that taste incredible when they work together. I’m particular about three ingredients here—the eggs, the cheese, and the ham—and I’ll tell you exactly why they matter.
For the Egg Base
Eggs (12 large) — This is the foundation. I use large eggs because they give the best structure. If you’re buying organic or pasture-raised, the yolks will be darker and the flavor richer, which I love. But standard large eggs work perfectly fine. I always crack them into a large bowl to check for shells before whisking. Nothing ruins a good bake like a shell fragment.
Milk (½ cup / 120ml) — I use whole milk for the creamiest texture. You can use skim if you’re counting calories, but the texture will be slightly denser. Half-and-half is even richer, but I stick to milk for a balance of flavor and lightness. Don’t skip this—it helps keep the eggs tender so they don’t get rubbery.
Salt and Black Pepper (1 teaspoon kosher salt, ½ teaspoon freshly cracked black pepper) — Seasoning is everything. I use kosher salt because it’s easier to control. Taste the raw mixture before baking; it should taste slightly salty, because the baking process dulls the flavor a bit. Freshly cracked pepper adds a nice bite.
Garlic Powder (½ teaspoon) — This is my secret weapon. Fresh garlic can burn or taste raw in a baked egg dish, but garlic powder adds a savory depth without any texture issues. It’s subtle but essential.
For the Filling
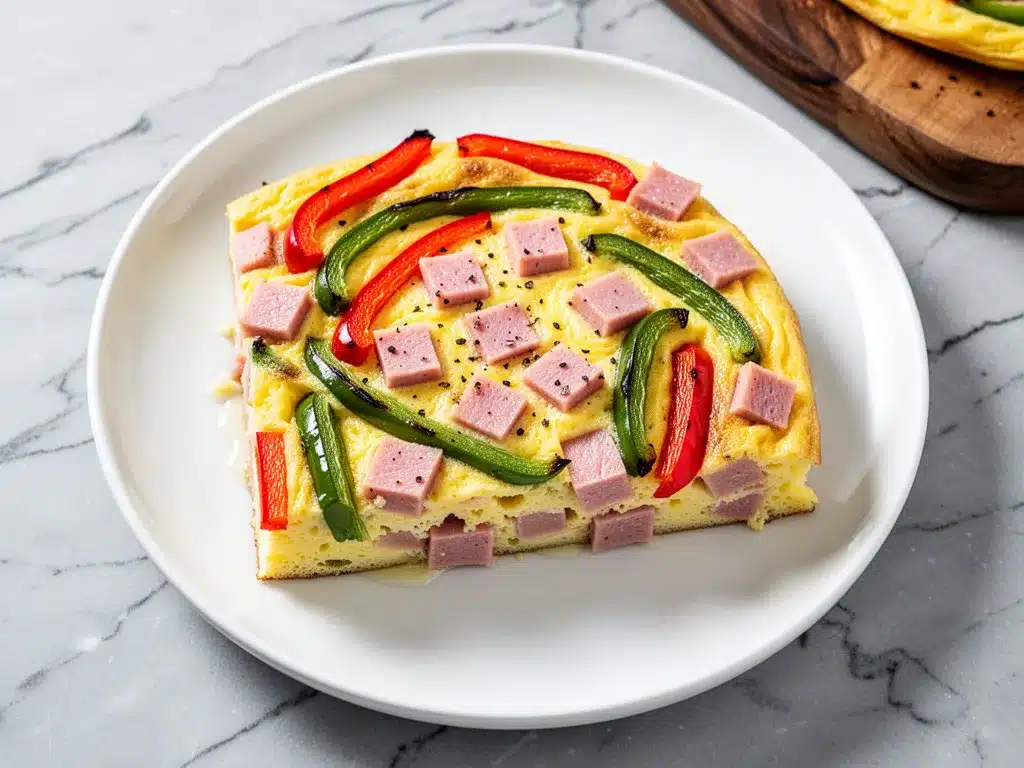
Ham (1 cup, diced / about 150g) — I prefer diced ham over sliced because it distributes evenly. You can use leftover holiday ham, or just buy a small pack of deli ham and chop it up. Even black forest ham works great. Avoid the super salty smoked ham if you’re watching sodium, as it can overpower the eggs.
Bell Peppers (2 medium, diced / about 150g) — I use a mix of red and green peppers. Red is sweeter and adds color; green is a bit more bitter and traditional. Dice them small so you get a bit in every bite. If you’re not a fan of raw pepper taste, you can sauté them for 2 minutes first, but it’s not necessary.
Onion (1 small yellow onion, finely diced / about 100g) — Yellow onion is standard, but sweet onion works too if you want less pungency. I dice it finely so it cooks through completely. If you hate onions, you can skip them, but I really think they add necessary sweetness.
Shredded Cheddar Cheese (1½ cups / about 170g) — Sharp cheddar is the classic choice. It has a strong flavor that stands up to the eggs. I buy the block and shred it myself. Pre-shredded cheese has cornstarch to prevent clumping, which can make the sauce (or in this case, the egg mixture) slightly grainy. Shred your own—it takes 2 minutes and makes a huge difference.
Optional Add-ins
Fresh Chives (2 tablespoons, chopped) — I sprinkle these on top after baking for a fresh pop of color and flavor. It looks fancy and tastes great.
Salsa (½ cup) — If you want a Mexican twist, swap the ham for chorizo and use pepper jack cheese. Or just serve the standard bake with a side of salsa. I do this often on weekends.
Bacon Bits (½ cup, cooked and crumbled) — For extra crunch and saltiness. I love the combination of ham and bacon, but it can get heavy. Use sparingly if you add both.
Equipment Needed
You don’t need fancy equipment for this. Here’s what I actually use in my kitchen. If you don’t have these exact items, don’t worry—there are easy swaps.
13×9 Inch Baking Dish or Sheet Pan — I prefer a 13×9 inch glass or ceramic baking dish. It gives a nice deep bake. If you don’t have one, a large rimmed sheet pan (like a half-sheet pan) works too, but the edges will be crispier and you might need to add 2-3 minutes to the baking time. I use a Pyrex 13×9 because it’s durable and I can see the browning on the bottom.
Large Mixing Bowl — Something big enough to whisk 12 eggs without splattering. I use a 4-quart stainless steel bowl. It’s heavy enough not to slide around while I’m whisking.
Whisk — A standard balloon whisk works fine. I use a silicone one because it’s easier to clean. You just need to beat the eggs until they’re uniform and slightly frothy.
Knife and Cutting Board — For dicing the ham, peppers, and onion. A sharp chef’s knife makes this go fast. Dull knives make you cry more—learned this the hard way with onions.
Measuring Cups and Spoons — Standard stuff. Dollar store versions work fine for this. You don’t need to be super precise with the veggies, but be accurate with the milk and spices.
Spatula — A rubber spatula is great for scraping the cheese and veggies out of their bags and into the bowl. Also useful for scraping the bowl clean when mixing the eggs.
Optional: Parchment Paper — If you’re using a metal sheet pan, line it with parchment for easy cleanup. Glass dishes don’t usually need it, but a light spray of non-stick cooking spray helps prevent sticking.
How to Make It: Step-by-Step
Alright, let’s make this! I’m walking you through exactly how I do it, including the little tricks I’ve picked up over years of morning chaos. This process takes about 10 minutes of prep and 20-25 minutes of baking. Total time: 30-35 minutes.
Step 1: Prep Your Oven and Pan (2 minutes)
Preheat your oven to 350°F (175°C). This is crucial—if the oven isn’t hot enough, the eggs will steam instead of bake, and the texture will be off. While it heats, grease your 13×9 inch baking dish or line your sheet pan with parchment paper and spray with oil. I use butter for the flavor, but cooking spray is easier for cleanup.
Step 2: Dice Your Veggies and Ham (5 minutes)
While the oven heats, chop your ingredients. Dice the bell peppers and onion into small, uniform pieces. Aim for about ¼-inch chunks so they cook evenly and distribute well. Dice the ham into similar-sized pieces. If you’re using bacon, cook it now and crumble it. Set these aside in a large bowl. I like to mix all the solids together first so I can see what I’m working with.
Step 3: Whisk the Egg Mixture (2 minutes)
In your large mixing bowl, crack the 12 eggs. Add the milk, salt, pepper, and garlic powder. Whisk vigorously for about 30-60 seconds. You want the mixture to be completely uniform and slightly frothy on top. This incorporates air, which helps the bake rise and become fluffy. Don’t be shy with the whisking.
Step 4: Combine Everything (2 minutes)
Pour the egg mixture over the diced veggies and ham in the large bowl. Toss everything together gently until the veggies are evenly coated in egg. Then, pour the entire mixture into your prepared baking dish. Use a spatula to scrape the bowl clean—don’t leave any egg behind. Sprinkle the shredded cheddar cheese evenly over the top. I like to press the cheese down slightly so it sticks to the surface.
Step 5: Bake Until Set (20-25 minutes)
Place the dish in the preheated oven. Bake for 20-25 minutes. You’ll know it’s done when the edges are golden brown and puffed up, and the center is set. If you jiggle the pan gently, the center should move slightly like gelatin, not slosh like liquid. If it’s still very liquidy, give it 5 more minutes. I usually check at 20 minutes.
Step 6: Rest and Serve (5 minutes)
Remove from the oven and let it rest for 5 minutes. This is important—it allows the eggs to set further and makes it easier to cut into squares. If you cut it immediately, it might fall apart. Sprinkle with fresh chives if using. Cut into squares or rectangles and serve warm. It’s fantastic with a side of fresh fruit or toast.
Total Time: About 30-35 minutes (10 minutes active, 25 minutes baking)
Expert Tips & Tricks for Success
Here’s everything I’ve learned from making this dozens of times. These tips will save you from my mistakes.
Don’t Overcrowd the Pan
If you’re using a smaller dish, double the recipe but don’t cram it in. The eggs need space to rise. If the layer is too thick, the center won’t cook before the edges burn. Stick to a 13×9 dish or use two smaller pans.
Pre-cook Watery Veggies
If you’re using mushrooms or zucchini, sauté them first to remove excess moisture. Wet veggies release water in the oven, which can make the bake soggy. Peppers and onions are fine raw, but mushrooms need a head start.
Use Sharp Cheddar
Mild cheddar can get oily when melted. Sharp cheddar has more flavor and holds its texture better. If you can’t find sharp, mix half sharp and half medium. Avoid pre-shredded cheese for the reasons I mentioned earlier.
Check for Doneness Early
Ovens vary. My oven runs hot, so I check at 18 minutes. If you’re unsure, insert a knife into the center. If it comes out clean, it’s done. If there’s liquid egg on the knife, keep baking.
Make-Ahead Strategy
For Sunday prep, mix the dry ingredients (veggies, ham, cheese) and store in a container. In the morning, whisk the eggs and pour over the mix. Bake as directed. This cuts morning prep to 5 minutes flat.
Variations & Substitutions
Once you’ve nailed the basic version, here’s how you can mix it up. I’ve tried all of these.
Breakfast Sausage Version
Swap the ham for crumbled breakfast sausage. Brown the sausage first, then mix with the eggs. This is my husband’s favorite version. It’s heartier and saltier.
Veggie-Loaded
Add 2 cups of fresh spinach or kale. Toss it in with the other veggies. The spinach wilts during baking. This is how I get my kids to eat vegetables without complaining.
Southwestern Twist
Use corn, black beans, diced jalapeños, and pepper jack cheese. Top with salsa and avocado after baking. It’s like a breakfast burrito in dish form.
Lighter Version
Use egg whites instead of whole eggs, and part-skim mozzarella instead of cheddar. It’s lower in fat but still tasty. I make this when I’m trying to be “healthy,” though I admit the full version is better.
Dietary Modifications
Gluten-Free: This recipe is naturally gluten-free as long as your ham and cheese are GF-certified. Check labels, as some processed meats have fillers.
Dairy-Free: Use a dairy-free milk alternative and skip the cheese or use a vegan shreds. It won’t be as rich, but it works. My lactose-intolerant friend likes it with nutritional yeast sprinkled on top.
Vegan: Use a chickpea flour batter (1 cup flour, 1 cup water, spices) instead of eggs. Add veggies and tofu crumbles. It’s a different texture but still delicious.
Serving & Storage
How to Serve:
I usually serve this straight from the dish at the dinner table—it looks rustic and stays warm. But here are other ways I’ve enjoyed it:
Storage Instructions:
Refrigerator: Store leftovers in an airtight container for up to 4 days. The eggs will firm up in the fridge—totally normal.
Reheating: Best method: Microwave a slice for 60-90 seconds. It stays moist. Oven method: Reheat at 350°F for 10-15 minutes. Avoid the stovetop, as it can dry out the edges.
Freezing: Yes, this freezes well! Let it cool completely, wrap tightly in plastic wrap and foil, or freeze in individual slices. Reheat from frozen in the microwave or oven. It lasts up to 3 months.
Nutrition Information
I’m not a nutritionist, but here’s the breakdown if you’re tracking. This is per serving (based on 8 servings).
| Nutrient | Amount |
|---|---|
| Calories | 280 |
| Protein | 22g |
| Carbs | 6g |
| Fiber | 1g |
| Fat | 18g |
| Sodium | 650mg |
What’s Good: High protein, low carb, and packed with veggies. It’s a balanced start to the day.
What to Know: Higher in fat and sodium from the cheese and ham. Use low-sodium ham and reduced-fat cheese to adjust. It’s comfort food, so enjoy it guilt-free.
Final Thoughts
So that’s my Sheet Pan Denver Omelet Bake! I’ve probably talked your ear off at this point, but when you make a recipe this often, you have a lot to say about it.
This has saved my mornings more times than I can count. It’s my answer to “what’s for breakfast?” when I’m tired, don’t want to cook, but still want something hot and homemade. My kids are happy, my husband’s happy, and I’m happy because I’m not stressed about cooking.
Make it yours! Try different add-ins, swap in your favorite cheeses, adjust the spice level. The best recipes are the ones you adapt to your family’s tastes. If you make this, drop a comment and let me know what you think! I love hearing how recipes turn out in your kitchen. And if something doesn’t work, tell me that too—I’m here to help troubleshoot.
Happy cooking! And I hope your kitchen smells half as good as mine does right now.
Frequently Asked Questions
Can I use egg whites instead of whole eggs?
Yes! Use about 2 cups of liquid egg whites. The texture will be slightly less rich and more firm, but it’s a great low-fat option. You might need to add a tablespoon of milk or water to keep it from drying out.
Why did my bake turn out watery?
This usually happens if you used watery veggies (like mushrooms or zucchini) without pre-cooking them, or if you didn’t bake it long enough. Make sure to squeeze excess moisture from veggies if possible, and check for doneness with a knife test.
Can I make this ahead for a dinner party?
Absolutely. Mix the batter and veggies the night before, cover, and refrigerate. In the morning, just bake it. Or, bake it completely, let it cool, and reheat slices the next day. It tastes great reheated.
Can I freeze the entire pan?
You can, but individual slices reheat better. If you freeze the whole pan, wrap it tightly in plastic and foil. Thaw in the fridge overnight before reheating. It might lose a bit of texture, but it’s still edible.
What cheese is best for this?
Sharp cheddar is the classic. But you can use pepper jack, Swiss, or a Mexican blend. Avoid soft cheeses like brie or goat cheese, as they don’t melt as evenly. Harder cheeses work best.
Can I add spinach?
Yes! Fresh spinach wilts down significantly. Add 2-3 cups of fresh spinach to the mix. It adds great color and nutrition without changing the flavor much.
How do I cut it neatly?
Let it rest for at least 5 minutes after baking. Use a sharp knife and wipe it clean between cuts. A serrated knife works well for cleaner slices.
Pin This Recipe!
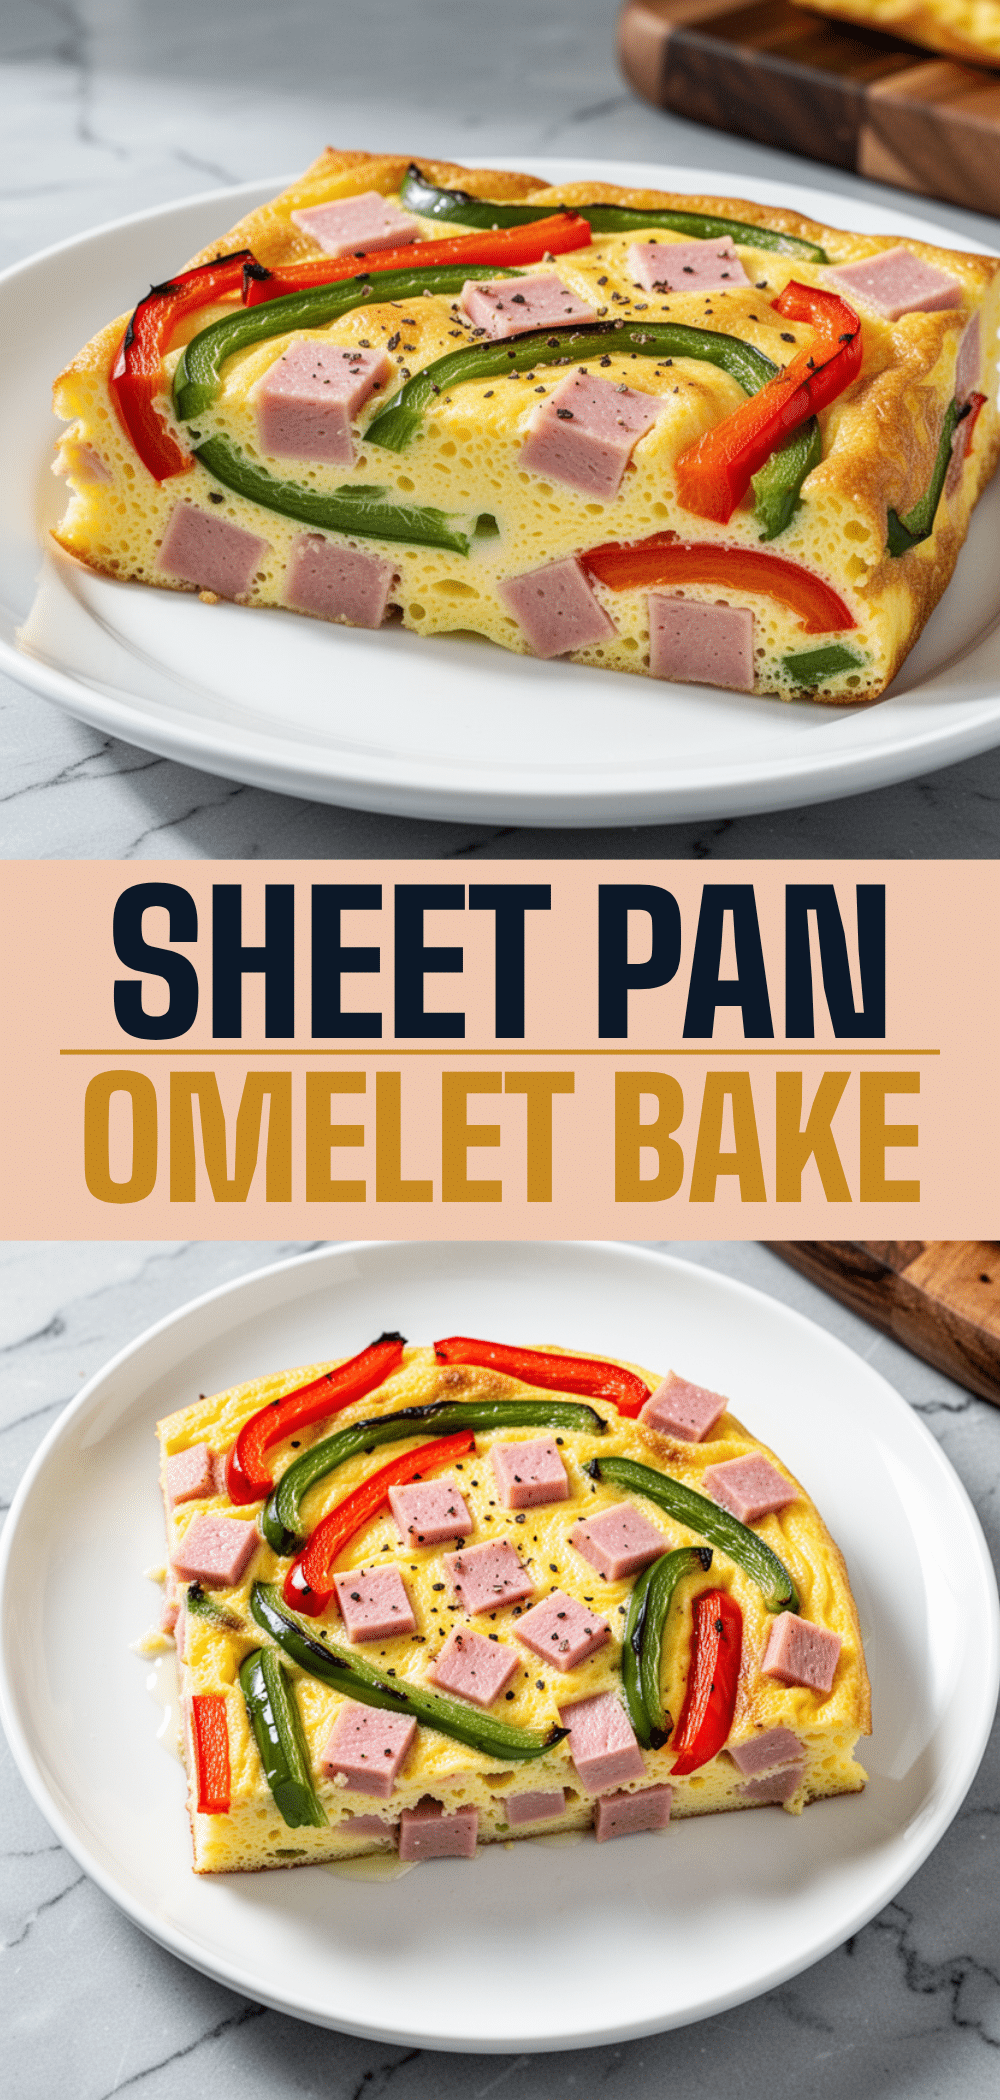

Sheet Pan Denver Omelet Bake
- Total Time: 35 minutes
- Yield: 8 servings 1x
Description
A fluffy, savory breakfast bake that combines eggs, ham, bell peppers, and cheddar cheese on a single sheet pan. It is designed for quick preparation, easy cleanup, and makes-ahead convenience.
Ingredients
- 12 large eggs
- 1/2 cup whole milk
- 1 teaspoon kosher salt
- 1/2 teaspoon freshly cracked black pepper
- 1/2 teaspoon garlic powder
- 1 cup diced ham
- 2 medium bell peppers (red and green mix), diced
- 1 small yellow onion, finely diced
- 1 1/2 cups shredded sharp cheddar cheese
- 2 tablespoons fresh chives, chopped (optional)
- Butter or cooking spray for greasing pan
Instructions
- Preheat oven to 350°F (175°C). Grease a 13×9 inch baking dish or line a large rimmed sheet pan with parchment paper and spray with oil.
- Dice the bell peppers, onion, and ham into small, uniform pieces (about 1/4-inch chunks). Place them in a large mixing bowl.
- In a separate large bowl, crack the eggs and add the milk, salt, pepper, and garlic powder. Whisk vigorously for 30-60 seconds until uniform and slightly frothy.
- Pour the egg mixture over the diced vegetables and ham. Toss gently to coat evenly, then pour the entire mixture into the prepared baking dish.
- Sprinkle the shredded cheddar cheese evenly over the top, pressing it down slightly.
- Bake for 20-25 minutes until the edges are golden brown and the center is set (it should jiggle slightly like gelatin, not slosh like liquid).
- Remove from oven and let rest for 5 minutes to allow the eggs to set further.
- Sprinkle with fresh chives if using, cut into squares, and serve warm.
Notes
For make-ahead prep, mix the dry ingredients (veggies, ham, cheese) the night before and store in the fridge. In the morning, whisk the eggs and pour over the mix before baking. If using watery vegetables like mushrooms or zucchini, sauté them first to remove excess moisture. Ensure the oven is fully preheated to prevent steaming.
- Prep Time: 10 minutes
- Cook Time: 25 minutes
- Category: Breakfast
- Cuisine: American
Nutrition
- Serving Size: 1 square slice
- Calories: 280
- Sugar: 3
- Sodium: 650
- Fat: 18
- Saturated Fat: 9
- Carbohydrates: 6
- Fiber: 1
- Protein: 22
Keywords: breakfast bake, sheet pan breakfast, Denver omelet, easy morning meal, make-ahead breakfast, family breakfast, gluten-free breakfast


