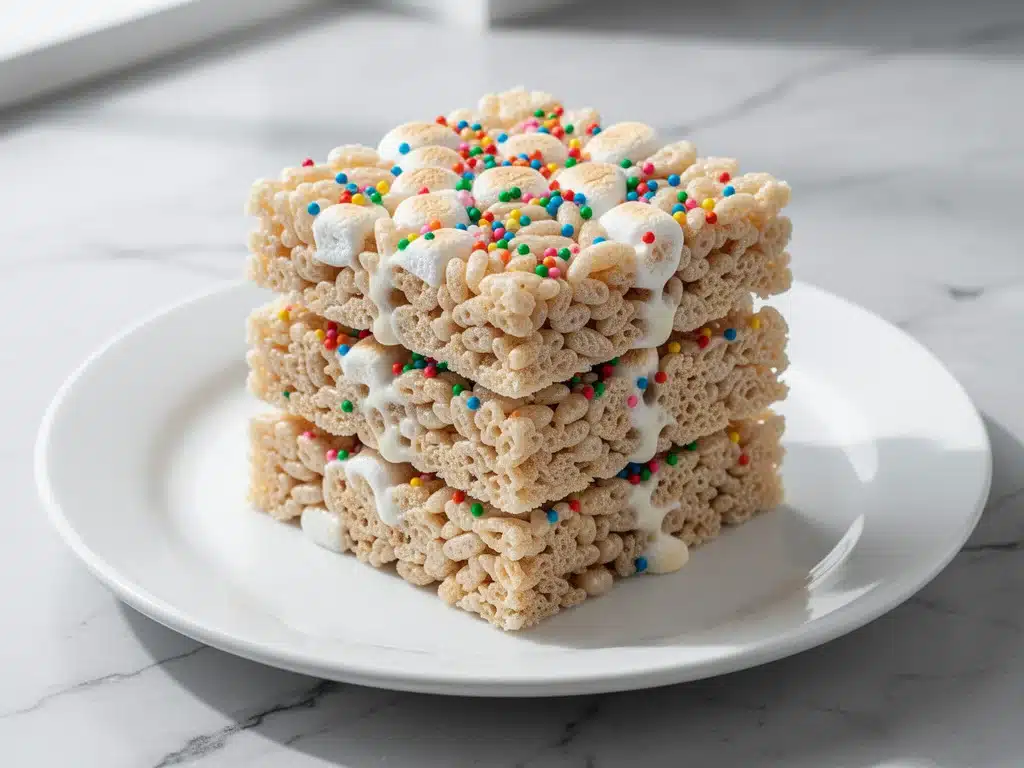
I still remember the exact moment I realized these Rice Krispie Bars with Sprinkles were going to be legendary. It was a rainy Tuesday afternoon in late October, the kind where the sky turns that heavy, bruised purple and the house feels cozy but slightly dull. My kids were bored, the dog was asleep, and I was staring into the pantry like it owed me money. We had run out of cookies, the fruit bowl was looking sad with one bruised apple, and I knew if I didn’t produce something sweet in the next ten minutes, chaos would ensue.
I grabbed the box of cereal. I found the bag of marshmallows hiding behind the quinoa. And then, I spotted the open container of rainbow sprinkles I’d bought for a birthday party three months ago and never used. It was a no-brainer. I melted the butter, toasted the marshmallows, stirred in the cereal, and folded in a generous handful of sprinkles before pressing it all into the pan.
When I pulled the pan out of the oven and cut the first square, the colors were bright, the smell was nostalgic, and the texture was perfect—crisp on the outside, chewy in the middle. I set the plate on the counter and walked away to wash a dish. By the time I turned back, the plate was empty except for one crumb. My daughter was standing there with her hands in her pockets, looking guilty and delighted.
“Can we make those again?” she asked.
“For the party?” I asked.
“Yes. For the party. And for now.”
That was two years ago. Since then, I’ve made this recipe for school bake sales, last-minute dinner guests, rainy day snacks, and random Tuesday cravings. Every single time, the result is the same: they disappear faster than I can cut them, and people always ask for the recipe. There’s something about the combination of buttery crunch, sticky sweetness, and those pops of color that just hits the right spot. It’s simple, it’s reliable, and it makes everyone happy. If you’ve been searching for the best easy treat to keep in your repertoire, this is it.
Why You’ll Love This Recipe
There are a lot of snack cakes out there, but Rice Krispie Bars with Sprinkles hold a special place in my heart (and my kitchen). They’re not complicated. They’re not pretentious. They just work. Here’s why I keep coming back to this batch:
Stupid Simple — Seriously, if you can boil water and stir a spoon, you can make this. There’s no baking skill required. No folding techniques, no tempering chocolate, no waiting for dough to rise. You melt, you mix, you press, you bake. That’s it. I’ve walked my teenage son through this over FaceTime while I was in the shower. He nailed it.
Lightning Fast — From start to finish, you’re looking at about 25 minutes. Ten minutes of active prep, fifteen minutes of baking. I make these on weeknights when I get home at 6pm and need to whip up a dessert or snack without turning on the stress-o-meter. It’s faster than ordering takeout and way cheaper.
Perfectly Portable — Unlike brownies that get messy or cupcakes that need frosting, these bars hold their shape. I cut them into neat squares, wrap them in wax paper, and toss them in a lunchbox or a cooler. They don’t crumble, they don’t drip, and they don’t get sad in a backpack. They stay chewy and delicious for hours.
Customizable Fun — The base recipe is classic, but the sprinkles let you play. Birthday party? Rainbow. Christmas? Red and green. Easter? Pastel colors. Halloween? Orange and black. I love that I can tweak the look to match any occasion without changing the recipe at all. It’s the easiest decoration hack in the book.
Makes Amazing Leftovers — These actually taste better the next day. The flavors meld together, the crunch settles into a perfect chew, and they keep well in an airtight container for up to three days. I deliberately make a double batch because I know they’ll be gone by noon the next day.
Budget-Smart — You can make a huge pan of these for under $5. That’s less than a single slice of cake at a bakery. The ingredients are pantry staples. You likely have most of them right now. It’s the ultimate low-effort, high-reward treat.
This is my go-to when I need a dessert to just work. No complicated techniques, no weird ingredients, just reliable, delicious food that makes everyone happy. Whether it’s for a kid’s party, a teacher appreciation gift, or just because you want a sweet snack, this recipe delivers every time.
Ingredients You’ll Need
Here’s the best part: you probably have most of this already. The beauty of Rice Krispie Bars with Sprinkles is how few ingredients it takes to create magic. I’m particular about three things here, and I’ll tell you exactly why.
For the Base:
Unsalted Butter (6 tablespoons / 85g) — I use unsalted so I can control the salt level. Melt it in a large pot or Dutch oven. Don’t use margarine—it changes the texture and taste. Real butter makes a difference here.
Marshmallows (10 ounces / 280g) — That’s one standard bag. Use the regular white ones. Don’t get fancy with flavored or gluten-free yet; we’re mastering the base first. They need to melt smoothly, so good quality matters.
Rice Krispies Cereal (6 cups / about 170g) — Yes, six cups. That’s a lot of cereal, but it gives you that signature crunch. Use the original Kellogg’s Rice Krispies. Other crispy rice cereals might work, but the shape and texture are different. Stick with the classic for the best result.
Salt (½ teaspoon) — Just a pinch. It balances the sweetness so it doesn’t taste like pure sugar. Don’t skip it.
For the Fun Part:
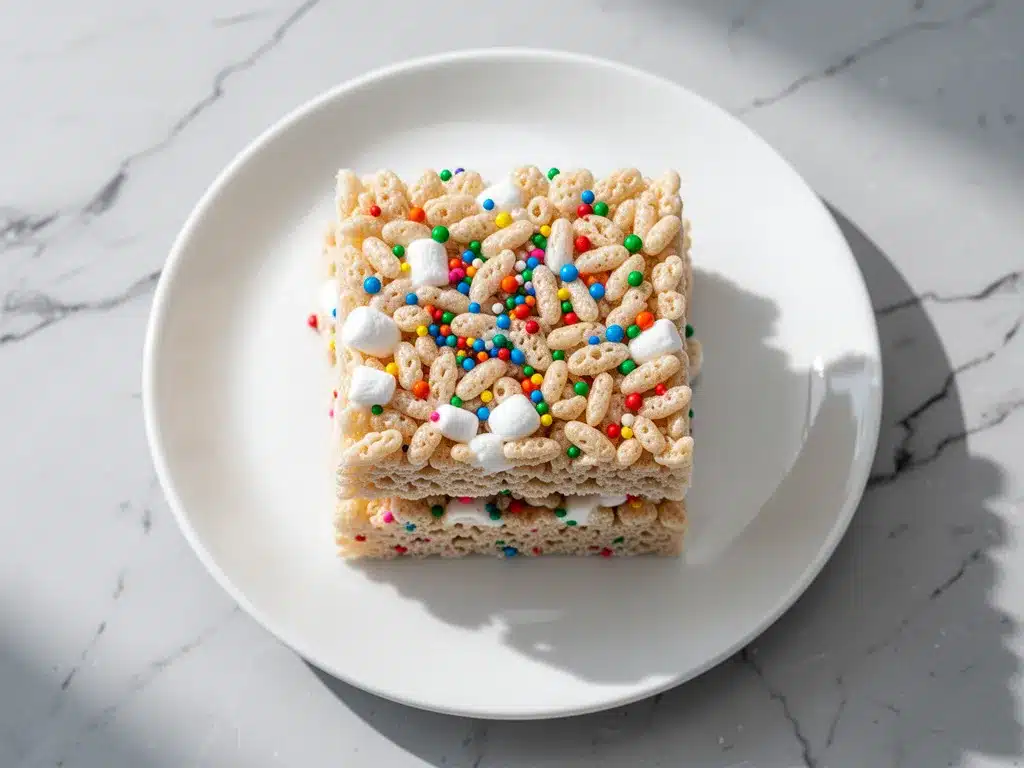
Rainbow Sprinkles (½ cup / 60g) — I use standard jimmies, not nonpareils. Jimmies hold up better and don’t bleed color as much. You can use any color for any holiday. I keep a variety of colors in my pantry just for this recipe.
Optional: Vanilla Extract (1 teaspoon) — I add this for extra flavor depth. It’s not traditional, but I’ve tested it, and it makes the bars taste more like a bakery treat. If you prefer the classic taste, skip it. Both ways are good.
Shopping Tips:
– Butter: I always use Kerrygold or Land O’Lakes. They melt evenly and have a great flavor.
– Marshmallows: If you’re in a pinch, jumbo marshmallows work too, but you’ll need to chop them up first so they melt evenly.
– Sprinkles: Don’t buy the expensive gourmet ones for this. Standard grocery store sprinkles work perfectly and cost less. Save the fancy ones for decorating cakes.
Substitutions:
– Gluten-Free: Use gluten-free crispy rice cereal (like Nature’s Path) and make sure your marshmallows are certified gluten-free. Most marshmallows are, but check the label.
– Dairy-Free: Use dairy-free butter sticks (not tubs) and dairy-free marshmallows. The texture will be slightly different, but still delicious.
Equipment Needed
You don’t need fancy equipment for this. Here’s what I actually use.
Large Pot or Dutch Oven — I use a 6-quart pot. It needs to be big enough to hold the melted marshmallows and the six cups of cereal without overflowing. My ancient stainless steel pot from college still works fine. Just make sure it has a heavy bottom so the butter doesn’t burn.
9×13 Inch Baking Pan — A standard glass or metal pan works best. I prefer glass because I can see the bottom browning. Grease it well with butter or non-stick spray.
Wooden Spoon or Spatula — For stirring the marshmallows and folding in the cereal. Silicone works too. Don’t use metal on non-stick pans.
Large Spoon or Rubber Spatula — For pressing the mixture into the pan. Wet your hands or the spatula with water to prevent sticking.
Sharp Knife — For cutting the bars after they cool. A serrated knife works well for clean cuts.
Cutting Board — Any size works. I use plastic for easier cleanup.
Measuring Cups and Spoons — Pretty standard stuff. Dollar store versions work fine.
Optional but nice:
- Parchment Paper: Line the pan with parchment for easy removal. It’s not necessary, but it makes cleanup easier.
- Pastry Brush: For greasing the pan evenly.
How to Make It: Step-by-Step
Alright, let’s make this! I’m walking you through exactly how I do it, including the little tricks I’ve picked up over the years.
Step 1: Prep Your Pan (2 minutes)
Lightly grease a 9×13 inch baking pan with butter or non-stick spray. If you’re using parchment paper, line the pan and grease the top. Set it aside. This step is crucial because the mixture is sticky, and you want it to come out cleanly later.
Step 2: Melt the Butter and Marshmallows (5-7 minutes)
In a large pot over medium-low heat, melt the butter. Once melted, add the marshmallows. Stir constantly with a wooden spoon or spatula. This is the most important step. You want the marshmallows to melt smoothly without burning. Keep the heat low. If the heat is too high, the bottom will burn before the top melts. It should take about 5-7 minutes. Once smooth and creamy, remove from heat.
Step 3: Add the Cereal and Sprinkles (3 minutes)
Add the Rice Krispies cereal and salt to the pot. Stir gently but thoroughly until every piece is coated. Then, fold in the rainbow sprinkles. Be gentle here—you don’t want to crush the cereal. Just mix until the color is distributed. If you’re adding vanilla, stir it in now.
Step 4: Press Into the Pan (3 minutes)
Transfer the mixture to your prepared pan. Wet your hands or a spatula with water to prevent sticking. Press the mixture down firmly and evenly. You want it flat and compact. Don’t be too gentle, or the bars will be loose and crumbly. Press it into the corners. This takes about 3 minutes. The more you press, the better the texture.
Step 5: Bake (12-15 minutes)
Preheat your oven to 350°F (175°C). Place the pan in the oven and bake for 12-15 minutes. You’re looking for a light golden brown color on top. Don’t overbake, or they’ll be hard instead of chewy. Watch them closely after 12 minutes.
Step 6: Cool and Cut (30 minutes)
Remove from the oven and let cool completely in the pan. This is the hardest part—waiting. But if you cut them warm, they’ll be messy and fall apart. Let them cool for at least 30 minutes, or until room temperature. Once cool, use a sharp knife to cut into squares. I cut them into 24 pieces, but you can make them bigger or smaller depending on your needs.
Total Time: About 30 minutes (10 minutes active, 20 minutes mostly hands-off)
Expert Tips & Tricks
Here’s everything I’ve learned from making these dozens of times. These tips will save you from my mistakes.
Keep the Heat Low
This is the #1 tip. Marshmallows burn easily. If you turn the heat up to speed things along, you’ll end up with a pot of black, bitter goo. Low and slow is the only way. I keep my burner on medium-low and stir constantly.
Press Firmly
I see a lot of people press too lightly. The mixture needs to be compacted. If it’s loose, the bars will fall apart when you cut them. Wet your hands and press down hard. It’s like making a snowball—pack it tight.
Don’t Overbake
These bars continue to cook a bit after you take them out of the oven. If they look dry or hard in the pan, they’ll be rock-hard when cool. Pull them when they’re just starting to turn golden. They should still look slightly soft in the center.
Cool Completely
I know it’s tempting to dig in early, but resist. Warm bars are sticky and messy. Cool bars are clean and satisfying. If you can’t wait, at least let them cool for 20 minutes. But 30 minutes is better.
Store Properly
Keep them in an airtight container at room temperature. They’ll stay fresh for up to 3 days. If you live in a humid climate, they might get soft faster. In that case, store them in the fridge, but let them come to room temperature before eating for the best texture.
Variations & Substitutions
Once you’ve nailed the basic version, here’s how you can mix it up. I’ve tried all of these.
Chocolate Drizzle
Melt ½ cup chocolate chips with 1 tablespoon coconut oil. Drizzle over the cooled bars. Let it set for 15 minutes. Adds a fancy touch.
Peanut Butter Swirl
Stir 2 tablespoons peanut butter into the melted marshmallows before adding the cereal. Adds a salty-sweet twist.
Cookie Butter
Stir 2 tablespoons Biscoff spread into the marshmallows. Tastes like a dessert cookie.
Mini Marshmallows
Use mini marshmallows for a faster melt time. They melt quicker than regular ones, so keep an eye on the heat.
Seasonal Sprinkles
Use red and green for Christmas, pink and white for Valentine’s, orange and black for Halloween. The base recipe stays the same, but the look changes completely.
Serving & Storage
How to Serve:
I usually serve these straight from the pan at parties. They’re easy to grab and eat. But here are other ways I’ve enjoyed them:
- With Coffee: A square of Rice Krispie Bars with Sprinkles and a cup of coffee is my favorite afternoon break.
- With Milk: Classic combo. The crunch and chew are perfect for dipping.
- As a Gift: Wrap them in cellophane and tie with a ribbon. They make great hostess gifts.
Storage Instructions:
Refrigerator: Not recommended. The cold makes the marshmallows hard. Store at room temperature.
Freezer: Yes! These freeze well. Wrap them individually in plastic wrap, then put them in a freezer bag. They’ll last up to 3 months. Thaw at room temperature before eating.
Meal Prep: Make them on Sunday and store in an airtight container. They’re perfect for lunchboxes or after-school snacks all week.
Nutrition Information
I’m not a nutritionist, but here’s the breakdown if you’re tracking. This is a treat, so enjoy it in moderation.
Per Serving (based on 24 servings):
- Calories: 110
- Protein: 1g
- Carbs: 20g
- Fiber: 0g
- Sugar: 12g
- Fat: 4g
- Saturated Fat: 2g
- Cholesterol: 10mg
- Sodium: 60mg
What’s Good: Quick energy, easy to make, fun for kids.
What to Know: High in sugar and carbs. Low in protein and fiber. It’s a dessert, not a health food.
Final Thoughts
So that’s my go-to Rice Krispie Bars with Sprinkles! I’ve probably talked your ear off at this point, but when you make a recipe this often, you have a lot to say about it. This has saved me more times than I can count. It’s my answer to “what’s for dessert” when I’m tired, don’t want to bake a cake, and still want something that tastes really good. My kids are happy, my friends are happy, and I’m happy because I’m not stressed about cooking.
Make it yours! Try different sprinkles, add chocolate drizzle, or swap in peanut butter. The best recipes are the ones you adapt to your family’s tastes. If you make this, drop a comment and let me know what you think! I love hearing how recipes turn out in your kitchen. And if something doesn’t work, tell me that too—I’m here to help troubleshoot.
Happy baking! And I hope your kitchen smells half as good as mine does right now.
Frequently Asked Questions
Can I use a different cereal?
You can, but the texture will be different. Rice Krispies are light and crispy. Other crispy rice cereals might be denser. I recommend sticking with Rice Krispies for the classic texture. If you must substitute, try crispy rice cereal from another brand, but avoid puffed wheat or puffed corn—they’re too heavy.
Why did my bars fall apart?
This usually happens if you didn’t press the mixture firmly enough into the pan. The marshmallows need to bind the cereal together. If you press lightly, the bars will be loose. Also, if you overbaked them, they might be too dry and crumbly. Make sure to press firmly and pull them out of the oven when they’re just starting to turn golden.
Can I make these ahead of time?
Yes! These bars actually taste better the next day. You can make them up to 3 days ahead and store them in an airtight container at room temperature. If you need to make them further in advance, freeze them for up to 3 months. Thaw at room temperature before serving.
How do I cut them cleanly?
Use a sharp knife. A dull knife will crush the bars. For extra clean cuts, wipe the knife with a damp cloth between cuts. This removes any sticky residue and keeps the edges sharp. I also recommend chilling the bars in the fridge for 15 minutes before cutting—they’ll hold their shape better.
Can I use mini marshmallows?
Yes, mini marshmallows work great. They melt faster than regular marshmallows, so keep an eye on the heat. You’ll need about the same volume, but check the bag weight to be sure. The result is the same—smooth, creamy marshmallow binding.
Are these gluten-free?
Not traditionally, because Rice Krispies contain malt flavoring, which is derived from barley. However, you can make them gluten-free by using gluten-free crispy rice cereal (like Nature’s Path) and ensuring your marshmallows are certified gluten-free. Most marshmallows are naturally gluten-free, but always check the label.
Can I add other mix-ins?
Absolutely! You can add chocolate chips, M&Ms, crushed cookies, or dried fruit. Fold them in with the sprinkles. Just be aware that adding too many mix-ins might make the bars denser. Stick to about 1 cup of mix-ins total for the best texture.
Pin This Recipe!
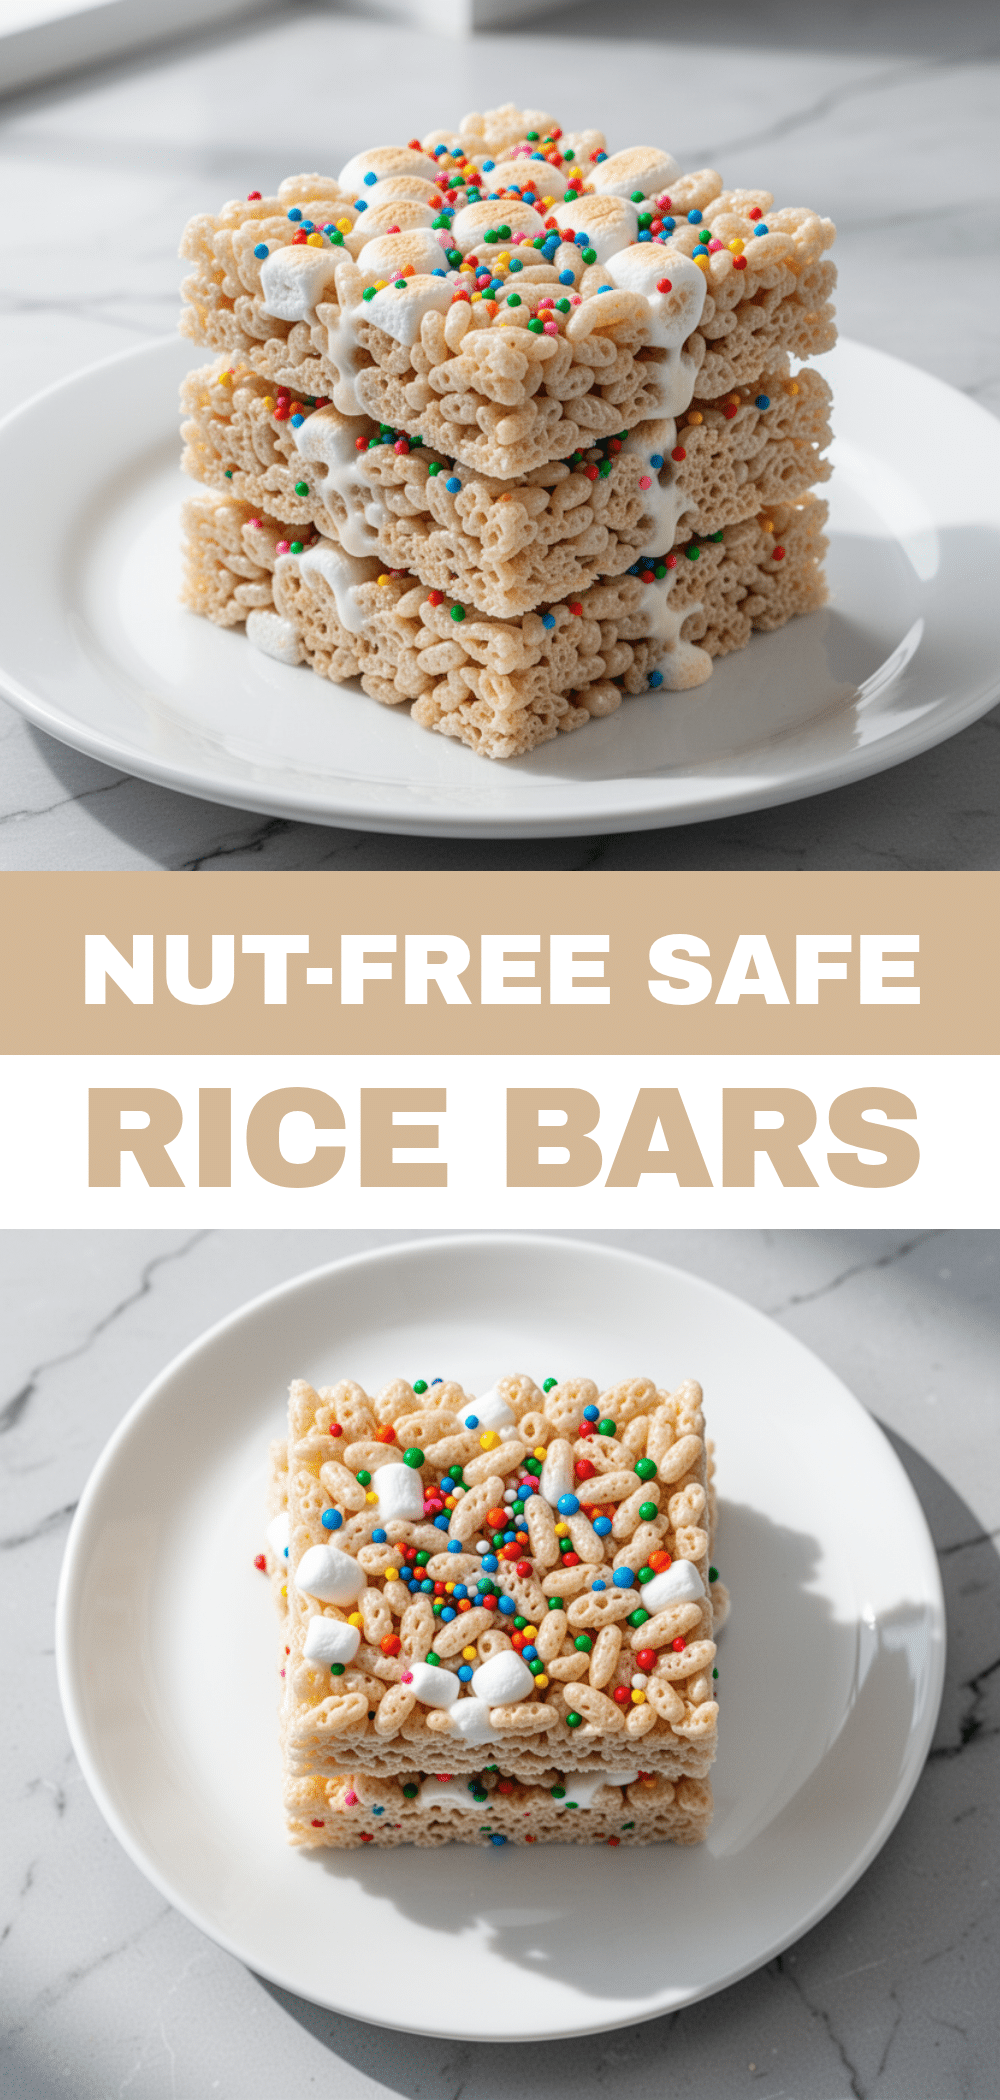
Rice Krispie Bars with Sprinkles: Best Easy Treat
- Total Time: 25 minutes
- Yield: 24 servings 1x
Description
A simple, fast, and customizable dessert bar made with butter, marshmallows, and Rice Krispies cereal, finished with colorful sprinkles for a nostalgic and reliable treat.
Ingredients
- 6 tablespoons (85g) unsalted butter
- 10 ounces (280g) regular white marshmallows
- 6 cups (about 170g) original Kellogg’s Rice Krispies cereal
- 1/2 teaspoon salt
- 1/2 cup (60g) rainbow sprinkles (standard jimmies)
- 1 teaspoon vanilla extract (optional)
Instructions
- Lightly grease a 9×13 inch baking pan with butter or non-stick spray. If using parchment paper, line the pan and grease the top.
- In a large pot over medium-low heat, melt the butter. Add the marshmallows and stir constantly until smooth and creamy (about 5-7 minutes). Do not let the bottom burn.
- Remove the pot from heat. Add the Rice Krispies cereal and salt, stirring gently until every piece is coated.
- Fold in the rainbow sprinkles and vanilla extract (if using) until distributed evenly.
- Transfer the mixture to the prepared pan. Wet your hands or a spatula with water and press the mixture down firmly and evenly into the corners.
- Preheat oven to 350°F (175°C). Bake for 12-15 minutes until the top is lightly golden brown. Do not overbake.
- Remove from oven and let cool completely in the pan for at least 30 minutes.
- Once cool, cut into squares (yields 24 pieces).
Notes
Keep heat low to prevent burning marshmallows. Press mixture firmly to ensure bars hold together. Cool completely before cutting for clean slices. Store in an airtight container at room temperature for up to 3 days. Can be frozen for up to 3 months.
- Prep Time: 10 minutes
- Cook Time: 15 minutes
- Category: Dessert
- Cuisine: American
Nutrition
- Serving Size: 1 square
- Calories: 110
- Sugar: 12
- Sodium: 60
- Fat: 4
- Saturated Fat: 2
- Carbohydrates: 20
- Protein: 1
Keywords: Rice Krispie Bars, sprinkles, easy dessert, kid-friendly snacks, party treats, no-bake alternative, quick recipes, budget-friendly


