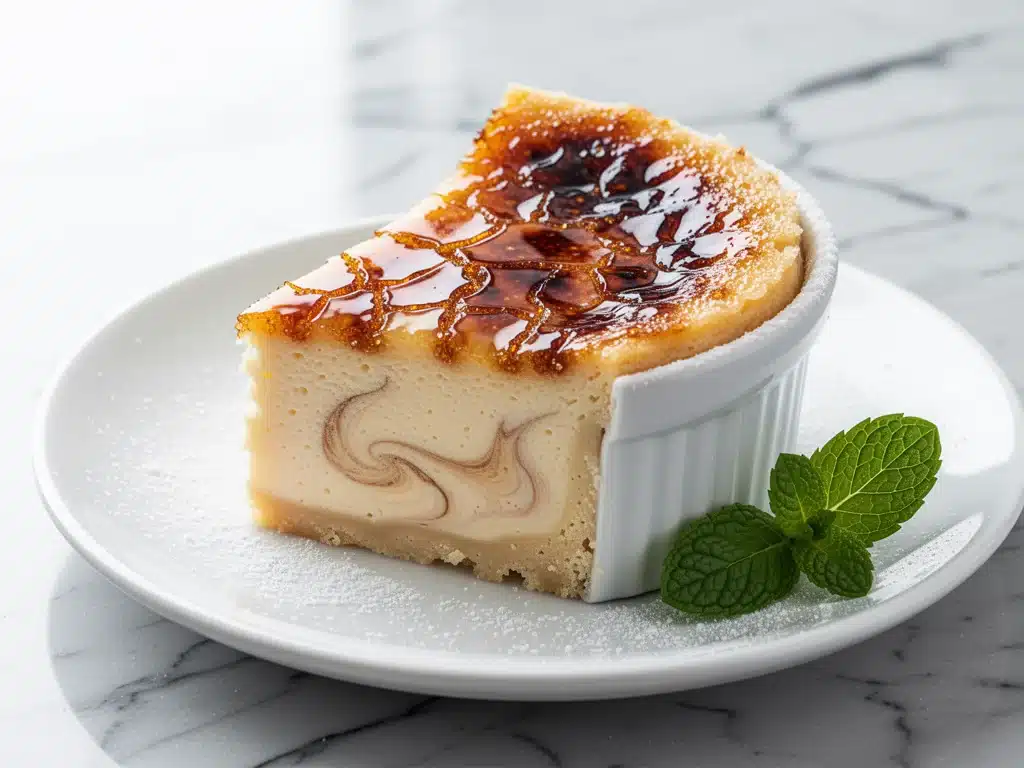
There is a specific sound that makes my heart skip a beat. It’s not a proposal, and it’s definitely not the doorbell. It’s the sound of a spoon cracking through a layer of hardened sugar. Crack. Then that sweet, caramelized scent hits the air, followed by the cool, dense cream underneath. That is the sound of victory in my kitchen.
I’ll be honest with you—I used to be terrified of the crème brûlée technique. The idea of torching sugar until it turned to amber glass without burning it to a crisp felt like a game of culinary Russian Roulette. I’ve had my share of failures: bitter, blackened sugar that tasted like a campfire, and soft, runny custards that refused to set. But after months of tweaking ratios, learning the secret to a truly smooth texture, and mastering the torch, I finally nailed it. And then I decided to take it one step further.
Why stop at a ramekin when you can make a whole cake? This crème brûlée cheesecake combines the best parts of my two favorite desserts. It has the dense, creamy richness of my classic New York cheesecake but swaps the traditional graham cracker crust for something lighter and more elegant. The top? That signature caramelized sugar crust that shatters at the touch of a spoon. It’s dramatic, it’s delicious, and it is absolutely foolproof if you follow my method.
I’ve tested this recipe for dinner parties, holiday gatherings, and just because I wanted something fancy on a Tuesday. Every single time, it disappears. People ask if I bought it from a high-end bakery. The truth? It’s made in my home kitchen, and it’s easier than you think. Let me show you how to make a dessert that truly impresses every time.
Why You’ll Love This Recipe
This isn’t just another cheesecake. It’s the one that gets you compliments you don’t expect. Here’s why this crème brûlée cheesecake has taken over my recipe rotation:
The “Wow” Factor is Real — Seriously, the presentation is unbeatable. You bring this out to the table, and everyone leans in. The contrast between the dark, glossy sugar top and the pale, creamy cake is visually stunning. It feels like a five-star restaurant dessert, but you made it.
Perfect Texture Contrast — Most cheesecakes are just dense. This one has layers of texture. You get the slight crunch of the crust, the dense and creamy body of the cheesecake, and the satisfying snap of the brûlée top. It keeps your mouth interested from the first bite to the last.
Make-Ahead Friendly — This is the ultimate stress-buster for hosts. The cheesecake needs to chill for at least 4 hours, preferably overnight. That means you can bake it, chill it, and prepare it all day before your guests arrive. You only need to torch the sugar right before serving. This gives you all day to enjoy your own party instead of standing in the kitchen.
Rich but Not Heavy — Because we use a water bath and careful baking techniques, this cheesecake is incredibly smooth. It doesn’t sit in your stomach like a brick. It’s rich, yes, but the vanilla and cream cheese balance it out perfectly. It’s the kind of dessert you can finish without feeling like you need to nap.
Customizable Sugar Top — You don’t have to stick to white sugar. I love using a mix of white and brown sugar for a deeper, molasses-like flavor, or adding a pinch of cinnamon. The sugar layer is your canvas, and it changes the flavor profile slightly every time.
Ingredients You’ll Need
Let’s talk about what goes into this beauty. Don’t let the list scare you—most of this is standard baking pantry stuff. I’m particular about a few things here, and I’ll tell you exactly why.
For the Crust:
Graham cracker crumbs (1 ½ cups / 150g) — I buy pre-made crumbs to save time, but if you’re feeling crafty, crush them in a food processor. You want fine crumbs, not chunks.
Unsalted butter (6 tablespoons / 85g) — Melted. This binds the crust. Use good quality butter here; it adds flavor.
Granulated sugar (2 tablespoons / 25g) — Just a little bit to sweeten the crust slightly.
Pinch of salt — To balance the sweetness.
For the Cheesecake Filling:
Cream cheese (32 oz / 900g) — This is the star. You need full-fat, brick-style cream cheese. The tub stuff with whipped air in it won’t work. Let it sit on the counter for 30 minutes before you start. Cold cream cheese = lumpy batter = sad cheesecake.
Granulated sugar (1 cup / 200g) — Standard white sugar gives that clean, sweet base.
Vanilla bean paste (2 tablespoons) — Or high-quality vanilla extract. I love the specks of vanilla bean in the final product. It looks fancy and tastes incredible. If you can’t find paste, use 1 tablespoon of extract.
Eggs (4 large) — Room temperature. Cold eggs can seize up your batter. Crack them out early.
Sour cream (1 cup / 240g) — This is the secret to the creamy texture. It adds tang and moisture. Full-fat is best. Don’t skip it.
Heavy cream (½ cup / 120ml) — Adds richness and helps with the smooth pour.
All-purpose flour (2 tablespoons / 15g) — Yes, flour in cheesecake! It stabilizes the cake so it doesn’t crack or sink in the middle. Don’t worry, you won’t taste it.
For the Torched Sugar Top:
Granulated white sugar (½ cup / 100g) — This is what you torch. Fine granulated sugar melts most evenly. Coarse sugars like turbinado might not melt completely.
Optional: Turbinado sugar — For a bit of sparkle and crunch on top of the smooth layer.
Pro Tip: If you want a richer crust, you can swap half the graham cracker crumbs for crushed butter cookies, like snickerdoodle cookies or shortbread. It adds a lovely buttery note.
Equipment Needed
You don’t need a professional bakery setup for this. Here’s what I actually use:
9-inch springform pan — This is non-negotiable for cheesecakes. The removable side makes slicing and serving so much easier. Make sure it’s in good condition so batter doesn’t leak.
Hand mixer or stand mixer — A hand mixer works fine, but a stand mixer is easier for getting that smooth, lump-free batter. Use the paddle attachment.
Roasting pan — A large, deep roasting pan or a baking sheet with high sides. This holds the hot water for the water bath.
Kitchen torch — This is the tool that makes the magic happen. I use a butane culinary torch. It gives you control. You can’t replicate this with an oven broiler easily.
Aluminum foil — Heavy-duty foil. You need to wrap the bottom of your springform pan tightly to prevent water from seeping in during the water bath.
Timer — Cheesecakes are sensitive. Set a timer.
Offset spatula — For smoothing the top and spreading the crust.
How to Make It: Step-by-Step
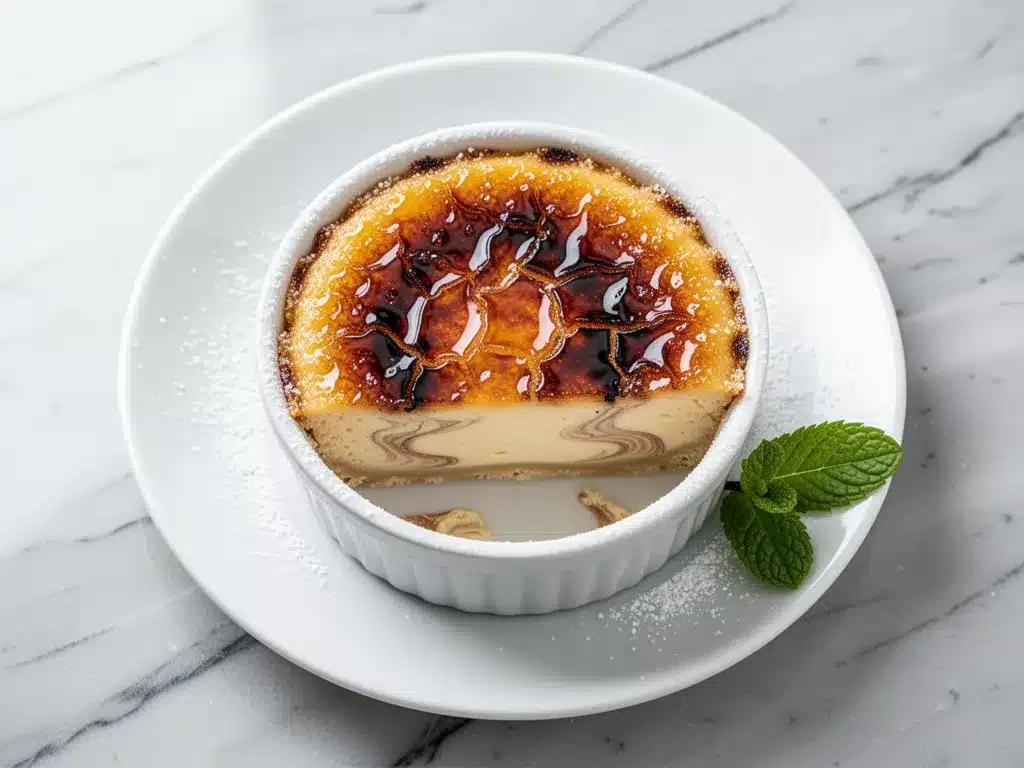
Alright, let’s make this! I’m walking you through exactly how I do it, including the little tricks I’ve picked up over the years.
Step 1: Prep the Crust (10 minutes)
Preheat your oven to 325°F (160°C). In a medium bowl, mix the graham cracker crumbs, melted butter, sugar, and salt. It should look like wet sand. Press this mixture firmly into the bottom of your 9-inch springform pan. Use the bottom of a measuring cup to pack it down tight. You want an even layer. Place the pan in the fridge while you make the filling.
Step 2: Make the Filling (15 minutes)
In a large bowl, beat the room-temperature cream cheese on medium-low speed until completely smooth. This is crucial. Scrape down the sides and beat for another 2-3 minutes. If there are any lumps, they’ll show up in the final product.
Add the sugar and vanilla bean paste. Mix until combined. Add the sour cream and heavy cream. Beat until smooth. Now, add the eggs one at a time, mixing on low speed just until incorporated. Do not overmix once the eggs are in! Overmixing adds air, which can cause cracking. Finally, whisk in the flour until just combined.
Step 3: The Water Bath (Critical Step)
Wrap the bottom and sides of your springform pan tightly with two layers of heavy-duty aluminum foil. This protects the crust from getting soggy. Pour the batter over the chilled crust. Smooth the top.
Place the springform pan inside your large roasting pan. Now, boil some water. Carefully pour the hot water into the roasting pan until it comes about an inch up the side of the springform pan. This gentle, steamy heat cooks the cheesecake evenly and prevents cracking.
Step 4: Bake (60-70 minutes)
Place the roasting pan in the oven. Bake at 325°F for 60-70 minutes. The cheesecake is done when the edges are set but the center still jiggles slightly like Jell-O when you shake the pan. It will continue to set as it cools. Do not overbake it, or it will be dry.
Step 5: Cool Gradually (2 hours)
Turn off the oven and crack the door open. Let the cheesecake sit in the cooling oven for 1 hour. This gradual temperature drop is key to preventing cracks. Then, remove it from the water bath and let it cool completely on a wire rack. Once cool, cover and refrigerate for at least 4 hours, preferably overnight.
Step 6: The Torched Sugar Top (5 minutes)
Just before serving, take the chilled cheesecake out of the fridge. Sprinkle a thin, even layer of granulated sugar over the top. Use about ½ cup. Spread it out with your fingers so there are no thick clumps.
Light your torch. Hold the flame about 2-3 inches from the sugar. Move the torch in slow, circular motions. The sugar will melt, bubble, and turn a beautiful amber color. Work in sections if needed. Don’t burn it—if it gets too dark, it will taste bitter. You want golden brown, not black.
Step 7: Serve
Let the sugar harden for 2-3 minutes. Slice with a sharp knife dipped in hot water for clean cuts. Serve immediately. The contrast of the hot sugar and cold cake is everything.
Expert Tips & Tricks
Here’s everything I’ve learned from making this dozens of times. These tips will save you from my mistakes.
Room Temperature Ingredients are Non-Negotiable
I cannot stress this enough. If your cream cheese is cold, you will have lumps. If your eggs are cold, your batter might separate. Pull everything out of the fridge at least an hour before you start baking. It’s worth the wait.
Don’t Overmix the Batter
Once you add the eggs, mix on the lowest speed possible. You just want them incorporated. If you whip air into the batter, the cheesecake will rise in the oven and then collapse, leading to cracks. We want dense and creamy, not fluffy and airy.
The Water Bath is Your Friend
I know it seems messy, but the water bath creates a humid environment that prevents the surface from drying out and cracking. If you’re worried about leaks, double-wrap the foil. If water still gets in, just wipe the sides of the pan with a towel before serving. It’s a minor issue.
Patience with the Cooling
Do not rush the cooling process. Taking it out of the hot oven and putting it in the fridge causes thermal shock, which leads to cracks. Let it cool in the turned-off oven first. It builds anticipation, I know, but it’s worth it.
Torching Technique
Keep the torch moving. If you hold the flame in one spot for too long, you’ll burn the sugar and scorch the cream cheese underneath. Aim for a uniform amber color. If you’re nervous, you can sprinkle a tiny bit of turbinado sugar on top after the white sugar melts for extra crunch and visual appeal.
Variations & Substitutions
Once you’ve nailed the basic version, here’s how you can mix it up. I’ve tried all of these.
Berry Swirl
Before baking, drop spoonfuls of mixed berry jam or fresh berries on top of the batter and swirl with a knife. It adds a beautiful marbled look and tart flavor. This pairs well with the vanilla cream.
Chocolate Version
Add ½ cup of high-quality cocoa powder to the dry ingredients. The chocolate flavor is rich and pairs beautifully with the caramelized sugar. It’s like a chocolate lava cake meets cheesecake.
Lemon Zest
Add the zest of one lemon to the batter. It brightens the heavy cream cheese flavor and makes it feel lighter. This is great for spring or summer gatherings.
Gluten-Free
Use gluten-free graham cracker crumbs or crushed gluten-free cookies for the crust. The rest of the ingredients are naturally gluten-free (check your vanilla extract and flour, though). The texture remains the same.
Lower Sugar
Reduce the sugar in the filling by ¼ cup. The top sugar layer is where most of the sweetness is, so you can keep that as is for the crunch. The cheesecake will be less sweet but still delicious.
Serving & Storage
How to Serve:
I usually serve this straight from the fridge. The cold temperature contrasts perfectly with the warm, torched sugar. Slice with a sharp knife. Dip the knife in hot water and wipe it dry between each slice for clean, professional-looking wedges.
Pairing Suggestions:
This dessert is rich, so pair it with something light. A cup of black coffee or a glass of sweet dessert wine like Moscato works wonders. A simple green salad before the meal helps balance the heaviness.
Storage Instructions:
Refrigerator: Store covered in the fridge for up to 5 days. The sugar top will soften over time, so it’s best to torch it right before serving. If you make it ahead, store the plain cheesecake and torch it the night of.
Freezing: You can freeze the cheesecake without the sugar top for up to 2 months. Wrap tightly in plastic wrap and foil. Thaw in the fridge overnight. Torch the sugar just before serving. The texture remains creamy.
Pro Tip: If you’re making this for a party, torch the sugar in batches if you have a small torch. It takes about 5 minutes per cake, so plan accordingly.
Nutrition Information
I’m not a nutritionist, but here’s the breakdown if you’re tracking. This is a rich dessert, so portion control is key.
Per Slice (based on 12 slices):
Calories: 450
Protein: 8g
Carbs: 42g
Fat: 28g
Sugar: 32g
Sodium: 350mg
This is indulgent, for sure. The cream cheese, butter, and sugar add up. But it’s made with real ingredients, no preservatives, and you control the quality. When I want to make it slightly lighter, I reduce the sugar in the filling and use a bit less butter in the crust. But honestly? Sometimes you just need the real deal.
Final Thoughts
So that’s my go-to crème brûlée cheesecake! I’ve probably talked your ear off at this point, but when you make a recipe this often, you have a lot to say about it.
This has saved my dinner parties more times than I can count. It’s my answer to “what’s for dessert” when I want something that feels special but doesn’t require a team of chefs. My guests are always impressed, my kids love the crunchy top, and I’m happy because I know exactly what’s in it.
Make it yours! Try different extracts, add fruit swirls, or experiment with different sugars for the top. The best recipes are the ones you adapt to your tastes. If you make this, drop a comment and let me know what you think! I love hearing how recipes turn out in your kitchen. And if something doesn’t work, tell me that too—I’m here to help troubleshoot.
Happy baking! And I hope your kitchen smells half as good as mine does right now.
Frequently Asked Questions
Q: Can I use an oven broiler instead of a torch?
A: You can try, but it’s risky. The broiler heats from the top down and can easily burn the sugar or cook the cheesecake further. If you must, put the cheesecake on the top rack and watch it like a hawk for 1-2 minutes. But a torch gives you so much more control and a better result.
Q: Why did my cheesecake crack?
A: Cracking is usually caused by overmixing (too much air), overbaking (dryness), or rapid temperature changes. Make sure you use a water bath, don’t overmix the eggs, and let it cool slowly in the turned-off oven.
Q: Can I make this in a different size pan?
A: Yes, but baking time will change. For a 10-inch pan, reduce the baking time slightly. For a 6-inch pan, you’ll need to increase the baking time. Keep an eye on the jiggle test rather than relying strictly on the clock.
Q: How long does the sugar top stay crunchy?
A: Ideally, serve it within an hour of torching. Over time, the moisture from the cheesecake will soften the sugar. If you’re making it ahead, wait to torch it until just before serving.
Q: Can I use sour cream substitutes?
A: Greek yogurt can work in a pinch, but it’s tangier and thinner. You might need to adjust the consistency. Full-fat sour cream is the best for texture and flavor balance.
Q: Is this recipe too sweet?
A: It’s moderately sweet. If you prefer less sweet desserts, reduce the sugar in the filling by 25% and use a mix of white and brown sugar for the top, which has a deeper, less sharp sweetness.
Pin This Recipe!
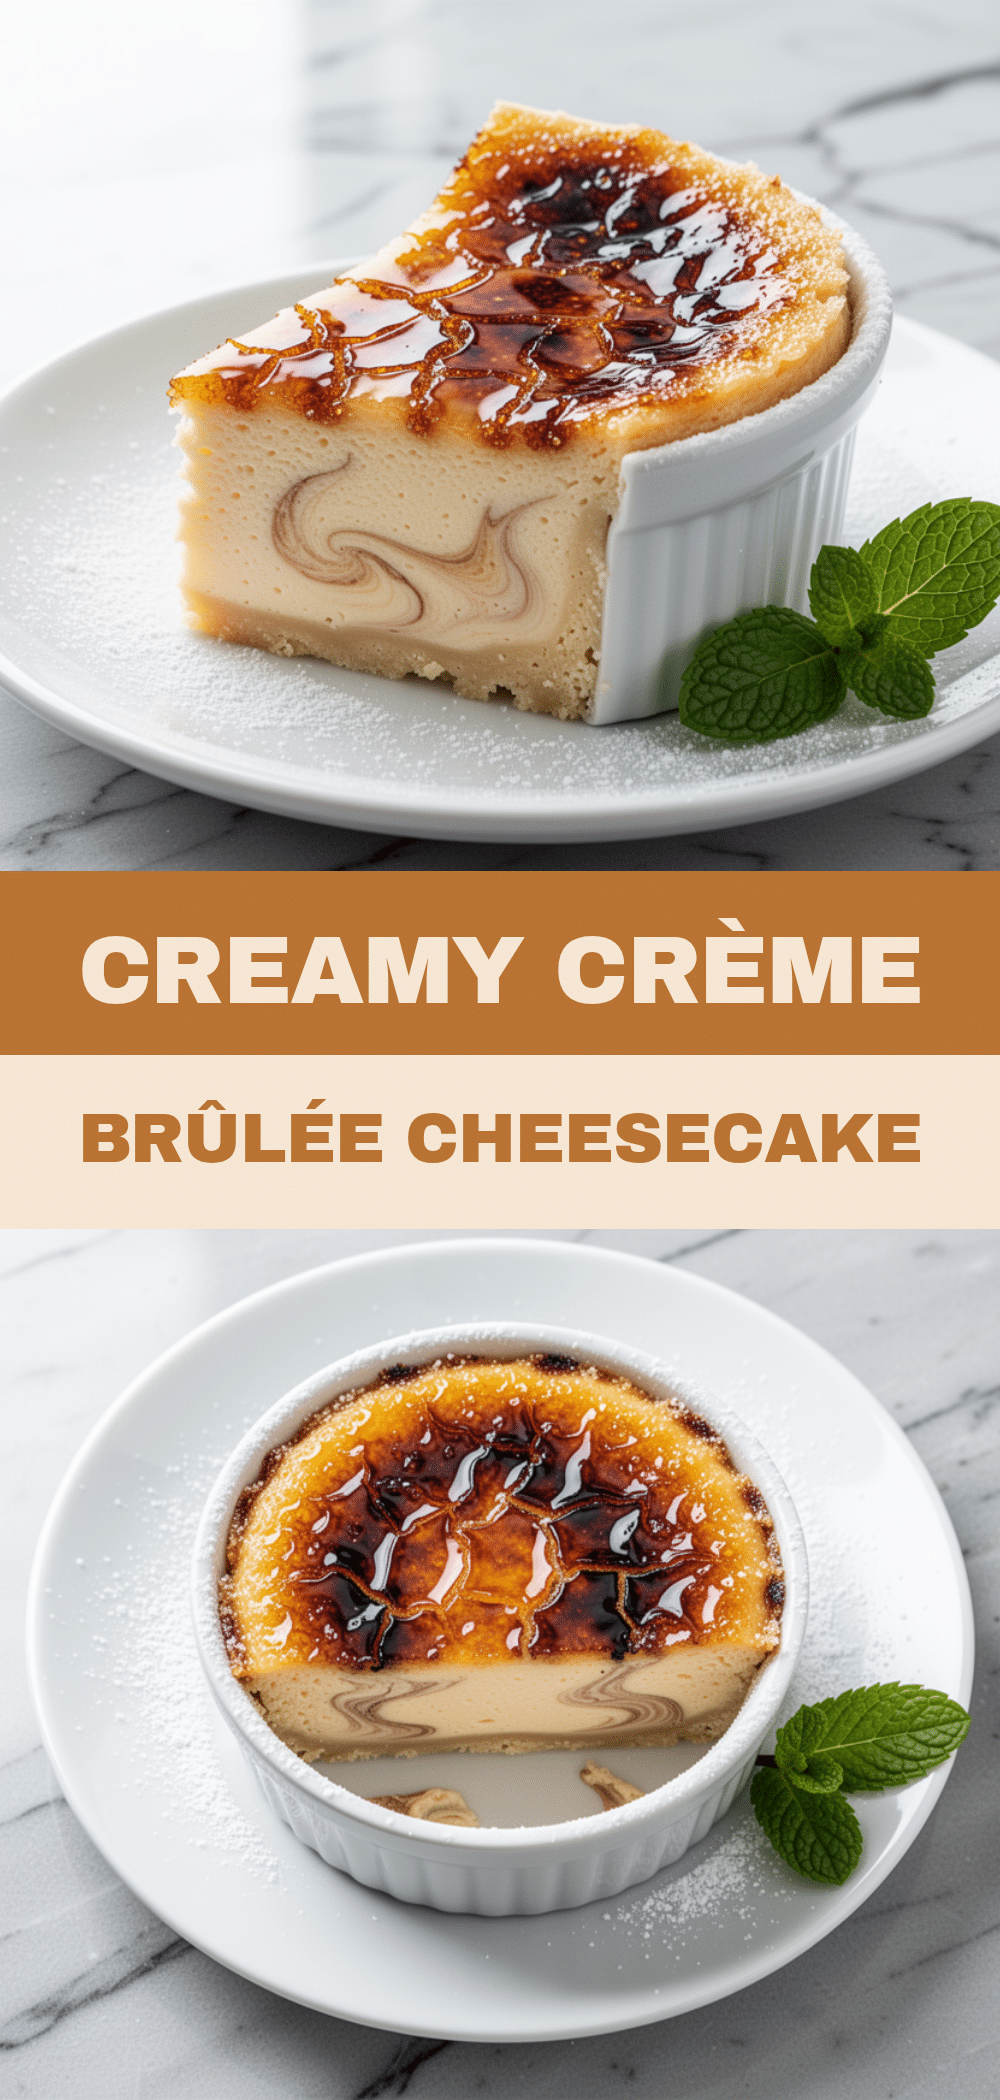
Creme Brulee Cheesecake: 5 Easy Steps for Perfect Dessert
- Total Time: 4 hours 40 minutes
- Yield: 12 servings 1x
Description
A rich and creamy New York-style cheesecake featuring a graham cracker crust, a smooth vanilla bean filling, and a signature caramelized sugar top that shatters at the touch of a spoon.
Ingredients
- 1 ½ cups (150g) graham cracker crumbs
- 6 tablespoons (85g) unsalted butter, melted
- 2 tablespoons (25g) granulated sugar
- Pinch of salt
- 32 oz (900g) full-fat brick-style cream cheese, room temperature
- 1 cup (200g) granulated sugar
- 2 tablespoons vanilla bean paste (or 1 tablespoon vanilla extract)
- 4 large eggs, room temperature
- 1 cup (240g) full-fat sour cream
- ½ cup (120ml) heavy cream
- 2 tablespoons (15g) all-purpose flour
- ½ cup (100g) granulated white sugar (for topping)
- Optional: Turbinado sugar for sparkle
Instructions
- Preheat oven to 325°F (160°C). Mix graham cracker crumbs, melted butter, 2 tablespoons sugar, and salt until resembling wet sand.
- Press the crust mixture firmly into the bottom of a 9-inch springform pan. Chill in the fridge while making the filling.
- Beat room-temperature cream cheese on medium-low speed until completely smooth, scraping down sides as needed.
- Add 1 cup sugar and vanilla bean paste; mix until combined.
- Add sour cream and heavy cream; beat until smooth.
- Add eggs one at a time on low speed, mixing just until incorporated. Do not overmix.
- Whisk in flour until just combined.
- Wrap the bottom and sides of the springform pan tightly with heavy-duty aluminum foil.
- Pour batter over the chilled crust and smooth the top.
- Place the springform pan inside a large roasting pan. Pour boiling water into the roasting pan until it reaches about an inch up the side of the springform pan.
- Bake at 325°F for 60-70 minutes, until edges are set but the center jiggles slightly.
- Turn off the oven, crack the door open, and let the cheesecake cool inside for 1 hour.
- Remove from water bath and cool completely on a wire rack.
- Refrigerate for at least 4 hours, preferably overnight.
- Just before serving, sprinkle ½ cup granulated sugar evenly over the chilled cheesecake.
- Use a kitchen torch to melt the sugar into a golden amber layer, moving the flame in slow circles.
- Let the sugar harden for 2-3 minutes before slicing and serving.
Notes
Ensure all dairy ingredients are at room temperature to prevent lumps. Do not overmix the batter after adding eggs to avoid cracking. The water bath is essential for even cooking and preventing surface cracks. For best results, torch the sugar immediately before serving to maintain crunch.
- Prep Time: 30 minutes
- Cook Time: 70 minutes
- Category: Dessert
- Cuisine: American
Nutrition
- Serving Size: 1 slice
- Calories: 450
- Sugar: 32
- Sodium: 350
- Fat: 28
- Saturated Fat: 16
- Carbohydrates: 42
- Fiber: 1
- Protein: 8
Keywords: crème brûlée cheesecake, dessert recipe, easy cheesecake, caramelized sugar top, springform pan dessert, make-ahead dessert


