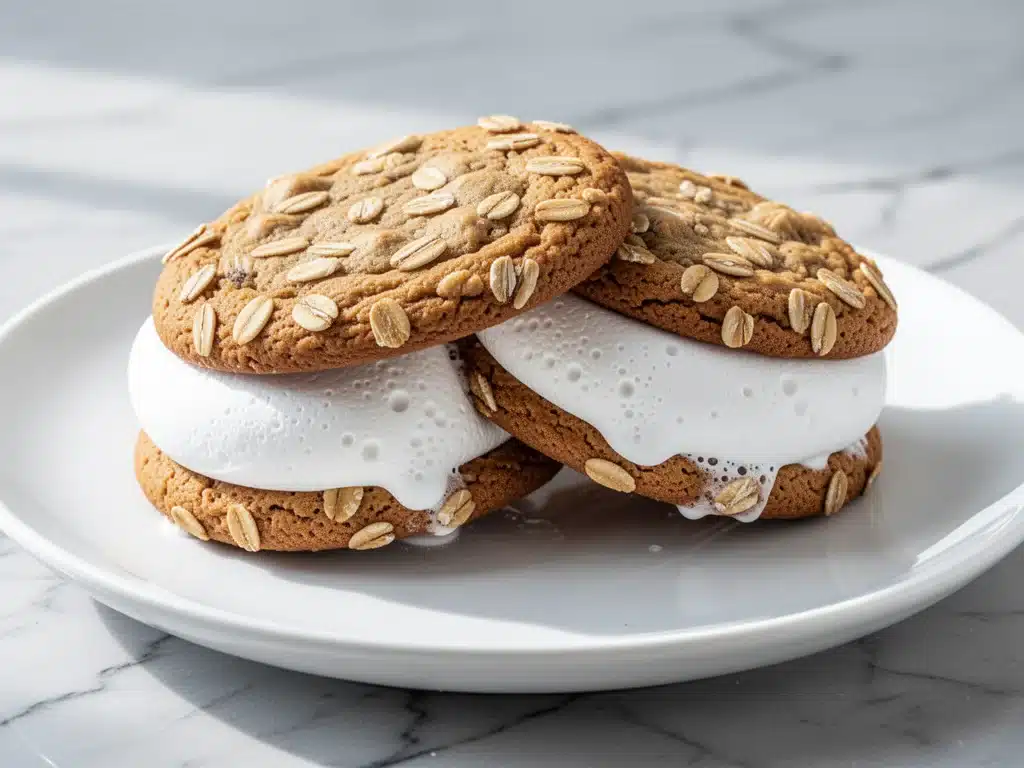
I have a confession to make. For the better part of my childhood, I thought oatmeal cream pies were just cookies stuffed with white fluff. You know the kind—the ones in the yellow plastic wrappers that you’d buy in bulk at the gas station on a road trip. They were sweet, they were soft, and they were definitely not made with love.
But then I made these homemade chewy oatmeal cream pies with fluffy marshmallow buttercream filling, and everything changed. Seriously. I took one bite of the first batch I pulled from the oven and literally stopped mid-chew. The cookie part was chewy in the best way—soft, spiced with cinnamon, and packed with real oats. And that filling? It wasn’t just sweet white goo. It was light, airy, and tasted like the inside of a marshmallow, but richer and creamier. It was like eating a cloud that decided to hang out with a warm oatmeal cookie.
I’ve made these cookies about a dozen times over the last few months. Sometimes I make them for my kids’ lunchboxes (they disappear faster than crispy baked zucchini fries at dinner, which is saying something). Sometimes I make them for office potlucks, and I always get the same question: “Where did you buy these?” I always smile and say, “I made them. But you can’t tell them apart from the store-bought kind unless you look closely.” And honestly? Once you taste the homemade version, you’ll never want the packaged stuff again.
What I love most about this recipe is how simple it is. You don’t need fancy equipment or hard-to-find ingredients. Just basic pantry staples, a mixing bowl, and about 30 minutes of active time. The result? Cookies that taste like comfort, nostalgia, and a whole lot of love. They’re perfect for lunchboxes, office parties, or just eating straight out of the cookie jar at 10 PM when you’re feeling guilty about dessert. (Don’t worry, I won’t tell.)
If you’re a fan of soft, chewy cookies like my ultra fudgy one bowl chocolate chip cookies, you’re going to absolutely adore these. They have that same irresistible texture but with a fun twist of creamy marshmallow filling. Let’s get baking!
Why You’ll Love This Recipe
There are a lot of cookie recipes out there, but these chewy oatmeal cream pies with fluffy marshmallow buttercream filling have a special place in my heart (and my kitchen). Here’s why they keep me coming back for more:
- They’re Nostalgic But Elevated — These cookies taste like the oatmeal cream pies from your childhood, but better. The filling is lighter and fluffier, and the cookies are chewier and more flavorful. It’s like upgrading from a regular sandwich to a gourmet one.
- Stupid Simple to Make — Seriously, if you can mix dough and spread frosting, you can make these. I’ve walked my teenage daughter through the whole process, and she made them without burning the house down. (That’s a win in my book.)
- Perfect for Any Occasion — Whether it’s a school bake sale, an office party, or just a Tuesday night craving, these cookies fit everywhere. They’re also great for meal prep if you like to bake in batches. I often make double batches and freeze them for later.
- Lightning Fast — From start to finish, these cookies take about 45 minutes. That’s less time than it takes to order and wait for takeout. Plus, you get the satisfaction of making something delicious yourself.
- Customizable — Want to add chocolate chips to the cookies? Go for it. Want to use vanilla buttercream instead of marshmallow? Sure thing. These cookies are a blank canvas for your creativity.
- Makes Amazing Leftovers — These cookies actually stay fresh for days if stored properly. I keep them in an airtight container at room temperature, and they’re still soft and chewy on day three. Perfect for packing lunches or having a ready-made snack.
This recipe has completely changed our dessert routine. No more driving to the store for packaged cookies. No more settling for dry, stale treats. Just soft, chewy, creamy perfection that makes everyone happy. And the best part? You’ll feel good knowing exactly what’s in them—no weird preservatives or artificial ingredients.
Ingredients You’ll Need
Here’s the best part: you probably have most of these ingredients already. This is a pantry-friendly recipe that uses simple, everyday items. Let’s break it down so you know exactly what to grab.
For the Chewy Oatmeal Cookies
Unsalted butter (1 cup / 226g) — Softened to room temperature. This is key for creamy cookie dough. If you’re in a rush, microwave it for 10-second bursts until it’s soft but not melted.
Granulated sugar (1 cup / 200g) — For sweetness and chewiness. Don’t skip this or reduce it too much, or the cookies won’t spread properly.
Light brown sugar (1 cup / 220g, packed) — This adds moisture and a hint of caramel flavor. Dark brown sugar works too, but light gives a milder taste.
Large egg (1) — Room temperature. Helps bind the dough together.
Vanilla extract (2 teaspoons) — Pure vanilla, not imitation. It makes a big difference in flavor.
All-purpose flour (2 ½ cups / 315g) — The base of the cookies. Don’t use self-rising flour unless you adjust the baking soda.
Baking soda (1 teaspoon) — Helps the cookies rise and spread.
Baking powder (½ teaspoon) — Gives them a little extra lift.
Cinnamon (1 teaspoon) — Warm, sweet spice that pairs perfectly with oats.
Salt (½ teaspoon) — Balances the sweetness. Don’t skip it!
Old-fashioned rolled oats (2 cups / 160g) — Not quick oats! Old-fashioned gives the right chewy texture.
For the Fluffy Marshmallow Buttercream Filling
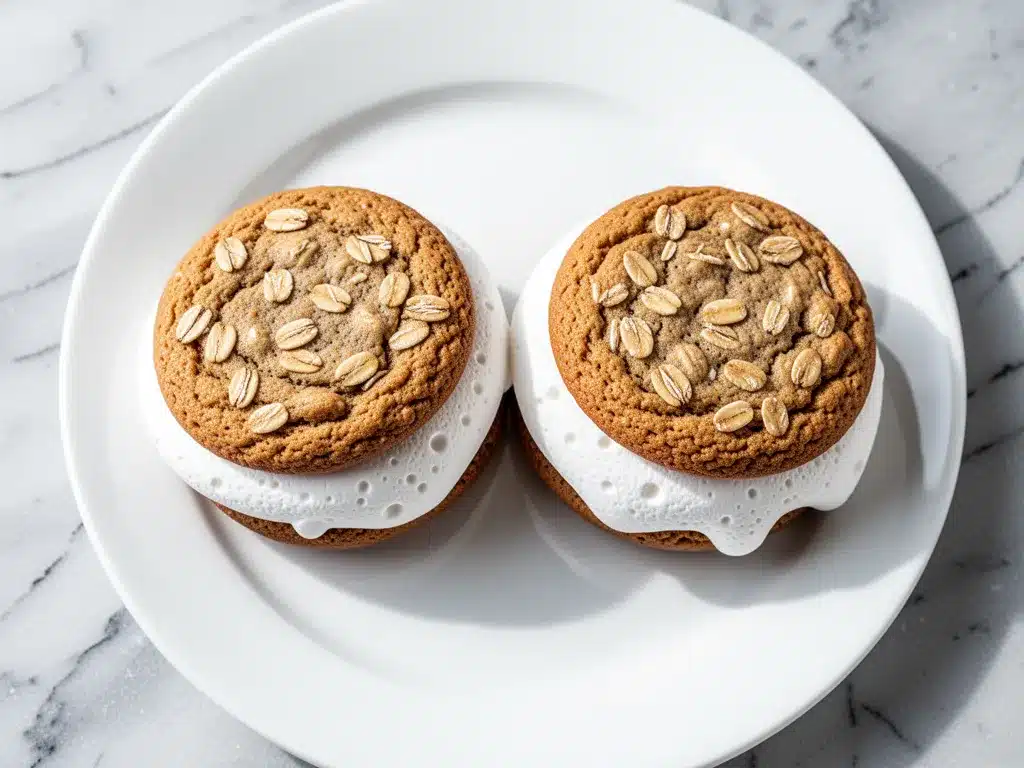
Unsalted butter (½ cup / 113g) — Softened. This is the base of the frosting.
Marshmallow fluff (7 ounces / 200g) — Yes, the jarred stuff. It’s the secret ingredient that makes this filling taste like a marshmallow. Don’t try to substitute with homemade marshmallows—it just won’t be the same.
Confectioners’ sugar (2 cups / 240g) — For sweetness and structure. Sift it if it’s lumpy.
Vanilla extract (1 teaspoon) — Enhances the marshmallow flavor.
Heavy cream (1-2 tablespoons) — To thin the frosting to a spreadable consistency. Add gradually.
Pinch of salt — Balances the sweetness.
Optional: Mini marshmallows — For extra texture and visual appeal. I like to press a few onto the top of each filled cookie for a cute touch.
That’s it! Simple ingredients, big flavor. If you’re feeling adventurous, you can add a splash of almond extract to the filling for a deeper flavor. Or stir in some crushed graham crackers for a s’mores vibe. The possibilities are endless.
Equipment Needed
You don’t need fancy equipment for this. Here’s what I actually use:
Mixing bowls — Two large bowls. One for the cookie dough, one for the frosting. I use stainless steel because they’re durable and easy to clean.
Electric mixer — Handheld or stand mixer. I prefer a stand mixer because it’s less tiring, but a handheld works fine too. Just make sure it’s powerful enough to cream the butter and sugar.
Rubber spatula — For scraping down the sides of the bowl and folding in the oats. Silicone spatulas are great because they’re flexible and heat-resistant.
Baking sheets — Two standard 13×18 inch sheets. Line them with parchment paper or silicone baking mats for easy cleanup.
Parchment paper or silicone mats — Prevents sticking and makes cleanup a breeze. I never bake cookies without these.
Cooling rack — Essential for cooling the cookies completely before filling. Warm cookies will melt the frosting.
Offset spatula or butter knife — For spreading the filling onto the cookies. An offset spatula makes it easier, but a regular knife works too.
Measuring cups and spoons — For accuracy. I use both dry and liquid measuring cups.
Airtight container — For storing the finished cookies. Glass or plastic works fine.
Freezer-safe bags or containers — If you want to freeze the cookies for later.
That’s all you need. No special gadgets or expensive tools. Just basic kitchen stuff you probably already have.
How to Make It: Step-by-Step
Alright, let’s make these chewy oatmeal cream pies with fluffy marshmallow buttercream filling! I’m walking you through exactly how I do it, including the little tricks I’ve picked up over the years.
Step 1: Prep Your Ingredients (5 minutes)
Before you start baking, make sure your butter is softened to room temperature. This is crucial for creamy cookie dough. Measure out all your ingredients so you don’t have to stop mid-mix. Grate your oats if you’re using quick oats (but again, old-fashioned is better). Set out your mixing bowls, baking sheets, and parchment paper.
Step 2: Cream the Butter and Sugars (3 minutes)
In a large mixing bowl, beat the softened butter with granulated sugar and brown sugar using an electric mixer on medium-high speed. Cream them together until the mixture is light, fluffy, and pale in color. This usually takes about 2-3 minutes. Don’t rush this step—it’s what gives the cookies their texture.
Step 3: Add Egg and Vanilla (1 minute)
Add the egg and vanilla extract to the butter-sugar mixture. Beat on medium speed until fully combined. Scrape down the sides of the bowl with a rubber spatula to make sure everything is mixed evenly.
Step 4: Mix Dry Ingredients (2 minutes)
In a separate bowl, whisk together the flour, baking soda, baking powder, cinnamon, and salt. This ensures the leavening agents are evenly distributed. Then, gradually add the dry ingredients to the wet mixture, mixing on low speed until just combined. Be careful not to overmix, or the cookies will be tough.
Step 5: Fold in Oats (1 minute)
Add the rolled oats to the dough and fold them in with a rubber spatula. Make sure they’re evenly distributed. The dough should be thick and sticky. If it’s too dry, add a tablespoon of milk. If it’s too wet, add a tablespoon of flour.
Step 6: Scoop and Bake (12-15 minutes)
Preheat your oven to 350°F (175°C). Line two baking sheets with parchment paper. Scoop tablespoon-sized balls of dough onto the sheets, spacing them about 2 inches apart. They’ll spread as they bake. Bake for 12-15 minutes, or until the edges are golden brown but the centers are still soft. Don’t overbake them—they’ll continue to cook on the hot pan.
Step 7: Cool Completely (30 minutes)
Let the cookies cool on the baking sheet for 5 minutes, then transfer them to a cooling rack to cool completely. This is important! If you try to fill warm cookies, the frosting will melt and slide off. Patience pays off here.
Step 8: Make the Marshmallow Filling (5 minutes)
While the cookies cool, make the filling. In a mixing bowl, beat the softened butter until creamy. Add the marshmallow fluff and beat until smooth. Gradually add the confectioners’ sugar, vanilla, and salt. Add heavy cream one tablespoon at a time until the frosting is light, fluffy, and spreadable. If it’s too thick, add more cream. If it’s too thin, add more sugar.
Step 9: Fill the Cookies (10 minutes)
Once the cookies are completely cool, spread a generous amount of marshmallow filling onto the flat side of one cookie. Top with another cookie, flat side down, to create a sandwich. Press gently to secure. Repeat with all cookies. If you’re feeling fancy, press a few mini marshmallows onto the top of each filled cookie for extra cuteness.
Total Time: About 45 minutes (15 minutes active, 30 minutes cooling)
Expert Tips & Tricks
Here’s everything I’ve learned from making these cookies dozens of times. These tips will save you from my mistakes and help you get perfect results every time.
Use Old-Fashioned Oats
This is non-negotiable. Quick oats will make the cookies cakey and soft, but not chewy. Old-fashioned oats give that perfect texture. If you’re in a pinch, you can pulse quick oats in a food processor to break them down a bit, but old-fashioned is still better.
Don’t Overmix the Dough
Once you add the flour, mix just until combined. Overmixing develops gluten, which makes the cookies tough. You want them soft and chewy, not dense.
Cool Completely Before Filling
I know it’s tempting to fill the cookies as soon as they’re done, but don’t do it. Warm cookies will melt the frosting, and you’ll end up with a messy, gooey disaster. Let them cool on a rack for at least 30 minutes.
Softened Butter is Key
Your butter should be soft enough to leave an indent when you press it, but not melted. If it’s melted, the cookies will spread too much and be greasy. If it’s too hard, the dough won’t cream properly.
Chill the Dough (Optional)
If you have time, chill the dough in the fridge for 30 minutes before baking. This helps the cookies hold their shape and prevents excessive spreading. It’s not necessary, but it’s a nice touch.
Use Marshmallow Fluff, Not Homemade
I tried making homemade marshmallow frosting once, and it was too heavy and dense. The jarred marshmallow fluff gives that light, airy texture that defines these cookies. Trust me on this.
Store Properly
Keep the filled cookies in an airtight container at room temperature. They’ll stay fresh for up to 5 days. If you’re freezing them, freeze the unfilled cookies first, then fill them after thawing.
Variations & Substitutions
Once you’ve nailed the basic version, here’s how you can mix it up. I’ve tried all of these, and they all work great.
Chocolate Chip Oatmeal Cream Pies
Add 1 cup of mini chocolate chips to the cookie dough. They melt into the cookies and add extra richness. My kids love this version.
Peanut Butter Marshmallow
Swap half the butter in the filling for peanut butter. It adds a salty-sweet flavor that’s amazing. Use creamy peanut butter for best results.
Vanilla Buttercream
If you don’t have marshmallow fluff, you can use regular vanilla buttercream. It’s not the same, but it’s still delicious. Just beat ½ cup softened butter with 2 cups confectioners’ sugar, 1 teaspoon vanilla, and 2 tablespoons heavy cream.
Graham Cracker Crumble
Press crushed graham crackers onto the top of the filled cookies for a s’mores vibe. It adds texture and flavor.
Gluten-Free Version
Use gluten-free all-purpose flour instead of regular flour. Everything else is naturally gluten-free. I’ve used Bob’s Red Mill gluten-free flour, and it works great.
Vegan Version
Use vegan butter and marshmallow fluff (there are vegan brands now). Replace the oats with gluten-free oats if needed. It’s not exactly the same, but it’s still tasty.
Different Spices
Add a pinch of nutmeg or cardamom to the cookie dough for a warmer, more complex flavor. Or use pumpkin pie spice for a fall twist.
Serving & Storage
How to Serve
I usually serve these cookies on a platter at room temperature. They’re perfect for parties, bake sales, or just snacking. Pair them with a cold glass of milk or a cup of coffee for the ultimate treat.
Side Dishes
These cookies are a dessert, so they don’t need sides. But if you’re serving them at a party, they go well with creamy southern coleslaw or other sweet treats. They’re also great alongside fall caramel apple crisp cheesecake bars for a dessert spread.
Toppings Bar
For a fun twist, set out a toppings bar with mini marshmallows, crushed graham crackers, and chocolate chips. Let everyone customize their own cookies.
Refrigerator
Store in an airtight container at room temperature for up to 5 days. Don’t refrigerate them—they’ll get soft and sticky.
Freezing
Freeze the unfilled cookies in a freezer-safe bag for up to 3 months. Thaw at room temperature, then fill. The filling doesn’t freeze well because the marshmallow fluff can separate.
Pro Tip
If the filling gets too soft, chill the cookies in the fridge for 15 minutes before serving. It helps them hold their shape.
Nutrition Information
I’m not a nutritionist, but here’s the breakdown if you’re tracking. This is per cookie (based on 24 cookies).
- Calories: 180
- Protein: 2g
- Carbs: 28g
- Fiber: 1g
- Sugar: 18g
- Fat: 7g
- Saturated Fat: 4g
- Cholesterol: 15mg
- Sodium: 120mg
What’s Good: It’s a reasonable treat with some fiber from the oats. Not a diet food, but not overly indulgent.
What to Know: Higher in sugar and carbs. Use in moderation. Contains gluten and dairy.
My Take: These are cookies. They’re supposed to be sweet and delicious. Enjoy them in moderation and don’t stress about the numbers. Life’s too short to worry about every calorie.
Final Thoughts
So that’s my chewy oatmeal cream pies with fluffy marshmallow buttercream filling! I’ve probably talked your ear off at this point, but when you make a recipe this often, you have a lot to say about it.
These cookies have saved my dessert game more times than I can count. They’re my answer to “what should I bring to the party?” or “what’s a good treat for the kids?” They’re easy to make, delicious to eat, and always a crowd-pleaser. My family loves them, my friends beg me for the recipe, and I love making them.
Make them yours! Try different add-ins, swap in your favorite spices, or experiment with different fillings. The best recipes are the ones you adapt to your tastes. And if something doesn’t work, tell me—I’m here to help troubleshoot.
If you make these, drop a comment and let me know what you think! I love hearing how recipes turn out in your kitchen. And if you need more cookie inspiration, check out my soft batch snickerdoodle cookies or my gluten-free fall pumpkin snickerdoodle cookies.
Happy baking! And I hope your kitchen smells half as good as mine does right now.
Frequently Asked Questions
Can I use quick oats instead of old-fashioned?
You can, but the texture won’t be as chewy. Quick oats are finer and will make the cookies softer and more cake-like. If you must use them, pulse them in a food processor to break them down a bit. But old-fashioned is still the best choice.
Why did my cookies spread too much?
This usually happens if the butter was too soft or melted, or if the dough wasn’t chilled. Make sure your butter is softened but not liquid. Also, chill the dough for 30 minutes before baking to help it hold its shape.
Can I make the filling ahead of time?
Yes! Make the filling up to 2 days ahead and store it in an airtight container in the fridge. Let it come to room temperature and re-whip it with a mixer before using. It might need a splash of heavy cream to get fluffy again.
Why is my filling too thick or too thin?
If it’s too thick, add heavy cream one tablespoon at a time until it’s spreadable. If it’s too thin, add more confectioners’ sugar. The consistency should be like soft-serve ice cream—thick enough to hold its shape but soft enough to spread.
Can I freeze the filled cookies?
I don’t recommend it. The marshmallow filling can get weird in the freezer—it might separate or become grainy. Freeze the unfilled cookies instead, then fill them after thawing. They’ll taste fresh and perfect.
Can I use homemade marshmallow fluff?
You can, but it won’t be the same. Homemade marshmallow fluff is usually thicker and denser. The jarred stuff has a specific texture and sweetness that works perfectly in this recipe. If you want to try homemade, look for a recipe that’s specifically designed for frosting.
How do I store these cookies?
Store them in an airtight container at room temperature for up to 5 days. Don’t refrigerate them—they’ll get soft and sticky. If you need to keep them longer, freeze the unfilled cookies and fill them after thawing.
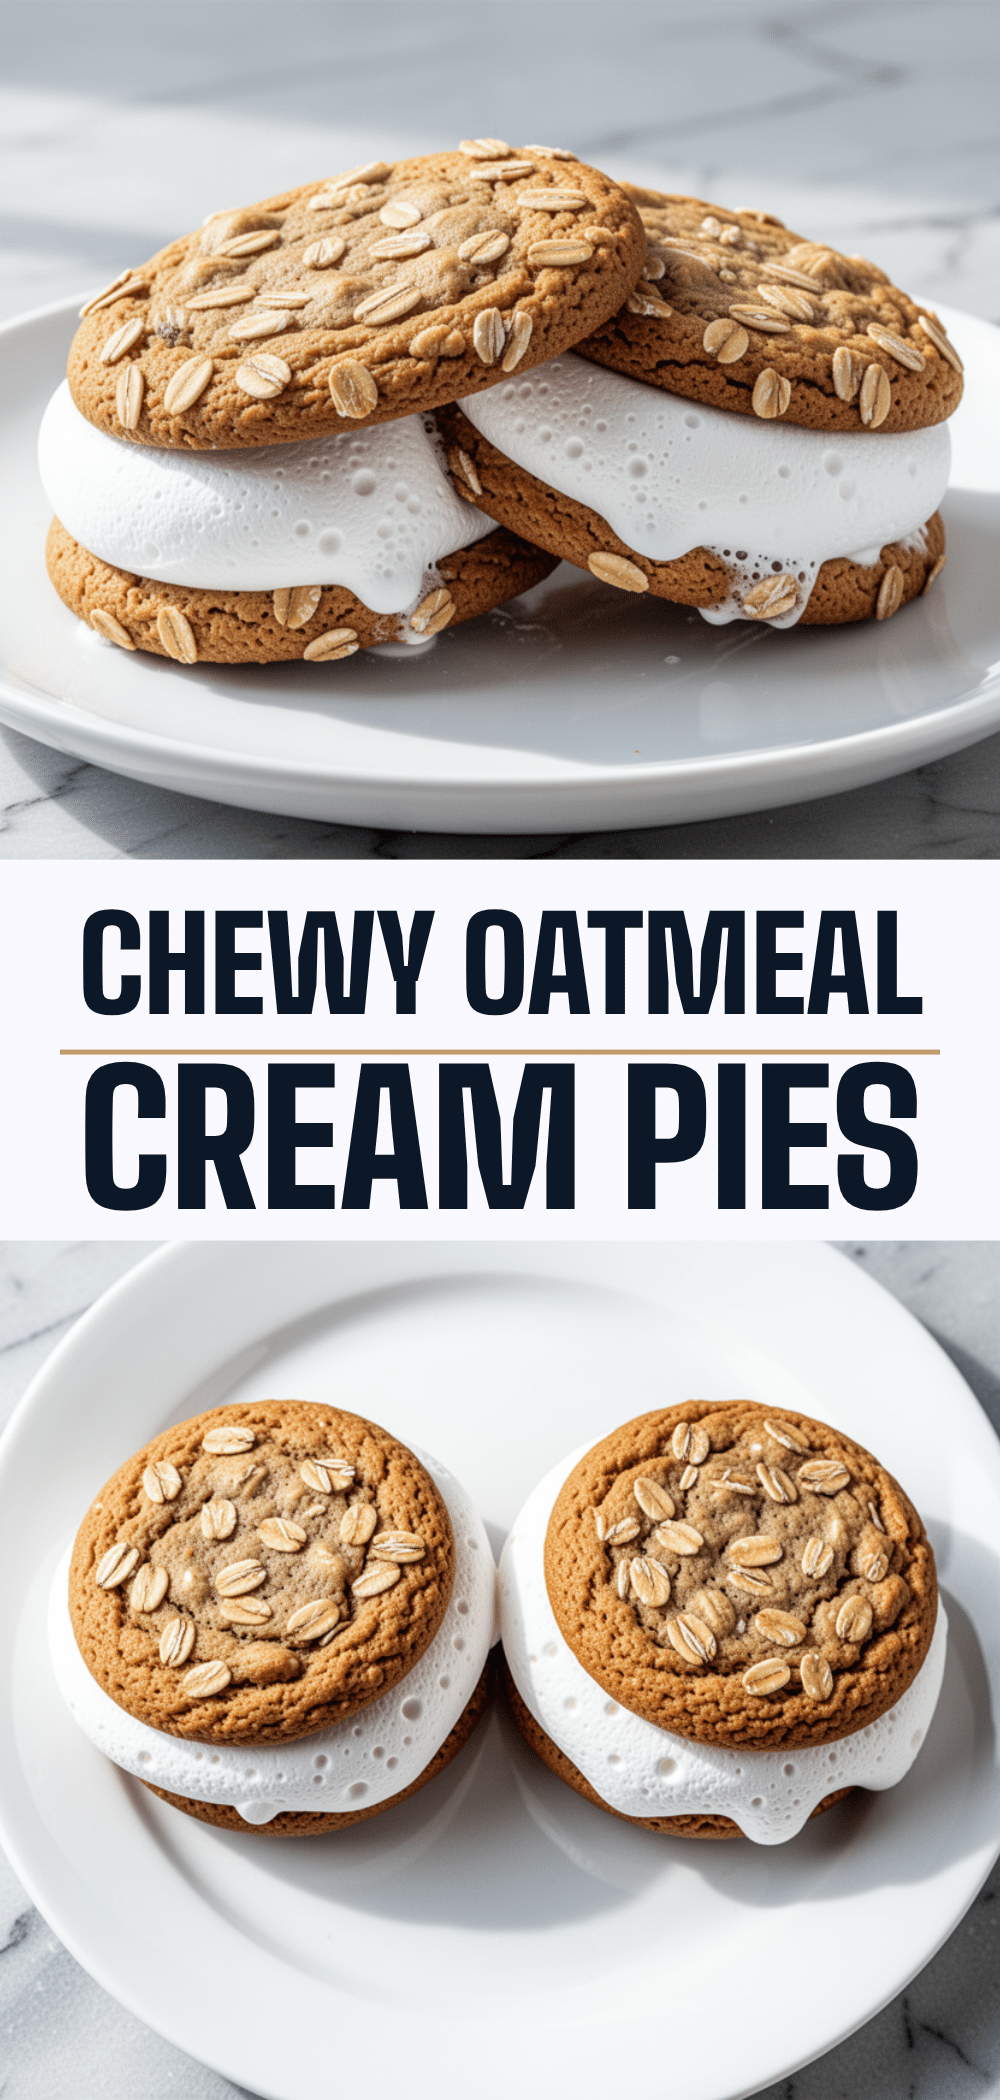
Pin This Recipe!
Chewy Oatmeal Cream Pies: Best Easy Homemade Cookies
- Total Time: 45 minutes
- Yield: 24 cookies 1x
Description
Homemade chewy oatmeal cookies filled with a light, airy marshmallow buttercream. These nostalgic treats are easy to make, perfect for lunchboxes or parties, and taste better than store-bought versions.
Ingredients
- 1 cup unsalted butter, softened
- 1 cup granulated sugar
- 1 cup light brown sugar, packed
- 1 large egg, room temperature
- 2 teaspoons vanilla extract
- 2 ½ cups all-purpose flour
- 1 teaspoon baking soda
- ½ teaspoon baking powder
- 1 teaspoon cinnamon
- ½ teaspoon salt
- 2 cups old-fashioned rolled oats
- ½ cup unsalted butter, softened (for filling)
- 7 ounces marshmallow fluff
- 2 cups confectioners’ sugar
- 1 teaspoon vanilla extract
- 1–2 tablespoons heavy cream
- Pinch of salt (for filling)
- Optional: Mini marshmallows for topping
Instructions
- Preheat oven to 350°F (175°C) and line two baking sheets with parchment paper.
- In a large bowl, cream softened butter with granulated and brown sugars until light and fluffy (2-3 minutes).
- Beat in the egg and vanilla extract until combined.
- In a separate bowl, whisk together flour, baking soda, baking powder, cinnamon, and salt.
- Gradually add dry ingredients to wet mixture on low speed until just combined.
- Fold in rolled oats with a rubber spatula.
- Scoop tablespoon-sized dough balls onto prepared sheets, spacing 2 inches apart.
- Bake for 12-15 minutes until edges are golden but centers are soft.
- Cool cookies on sheets for 5 minutes, then transfer to a wire rack to cool completely.
- While cookies cool, beat filling butter until creamy, then add marshmallow fluff.
- Gradually add confectioners’ sugar, vanilla, salt, and heavy cream until spreadable.
- Spread filling onto flat side of one cookie, top with another, and press gently.
- Optional: Press mini marshmallows onto tops for decoration.
Notes
Use old-fashioned rolled oats for the best chewy texture; do not use quick oats. Ensure butter is softened but not melted. Cool cookies completely before filling to prevent the frosting from melting. Store in an airtight container at room temperature for up to 5 days. Do not refrigerate as they will become sticky.
- Prep Time: 15 minutes
- Cook Time: 15 minutes
- Category: Dessert
- Cuisine: American
Nutrition
- Serving Size: 1 cookie
- Calories: 180
- Sugar: 18
- Sodium: 120
- Fat: 7
- Saturated Fat: 4
- Carbohydrates: 28
- Fiber: 1
- Protein: 2
Keywords: oatmeal cream pies, homemade cookies, marshmallow filling, chewy cookies, easy dessert, nostalgia cookies, baking


