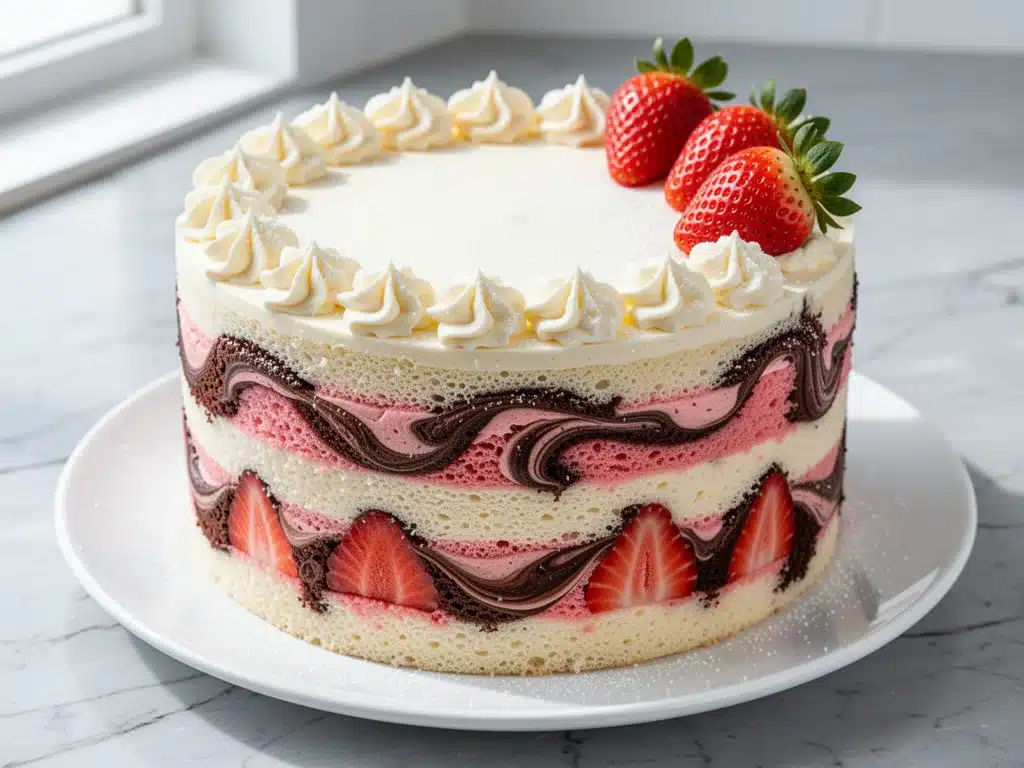
There is a specific kind of magic that happens when you cut into a Neapolitan layer cake. It’s not just the vibrant stripes of vanilla, chocolate, and strawberry that catch the eye—it’s the nostalgic rush of childhood birthdays that hits you in the chest. I remember being seven years old, standing on a milk crate in my mom’s kitchen, watching her struggle to keep the three layers even while I tried to “help” by licking the spoon. The cake was always a little lopsided. The frosting was often smeared onto my nose before I even got a slice. But it didn’t matter. That cake tasted like celebration. It tasted like permission to eat too much sugar.
Fast forward twenty years, and I’ve made this Neapolitan layer cake perfect for birthday celebrations dozens of times. Some were for my kids’ actual birthdays, some were for office parties where I needed to impress the boss without spending a fortune, and some were just because I craved that specific tri-color combo. After testing this recipe so many times, I’ve finally nailed the balance. It’s moist but sturdy enough to stack, the flavors are distinct but harmonious, and the vanilla bean buttercream ties it all together without overpowering the individual cake layers.
I used to buy Neapolitan ice cream bars as a kid, and I always wondered why no one made a cake that actually tasted like the ice cream. Most store-bought versions are dry, overly sweet, and taste like artificial chemicals. This homemade version is different. It’s rich, it’s buttery, and it tastes like something from a high-end bakery, but you can make it in your own kitchen. If you’ve ever been intimidated by the idea of baking three different flavors, don’t worry. I’m going to walk you through exactly how to do it, including the tricks I use to keep the layers from sticking together and the frosting tips that make it look professional. This isn’t just a cake; it’s a memory maker.
Why You’ll Love This Neapolitan Layer Cake
There are a hundred reasons to bake a cake, but this one has a special place in my heart. It’s the ultimate crowd-pleaser because it’s not just one flavor—it’s three. You get the classic comfort of vanilla, the deep richness of chocolate, and the bright, fruity pop of strawberry. It’s like having dessert options without the arguments. Here’s why this recipe has become my go-to for any party:
It’s a Flavor Trio — Why choose when you can have all three? One bite gives you the sweet vanilla, the next is a deep chocolate hit, and the third is a light strawberry finish. My picky eaters love this because they can get their “fix” of whatever they want in one slice.
Visually Stunning — The striped interior is a showstopper. When you slice it, the three distinct layers reveal themselves. It looks incredibly impressive on a birthday table, especially when paired with vanilla bean birthday cake techniques for the frosting finish. You don’t need to be a professional decorator to make it look good. The natural colors of the cakes do most of the work.
Moist and Tender — I’ve tried recipes that result in dry, crumbly layers, and they’re a nightmare to stack. This Neapolitan layer cake perfect for birthday celebrations uses a buttermilk base that keeps the crumb incredibly soft and moist for days. It doesn’t dry out overnight in the fridge, which is a huge plus for party planning.
Customizable Colors — You control the vibrancy. Want pastel pink and light brown? Go for it. Want bright, neon colors for a kid’s party? Add more gel food coloring. I usually go for mid-tone colors—they look the most appetizing and less artificial.
Make-Ahead Friendly — This is the biggest selling point for me. I bake the layers a day ahead, wrap them tightly, and freeze them. Then I thaw and frost on the day of the party. It saves so much stress. I can’t tell you how many times this saved my sanity during busy holiday seasons or when I was juggling work deadlines.
So basically, if you want a cake that looks fancy, tastes amazing, and doesn’t require a culinary degree to make, this is it. It’s my answer to “what should I bring to the party?” every single time.
Ingredients You’ll Need
Here’s the best part: you probably have most of the base ingredients already. This isn’t a recipe that requires a trip to three different specialty stores. I’m particular about a few things here, especially the vanilla and the chocolate, but the rest is straightforward pantry stuff. Let’s break it down.
All-Purpose Flour (3 cups / 375g) — The foundation. I use King Arthur All-Purpose because it has a good protein content that gives structure without being tough. Don’t use self-rising flour unless you adjust the baking powder and salt, but that’s too much hassle. Just stick to all-purpose.
Granulated Sugar (2 cups / 400g) — Standard white sugar. It provides sweetness and helps with the moisture. I’ve tried substituting with coconut sugar, but it changes the color too much, especially for the vanilla layer. Stick to white for that classic look.
Unsalted Butter (1 cup / 225g, softened) — This is crucial. Use high-quality butter if you can afford it. It makes a huge difference in flavor. Soften it properly—about 30 minutes out of the fridge. If it’s melted, you’ll get greasy cake. If it’s too cold, it won’t cream properly with the sugar.
Eggs (4 large, room temperature) — Room temperature eggs emulsify better into the batter. Cold eggs can cause the batter to curdle. I usually take them out of the fridge while the butter is softening.
Buttermilk (1 ½ cups / 360ml) — This is the secret to the moistness. The acidity in buttermilk tenderizes the gluten. If you don’t have buttermilk, make your own by adding 1 tablespoon of white vinegar or lemon juice to 1 cup of milk, letting it sit for 5 minutes, then adding another ½ cup of milk. It works surprisingly well.
Vanilla Extract (2 teaspoons) — Use pure vanilla extract, not imitation. The vanilla layer is the base, so if it tastes artificial, the whole cake suffers. I also love adding a bit of vanilla bean paste for extra specks and flavor, similar to what you’d find in vanilla bean birthday cake recipes.
Cocoa Powder (¾ cup / 60g, unsweetened) — For the chocolate layer. I use Hershey’s Special Dark for a richer, deeper chocolate flavor. Regular unsweetened cocoa works too, but Dark has a more “birthday cake” depth. Sift it if it’s lumpy.
Strawberry Powder (¾ cup / 60g) — This is the game-changer. I don’t use strawberry extract or jam because they add too much liquid and not enough flavor. I make my own strawberry powder by grinding freeze-dried strawberries in a food processor until they’re a fine dust. It gives an intense, pure strawberry flavor without altering the batter’s consistency. You can find freeze-dried strawberries at most grocery stores or online.
Baking Powder (2 teaspoons) — And Baking Soda (1 teaspoon) — For lift. Make sure they’re not expired. Old leavening agents are the #1 reason cakes don’t rise properly.
Salt (1 teaspoon) — To balance the sweetness. Don’t skip it.
For the Frosting:
Unsalted Butter (2 cups / 450g, softened) — Yes, two cups. This is a buttercream, so it needs to be rich. Soften it completely.
Confectioners’ Sugar (6-7 cups / 750-875g) — Sifted to remove lumps. I sift mine twice because no one wants gritty frosting.
Heavy Cream (¼ cup / 60ml) — To adjust consistency.
Vanilla Extract (2 teaspoons) — For the base frosting.
Food Coloring (Gel paste, pink and brown) — Gel paste is better than liquid because it doesn’t add extra water, which can throw off the frosting consistency. I use a toothpick to add color gradually.
Equipment Needed
You don’t need fancy equipment for this, but having the right tools makes the process smoother. Here’s what I actually use in my kitchen:
Three 8-inch Round Cake Pans — I use the ones with straight sides. Grease them thoroughly with baking spray that contains flour, or butter and flour them. I line the bottoms with parchment paper circles too—this guarantees the cakes won’t stick.
Stand Mixer or Hand Mixer — Creaming butter and sugar by hand is possible but painful. I use my stand mixer on medium speed. It’s faster and more consistent.
Three Mixing Bowls — Or just one bowl that you clean out between batches. I usually make one vanilla batter, then divide it. One-third stays vanilla, one-third gets cocoa, and one-third gets strawberry powder.
Wire Rack — For cooling the cakes. You need to let them cool completely before frosting, or the buttercream will melt.
Offset Spatula — Essential for spreading frosting evenly. A regular spatula works, but an offset gives you better control over the sides.
Parchment Paper — For lining the pans. It’s worth the extra minute of prep.
Food Processor — For making the strawberry powder. If you don’t have one, you can buy pre-made strawberry powder online, but grinding it yourself is cheaper and fresher.
Cake Leveler or Long Knife — To trim the domed tops. A level cake stacks better. I use a serrated knife and just slice off the top slowly.
How to Make It: Step-by-Step
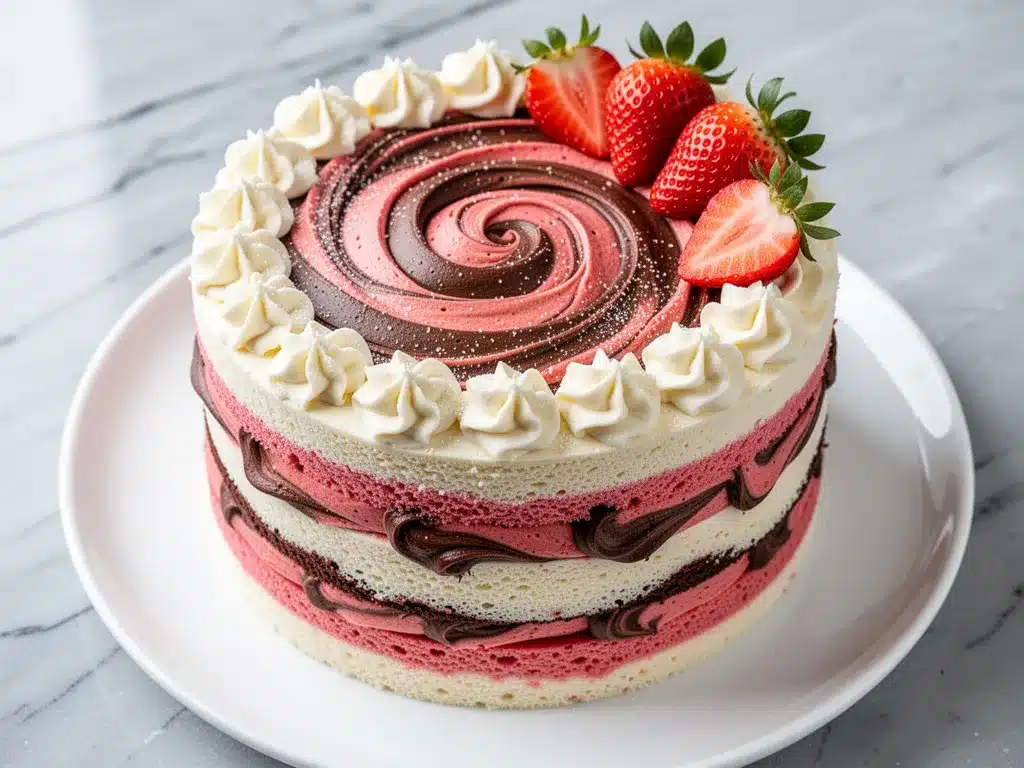
Alright, let’s make this! I’m walking you through exactly how I do it, including the little tricks I’ve picked up over the years. It’s easier than you think.
Step 1: Prep Your Pans and Oven (10 minutes)
Preheat your oven to 350°F (175°C). Grease three 8-inch round cake pans with butter or baking spray. Line the bottoms with parchment paper circles. This step is non-negotiable if you want clean removal. Dust the sides with a little flour, tapping out the excess. It helps the cake climb the sides as it bakes.
Step 2: Mix the Dry Ingredients (5 minutes)
In a medium bowl, whisk together the flour, baking powder, baking soda, and salt. Set this aside. Sifting is optional but recommended if your flour is clumpy. I usually just whisk it well to aerate it.
Step 3: Cream the Butter and Sugar (3 minutes)
In the bowl of your stand mixer, beat the softened butter and granulated sugar on medium-high speed until light and fluffy, about 3 minutes. The mixture should look pale and creamy. This step incorporates air, which helps the cake rise. Don’t rush this.
Step 4: Add Eggs and Vanilla (2 minutes)
Add the eggs one at a time, beating well after each addition. Scrape down the sides of the bowl with a spatula. Add the vanilla extract and mix until combined. The mixture might look slightly curdled—that’s okay. It will come together when you add the dry ingredients.
Step 5: Combine Wet and Dry (2 minutes)
Reduce the mixer speed to low. Add the dry ingredients in three parts, alternating with the buttermilk in two parts. Start and end with the dry ingredients. Mix just until combined. Overmixing develops gluten, which makes the cake tough. Stop as soon as you don’t see streaks of flour.
Step 6: Divide and Flavor the Batter (5 minutes)
Divide the batter into three equal portions. Keep one portion plain for the vanilla layer. To the second portion, add the cocoa powder and mix until smooth. To the third portion, add the strawberry powder and mix until the color is even. If the strawberry powder makes the batter too thick, add a teaspoon of milk. The cocoa batter might be thinner—that’s normal.
Step 7: Bake the Layers (25-30 minutes)
Pour the batter evenly into the prepared pans. Bake for 25-30 minutes. You’ll know they’re done when a toothpick inserted into the center comes out clean or with just a few moist crumbs. The cakes should spring back when lightly touched. Do not overbake, or they’ll be dry.
Step 8: Cool the Cakes (30 minutes)
Let the cakes cool in the pans for 10 minutes, then turn them out onto a wire rack to cool completely. They need to be room temperature before frosting. If they’re warm, the buttercream will melt and slide off. I usually bake them the night before and let them cool overnight.
Step 9: Make the Buttercream (10 minutes)
Beat the softened butter until creamy. Gradually add the sifted confectioners’ sugar, one cup at a time. Add the heavy cream and vanilla. Beat on high speed for 3 minutes until fluffy. Divide the frosting into three bowls. Leave one white for vanilla, add brown food coloring to the second for chocolate, and pink to the third for strawberry.
Step 10: Assemble the Cake (15 minutes)
Level the tops of the cakes if needed. Place the vanilla layer on a cake board or plate. Spread a thick layer of white frosting on top. Add the chocolate layer, then spread brown frosting. Add the strawberry layer, then spread pink frosting. Crumb coat the entire cake with a thin layer of frosting and chill for 15 minutes. Then apply the final layer of frosting.
Step 11: Decorate and Serve
Decorate with sprinkles, fresh berries, or chocolate shavings. Slice and enjoy! The stripes will show beautifully when cut.
Expert Tips & Tricks
Here’s everything I’ve learned from making this dozens of times. These tips will save you from my mistakes.
Room Temperature Ingredients Are Key
I cannot stress this enough. Cold eggs and butter will not emulsify properly. Take your eggs and butter out of the fridge at least an hour before you start. If you forget, warm the eggs in a bowl of warm water for 5 minutes.
Don’t Skip the Crumb Coat
A crumb coat is a thin layer of frosting that seals in crumbs. Without it, your final frosting layer will be speckled with cake bits. Apply a thin layer, chill for 15 minutes, then frost normally. It makes the finish look professional.
Use Gel Food Coloring
Liquid food coloring adds water to the frosting, which can make it runny. Gel paste is concentrated and keeps the frosting thick. Use a toothpick to add color gradually. It’s easier to add more than to fix too much.
Strawberry Powder vs. Extract
I tried using strawberry extract first, but the flavor was weak and the texture was off. Freeze-dried strawberries ground into powder give a pure, intense flavor without adding moisture. It’s worth the extra step.
Chill Before Slicing
After frosting, chill the cake for at least 30 minutes before slicing. It sets the frosting and makes clean cuts possible. A warm cake will smear the frosting everywhere.
Variations & Substitutions
Once you’ve nailed the basic version, here’s how you can mix it up. I’ve tried all of these.
Red Velvet Twist
Skip the chocolate layer and replace it with red velvet. Add 1 tablespoon of cocoa powder and red food coloring to one layer. It’s a fun variation that keeps the Neapolitan vibe.
Lemon Layer Cake
Replace the strawberry layer with a lemon layer. Add 1 tablespoon of lemon zest and 1 tablespoon of lemon juice to the batter. Use lemon curd between the layers for extra zing.
Gluten-Free Option
Use a 1:1 gluten-free flour blend. The texture might be slightly more delicate, but it works well. I’ve used Bob’s Red Mill and it’s great.
Dairy-Free Version
Use dairy-free butter and almond milk instead of buttermilk. The frosting might be slightly less stable, so chill the cake longer.
Mini Cupcakes
Divide the batter into cupcake liners and bake for 18-20 minutes. Perfect for party favors or kids’ tables. Frost with the same colored buttercreams.
Serving & Storage
How to Serve:
I usually serve this cake with a cup of coffee or tea. It’s rich, so a small slice is satisfying. For parties, I cut it into 12-16 slices. It looks beautiful on a cake stand with fresh strawberries on the side.
Storage Instructions:
Refrigerator: Store in an airtight container for up to 5 days. The buttercream hardens in the fridge, so let it sit at room temperature for 30 minutes before serving to soften.
Freezing: You can freeze the unfrosted cake layers for up to 3 months. Wrap them tightly in plastic wrap and then foil. Thaw overnight in the fridge before frosting. Do not freeze the frosted cake, as the buttercream can separate.
Leftovers: Any leftover cake should be covered tightly to prevent it from drying out. It tastes best within 3 days.
Nutrition Information
I’m not a nutritionist, but here’s the breakdown if you’re tracking. This is a rich cake, so moderation is key.
Per Serving (based on 12 slices):
- Calories: 450
- Protein: 5g
- Carbs: 55g
- Fiber: 1g
- Sugar: 40g
- Fat: 25g
- Saturated Fat: 15g
- Cholesterol: 75mg
- Sodium: 200mg
Look, this is a celebration cake. It’s supposed to be indulgent. But it’s better than store-bought options because you control the sugar and ingredients. When I want to make it slightly lighter, I use less frosting between the layers and top with fresh fruit instead of extra sprinkles.
Final Thoughts
So that’s my go-to Neapolitan layer cake perfect for birthday celebrations! I’ve probably talked your ear off at this point, but when you make a recipe this often, you have a lot to say about it. This cake has saved my sanity more times than I can count. It’s my answer to “what should I bake for the party?” when I’m tired, don’t want to order from a bakery, and still want something that looks amazing.
Make it yours! Try different food coloring shades, add sprinkles, or swap in a different fruit powder. The best recipes are the ones you adapt to your family’s tastes. If you make this, drop a comment and let me know how it turned out! I love hearing how recipes turn out in your kitchen.
Frequently Asked Questions
Can I use strawberry jam instead of strawberry powder?
You can, but it will change the texture. Jam adds liquid, which can make the batter runny and the cake dense. If you must use jam, reduce the buttermilk by ¼ cup and strain the jam to remove seeds. But honestly, freeze-dried strawberries ground into powder give a better flavor and texture.
Why did my cake layers dome so much?
This is common. To prevent doming, you can use “bake even strips”—fabric strips you soak in water and wrap around the pans. Or, you can simply level the tops with a serrated knife after baking, as I mentioned. It doesn’t affect the taste, just the stacking.
Can I make this cake ahead of time?
Yes! Bake the layers a day ahead, wrap them tightly, and freeze them. Thaw them overnight in the fridge, then bring to room temperature before frosting. This actually makes the cake easier to handle because it’s firmer.
Why is my frosting too runny?
Probably because the butter was too warm or you added too much liquid. If it’s runny, chill the bowl in the fridge for 15 minutes, then beat it again. If it’s still too soft, add more sifted confectioners’ sugar. Remember, gel food coloring is better than liquid because it doesn’t add water.
Can I use a different size pan?
You can, but the baking time will change. If you use 9-inch pans, the layers will be thinner and bake faster (check at 20 minutes). If you use 6-inch pans, they’ll be taller and take longer (check at 35-40 minutes). Adjust accordingly.
How do I get clean slices?
Use a sharp knife and dip it in hot water, then wipe it dry between each cut. This helps the knife glide through the frosting and cake without tearing. Chill the cake first for best results.
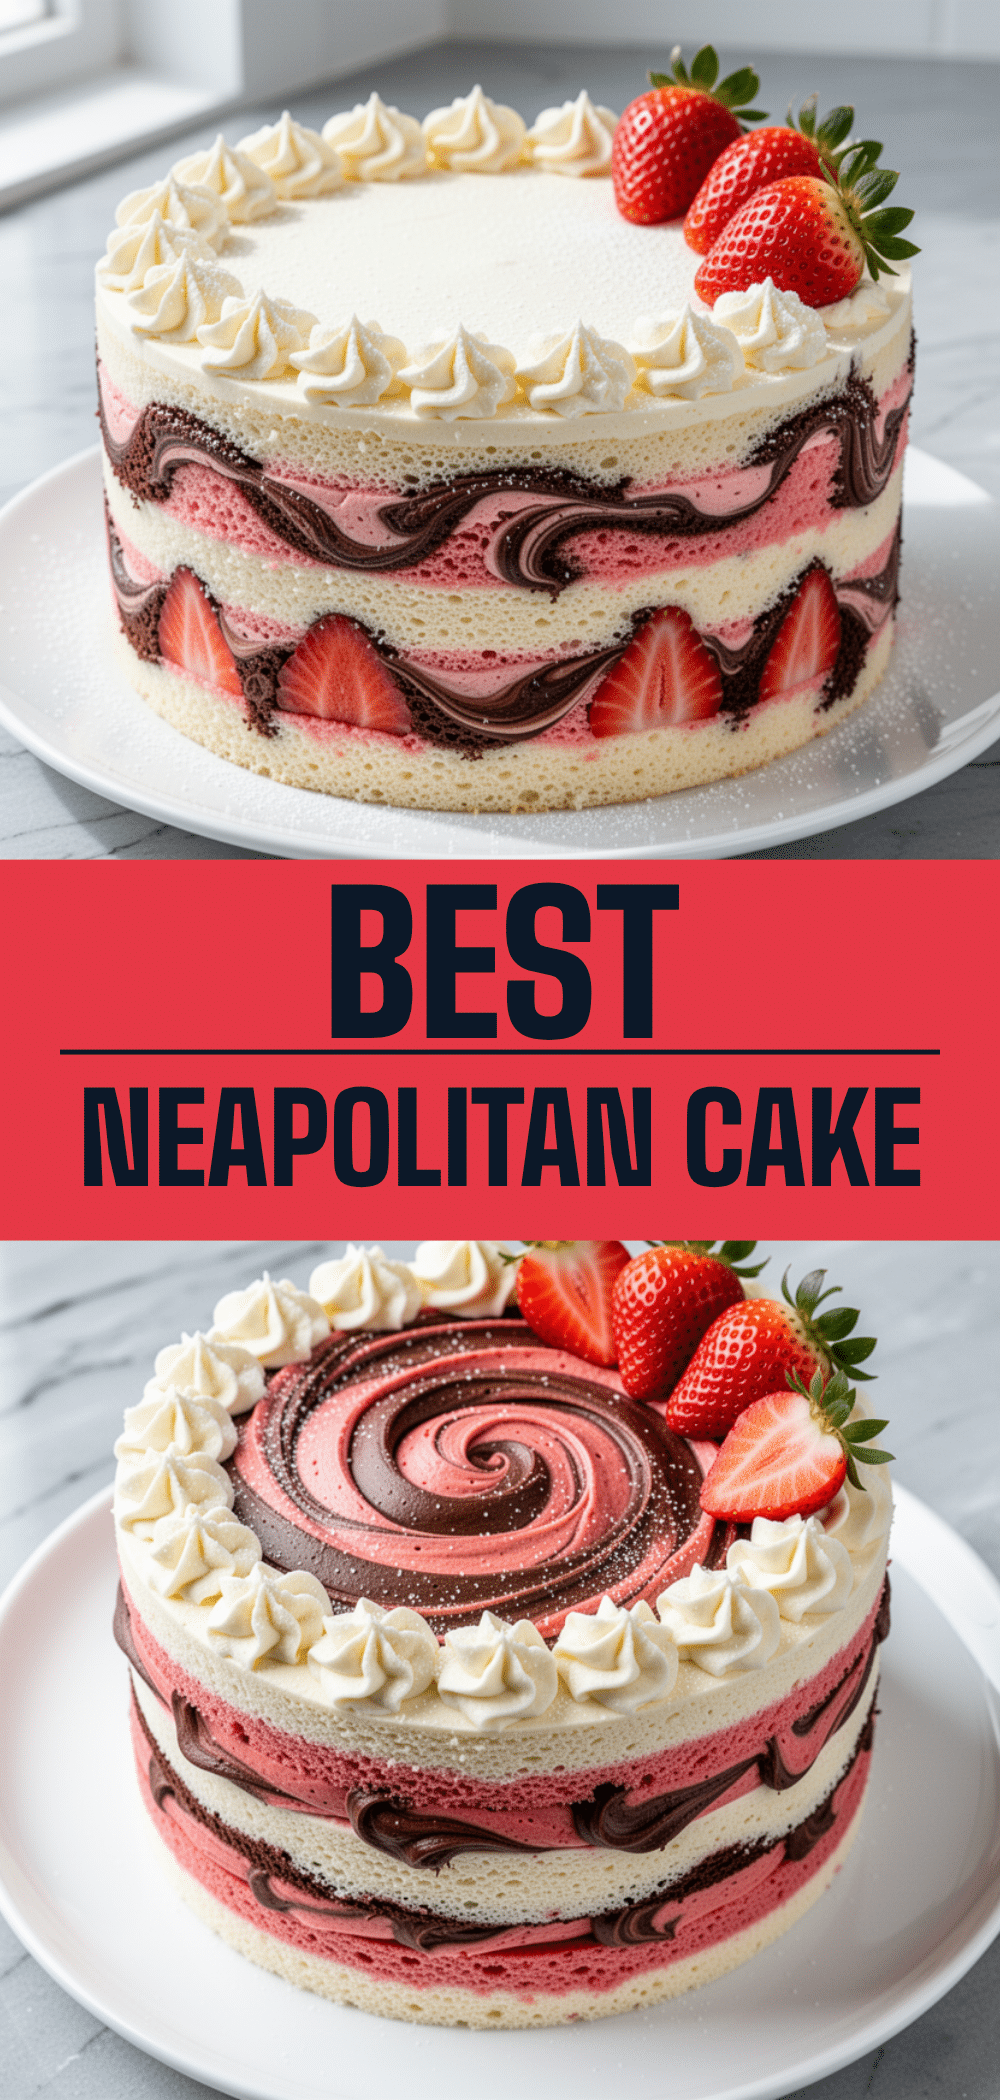
Pin This Recipe!
Neapolitan Layer Cake: Best Birthday Recipe
- Total Time: 1 hour 15 minutes
- Yield: 12 servings 1x
Description
A nostalgic and visually stunning three-layer cake featuring vanilla, chocolate, and strawberry flavors with a rich vanilla bean buttercream. This recipe yields moist, tender layers that are perfect for birthday celebrations and parties.
Ingredients
- 3 cups (375g) All-Purpose Flour
- 2 cups (400g) Granulated Sugar
- 1 cup (225g) Unsalted Butter, softened
- 4 large Eggs, room temperature
- 1 ½ cups (360ml) Buttermilk
- 2 teaspoons Vanilla Extract
- ¾ cup (60g) Unsweetened Cocoa Powder
- ¾ cup (60g) Strawberry Powder (made from freeze-dried strawberries)
- 2 teaspoons Baking Powder
- 1 teaspoon Baking Soda
- 1 teaspoon Salt
- 2 cups (450g) Unsalted Butter, softened (for frosting)
- 6–7 cups (750-875g) Confectioners’ Sugar, sifted (for frosting)
- ¼ cup (60ml) Heavy Cream (for frosting)
- 2 teaspoons Vanilla Extract (for frosting)
- Gel paste food coloring (pink and brown)
Instructions
- Preheat oven to 350°F (175°C). Grease three 8-inch round cake pans with butter or baking spray and line bottoms with parchment paper.
- In a medium bowl, whisk together flour, baking powder, baking soda, and salt.
- In a stand mixer, beat softened butter and granulated sugar on medium-high speed until light and fluffy (about 3 minutes).
- Add eggs one at a time, beating well after each addition. Add vanilla extract and mix until combined.
- Reduce mixer speed to low. Add dry ingredients in three parts, alternating with buttermilk in two parts, starting and ending with dry ingredients. Mix just until combined.
- Divide batter into three equal portions. Keep one plain for vanilla. Mix cocoa powder into the second portion. Mix strawberry powder into the third portion.
- Pour batter evenly into prepared pans. Bake for 25-30 minutes or until a toothpick inserted comes out clean.
- Let cakes cool in pans for 10 minutes, then turn out onto a wire rack to cool completely.
- For frosting, beat softened butter until creamy. Gradually add sifted confectioners’ sugar, heavy cream, and vanilla. Beat on high speed for 3 minutes until fluffy.
- Divide frosting into three bowls. Leave one white, add brown coloring to the second, and pink to the third.
- Level cake tops if necessary. Stack layers with frosting between them (vanilla, then chocolate, then strawberry).
- Apply a thin crumb coat of frosting and chill for 15 minutes. Apply final layer of frosting.
- Decorate with sprinkles or fresh berries and serve.
Notes
Ensure all ingredients are at room temperature for best emulsification. Use gel food coloring instead of liquid to maintain frosting consistency. For strawberry flavor, grind freeze-dried strawberries into a powder rather than using jam or extract to avoid altering batter texture. Chill the cake for at least 30 minutes before slicing for clean cuts.
- Prep Time: 45 minutes
- Cook Time: 30 minutes
- Category: Dessert
- Cuisine: American
Nutrition
- Serving Size: 1 slice
- Calories: 450
- Sugar: 40
- Sodium: 200
- Fat: 25
- Saturated Fat: 15
- Carbohydrates: 55
- Fiber: 1
- Protein: 5
Keywords: Neapolitan cake, birthday cake, layer cake, vanilla chocolate strawberry cake, homemade birthday cake, party dessert


