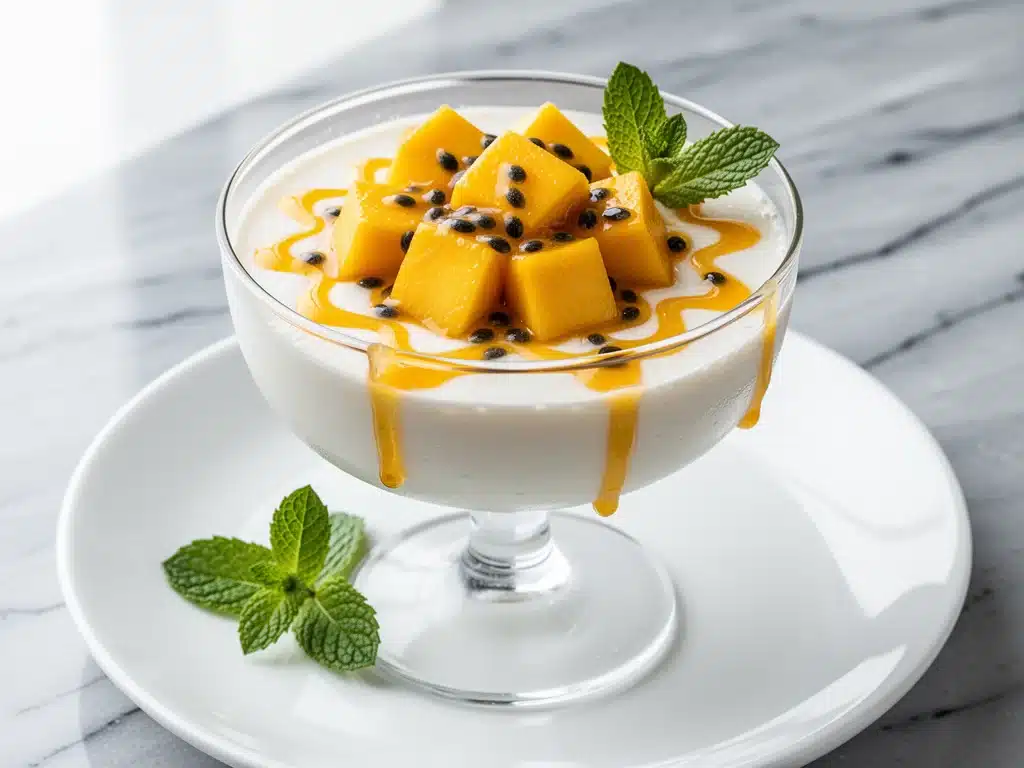
I used to think “dairy-free dessert” was just a polite way of saying “sad, grainy, or overly sweet.” For years, I avoided making them because I knew my family—especially my husband, who thinks butter is a food group—would pick at them and complain. That changed last July during a backyard barbecue. It was one of those humid, sticky evenings where the only thing that sounded appealing was something cold, light, and not heavy like a traditional cheesecake or a dense chocolate cake. I wanted to serve something that felt fancy but didn’t require me to stand over a stove for hours.
So, I threw together a batch of dairy-free coconut mango panna cotta. I didn’t expect much. I figured it would be a nice little side dish, maybe a hit with my cousin who’s lactose intolerant. But then my husband took one bite, paused, and asked if I’d swapped out the heavy cream for something else. When I told him it was coconut milk, he actually looked confused. That’s the thing about good dairy-free desserts—they don’t taste like “alternatives.” They just taste delicious.
Since then, this dairy-free coconut mango panna cotta has become my go-to for any summer gathering. It’s silky, it’s vibrant, and it’s incredibly easy to make ahead. Unlike traditional panna cotta, which relies on gelatin and dairy to set, this version uses full-fat coconut milk and agar-agar (or gelatin, depending on your preference) to create that perfect wobble. The mango puree adds a tropical sweetness that cuts through the rich coconut base, making it feel like a vacation in a glass. I’ve made this at least a dozen times now, tweaking the mango-to-coconut ratio until it was absolutely perfect. If you’re looking for a dessert that’s gluten-free, naturally dairy-free, and impressive enough for a dinner party, this is it.
Why You’ll Love This Dairy-Free Coconut Mango Panna Cotta
There are a few reasons this dessert has earned a permanent spot in my summer recipe rotation. It’s not just about being dairy-free; it’s about how easy and versatile it is. Here’s why you’re going to want to make this:
- Zero Cooking Stress — Seriously, if you can blend fruit and heat milk, you can make this. There’s no custard tempering, no water bath, and no risk of scrambling eggs. You mix, you chill, you eat. It’s that simple.
- Make-Ahead Magic — This is the ultimate party dessert because it needs to set. You can make it two days in advance. In fact, it tastes better the next day as the flavors meld together. I love making it on Sunday so I don’t have to think about dessert on Monday night.
- Gluten-Free & Vegan Options — By using agar-agar instead of gelatin, this is naturally vegan and gluten-free. No one needs to know it’s dairy-free; they’ll just think it’s a fancy Italian-inspired treat. It’s inclusive without being “diet food.”
- Bright & Refreshing — Summer desserts can sometimes be too heavy. This is light, fruity, and cooling. It’s the perfect counterpoint to a grilled meal. Think of it as the lighter, fresher cousin to our ultra-moist carrot cake—just without the heaviness.
- Visually Stunning — The contrast of the white coconut cream and the bright yellow mango is gorgeous. Serve it in clear glasses or ramekins, and it looks like something from a high-end restaurant. It’s Pinterest-perfect without any effort.
Real talk: I’ve served this to people who are strict about their diets and people who don’t care at all. Everyone loves it. It’s one of those recipes that makes you look like a culinary genius while actually taking less effort than opening a tub of store-bought pudding.
Ingredients You’ll Need
Here’s the best part: you probably have most of this already. This recipe relies on high-quality, simple ingredients. Because there’s no dairy to mask flavors, the coconut and mango need to shine.
For the Coconut Base
Full-Fat Coconut Milk (2 cans / 400ml each) — Do not use light coconut milk. Do not use coconut beverage from a carton. You need the thick, canned stuff found in the Asian aisle or near the dairy alternative section. Scoop out the solid cream if you want extra richness, but mixing the whole can gives the best texture. This is the “heavy cream” of this recipe.
Agar-Agar Powder (2 teaspoons) — This is the gelling agent. Agar is derived from seaweed and is vegan. It sets firmer than gelatin, so don’t add more than specified. If you’re not vegan, you can use 1.5 tablespoons of unflavored gelatin, but you’ll need to bloom it in cold water first. I stick with agar because it’s shelf-stable and reliable.
Coconut Cream (2 tablespoons) — This is optional but recommended. If your coconut milk separates (which it should), scoop the thick cream off the top and use it here for extra silkiness. If you can’t find separate cream, just use more coconut milk.
Vanilla Extract (1 teaspoon) — Use pure vanilla, not imitation. It adds warmth and depth that balances the tropical flavors. I always keep a bottle of small-batch vanilla bean birthday cake ingredients on hand because vanilla is my secret weapon in savory and sweet dishes alike.
Maple Syrup or Sugar (3-4 tablespoons) — I prefer maple syrup for a deeper flavor, but white sugar or agave work too. Adjust based on how sweet your mango is. Taste your coconut milk first; some brands are unsweetened, others are slightly sweet.
Pinch of Salt — Never skip this. Salt enhances the sweetness and makes the coconut flavor pop. It’s the difference between “bland” and “delicious.”
For the Mango Swirl & Topping
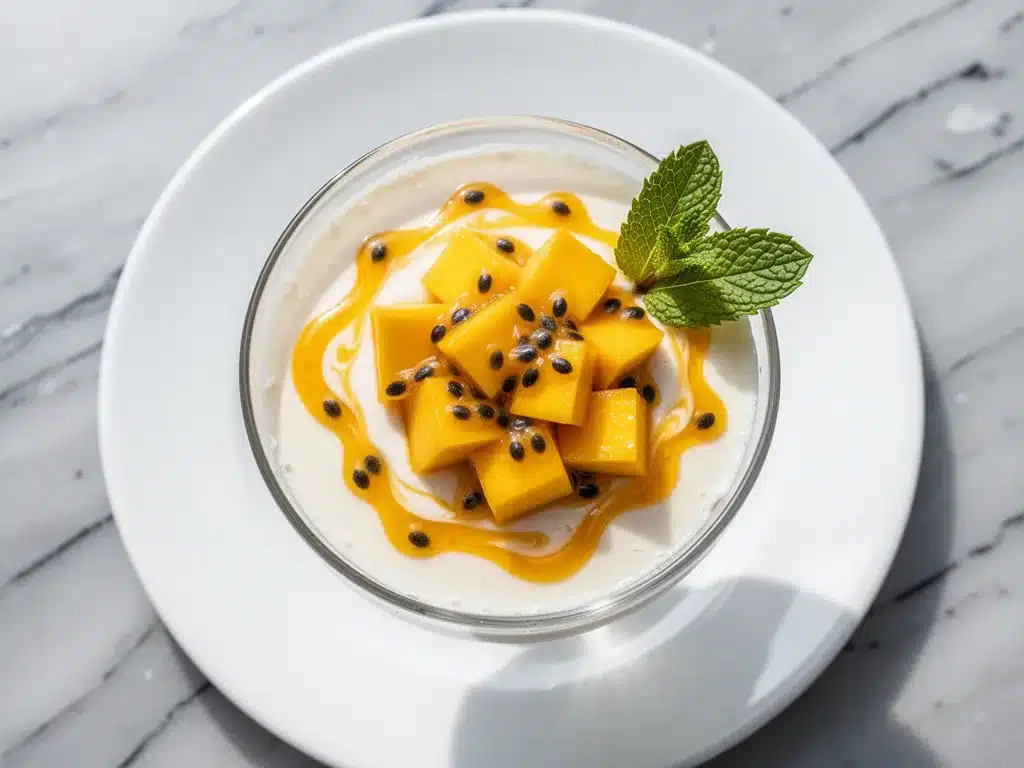
Ripe Mangoes (2 large) — Look for Ataulfo (Honey) mangoes or Alphonso mangoes. They’re sweeter and less fibrous than Tommy Atkins. If you can’t find ripe mangoes, high-quality frozen mango chunks work too. Thaw them completely and drain any excess liquid.
Lime Juice (1 teaspoon) — A little acidity brightens the mango puree and prevents it from tasting cloying. It’s a small detail that makes a big difference.
Coconut Whipped Cream (Optional) — For serving, whip chilled coconut cream with a little sugar until stiff. It’s like the dairy-free version of a classic topping.
Microplaned Lime Zest — For garnish. It adds a fresh aroma that lifts the whole dessert.
Equipment Needed
You don’t need fancy gadgets for this. Here’s what I actually use:
High-Speed Blender or Immersion Blender — This is crucial. You want the mango puree to be completely smooth. If you have lumps, they’ll show up in the final set. I use my Vitamix, but a standard blender works if you blend long enough. An immersion blender is great if you’re doing small batches.
Small Saucepan — Just a 1-2 quart pan is enough to heat the coconut milk. You don’t need a big pot.
Whisk — For mixing the agar-agar into the cold liquid to prevent clumps. A small balloon whisk is perfect.
Ramekins or Glasses — I love using small 6-ounce ramekins for individual servings. They look elegant and are easy to portion. Clear glasses or mason jars also work well if you want to show off the layers.
Measuring Spoons — Agar is powerful. Use accurate measuring spoons. A little goes a long way.
How to Make It: Step-by-Step
Alright, let’s make this! I’m walking you through exactly how I do it, including the little tricks I’ve picked up to ensure that perfect wobble.
Step 1: Prep Your Mango Puree
Peel and dice your mangoes. If using frozen, thaw them first. Place the mango chunks in your blender with the lime juice. Blend until completely smooth. If your blender is struggling, add a splash of water, but try to keep it minimal so the flavor stays concentrated. Taste it. If it’s tart, add a teaspoon of sugar. Set this aside. You’ll use half for swirling into the base and half for the topping.
Step 2: Bloom the Agar-Agar
Here’s the secret to avoiding clumps. In your small saucepan, combine the cold coconut milk, maple syrup, vanilla, and salt. Whisk in the agar-agar powder while it’s still cold. Agar needs to be dispersed in cold liquid before heating, or it will form rubbery lumps that are impossible to blend out. Whisk vigorously for a minute until it looks uniform.
Step 3: Heat the Mixture
Place the saucepan over medium heat. Bring the mixture to a gentle simmer, stirring constantly. You don’t need a rolling boil. Once it starts to bubble, reduce the heat to low and let it simmer for 2-3 minutes. This is when the agar-agar activates. It needs that heat to set properly. Don’t skip this step, or your panna cotta will stay liquid.
Step 4: Combine and Pour
Remove the pan from the heat. If you want a perfectly smooth texture, strain the mixture through a fine-mesh sieve to catch any potential agar clumps. This is optional but guarantees restaurant-quality silkiness. Ladle the coconut mixture into your ramekins or glasses, filling them about 3/4 of the way full.
Step 5: Create the Mango Swirl
Take your reserved mango puree and drop small spoonfuls onto the surface of the coconut mixture in each glass. Use a toothpick or a thin knife to gently swirl the mango into the coconut. Don’t over-mix; you want distinct ribbons of yellow and white. It looks beautiful and gives you bursts of flavor in every bite.
Step 6: Chill and Set
Place the ramekins in the fridge. They need to chill for at least 4 hours, but overnight is best. Agar sets at room temperature, but chilling makes it firmer and more stable. When you touch the side of the glass, it should feel firm but still have a slight jiggle. That’s the perfect wobble.
Step 7: Serve
Just before serving, top with a dollop of coconut whipped cream, a drizzle of the remaining mango puree, and a sprinkle of lime zest. It’s ready to eat!
Expert Tips & Tricks
Here’s everything I’ve learned from making this dozens of times. These tips will save you from my mistakes.
Agar-Agar vs. Gelatin — Agar sets firmer and doesn’t melt as easily as gelatin. If you live in a hot climate, agar is your friend. If you prefer a softer, more delicate set, use gelatin but reduce the amount slightly. Remember, agar needs to be heated to activate, while gelatin just needs to bloom in cold liquid and then melt gently.
Don’t Skimp on Sweetness — Coconut milk is naturally mild. If you’re worried about it being too bland, taste the mixture before pouring it into glasses. It should taste slightly sweeter than you want the final dessert to be, as the chilling process dulls sweetness slightly.
Smooth is Key — Any lumps in the mango puree will be visible in the final product. Blend longer than you think you need to. If you’re using a hand blender, make sure you’re hitting every corner of the container.
Room Temperature Before Serving — Agar sets very firmly in the fridge. Let the panna cotta sit out for 10-15 minutes before serving. It’ll soften just enough to be creamy and easy to spoon.
Storage — Keep these in the fridge for up to 5 days. They actually hold up better than dairy-based versions because the coconut fat is more stable. Just cover them with plastic wrap to prevent them from absorbing fridge odors.
Variations & Substitutions
Once you’ve nailed the basic version, here’s how you can mix it up. I’ve tried all of these.
Strawberry Coconut — Swap the mango for fresh strawberries. Blend them with a little sugar and lime juice. The red and white swirl is festive and perfect for summer parties.
Passion Fruit Swirl — Passion fruit has a tartness that cuts through the coconut beautifully. Use passion fruit purée for a more exotic flavor profile.
Matcha Coconut — Whisk 1 teaspoon of culinary-grade matcha powder into the coconut mixture before heating. The earthy green tea pairs amazingly with the sweet coconut.
Gluten-Free & Vegan — This recipe is already both! Just ensure your agar-agar is certified vegan (most is, but check labels) and your mango is fresh. It’s naturally free of gluten, dairy, and nuts.
Lower Sugar — Use unsweetened coconut milk and rely entirely on the natural sweetness of ripe mangoes. You can reduce the maple syrup to 1-2 tablespoons or omit it if your mangoes are very sweet.
Serving & Storage
How to Serve: I usually serve these straight from the fridge in the ramekins. They look elegant and are easy to pass around. But here are other ways I’ve enjoyed them:
- With Grilled Fruit — Serve alongside grilled pineapple or peaches for a smoky contrast.
- With Toasted Coconut — Sprinkle toasted coconut flakes on top for crunch.
- With Fresh Mint — A small mint leaf adds a fresh aroma and color.
Side Dishes: This pairs well with light summer meals. Think frozen peach bellini mocktails or a simple creamy southern coleslaw (if you’re not avoiding dairy there, but the mango panna cotta keeps the dessert light).
Storage Instructions: Store in an airtight container or covered with plastic wrap for up to 5 days. Do not freeze, as the texture will change and become grainy upon thawing.
Pro Tip: If you’re making these for a party, prepare them the night before. They’ll set perfectly, and you won’t have to stress last minute. Just add the toppings right before serving.
Nutrition Information
I’m not a nutritionist, but here’s the breakdown if you’re tracking. This is a rich dessert, so portion control is key.
Per Serving (based on 4 servings):
- Calories: 280
- Protein: 3g
- Carbs: 35g
- Fiber: 4g
- Sugar: 25g
- Fat: 15g
- Saturated Fat: 12g
What’s Good: High in fiber from the mango. Naturally gluten-free and dairy-free. No refined flour or artificial ingredients.
What to Know: High in natural sugars from the fruit and coconut. Calorie-dense due to the coconut milk fat. It’s a treat, so enjoy it mindfully.
Final Thoughts
So that’s my go-to dairy-free coconut mango panna cotta! I’ve probably talked your ear off at this point, but when you make a recipe this often, you have a lot to say about it.
This has saved summer dinners more times than I can count. It’s my answer to “what’s for dessert” when I want something special but don’t want to spend hours in the kitchen. My family is happy, my guests are impressed, and I’m happy because I’m not stressed about cooking.
Make it yours! Try different fruit swirls, adjust the sweetness, or add different toppings. The best recipes are the ones you adapt to your family’s tastes. If you make this, drop a comment and let me know what you think! I love hearing how recipes turn out in your kitchen. And if something doesn’t work, tell me that too—I’m here to help troubleshoot.
Happy cooking! And I hope your kitchen smells half as good as mine does right now.
Frequently Asked Questions
Can I use gelatin instead of agar-agar?
Yes, you can. Use about 1.5 tablespoons of unflavored gelatin. Bloom it in 2-3 tablespoons of cold water for 5 minutes, then melt it gently (microwave for 10-15 seconds or double boiler) before adding it to the warm coconut mixture. Gelatin sets softer and melts in the mouth, while agar sets firmer. Both work great.
Why did my panna cotta stay liquid?
This usually happens if the agar-agar wasn’t heated properly. Agar needs to reach a simmer for 2-3 minutes to activate. If you just heated it to warm, it won’t set. Also, make sure you’re using pure agar-agar powder, not a pre-mixed blend that might have fillers.
Can I make this ahead of time?
Absolutely. This is best made at least 4 hours in advance, but overnight is ideal. It keeps in the fridge for up to 5 days. Just add fresh toppings right before serving.
Is this recipe vegan?
Yes, if you use agar-agar instead of gelatin. Coconut milk, mango, and agar are all plant-based. It’s a naturally vegan dessert.
Can I use canned mango instead of fresh?
Yes, but drain it well. Canned mangoes are often softer and sweeter. You may need to reduce the added sugar in the recipe. Blend it until smooth to remove any fibers.
How do I get a clean swirl?
Don’t over-mix. Drop small spoonfuls of puree on top and use a toothpick to make gentle swirls. If you mix too much, it will turn orange and muddy. The goal is distinct ribbons.
Can I freeze this?
I don’t recommend it. Agar can become grainy or watery when thawed. It’s best enjoyed fresh from the fridge.
Pin This Recipe!
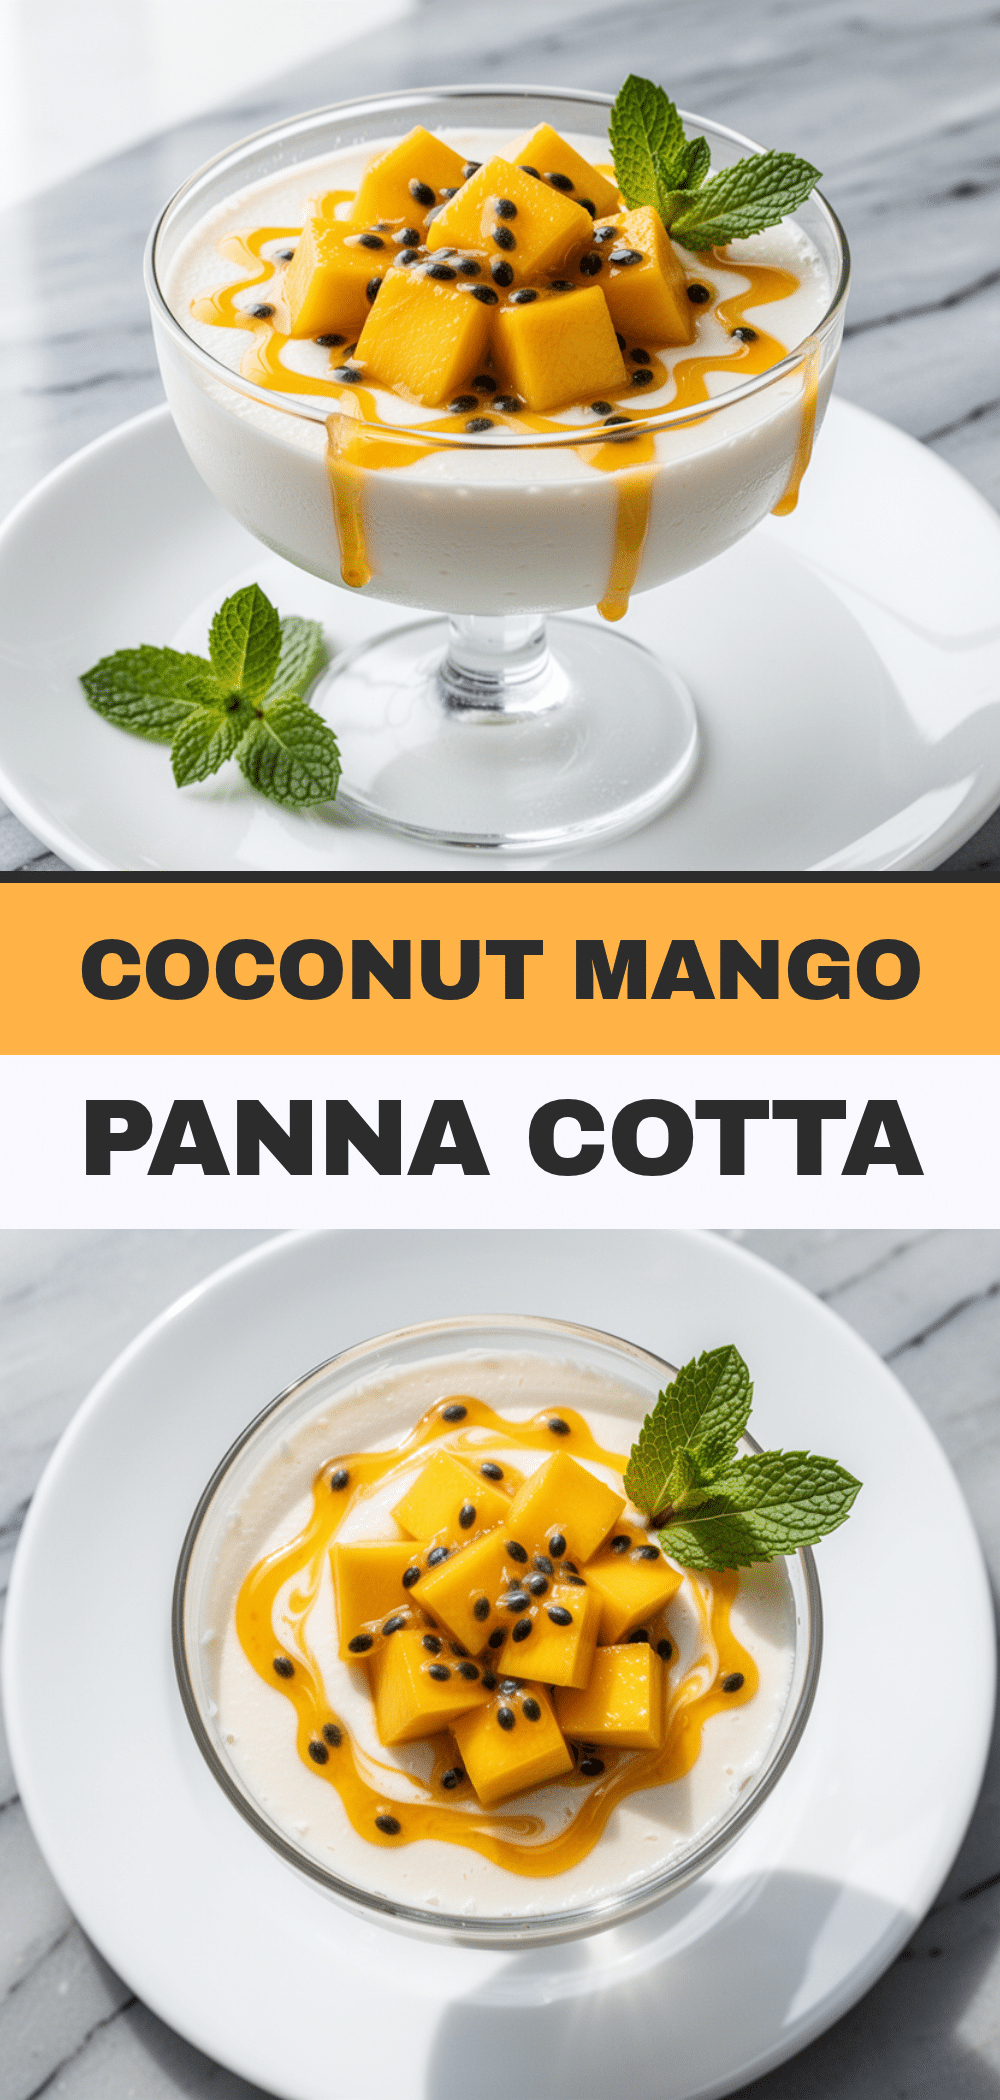
Dairy-Free Coconut Mango Panna Cotta: 5-Min Easy Summer Dessert
- Total Time: 4 hours 20 minutes
- Yield: 4 servings 1x
Description
A silky, vibrant, and easy-to-make dairy-free dessert that uses full-fat coconut milk and agar-agar for a perfect wobble, topped with a bright mango swirl.
Ingredients
- 2 cans (400ml each) full-fat coconut milk
- 2 teaspoons agar-agar powder
- 2 tablespoons coconut cream (optional)
- 1 teaspoon pure vanilla extract
- 3–4 tablespoons maple syrup or sugar
- Pinch of salt
- 2 large ripe mangoes (Ataulfo or Alphonso preferred)
- 1 teaspoon lime juice
- Coconut whipped cream (optional, for serving)
- Microplaned lime zest (for garnish)
Instructions
- Peel and dice mangoes. Blend with lime juice until completely smooth. Reserve half for swirling and half for topping.
- In a small saucepan, combine cold coconut milk, maple syrup, vanilla, and salt. Whisk in agar-agar powder while cold to prevent clumps.
- Heat the mixture over medium heat to a gentle simmer, stirring constantly. Reduce to low and simmer for 2-3 minutes to activate the agar-agar.
- Remove from heat. Optionally strain through a fine-mesh sieve for extra smoothness.
- Ladle the coconut mixture into ramekins or glasses, filling them about 3/4 full.
- Drop small spoonfuls of reserved mango puree onto the surface. Use a toothpick to gently swirl the mango into the coconut.
- Chill in the refrigerator for at least 4 hours or overnight until set.
- Serve topped with coconut whipped cream, remaining mango puree, and lime zest.
Notes
Agar-agar sets firmer than gelatin and requires heating to activate. If using gelatin, bloom 1.5 tablespoons in cold water first. For best texture, let panna cotta sit at room temperature for 10-15 minutes before serving. Do not freeze as texture may become grainy.
- Prep Time: 15 minutes
- Cook Time: 5 minutes
- Category: Dessert
- Cuisine: Italian-inspired
Nutrition
- Serving Size: 1 ramekin or glass
- Calories: 280
- Sugar: 25
- Fat: 15
- Saturated Fat: 12
- Carbohydrates: 35
- Fiber: 4
- Protein: 3
Keywords: dairy-free, vegan, gluten-free, coconut mango, panna cotta, summer dessert, agar-agar, make-ahead


