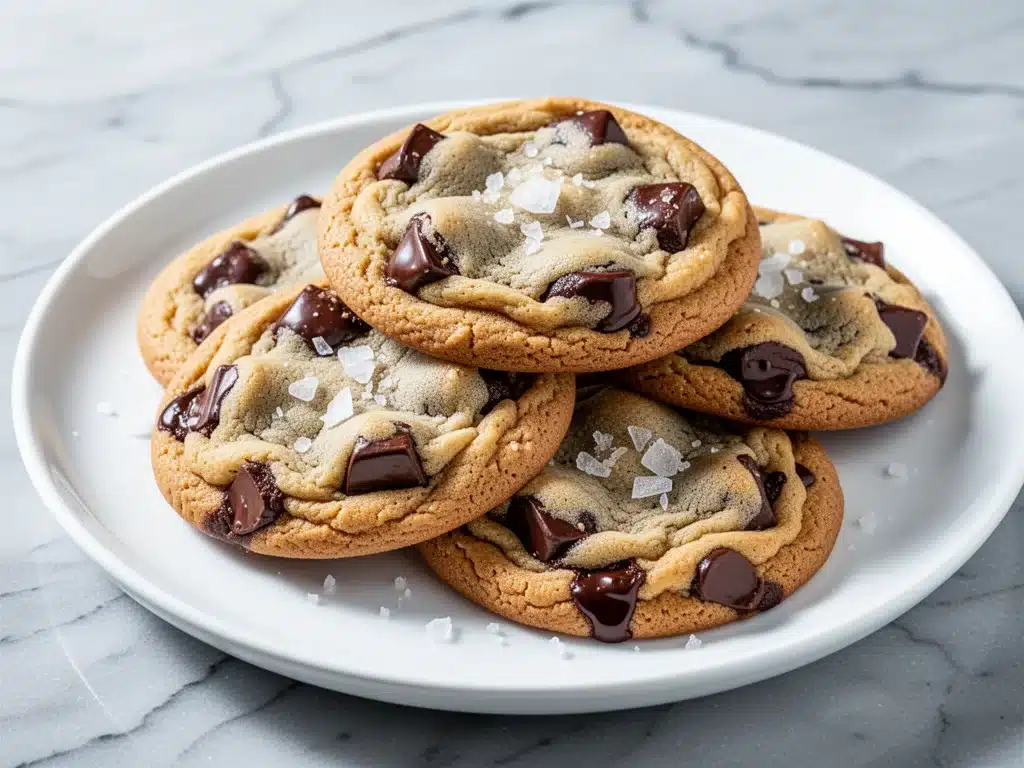
I have a confession to make. Last Thursday, at 7:30 PM on a Tuesday, I was standing in my kitchen feeling that specific kind of exhaustion that only comes from a full day of work, a chaotic dinner, and zero energy for cleanup. I wanted dessert. I wanted something warm, gooey, and comforting, but I absolutely did not want to spend an hour whisking, chilling dough, and waiting for ovens to preheat.
So, I looked at the clock, looked at the pantry, and decided to try something reckless. I decided to make chewy brown butter chocolate chip cookies with just five ingredients. No fancy techniques. No overnight chilling. No complicated substitutions. Just butter, sugar, flour, chocolate, and eggs. And you know what? They were incredible.
They came out of the oven golden, chewy in the center, crisp at the edges, and smelling like a bakery. My kids thought I’d finally snapped from stress, but then they ate six each and stopped asking for seconds. That’s how I know they’re good.
This recipe has become my secret weapon. When I’m too tired to bake, but too desperate for sugar to order takeout, I pull this out. It’s the ultimate weeknight rescue mission. I’ve made these at least a dozen times since that Tuesday, tweaking the timing slightly each time to get that perfect texture. And I’m finally confident enough to share it with you.
These aren’t just “okay” cookies. They’re the best cookies I’ve ever made without a long list of ingredients. If you’ve ever felt like baking is too much work on a busy night, this is your answer. It’s fast, it’s forgiving, and it tastes like you actually tried. Trust me on this one.
Why You’ll Love This Recipe
There are a lot of cookie recipes out there, but few hit that sweet spot of “impressive” and “effortless.” This chewy brown butter chocolate chip cookie recipe does exactly that. Here’s why it’s earned a permanent spot in my weekly rotation:
- Stupidly Simple — Seriously, five ingredients. You don’t need brown sugar, vanilla extract, or baking powder (though I’ll explain why in the ingredients section). If you can melt butter and mix a bowl, you can make this. I’ve walked my teenage son through it over FaceTime, and he nailed it the first time.
- Lightning Fast — From start to finish, these take about 20 minutes. That’s 5 minutes of prep, 10 minutes in the oven, and 5 minutes to cool. I make these on weeknights when I get home late and need dessert in a hurry. No chilling required.
- Pantry-Friendly — You probably have all of this already. Butter, eggs, sugar, flour, chocolate chips. That’s it. I keep these stocked specifically so I can throw these together on a whim when life gets stressful.
- Crowd-Pleaser — I’ve served these to my vegetarian sister, my gluten-sensitive neighbor (with a quick swap), and my dad who thinks “healthy” cookies are an oxymoron. Everyone loved them. Even the picky eaters.
- Makes Amazing Leftovers — Actually, these taste better the next day. The flavors deepen, and the chewiness intensifies. I deliberately make extra for breakfast-or-lunch snacks. My kids fight over the last one every time.
- Budget-Smart — Feeds a family of four with leftovers for under $8. That’s less than one delivery fee, and infinitely better quality.
This is my go-to when I need dessert to just work. No complicated techniques, no weird ingredients, just reliable, delicious food that makes everyone happy. It’s comfort in cookie form.
Ingredients You’ll Need
Here’s the best part: you probably have most of this already. I’m keeping this list short because I believe in simplicity. When you have fewer ingredients, each one has to work harder, and that’s where the flavor magic happens.
For the Base
Unsalted butter (½ cup / 115g) — This is the star. You’re going to brown it, which adds a nutty, toasty depth that regular melted butter just can’t match. Use good quality butter here. I use Kerrygold or Plugra because the fat content makes a difference in chewiness.
Granulated white sugar (½ cup / 100g) — Yes, just white sugar. No brown sugar needed. The browning of the butter adds the caramel notes you’d normally get from brown sugar. White sugar gives those crisp edges.
Egg (1 large) — Just one egg. This binds everything together without making the cookies cakey. Room temperature works best, but cold straight from the fridge is fine too.
All-purpose flour (1 cup / 120g) — Standard flour. Spoon and level it—don’t scoop and pack, or you’ll get dense cookies. I use Gold Medal because it’s consistent and affordable.
Salt (½ teaspoon) — Crucial. Salt brings out the chocolate flavor. Use fine sea salt or table salt. Don’t skip this.
For the Flavor
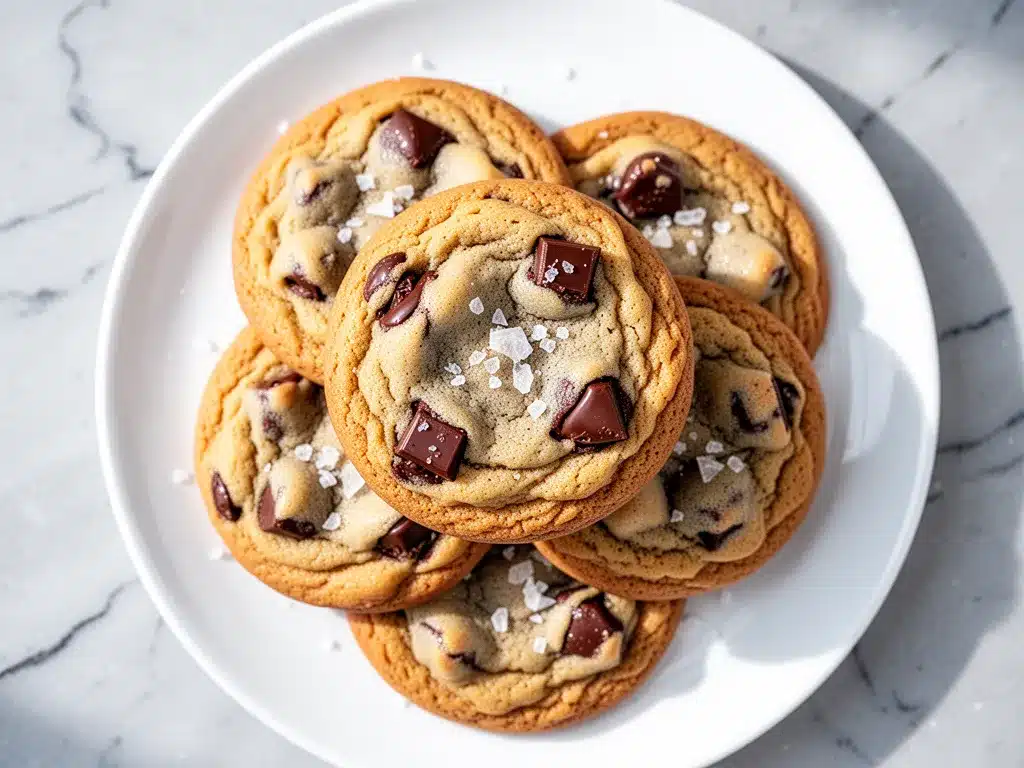
Chocolate chips (1 cup / 170g) — I use semi-sweet chocolate chips. Nestlé Toll House works, but I prefer Ghirardelli for a richer taste. You can also chop up a chocolate bar for a more rustic look.
Vanilla extract (1 teaspoon) — Optional, but I always add it. It rounds out the flavors. Use real vanilla, not imitation. If you’re out, skip it—it won’t ruin the cookies, but it’ll make them slightly less complex.
Optional Add-ins
Flaky sea salt — Sprinkle on top right after baking. It’s a game-changer for texture and flavor contrast.
Chopped nuts — Walnuts or pecans add crunch. I skip them usually, but my husband loves them. Add ½ cup if you’re a nut person.
White chocolate chips — Swap half the semi-sweet for white chocolate for a fun color contrast and sweeter taste. I do this sometimes for variety.
Shopping Tips
- Butter: Buy the block and cut it yourself. Pre-measured sticks sometimes have wax paper that affects the weight slightly.
- Chocolate: Don’t use mini chips if you want big gooey pockets. Use standard or chopped chunks.
- Flour: Keep it in an airtight container. Humidity changes how much flour your dough absorbs.
Common Questions
- Can I use margarine? No. Margarine has water and additives that change the texture. Use real butter.
- Where do I find flaky sea salt? Most grocery stores have it near the spices or baking aisle. Maldon is the brand I trust.
- Can I make this ahead? The dough doesn’t need chilling, but you can scoop and freeze the balls for later baking.
Equipment Needed
You don’t need fancy equipment for this. Here’s what I actually use:
Medium saucepan — I use a 3-quart saucepan for browning the butter. It needs to be wide enough to let you see the color change. My stainless steel one works perfectly.
Mixing bowl — Any large bowl works. Glass or ceramic is nice because it doesn’t heat up.
Fork or whisk — For mixing the dough. I use a fork because it’s faster and I don’t want to overmix.
Baking sheet — I use half-sheet pans (18×13 inches). Light-colored aluminum is best because it prevents burning on the bottom. Dark pans cook faster and can burn the edges.
Parchment paper — Essential. It prevents sticking and makes cleanup easy. I never bake these directly on the pan.
Cooling rack — Optional but helpful. Letting them cool for 5 minutes helps them set.
Measuring cups and spoons — Standard stuff. Dollar store versions work fine for this recipe since it’s forgiving.
Timer — Your phone works. Don’t guess. 10 minutes is the sweet spot.
Whisk or spoon — For stirring the butter while it browns. Don’t walk away.
Spatula — For scraping the bowl and folding in chocolate chips.
Cookie scoop — Optional but nice. Makes uniform cookies. A tablespoon works too.
Tool Tips
- Don’t have a saucepan? Any small pot works. Just watch it closely.
- I’m obsessed with my parchment paper — It’s like $3 for a roll and makes life easier. Buy the unbleached kind.
How to Make It: Step-by-Step
Alright, let’s make this! I’m walking you through exactly how I do it, including the little tricks I’ve picked up from burning a few batches along the way.
Step 1: Brown the Butter (5 minutes)
Start by melting the butter in a medium saucepan over medium heat. Stir it constantly with a wooden spoon or silicone spatula. At first, it’ll just be liquid. Then, it’ll start to foam and bubble. Pay attention now—this is where the magic happens.
Keep stirring. The foam will start to subside, and you’ll see brown bits forming at the bottom. The kitchen will smell like toasted nuts. That’s the sign. As soon as you see those brown specks and smell the nuttiness, remove it from the heat immediately. Pour it into a heatproof bowl to stop the cooking. This takes about 3-5 minutes. Don’t walk away.
Step 2: Mix the Wet Ingredients (2 minutes)
While the butter cools for a minute (you don’t want it piping hot, just warm), add the sugar and egg to the bowl. Whisk vigorously for about 30 seconds. You want it smooth and slightly glossy. This step helps dissolve the sugar a bit, which contributes to the chewy texture.
Stir in the vanilla extract if you’re using it. The mixture will look a bit separated at first—don’t worry, it’ll come together.
Step 3: Add the Dry Ingredients (2 minutes)
Add the flour and salt to the wet mixture. Mix gently with a fork or spoon until just combined. Do not overmix. You want a soft, slightly sticky dough. If it looks too dry, add a teaspoon of milk. If it’s too wet, add a sprinkle more flour. But usually, it’s perfect as is.
Step 4: Fold in the Chocolate (1 minute)
Add the chocolate chips. Fold them in gently. You want them distributed evenly, but don’t obsess over it. Some clumps are fine. In fact, I like big chunks of chocolate in every bite.
Step 5: Scoop and Bake (10-12 minutes)
Preheat your oven to 350°F (175°C) while you’re mixing. Line your baking sheets with parchment paper.
Scoop the dough into balls about 2 inches in diameter. I use a tablespoon, but a small cookie scoop is easier. Place them on the baking sheet, spaced about 2 inches apart. They’ll spread, so give them room.
Bake for 10-12 minutes. The edges should be golden brown, but the centers should still look slightly soft and underdone. This is key. They’ll continue to cook on the hot pan after you take them out. If you bake them until they look firm, they’ll be dry.
Step 6: Cool and Serve (5 minutes)
Let the cookies sit on the baking sheet for 5 minutes. This lets them set. Then, transfer them to a cooling rack if you’re impatient (like me), or just let them cool on the sheet.
Sprinkle with flaky sea salt if you’re using it. Eat warm. They’re best fresh out of the oven, but they keep well too.
Total Time: About 20 minutes (5 minutes active, 10 minutes baking, 5 minutes cooling)
Built-in Troubleshooting
- Butter burned? If it smells acrid or looks black, start over. Burnt butter tastes bitter and ruins the cookies.
- Cookies too flat? Your butter might have been too hot when you mixed it, or you overmixed the dough. Chill the dough for 10 minutes next time.
- Cookies too hard? You baked them too long. Pull them when they still look soft in the center. They firm up as they cool.
Expert Tips & Tricks
Here’s everything I’ve learned from making these dozens of times. These tips will save you from my mistakes.
The Game-Changers
Brown the Butter Properly
This is the #1 tip. Browning butter adds a nutty, complex flavor that regular melted butter just can’t match. But it’s easy to burn. Watch it like a hawk. The foam will bubble up, then settle, and you’ll see brown specks. That’s when you pull it. If you miss it, it’s burnt. I learned this the hard way with a batch of bitter cookies that I had to throw away.
Don’t Overmix the Dough
Overmixing develops gluten, which makes cookies tough. Mix until just combined. A few streaks of flour are fine. The cookies will be chewier if you don’t overwork them.
Underbake Slightly
Pull them when they look soft in the center. They’ll finish cooking on the hot pan. If you wait until they look done in the oven, they’ll be dry and crumbly. I want gooey centers, not dry discs.
Use Room Temperature Egg
A cold egg can seize the butter if it’s not warm enough. Let the egg sit out for 10 minutes before using. It emulsifies better and creates a smoother dough.
Chill for 10 Minutes (Optional)
If your dough feels too sticky to scoop, chill it for 10 minutes in the fridge. This firms up the butter and prevents spreading. It’s not required, but it helps if you’re in a humid kitchen.
Common Mistakes (and how to avoid them)
- Mistake: Cookies are cakey
Fix: You used too much flour. Spoon and level your flour, don’t scoop. Or you overmixed the dough. Mix less. - Mistake: Cookies are flat and crispy
Fix: Your butter was too hot, or you didn’t give them enough space on the pan. Space them 2 inches apart. Let the butter cool slightly before mixing. - Mistake: Cookies are too salty
Fix: You used salted butter and added extra salt. Use unsalted butter so you control the salt level.
Pro Tricks I’ve Learned
- For Restaurant-Quality Finish
Sprinkle flaky sea salt on top right after baking. It melts slightly and adds a salty crunch that contrasts with the sweet chocolate. Game-changer. - For Extra Flavor
Add a teaspoon of espresso powder to the dry ingredients. It doesn’t make them taste like coffee—it just deepens the chocolate flavor. I do this sometimes. - For Better Texture
Use a mix of chocolate chips and chopped chocolate bars. Chips hold their shape, chunks create pockets of gooeyness. I use both. - Make-Ahead Strategy
Scoop the dough balls and freeze them on a baking sheet. Once frozen, transfer to a bag. Bake straight from frozen, adding 1-2 minutes to the bake time. Perfect for last-minute guests.
Variations & Substitutions
Once you’ve nailed the basic version, here’s how you can mix it up. I’ve tried all of these.
Tested Variations
Peanut Butter Version
Swap ¼ cup of the flour for peanut butter. Add ½ cup peanut butter chips. My husband loves this version—it’s richer and more filling.
Red Velvet
Add 1 tablespoon cocoa powder and 1 teaspoon red food coloring to the dough. Top with white chocolate chips. Fun for holidays.
Matcha
Add 1 teaspoon matcha powder to the dry ingredients. Use white chocolate chips. Earthy and sweet. Surprisingly good.
Lemon Poppy Seed
Add zest of 1 lemon and 1 teaspoon poppy seeds. Swap chocolate chips for white chocolate. Bright and zesty. Great for spring.
Double Chocolate
Add 2 tablespoons cocoa powder to the dough. Use dark chocolate chips. For chocolate lovers only. Intense and fudgy.
Dietary Modifications
- Gluten-Free
Use a 1:1 gluten-free flour blend. Everything else is naturally gluten-free. I’ve used Bob’s Red Mill and it works great. - Dairy-Free
Replace butter with coconut oil (melted) and use dairy-free chocolate chips. It’s different but still tasty. My lactose-intolerant friend requests this version. - Vegan
Replace egg with a flax egg (1 tablespoon ground flax + 3 tablespoons water). Use dairy-free butter and chocolate. They’re denser but still good.
Other Proteins?
Not really applicable here, but you can add:
- Bacon bits (cooked and crumbled) for sweet-savory
- Chopped pretzels for crunch and salt
- Dried cranberries for tartness
Serving & Storage
How to serve these cookies? Honestly, straight from the baking sheet is best. Warm, gooey, and messy. But here are other ways I’ve enjoyed them:
Serving Suggestions
With Coffee
These are perfect with a cup of coffee. The nutty butter pairs beautifully with dark roast. I drink mine black.
With Milk
Classic. Cold milk. No debate.
With Ice Cream
Top with a scoop of vanilla bean ice cream. Drizzle with caramel. This is what I do when I want to feel fancy.
Side Dishes
These are dessert, so they don’t need sides. But if you’re serving them at a party, pair them with fall caramel apple crisp cheesecake bars for a dessert spread. Or serve with soft batch snickerdoodle cookies for variety.
Storage Instructions
Refrigerator:
Store in an airtight container for up to 5 days. They’ll stay chewy if you keep them sealed. I add a slice of bread to the container to keep them soft.
Freezing:
These freeze well. Bake them, cool completely, then store in a freezer bag for up to 3 months. Reheat in the microwave for 15 seconds. They taste almost fresh.
Reheating:
Microwave for 10-15 seconds. Or warm in a 300°F oven for 5 minutes. Never eat them cold—they’re best warm.
Meal Prep:
Scoop and freeze the dough balls. Bake fresh when needed. This is my favorite strategy for busy weeks.
Pro Tip
If they’re drying out, microwave them with a damp paper towel for 10 seconds. The steam rehydrates them instantly. Sounds weird, but it works.
Nutrition Information
I’m not a nutritionist, but here’s the breakdown if you’re tracking. These are estimates per cookie (makes about 12 cookies).
Per Cookie:
- Calories: 180
- Protein: 2g
- Carbs: 22g
- Fiber: 1g
- Sugar: 14g
- Fat: 10g
- Saturated Fat: 6g
- Cholesterol: 25mg
- Sodium: 120mg
What’s Good:
Decent fat content keeps you full. No refined sugars beyond the white sugar. Easy to control portions.
What to Know:
Higher in calories from butter and chocolate. Contains dairy and gluten. Moderate sugar.
My Take:
Look, these are cookies. They’re supposed to be indulgent. They’re not a diet recipe. But they’re way better than store-bought, costs less, and I know exactly what’s in them. When I want to make them lighter, I use half the chocolate chips. But usually? I just eat two and enjoy it.
Dietary Notes:
Contains: gluten, dairy. Can be made: gluten-free, vegan (with swaps). Not suitable for: dairy-free (without modifications).
Final Thoughts
So that’s my go-to chewy brown butter chocolate chip cookie recipe! I’ve probably talked your ear off at this point, but when you make a recipe this often, you have a lot to say about it.
This has saved weeknight desserts more times than I can count. It’s my answer to “what’s for dessert” when I’m tired, don’t want to cook, and still want something that tastes really good. My kids are happy, my husband’s happy, and I’m happy because I’m not stressed about baking.
Make it yours! Try different add-ins, swap in your favorite chocolate, adjust the salt. The best recipes are the ones you adapt to your family’s tastes. And if you want to try other quick desserts, check out my fall apple cider donut cake or these brown butter salted caramel blondies for more nutty, buttery treats.
If you make these, drop a comment and let me know what you think! I love hearing how recipes turn out in your kitchen. And if something doesn’t work, tell me that too—I’m here to help troubleshoot.
Happy baking! And I hope your kitchen smells half as good as mine does right now.
Frequently Asked Questions
Can I use salted butter?
You can, but reduce the added salt to ¼ teaspoon. Salted butter varies in salt content, so it’s harder to control. I prefer unsalted so I know exactly how much salt I’m adding. If you use salted butter, taste the dough before baking to adjust.
Why did my cookies spread too much?
This usually means the butter was too hot when you mixed it, or you didn’t space them enough on the pan. Let the browned butter cool for 5-10 minutes before adding the egg. Also, give them 2 inches of space. If they still spread, chill the dough for 10 minutes before baking.
Can I make these ahead for a party?
Absolutely. Scoop the dough balls and freeze them on a baking sheet. Once frozen, transfer to a bag. Bake straight from frozen, adding 1-2 minutes to the bake time. This is perfect for parties because you can bake them fresh right before guests arrive.
Why did my cookies turn out cakey?
You probably overmixed the dough, which developed gluten, or you used too much flour. Spoon and level your flour instead of scooping. Also, mix until just combined. A few streaks of flour are fine. Overmixing makes them cakey instead of chewy.
Can I use mini chocolate chips?
You can, but you’ll get more chocolate in every bite and less chewy texture. Mini chips distribute more evenly, which is nice, but I prefer standard chips or chopped chunks for big gooey pockets. Use whatever you have.
How do I store leftovers?
Store in an airtight container at room temperature for up to 5 days. Add a slice of bread to keep them soft. For longer storage, freeze the baked cookies for up to 3 months. Reheat in the microwave for 15 seconds.
Can I double this recipe?
Yes, double everything and use a larger mixing bowl. The baking time stays the same. I do this when I’m feeding a crowd. Just make sure you have enough parchment paper and baking sheets.
Pin This Recipe!
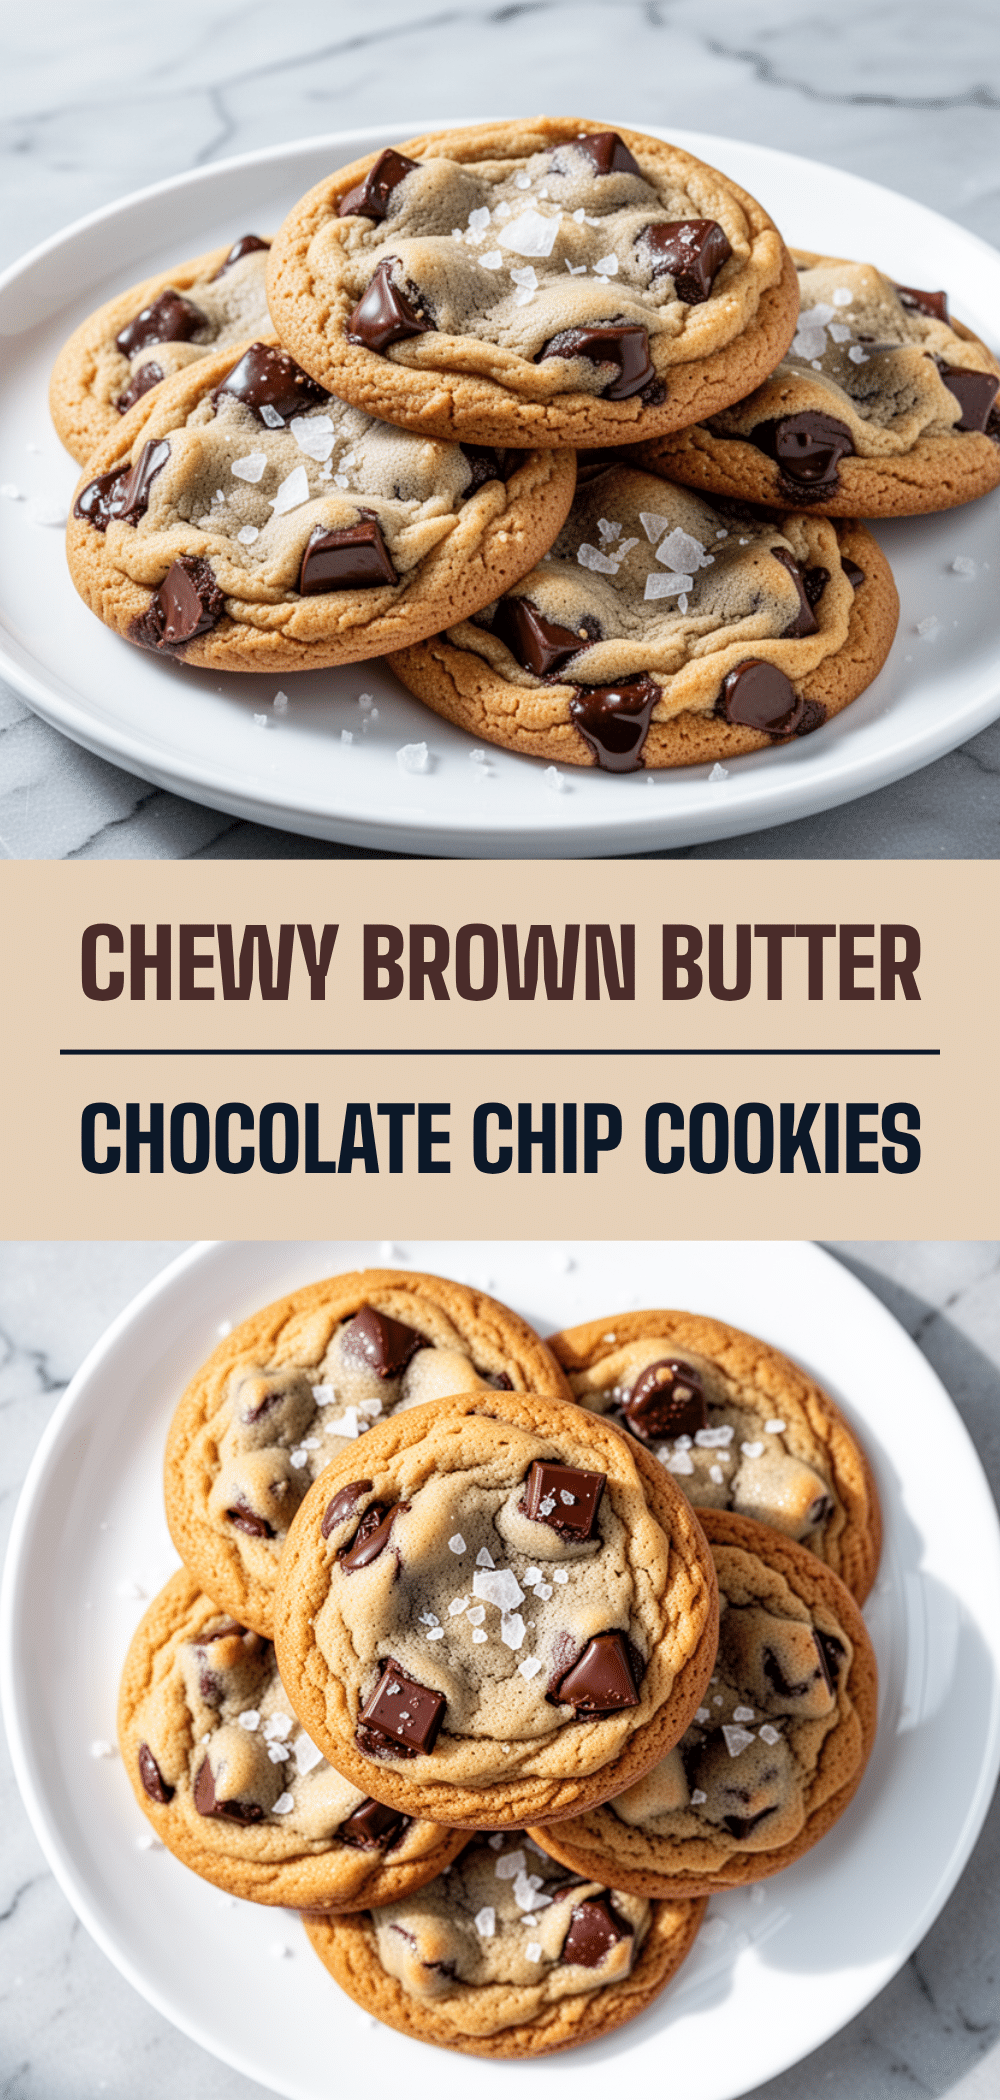
Chewy Brown Butter Chocolate Chip Cookies: 5-Ingredient Easy Weeknight Treat
- Total Time: 20 minutes
- Yield: 12 cookies 1x
Description
A fast, forgiving, and incredibly chewy cookie recipe made with just five core ingredients. Perfect for busy weeknights, these cookies require no chilling and come together in about 20 minutes.
Ingredients
- 1/2 cup (115g) unsalted butter
- 1/2 cup (100g) granulated white sugar
- 1 large egg
- 1 cup (120g) all-purpose flour
- 1/2 teaspoon salt
- 1 cup (170g) semi-sweet chocolate chips
- 1 teaspoon vanilla extract (optional)
Instructions
- Preheat oven to 350°F (175°C) and line baking sheets with parchment paper.
- Melt butter in a medium saucepan over medium heat. Stir constantly until it foams, then subsides, revealing brown specks and a nutty aroma (about 3-5 minutes). Immediately pour into a heatproof bowl to stop cooking.
- Once the butter is warm (not piping hot), add sugar and egg to the bowl. Whisk vigorously for 30 seconds until smooth and slightly glossy.
- Stir in vanilla extract if using.
- Add flour and salt to the wet mixture. Mix gently with a fork or spoon until just combined. Do not overmix.
- Fold in chocolate chips until evenly distributed.
- Scoop dough into 2-inch balls and place on baking sheets, spacing them 2 inches apart.
- Bake for 10-12 minutes until edges are golden brown but centers still look soft.
- Let cookies cool on the baking sheet for 5 minutes to set before transferring to a cooling rack.
- Sprinkle with flaky sea salt if desired and serve warm.
Notes
Brown the butter carefully to avoid burning, as burnt butter tastes bitter. Do not overmix the dough to ensure chewy texture. Underbake slightly for gooey centers. Cookies taste better the next day. Store in an airtight container with a slice of bread to maintain softness.
- Prep Time: 5 minutes
- Cook Time: 10 minutes
- Category: Dessert
- Cuisine: American
Nutrition
- Serving Size: 1 cookie
- Calories: 180
- Sugar: 14
- Sodium: 120
- Fat: 10
- Saturated Fat: 6
- Carbohydrates: 22
- Fiber: 1
- Protein: 2
Keywords: brown butter cookies, chocolate chip cookies, easy dessert, weeknight baking, 5 ingredient cookies, chewy cookies, quick dessert


