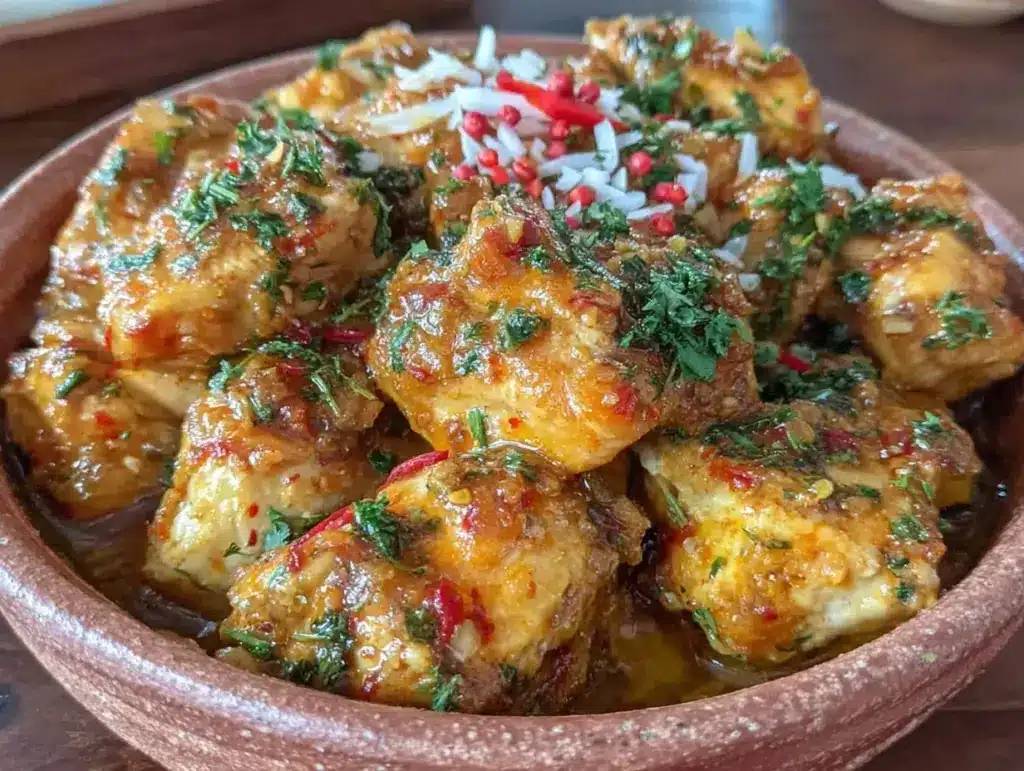
Last Saturday, I was staring at my spice rack, feeling that familiar panic of hosting anxiety. I had six friends coming over, half of them with different dietary restrictions, and I wanted to serve something that felt luxurious enough to impress but comforting enough to make people stay for seconds. Usually, I default to a roast chicken or a big pasta dish, but this time I wanted heat. I wanted color. I wanted something that smelled like a vacation.
That’s when I decided to make this dairy-free coconut milk chicken curry. It started as a desperate attempt to use up some stubbornly firm chicken thighs and a can of coconut milk that had been sitting in my pantry for three months. I threw together a sauce base, let it simmer, and the smell that filled my house was intoxicating—warm, aromatic, and deeply savory. When my friends arrived, the first thing they said wasn’t “how are you?” It was “what is that smell?”
By the time dessert was served, the empty plates were already piling up on the counter. My gluten-free friend, who usually struggles to find party food she can actually eat, was eating the sauce straight off her spoon. My dairy-intolerant neighbor didn’t even realize it was dairy-free until I mentioned it. That’s the magic of this dish. It has the rich, velvety mouthfeel of a heavy cream curry without the dairy, and it’s packed with enough flavor to stand out as the star of any weekend dinner party.
I’ve tested this recipe at least ten times since that Saturday, tweaking the spice levels and adjusting the coconut milk ratios to get that perfect balance of sweet, salty, spicy, and creamy. It’s become my go-to for any occasion where I want to look like a culinary genius but actually just need a one-pot meal that does most of the work for me. If you’re looking for a show-stopping main that’s also kind to your gut, this is it.
Why You’ll Love This Dairy-Free Coconut Milk Chicken Curry
There are a dozen reasons I keep making this curry, but here are the big ones that keep me coming back to it week after week.
It’s Naturally Rich and Creamy — Seriously, you won’t miss the dairy. The full-fat coconut milk creates a sauce that is thick, glossy, and incredibly satisfying. I’ve had people tell me it’s “better than restaurant curry,” and I’m not even embarrassed to admit I believe them.
It’s a Crowd-Pleaser Without the Compromise — Hosting is hard enough without worrying about guests’ allergies. This recipe is naturally gluten-free, dairy-free, and paleo-friendly. It works for the keto crowd, the Whole30 folks, and the regular eaters alike. I served this alongside my Labor Day Watermelon Mint Sangria, and it was the perfect pairing for a summer evening gathering.
It Tastes Better the Next Day — I know, I know, curry is usually best fresh. But this one? It develops deeper, more complex flavors as the spices marinate into the chicken overnight. I deliberately make extra for lunch, and honestly, the leftovers are often the best part.
It’s One-Pot Wonder — You get all the flavor from searing the chicken, sautéing the aromatics, and simmering the sauce in a single large pot or Dutch oven. Cleanup is a breeze, which means I can spend more time chatting with my guests and less time scrubbing pans.
It’s Customizable Heat — Love it mild? Go easy on the chilies. Want it fiery? Add more red pepper flakes or a dash of hot sauce. I like to serve it with a side of Spicy Chipotle Corn for those who want to turn up the heat even more.
This curry is my answer to “what should I cook for dinner when I want to treat myself and my guests.” It’s indulgent, it’s safe for most diets, and it’s incredibly easy to pull together.
Ingredients You’ll Need
Here’s the best part: most of these ingredients are pantry staples or easy-to-find grocery store items. I’m particular about a few specific choices, and I’ll tell you exactly why.
Canned Coconut Milk (2 cans / 400ml each) — Use full-fat, unsweetened coconut milk. This is non-negotiable. Light coconut milk will make your sauce thin and watery. Look for brands where the cream separates from the water—that’s the good stuff. Shake the can well before opening, or scoop out the thick cream first if you want extra richness.
Chicken Thighs (2 lbs / 900g) — Boneless, skinless chicken thighs are my favorite here. They stay juicy and don’t dry out like chicken breasts can. If you prefer breasts, you can use them, but reduce the cooking time slightly and watch closely. I love the texture of thighs in this curry.
Onion (1 large yellow onion, diced / about 300g) — Yellow onions are sweet when cooked down and provide a great base. I usually dice them medium-fine so they melt into the sauce.
Garlic (6 cloves, minced / about 2 tablespoons) — Yes, six cloves. Don’t skimp. Fresh garlic is essential here. Jarred garlic just doesn’t have the same punch. If you’re in a rush, you can use fresh-minced from the refrigerated section, but fresh cloves are best.
Ginger (1 tablespoon, freshly grated / about 20g) — Fresh ginger adds that bright, zesty kick that balances the richness of the coconut. Grate it on a microplane for the smoothest texture.
Curry Powder (2 tablespoons) — I use a mild-to-medium Madras curry powder. If you like it hotter, add 1 teaspoon of cayenne or red pepper flakes. This is the backbone of the flavor.
Ground Cumin (1 teaspoon) — Adds earthiness and depth. It’s a subtle note, but it makes the curry taste more complex.
Ground Turmeric (1 teaspoon) — Gives it that beautiful golden color and a mild, slightly bitter earthiness. It’s also anti-inflammatory, so you can feel virtuous about it.
Coconut Aminos (2 tablespoons) — This is my secret swap for soy sauce. It’s naturally gluten-free and has a slightly sweeter, milder flavor. You can use tamari if you’re gluten-free but don’t mind the saltiness, or regular soy sauce if you’re not tracking gluten.
Lime Juice (2 tablespoons, fresh squeezed) — Acid is crucial to cut through the fat of the coconut milk. Fresh lime juice is non-negotiable. Bottled lime juice tastes flat and artificial.
Fresh Cilantro (½ cup, chopped) — For garnish. It adds a fresh, herbal finish that brightens up the heavy sauce. I usually save half for mixing into the curry and half for topping.
Optional Add-ins:
– Sweet Potatoes (1 large, cubed) — I love adding cubed sweet potatoes for extra heartiness. They cook in about the same time as the chicken.
– Spinach (2 cups, fresh) — Stir in at the very end. It wilts quickly and adds a pop of green.
– Red Bell Pepper (1, sliced) — Adds sweetness and color. I roast it separately or sauté it with the onions.
Equipment Needed
You don’t need fancy gadgets for this. Here’s what I actually use.
Large Dutch Oven or Heavy-Bottomed Pot — I use a 6-quart Dutch oven. It needs to be big enough to hold the chicken, onions, and sauce without splattering. Cast iron or enameled cast iron works best because it distributes heat evenly.
Sharp Chef’s Knife — For dicing onions, mincing garlic, and chopping ginger. A dull knife is dangerous and frustrating.
Microplane or Fine Grater — For grating the ginger smoothly. It blends better into the sauce than chopped ginger.
Wooden Spoon — For stirring. Silicone works too, but I like the feel of wood.
Measuring Cups and Spoons — Standard stuff. I have a set from my college days that’s held up just fine.
Colander — For rinsing the chicken (if you’re doing that) or draining any excess liquid if your coconut milk is too thin.
Optional: Rice Cooker or Instant Pot — If you’re making this in an Instant Pot, the cooking time is much shorter (about 10 minutes under pressure). But the stovetop version lets you develop more flavor by sautéing the aromatics properly.
How to Make It: Step-by-Step
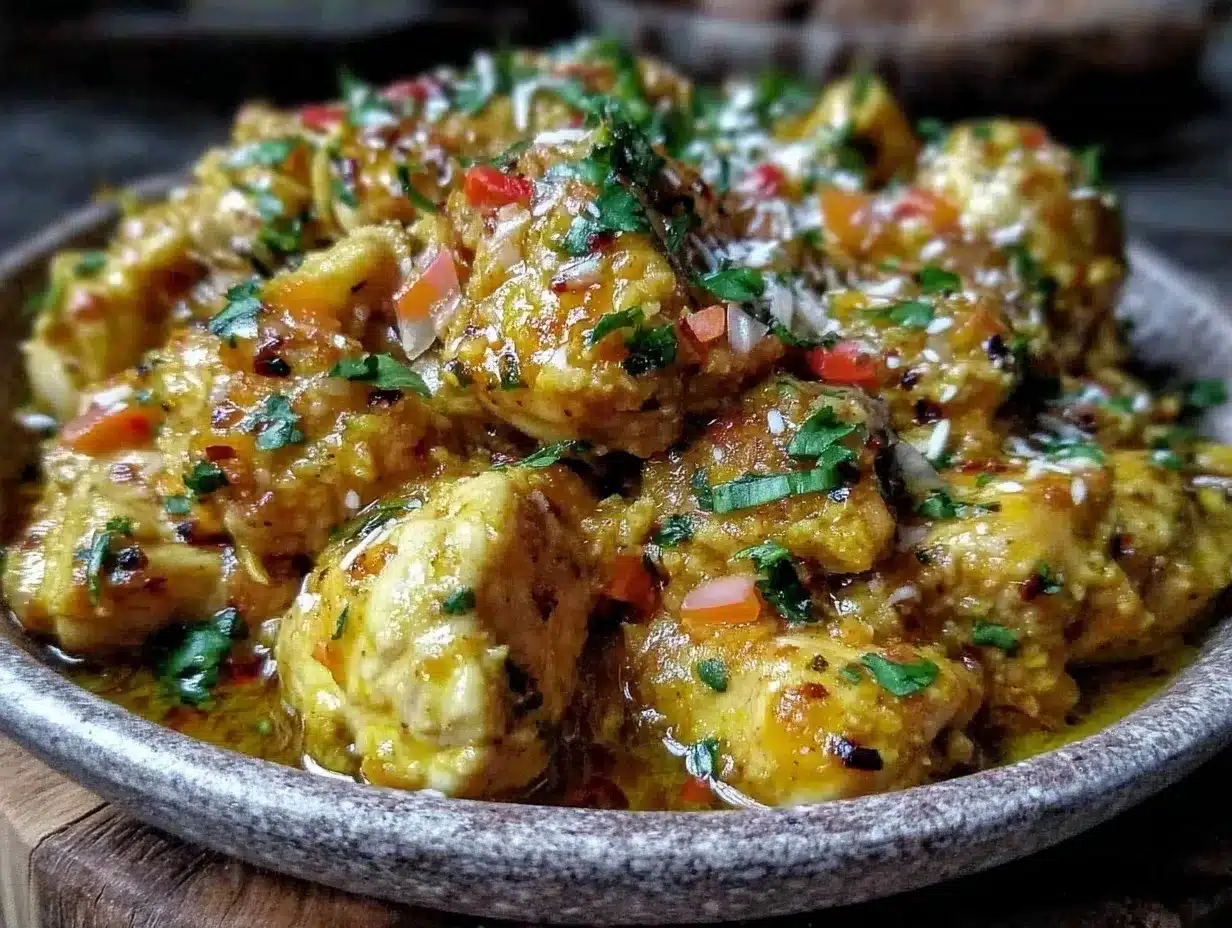
Alright, let’s make this! I’m walking you through exactly how I do it, including the little tricks I’ve picked up over the years.
Step 1: Prep Your Ingredients (5-8 minutes)
Before you turn on the stove, get everything ready. Dice the onion, mince the garlic, grate the ginger, and measure out your spices. I know it seems like extra work, but curry comes together fast, and you’ll be glad you have everything within reach. Pat the chicken thighs dry with paper towels—this helps them sear better instead of steaming.
Step 2: Sear the Chicken (5-7 minutes)
Heat 1 tablespoon of coconut oil or olive oil in your Dutch oven over medium-high heat. Season the chicken thighs with salt and pepper. Lay them in the pot in a single layer (you may need to do this in batches). Don’t move them! Let them sear for 3-4 minutes per side until golden brown. Remove the chicken and set it aside on a plate. Don’t worry if they’re not cooked through yet.
Step 3: Sauté the Aromatics (5 minutes)
Reduce the heat to medium. Add the diced onion to the same pot. Cook for 3-4 minutes until softened and translucent. Add the garlic and ginger, and cook for 1 minute, stirring constantly. You want them fragrant but not browned. Browned garlic tastes bitter.
Step 4: Bloom the Spices (1-2 minutes)
Add the curry powder, cumin, and turmeric to the pot. Stir constantly for about 1 minute. This “blooms” the spices, releasing their essential oils and intensifying the flavor. It smells amazing at this stage. If the pot looks dry, add a splash of water or broth to prevent burning.
Step 5: Build the Sauce (5 minutes)
Pour in the coconut milk and coconut aminos. Stir well, scraping up any browned bits from the bottom of the pot—those are flavor gold. Bring the sauce to a gentle simmer. It should bubble softly, not boil vigorously.
Step 6: Simmer Together (20-25 minutes)
Return the chicken and any accumulated juices to the pot. The chicken should be mostly submerged in the sauce. Cover the pot and let it simmer on low-medium heat for 20-25 minutes, or until the chicken is cooked through (internal temperature of 165°F / 74°C) and the sauce has thickened slightly. Stir occasionally.
Step 7: Finish and Garnish (2 minutes)
Remove the pot from heat. Stir in the fresh lime juice and half of the chopped cilantro. Taste the sauce. Does it need more salt? More lime? Adjust as needed. Serve hot, topped with the remaining cilantro. I like to serve it over jasmine rice or with crusty bread to soak up the sauce.
Total Time: About 40 minutes (10 minutes active, 30 minutes simmering)
Expert Tips & Tricks
Here’s everything I’ve learned from making this dozens of times. These tips will save you from my mistakes.
Don’t Skip the Sear
It’s tempting to just drop the chicken in the sauce, but searing it first adds a layer of depth and texture that you can’t get otherwise. The Maillard reaction (browning) creates complex flavors that make the curry taste “restaurant-quality.”
Use Full-Fat Coconut Milk
I’ve tried light coconut milk before, and the result is a thin, watery soup. Full-fat coconut milk provides the richness and creaminess that makes this dish so satisfying. If you’re worried about calories, just be mindful of portion sizes.
Bloom Your Spices
Cooking the spices in the oil for a minute before adding the liquid is a game-changer. It unlocks their full flavor potential. Raw spices can taste dusty and one-dimensional.
Balance the Acid
Coconut milk is rich and fatty. Without the lime juice at the end, the curry can feel heavy and cloying. The acid cuts through the fat and brightens the whole dish. Don’t skip it!
Let It Rest
If you can wait 10 minutes after turning off the heat before serving, the flavors will meld together even more. I usually let it sit while I set the table or open a bottle of wine.
Variations & Substitutions
Once you’ve nailed the basic version, here’s how you can mix it up. I’ve tried all of these.
Vegetarian Version
Swap the chicken for chickpeas or cubed tofu. Sauté the chickpeas with the onions for a few minutes before adding the sauce. It’s hearty and protein-packed. I often make this version for my vegetarian friends.
Spicy Kick
Add 1-2 teaspoons of red chili flakes or a diced fresh jalapeño with the onions. If you like heat, this is where you amp it up. I served this with a side of Loaded Baked Potato Salad last time, and the cool potato balanced the spicy curry perfectly.
Extra Veggies
Add 1 cup of chopped spinach or kale in the last 5 minutes of cooking. Or toss in some diced bell peppers or cauliflower florets with the onions. It’s an easy way to boost the nutrition without adding much effort.
Different Protein
Shrimp works great too! Add them in the last 5 minutes of cooking, as they cook very quickly. Prawns are especially good in this sauce.
Ginger-Free
If you’re not a fan of ginger, you can omit it, but the flavor profile will be slightly different. You can add a pinch of white pepper for some heat, but it won’t be the same.
Serving & Storage
How to Serve:
I usually serve this straight from the pot at the dinner table—it looks rustic and stays warm. But here are other ways I’ve enjoyed it:
Side Dishes:
– Jasmine Rice: The classic choice. Fluffy and fragrant.
– Basmati Rice: A bit nuttier and longer-grained.
– Cauliflower Rice: For a low-carb option.
– Naan Bread: To scoop up the sauce.
– Simple Green Salad: With a lemon vinaigrette to cut the richness.
Toppings Bar:
When I have guests, I put out: extra cilantro, lime wedges, red pepper flakes, and a dollop of plain yogurt (if they eat dairy). Everyone customizes their bowl.
Storage Instructions:
Store in an airtight container in the fridge for up to 4 days. The sauce will thicken as it cools—totally normal. Reheat gently on the stove with a splash of water or coconut milk to loosen it up. It freezes well for up to 3 months, though the texture of the chicken might change slightly. I usually freeze it in portions for quick weeknight meals.
Pro Tip:
If you’re meal-prepping, make the curry on Sunday and portion it out. It reheats beautifully and is ready in minutes. I love pairing it with a quick High-Protein Turkey Taco Skillet vibe if I’m in the mood for something different, but this curry is consistently a hit.
Nutrition Information
I’m not a nutritionist, but here’s the breakdown if you’re tracking.
Per Serving (based on 4 servings with rice):
– Calories: 450
– Protein: 35g
– Carbs: 30g
– Fiber: 3g
– Sugar: 4g
– Fat: 22g
– Saturated Fat: 12g
– Cholesterol: 90mg
– Sodium: 400mg
– Calcium: 80mg
What’s Good:
– High protein from the chicken
– Healthy fats from the coconut milk
– Good source of vitamin C from the lime and peppers
What to Know:
– Higher in calories due to coconut milk
– Naturally gluten-free and dairy-free
– Moderate sodium (use low-sodium coconut aminos if needed)
My Take:
“Look, this is comfort food with coconut milk. It’s not a diet recipe. But it’s way better than takeout, costs less, and I know exactly what’s in it. When I want to make it lighter, I add more vegetables and less rice. But usually? I just eat a reasonable portion and enjoy it.”
Final Thoughts
So that’s my go-to dairy-free coconut milk chicken curry! I’ve probably talked your ear off at this point, but when you make a recipe this often, you have a lot to say about it.
This has saved weekend dinner parties more times than I can count. It’s my answer to “what’s for dinner” when I want to impress but also want to relax. My guests are happy, my family is happy, and I’m happy because I’m not stressed about cooking.
Make it yours! Try different add-ins, swap in your favorite vegetables, adjust the heat. The best recipes are the ones you adapt to your family’s tastes. If you make this, drop a comment and let me know what you think! I love hearing how recipes turn out in your kitchen.
Happy cooking! And I hope your kitchen smells half as good as mine does right now.
Frequently Asked Questions
Q: Can I use chicken breasts instead of thighs?
A: Yes, but they cook faster and can dry out. Reduce the simmering time to 15-20 minutes and check the temperature frequently. Thighs are more forgiving and stay juicier in the sauce.
Q: Why is my curry too thin?
A: Your coconut milk might be too watery, or you didn’t simmer it long enough. Let it simmer uncovered for an extra 10-15 minutes to reduce. You can also add a teaspoon of cornstarch mixed with water to thicken it, but usually, time is the best thickener.
Q: Can I make this ahead of time?
A: Absolutely! In fact, it often tastes better the next day. Make it up to 2 days ahead and store in the fridge. Reheat gently on the stove.
Q: Is this curry spicy?
A: It’s mild to medium, depending on the curry powder you use. I use a mild Madras blend. If you want it hotter, add red pepper flakes or a diced jalapeño. You can always add heat, but you can’t take it away!
Q: Can I freeze this curry?
A: Yes, it freezes well for up to 3 months. Store in airtight containers or freezer bags. Thaw in the fridge overnight and reheat gently. The texture of the chicken might be slightly different, but it’s still delicious.
Q: What can I use instead of coconut aminos?
A: You can use tamari (gluten-free soy sauce) or regular soy sauce. Tamari is closer in flavor, but soy sauce will work fine. Adjust the salt in the recipe if you use soy sauce, as it’s saltier.
Q: Can I add vegetables?
A: Definitely! Sweet potatoes, cauliflower, bell peppers, and spinach all work great. Add harder veggies (like potatoes) with the onions, and softer veggies (like spinach) at the end.
Pin This Recipe!
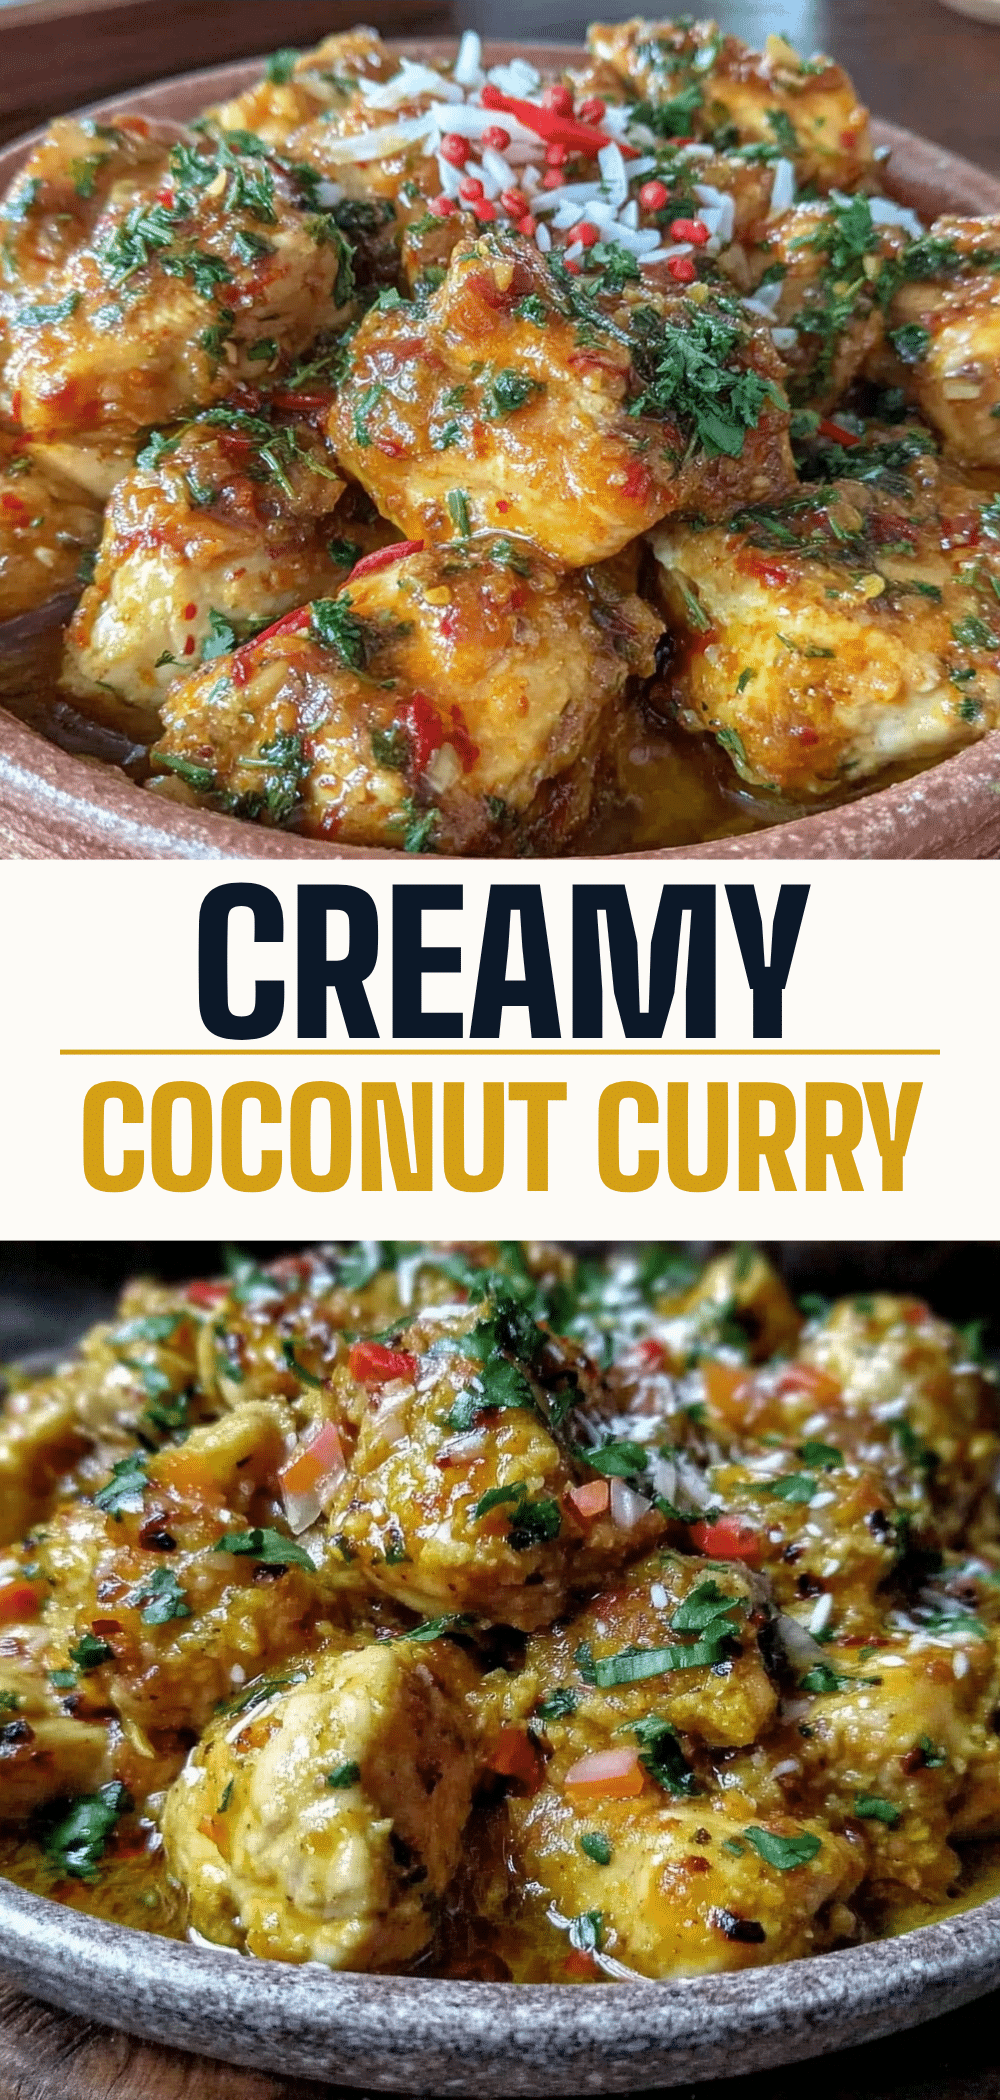

Dairy-Free Coconut Milk Chicken Curry
- Total Time: 40 minutes
- Yield: 4 servings 1x
Description
A rich, creamy, and naturally dairy-free chicken curry that is perfect for dinner parties. This one-pot meal is gluten-free, paleo-friendly, and packed with aromatic spices, offering a luxurious flavor profile without the use of heavy cream.
Ingredients
- 2 cans (400ml each) full-fat unsweetened coconut milk
- 2 lbs (900g) boneless, skinless chicken thighs
- 1 large yellow onion, diced
- 6 cloves garlic, minced
- 1 tablespoon fresh ginger, grated
- 2 tablespoons Madras curry powder
- 1 teaspoon ground cumin
- 1 teaspoon ground turmeric
- 2 tablespoons coconut aminos
- 2 tablespoons fresh lime juice
- 1/2 cup fresh cilantro, chopped
- 1 tablespoon coconut oil or olive oil
- Salt and pepper to taste
Instructions
- Prep ingredients: Dice onion, mince garlic, grate ginger, and measure spices. Pat chicken thighs dry with paper towels.
- Sear chicken: Heat oil in a large Dutch oven over medium-high heat. Season chicken with salt and pepper. Sear in batches for 3-4 minutes per side until golden brown. Remove and set aside.
- Sauté aromatics: Reduce heat to medium. Add onion to the pot and cook until softened (3-4 minutes). Add garlic and ginger, cooking for 1 minute until fragrant.
- Bloom spices: Add curry powder, cumin, and turmeric. Stir constantly for 1 minute to release oils. Add a splash of water if needed to prevent burning.
- Build sauce: Pour in coconut milk and coconut aminos. Stir to scrape up browned bits from the bottom. Bring to a gentle simmer.
- Simmer: Return chicken and juices to the pot. Cover and simmer on low-medium heat for 20-25 minutes until chicken reaches 165°F (74°C) and sauce thickens.
- Finish: Remove from heat. Stir in lime juice and half of the cilantro. Taste and adjust seasoning. Serve hot, garnished with remaining cilantro.
Notes
Use full-fat coconut milk for a rich, creamy texture; light coconut milk will result in a watery sauce. Searing the chicken first adds depth of flavor. The curry tastes even better the next day as flavors meld. Can be frozen for up to 3 months.
- Prep Time: 10 minutes
- Cook Time: 30 minutes
- Category: Main Course
- Cuisine: Indian
Nutrition
- Serving Size: Served over jasmine
- Calories: 450
- Sugar: 4
- Sodium: 400
- Fat: 22
- Saturated Fat: 12
- Carbohydrates: 30
- Fiber: 3
- Protein: 35
Keywords: dairy-free, coconut milk curry, chicken curry, gluten-free, paleo, keto, one-pot meal, dinner party, weeknight dinner


