I still remember the Super Bowl party in 2018. You know the one. The kind where the score is tied in the fourth quarter, the house is packed, and the air smells like a mix of cheap beer, nervous sweat, and desperate hunger. I had planned a “fancy” appetizer spread—mini quiches, fancy bruschetta, those little cucumber sandwiches with the crusts cut off. It was beautiful. It was sophisticated. It was completely ignored.
Everyone was clustered around the kitchen island, shoving their hands into a bowl of store-bought chips and a jar of lukewarm queso that had been sitting on the counter since noon. That’s when it hit me: people don’t come to parties for elegance. They come for comfort. They come for food that makes them feel like a kid again, standing in front of the TV with a napkin tucked into their shirt, waiting for the next big play.
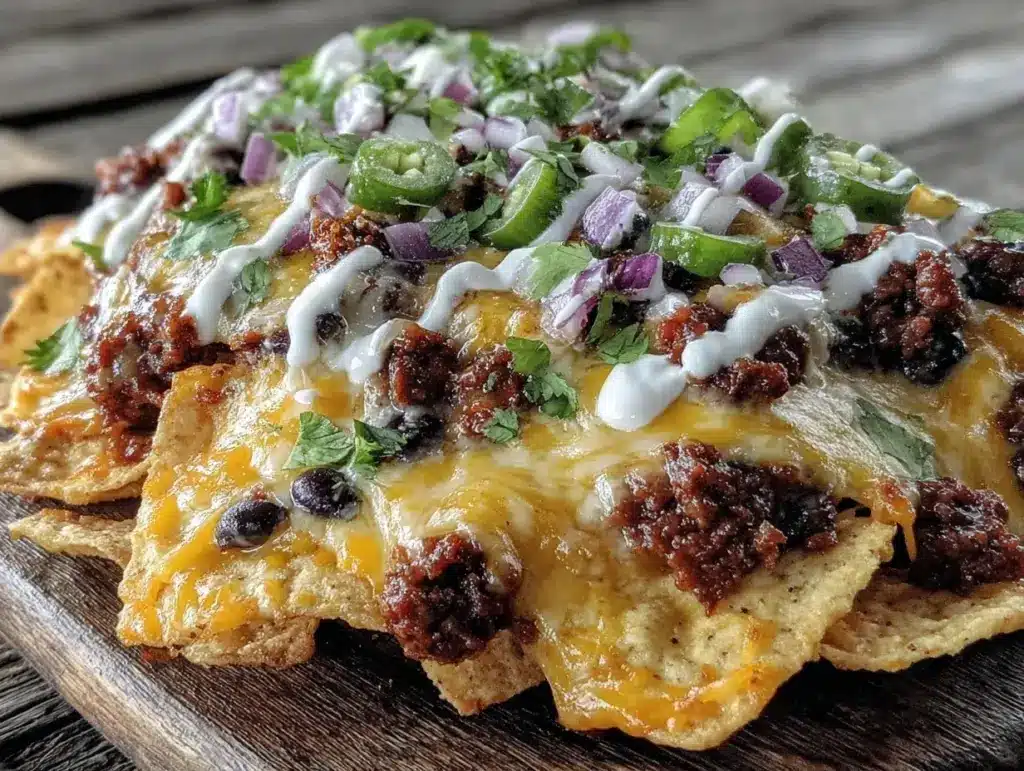
That afternoon, I scrapped the quiches. I raided my pantry, melted down three types of cheese, and threw together what I now call the ultimate Loaded Nacho Bar with Queso. It wasn’t just a snack; it was the main event. By halftime, my “fancy” appetizers were gone, but the nachos were still being picked at. Since then, this has been my go-to strategy for every game day, birthday, and casual hangout. It’s indulgent, it’s messy in the best way possible, and it feeds a crowd without requiring a degree in culinary arts.
If you’re planning a gathering and want to impress without stressing, this Loaded Nacho Bar with Queso is your secret weapon. It’s not just chips and cheese; it’s a customizable experience that lets your guests build their perfect bite. And honestly? It’s the best party dip you’ll ever make because it’s not really a dip at all—it’s a feast.
Why You’ll Love This Loaded Nacho Bar
There’s something primal about nachos. They tap into that deep, nostalgic love for salty, crunchy, gooey goodness. But the difference between a sad, soggy tray of nachos and the Loaded Nacho Bar with Queso is all about texture and layering. Here’s why this setup wins every time:
- Zero Stress Hosting — You can prep the components hours ahead. The cheese sauce can sit in the warmer, the veggies can be chopped, and the meats can be seasoned. When guests arrive, you just assemble. I’ve hosted parties where I spent more time talking to my guests than standing at the stove.
- Customizable for Everyone — Not everyone wants jalapeños. Some people are lactose intolerant, others are gluten-free, and some just hate tomatoes. A bar setup lets everyone build exactly what they want. No more arguing over who gets the last jalapeño slice.
- Visual Impact — This looks incredible. The vibrant red of the tomatoes, the green of the cilantro, the golden brown of the crispy chicken or beef, and that deep orange glow of the queso. It looks like a centerpiece, even though it’s just a big platter on the table.
- Feeds a Crowd Economically — Compared to ordering pizza or catering, this is dirt cheap. A bag of chips, a block of cheese, and some ground beef goes a long way. Plus, it’s filling. People eat fewer nachos than you think because each bite is packed with protein and flavor.
- Perfect for Snacking — It’s finger food, which means no forks, no plates (unless you want them), and no cleanup drama. People graze, they chat, they play the game. It’s low-maintenance hosting at its finest.
I’ve served this at everything from tailgates to quiet movie nights. It works because it’s versatile. It’s rich enough to feel special but simple enough to feel like home. Whether you’re watching the big game or just hosting a weekend dinner party, this Loaded Nacho Bar with Queso will be the star of the show.
Ingredients You’ll Need
The beauty of this recipe is that it relies on pantry staples and easy-to-find ingredients. You don’t need anything exotic. Here’s what you’ll need to build the ultimate Loaded Nacho Bar with Queso.
For the Queso Base
Sharp Cheddar Cheese (8 ounces, grated) — This is your flavor backbone. Sharp cheddar has more punch than mild, and it melts beautifully. Grate it yourself; pre-shredded cheese has anti-caking agents that make your sauce grainy and prevent it from melting smoothly. Trust me on this one.
Monterey Jack Cheese (8 ounces, grated) — This is your meltability king. It’s mild and creamy, which balances the sharpness of the cheddar. Using a blend ensures your queso is both flavorful and silky.
Butter (2 tablespoons) — You need fat to create the roux. It helps emulsify the cheese so it doesn’t break or become oily. Unsalted butter is best so you can control the saltiness.
All-Purpose Flour (2 tablespoons) — This thickens the sauce. Don’t skip it, or you’ll end up with a pool of melted cheese rather than a creamy sauce that coats the chips.
Whole Milk (1 cup) — Adds creaminess and volume. Whole milk gives the best texture, but 2% works if that’s all you have.
Green Chilies (1 can, 4 ounces, drained) — This is the classic “nacho cheese” flavor. I use the diced kind, drained well. If you like heat, use the “hot” variety. If you’re serving kids, stick to mild.
Garlic Powder (1 teaspoon) — Adds depth without the risk of burning fresh garlic. It’s subtle but essential.
Cumin (½ teaspoon) — Just a hint. It ties the cheesy flavor to the Tex-Mex vibe. Don’t overdo it, or it’ll taste like chili.
Salt and Black Pepper — To taste. Remember, the cheese and chips are already salty, so start light.
For the Loaded Toppings
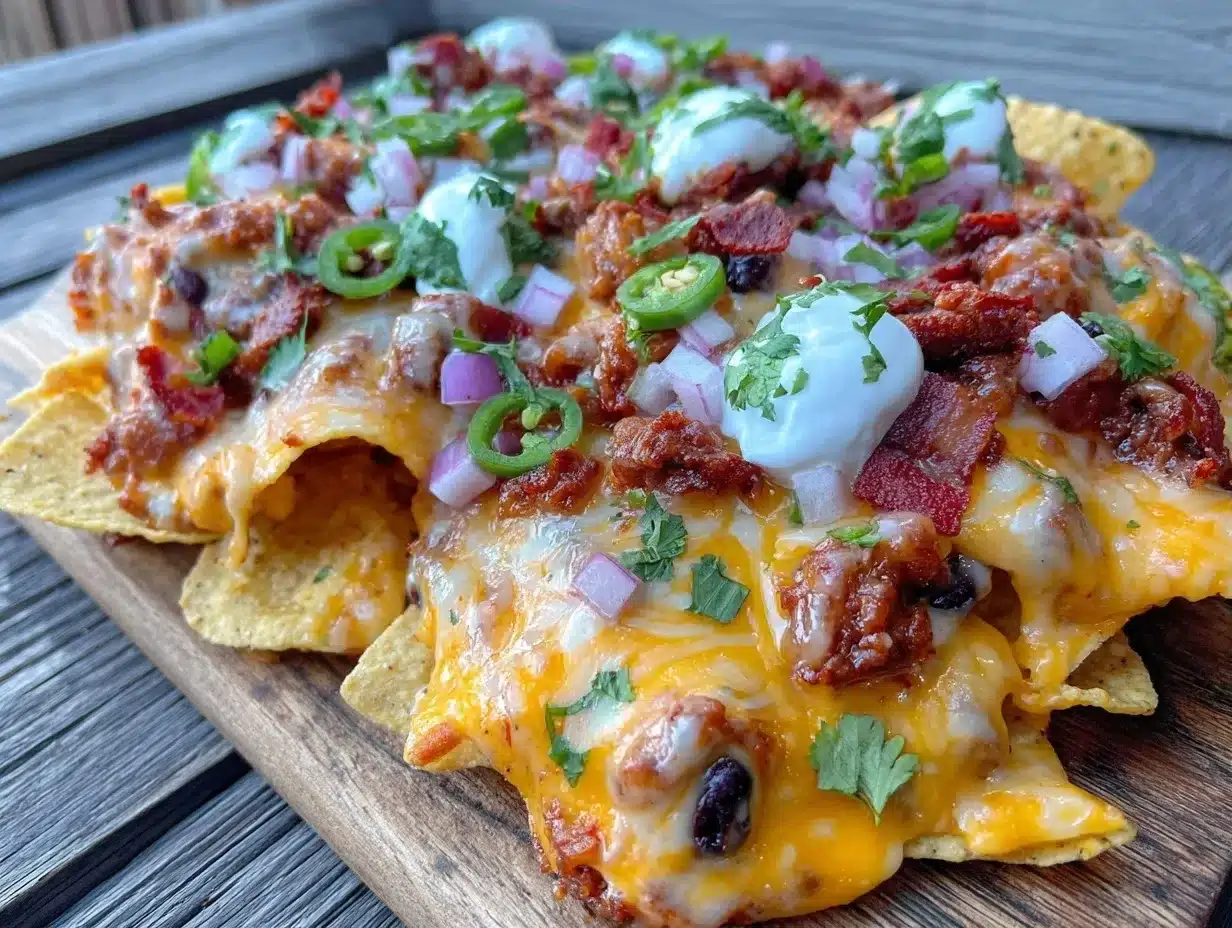
Sturdy Tortilla Chips (2-3 large bags) — You need chips that won’t break under the weight of the toppings. Look for “restaurant style” or thick-cut chips. Flimsy chips will turn your nachos into a soup mess within minutes.
Ground Beef (1 pound) — Seasoned with taco seasoning. You can also use ground turkey or a plant-based crumble if you prefer. Brown it well and drain the fat.
Black Beans (1 can, 15 ounces, drained and rinsed) — Adds protein and fiber. Rinse them well to remove the starchy canning liquid.
Corn Kernels (1 cup, canned or frozen/thawed) — Adds a pop of sweetness and crunch. Frozen corn works great if you thaw it and pat it dry.
Shredded Lettuce (1 head, finely shredded) — This goes on *after* the hot layers. It adds freshness and crunch. Iceberg or romaine works best.
Diced Tomatoes (2 medium, or 1 cup cherry tomatoes halved) — Adds acidity and juiciness. If you’re worried about sogginess, remove the seeds from the tomatoes before dicing.
Jalapeños (1-2, sliced) — Fresh or pickled, depending on your heat preference. Pickled jalapeños add a nice vinegar kick.
Green Onions (4-5, sliced) — For color and a mild onion bite.
Cilantro (½ cup, chopped) — Fresh herbs make everything taste better. Don’t use dried cilantro here; it just tastes dusty.
Sour Cream (½ cup) — Drizzled on top for a cool, tangy contrast to the hot cheese.
Guacamole or Sliced Avocado — Creamy avocado is a must. If you’re making guacamole, add it right before serving to prevent browning.
Equipment Needed
You don’t need fancy gadgets for this. Here’s what I actually use:
Large Skillet or Dutch Oven — For melting the cheese and keeping the queso warm. A Dutch oven is perfect because it holds heat well. If you’re serving a large crowd, consider using a slow cooker set to “warm” for the queso.
Large Sheet Pan or Platter — This is your foundation. I use a rimmed baking sheet because it contains the chips and toppings. A large wooden board works for a more rustic look, but it’s harder to clean up.
Small Bowls — For holding the toppings in separate sections. You’ll need about 6-8 small bowls for the various ingredients.
Grater — For grating the cheese. A box grater works fine. If you have a food processor, you can use the shredding disk, but be careful not to grate it too finely.
Measuring Cups and Spoons — Standard stuff.
Spatula — For spreading the toppings evenly.
How to Make It: Step-by-Step
Alright, let’s build this beauty! I’m walking you through exactly how I do it, including the little tricks I’ve picked up over the years.
Step 1: Prep Your Toppings (15 minutes)
Before you start cooking, get everything chopped and ready. Wash and dice the tomatoes, shred the lettuce, slice the jalapeños, and chop the green onions and cilantro. Drain and rinse the black beans. Brown the ground beef in a skillet, season it with taco seasoning, and let it cool slightly. By the time you’re done, you’ll have a mise en place that makes assembly a breeze. This is also a great time to grab any spicy habanero lime salsa if you want to add an extra kick of flavor.
Step 2: Make the Queso (10 minutes)
In your large skillet or Dutch oven, melt the butter over medium heat. Whisk in the flour and cook for 1-2 minutes, stirring constantly, until it forms a paste (this is your roux). It should smell nutty and toasted. Slowly pour in the milk, whisking constantly to prevent lumps. Keep whisking until the mixture thickens slightly, about 3-4 minutes. Reduce heat to low. Gradually add the grated cheddar and Monterey Jack cheese, stirring until completely melted and smooth. Stir in the drained green chilies, garlic powder, cumin, salt, and pepper. Taste and adjust seasoning. Keep the queso warm on low heat or transfer to a slow cooker.
Step 3: Build the Base
Spread a single layer of tortilla chips across your large sheet pan or platter. You want to cover the surface, but don’t overlap them too much. A single layer ensures every chip gets topped. If you’re making a huge batch, you can do two layers, but be careful—the bottom layer can get soggy if it’s covered too heavily.
Step 4: Add the Warm Layers
Evenly distribute the seasoned ground beef and black beans over the chips. Then, drizzle the warm queso generously over everything. You want every chip to be coated, but not swimming in cheese. If you’re using a slow cooker for the queso, bring it to the table so guests can add more as needed.
Step 5: Add the Fresh Toppings
Now for the colorful part! Sprinkle the corn, diced tomatoes, jalapeños, and green onions over the hot cheese. The heat from the cheese and meat will slightly wilt the veggies, releasing their flavors. Finally, add the shredded lettuce, cilantro, and dollops of sour cream or guacamole on top. These cold, fresh elements provide the perfect contrast to the hot, rich cheese.
Step 6: Serve Immediately
Nachos are best served fresh. If they sit too long, the chips will absorb the moisture and become soggy. Place the platter in the center of the table and let everyone dig in. I usually set out a few extra plates for people who want to take a smaller portion home, but let’s be honest—everyone will eat at the table.
Total Time: About 30 minutes (15 minutes prep, 15 minutes cooking/assembly)
Expert Tips & Tricks
Here’s everything I’ve learned from making this dozens of times. These tips will save you from my mistakes.
Grate Your Own Cheese
I cannot stress this enough. Pre-shredded cheese contains cellulose, which prevents clumping but also prevents smooth melting. Your queso will be grainy and weird. Grate a block of cheddar and Monterey Jack yourself. It takes 5 minutes and makes a huge difference in texture.
Drain Your Veggies Well
Water is the enemy of crispy chips. Make sure you drain the canned black beans, corn, and green chilies thoroughly. Pat the tomatoes dry with a paper towel before dicing. If you’re using frozen corn, thaw it and squeeze out excess moisture. This keeps your nachos crunchy longer.
Keep the Queso Warm
If you’re serving a large crowd, the queso will cool down quickly. Transfer it to a slow cooker set to “warm” or a small fondue pot. This keeps it melty and inviting throughout the party. It also allows guests to dip their chips directly into the queso, which is always a hit.
Layer Strategically
Don’t just pile everything on top. Layer the chips, then the beef, then the cheese, then the veggies. This ensures even distribution. If you just throw everything on top, some chips will be bare while others are buried.
Add Crunch
If you want an extra crunch, toast some pepitas (pumpkin seeds) or add crushed tortilla chips on top. It adds a nice textural element that contrasts with the soft cheese and veggies.
Variations & Substitutions
Once you’ve nailed the basic version, here’s how you can mix it up. I’ve tried all of these.
Chicken Nachos
Swap the ground beef for shredded rotisserie chicken or grilled chicken strips. Toss the chicken with taco seasoning and warm it up before adding. This is lighter and still delicious. I often use this version when I want something a bit lighter, similar to the vibe of a loaded cheeseburger casserole but with a fresh twist.
Vegetarian Nachos
Skip the meat entirely and add more black beans, corn, and roasted bell peppers. You can also add sautéed mushrooms for an earthy flavor. This is a great option for mixed crowds.
Spicy Nachos
Add diced fresh jalapeños, a dash of cayenne pepper to the queso, and use hot sauce instead of sour cream. If you like it really hot, try adding some spicy habanero hot sauce to the cheese mixture for a deep, smoky heat.
Seafood Nachos
For a unique twist, use grilled shrimp or crab meat. Add a lime crema instead of sour cream and top with fresh cilantro and avocado. This is a bit more fancy but still fits the nacho theme.
Gluten-Free Option
Simply use gluten-free tortilla chips. The rest of the ingredients are naturally gluten-free, so it’s an easy swap. Just check the labels on the taco seasoning and cheese to ensure they’re certified gluten-free.
Serving & Storage
How to Serve:
I usually serve this straight from the sheet pan at the dinner table. It looks rustic and stays warm. But here are other ways I’ve enjoyed it:
- Game Day Setup — Place the nachos in the center of the table with bowls of toppings on the side. Let guests build their own. This is interactive and fun.
- Movie Night — Make individual portions in small bowls. Top with queso and toppings. Easy to eat while watching TV.
- Party Platter — Arrange the nachos on a large platter with small bowls of toppings around the edge. Add some extra chips on the side for grazing.
Storage Instructions:
Refrigerator: Store leftovers in an airtight container for up to 2 days. The chips will lose their crunch, so it’s best to eat them fresh. If you must store them, keep the queso and toppings separate from the chips.
Reheating: To reheat, spread the chips on a baking sheet and warm in the oven at 350°F for 5-10 minutes. Add the queso and toppings after reheating. Don’t microwave the whole thing—it will get soggy.
Freezing: I don’t recommend freezing nachos. The cheese sauce separates, and the chips become rock hard. Make it fresh whenever you need it.
Nutrition Information
I’m not a nutritionist, but here’s the breakdown if you’re tracking. Keep in mind that this is a rich, indulgent dish, so portions matter.
Per Serving (based on 8 servings, with moderate toppings):
| Nutrient | Amount |
|---|---|
| Calories | 450 |
| Protein | 18g |
| Carbs | 35g |
| Fiber | 4g |
| Fat | 28g |
| Sodium | 650mg |
What’s Good:
- Decent protein from the beef and cheese.
- Calcium from the cheese.
- Can add vegetables to boost nutrition.
What to Know:
- Higher in calories from cheese and chips.
- Contains dairy and gluten.
- High sodium (use low-sodium beans and cheese to reduce).
My Take:
Look, this is comfort food. It’s not a diet recipe. But it’s way better than takeout, costs less, and I know exactly what’s in it. When I want to make it lighter, I use less cheese and more veggies. But usually? I just eat a reasonable portion and enjoy it. Life’s too short to skip the nachos.
Final Thoughts
So that’s my Loaded Nacho Bar with Queso! I’ve probably talked your ear off at this point, but when you make a recipe this often, you have a lot to say about it. This has saved weeknight dinners and game day parties more times than I can count. It’s my answer to “what’s for dinner” when I’m tired, don’t want takeout, and still want something that tastes really good. My kids are happy, my husband’s happy, and I’m happy because I’m not stressed about cooking.
Make it yours! Try different add-ins, swap in your favorite vegetables, adjust the heat. The best recipes are the ones you adapt to your family’s tastes. If you make this, drop a comment and let me know what you think! I love hearing how recipes turn out in your kitchen. And if something doesn’t work, tell me that too—I’m here to help troubleshoot.
Happy cooking! And I hope your kitchen smells half as good as mine does right now.
Frequently Asked Questions
Can I use a different type of cheese?
You can, but the blend of sharp cheddar and Monterey Jack is ideal for flavor and meltability. If you’re out of Monterey Jack, you can use Colby or Pepper Jack. Just avoid hard cheeses like Parmesan, as they don’t melt well in queso.
Why did my queso get grainy?
This usually happens if you use pre-shredded cheese or if the heat is too high. Always grate your own cheese and keep the heat low when melting. If your queso breaks, try whisking in a splash of milk to bring it back together.
Can I make this ahead of time?
You can prep all the ingredients ahead of time, but it’s best to assemble and serve the nachos fresh. If you must make it ahead, keep the queso warm and the toppings separate. Assemble just before serving to prevent sogginess.
How do I keep the chips crispy?
Use sturdy, thick-cut chips. Avoid overlapping the chips too much. Add the wet toppings (like salsa or sour cream) just before serving. If you’re using a slow cooker for the queso, keep it warm but not hot, so it doesn’t steam the chips.
Can I use ground turkey instead of beef?
Absolutely! Ground turkey is a leaner option and works just as well. Just make sure to season it well with taco seasoning. You can also use ground chicken or a plant-based crumble.
What’s the best way to reheat leftovers?
Reheat in the oven at 350°F for 5-10 minutes to restore crispiness. Add the queso and toppings after reheating. Avoid microwaving, as it will make the chips soggy.
Pin This Recipe!
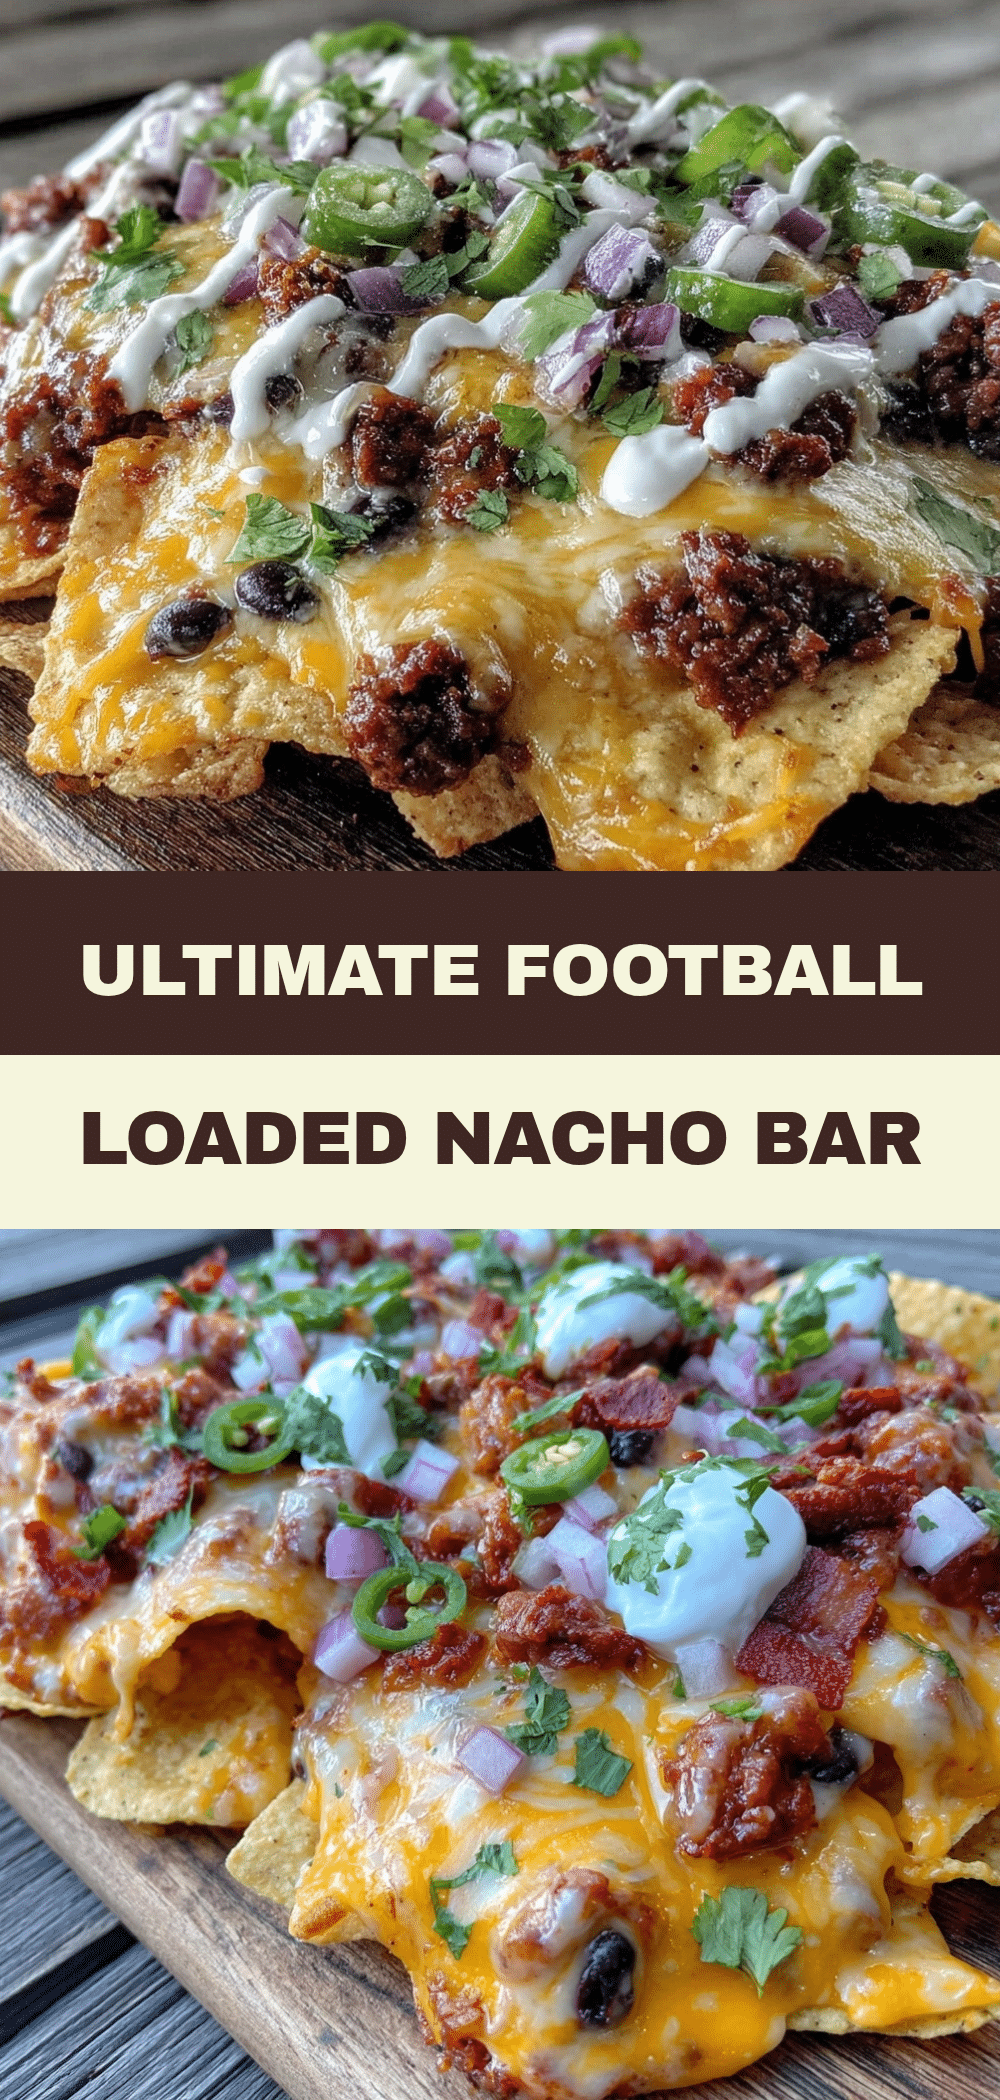
Loaded Nacho Bar with Queso: Best Party Dip
- Total Time: 30 minutes
- Yield: 8 servings 1x
Description
An indulgent, customizable party dip featuring a homemade sharp cheddar and Monterey Jack queso base, seasoned ground beef, and a variety of fresh toppings. This crowd-pleasing recipe is perfect for game days and casual gatherings.
Ingredients
- 8 ounces Sharp Cheddar Cheese, grated
- 8 ounces Monterey Jack Cheese, grated
- 2 tablespoons Butter
- 2 tablespoons All-Purpose Flour
- 1 cup Whole Milk
- 1 can (4 ounces) Green Chilies, drained
- 1 teaspoon Garlic Powder
- 1/2 teaspoon Cumin
- Salt and Black Pepper, to taste
- 2–3 large bags Sturdy Tortilla Chips
- 1 pound Ground Beef
- Taco Seasoning (for beef)
- 1 can (15 ounces) Black Beans, drained and rinsed
- 1 cup Corn Kernels
- 1 head Shredded Lettuce
- 2 medium Diced Tomatoes
- 1–2 Jalapeños, sliced
- 4–5 Green Onions, sliced
- 1/2 cup Cilantro, chopped
- 1/2 cup Sour Cream
- Guacamole or Sliced Avocado
Instructions
- Prep toppings: Wash and dice tomatoes, shred lettuce, slice jalapeños, chop green onions and cilantro. Drain and rinse black beans. Brown ground beef in a skillet, season with taco seasoning, and let cool slightly.
- Make the queso: In a large skillet or Dutch oven, melt butter over medium heat. Whisk in flour and cook for 1-2 minutes until nutty. Slowly pour in milk, whisking constantly until thickened (3-4 minutes).
- Reduce heat to low. Gradually add grated cheddar and Monterey Jack cheese, stirring until melted and smooth. Stir in green chilies, garlic powder, cumin, salt, and pepper. Keep warm.
- Build the base: Spread a single layer of tortilla chips across a large sheet pan or platter.
- Add warm layers: Evenly distribute seasoned ground beef and black beans over the chips. Drizzle warm queso generously over everything.
- Add fresh toppings: Sprinkle corn, diced tomatoes, jalapeños, and green onions over the hot cheese. Top with shredded lettuce, cilantro, and dollops of sour cream or guacamole.
- Serve immediately to ensure chips remain crispy.
Notes
Grate your own cheese to prevent graininess caused by anti-caking agents in pre-shredded cheese. Drain all canned vegetables thoroughly to keep chips crispy. For large crowds, keep queso warm in a slow cooker. Avoid microwaving leftovers as it makes chips soggy; reheat in oven at 350°F instead.
- Prep Time: 15 minutes
- Cook Time: 15 minutes
- Category: Appetizer
- Cuisine: Mexican
Nutrition
- Serving Size: 1 serving based on 8
- Calories: 450
- Sugar: 3
- Sodium: 650
- Fat: 28
- Saturated Fat: 12
- Carbohydrates: 35
- Fiber: 4
- Protein: 18
Keywords: nacho bar, queso dip, party dip, game day food, loaded nachos, cheese sauce, crowd pleaser, easy appetizer


