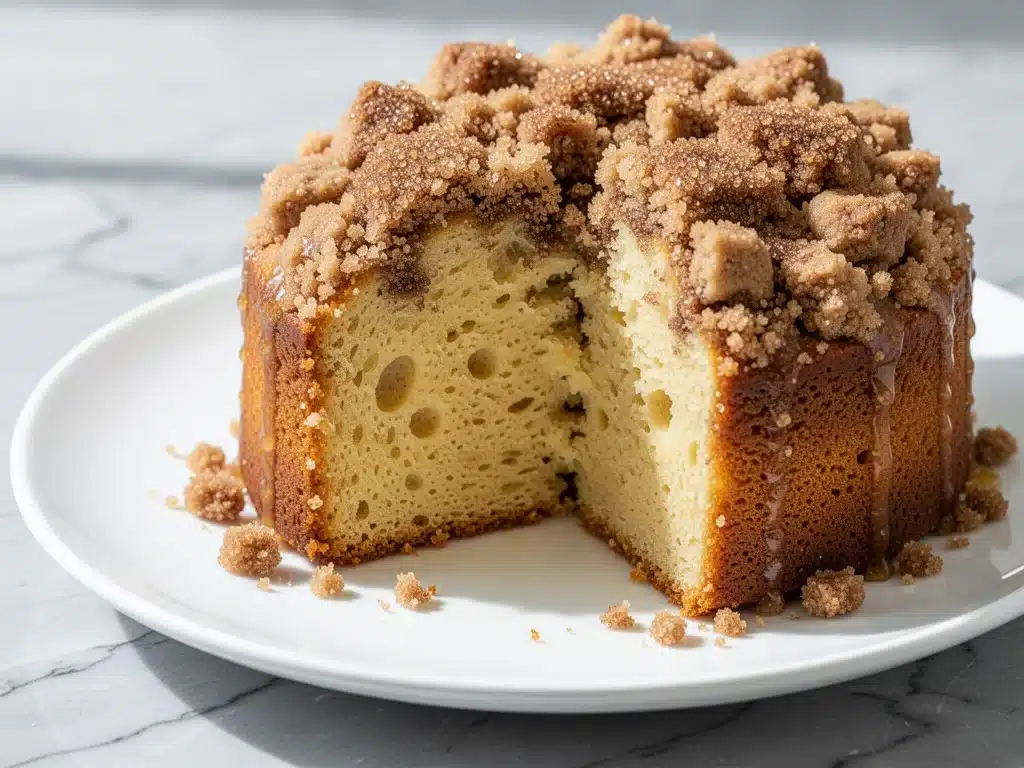
I have a vivid memory of a rainy Sunday morning in November, about three years ago. I was sitting at my kitchen table, staring at a plate of coffee cake that looked like a science experiment gone wrong. It was dry. I mean, parched. Like, “could use it to start a campfire” dry. I took a bite, chewed for a solid minute, and realized I’d basically made a cinnamon-flavored brick. My husband didn’t say anything—he just politely pushed the plate away and went to make toast. That hurt more than if he’d yelled.
I’ve always loved coffee cake. It’s the ultimate comfort food for breakfast. You know the type: that soft, buttery crumb, the sticky cinnamon swirl, and that glorious streusel topping that shatters when you dig in with a fork. But for years, every recipe I tried ended in disaster. Some were too dense, like eating a scone. Others were so soggy in the middle that the bottom layer never cooked through. I was ready to give up. I was ready to just buy the frozen ones from the grocery store (don’t judge me, we’ve all been there).
Then, last winter, I decided to stop following recipes blindly and start understanding the chemistry. I wanted to know *why* coffee cakes turned out dry. Was it the flour? The baking powder? The way I mixed it? I spent the next six weekends testing variations. I tried sour cream, yogurt, buttermilk, and even applesauce. I adjusted the baking time, the temperature, and the mixing method. And finally, on my eighth attempt, I cut into a slice and it just… fell apart. Soft. Moist. Cinnamon-y perfection. The kind of cake that makes you close your eyes when you take the first bite.
That’s the ultra-moist coffee cake you’re going to make today. It’s not just a recipe; it’s the result of a lot of failed experiments and a lot of coffee (ironic, right?). This cake is perfect for busy mornings, holiday brunches, or just because you deserve a little sweetness before noon. It’s easy, forgiving, and tastes like a hug from your favorite bakery. Let’s get baking.
Why This Ultra-Moist Coffee Cake Will Change Your Mornings
I’m not exaggerating when I say this recipe has completely transformed our weekend routine. Before this, Saturday mornings were a rush of rushing. Now, they’re an event. Here’s why this ultra-moist coffee cake is worth the 45 minutes it takes to make:
It’s Actually Moist — Seriously. I’ve tested this with three different dairy sources, and the buttermilk and yogurt combo is the winner. It keeps the crumb tender for days. I’ve had leftovers for three days, and Day 3 is still softer than Day 1 of the other recipes I’ve tried. It doesn’t dry out in the fridge.
The Streusel is Non-Negotiable — This isn’t that sad, sandy topping you get in box mixes. This is chunky, buttery, cinnamon-loaded crumble that stays crunchy even as it sits. I’ve made this for neighbors, coworkers, and my book club. The streusel is the first thing everyone asks for the recipe for. It’s that good.
Zero Fancy Equipment Needed — You don’t need a stand mixer. A whisk and a fork are all you need. I make this in my old, slightly scratched 9-inch springform pan. If you can mix batter and sprinkle crumbs, you can make this. I’ve even made it in a loaf pan when I was feeling lazy (though the round shape is better for even baking).
Perfect for Meal Prep — This cake travels well. I’ve packed slices in Tupperware for office meetings, and they don’t crumble or dry out. It’s also great for freezing. I often make two at once—one for now, one for the freezer. It thaws perfectly in the microwave or overnight in the fridge.
Budget-Friendly — All these ingredients are pantry staples. Flour, sugar, butter, cinnamon, buttermilk. You probably have most of this already. It costs less than $5 to make, and it serves 8-10 people. That’s cheaper than a single slice at a trendy cafe.
This cake is my answer to “What should I bring to the potluck?” or “What’s for breakfast when we have guests?” It’s reliable, delicious, and always makes people feel special. Trust me, once you make this, you’ll never go back to dry, dense coffee cake again.
Ingredients You’ll Need for the Best Coffee Cake
Here’s the thing about coffee cake: the simpler the ingredients, the more important their quality becomes. You don’t need weird, hard-to-find items. You need good basics. I’m particular about three things here: the butter, the buttermilk, and the cinnamon. Let’s break it down.
For the Cake Base
All-purpose flour (2 ½ cups / 315g) — Don’t use cake flour unless you want a super delicate crumb. All-purpose gives that perfect tender-but-sturdy texture. Spoon it into the cup and level it off. Don’t scoop and pack, or you’ll end up with a dense cake. I use Gold Medal flour because it’s consistent, but any brand works.
Granulated sugar (1 cup / 200g) — This sweetens the cake and helps with moisture. Don’t reduce it too much, or the texture suffers. I use regular white sugar, but you can substitute half with brown sugar for a deeper, caramel-like flavor.
Baking powder (2 teaspoons) — This is what makes the cake rise. Make sure it’s fresh! Old baking powder = flat coffee cake. I check the expiration date every time I bake. If it’s been in your cabinet for six months, toss it and buy new.
Salt (½ teaspoon) — Essential for balancing the sweetness. Don’t skip it. It makes the cinnamon taste more cinnamon-y.
Unsalted butter (½ cup / 115g, softened) — This adds richness and moisture. Soften it on the counter for 30 minutes before you start. If it’s too cold, it won’t cream properly. If it’s melted, the cake will be greasy. Room temperature is key.
Eggs (2 large, room temperature) — Room temp eggs emulsify better into the batter. Cold eggs can cause the mixture to curdle. I take them out of the fridge while the butter softens.
Vanilla extract (2 teaspoons) — Use real vanilla, not imitation. It makes a huge difference in flavor. I use Nielsen-Massey because it’s potent and pure.
Buttermilk (1 cup / 240ml) — This is the secret to the ultra-moist texture. The acidity tenderizes the gluten. If you don’t have buttermilk, make your own: add 1 tablespoon of lemon juice or white vinegar to 1 cup of milk. Let it sit for 5 minutes until it curdles. It works perfectly.
Greek yogurt (½ cup / 120g) — Full-fat plain yogurt. This adds extra moisture and tang. I use Fage 5% because it’s thick and creamy. Don’t use low-fat; it changes the texture.
For the Cinnamon Streusel Crumb
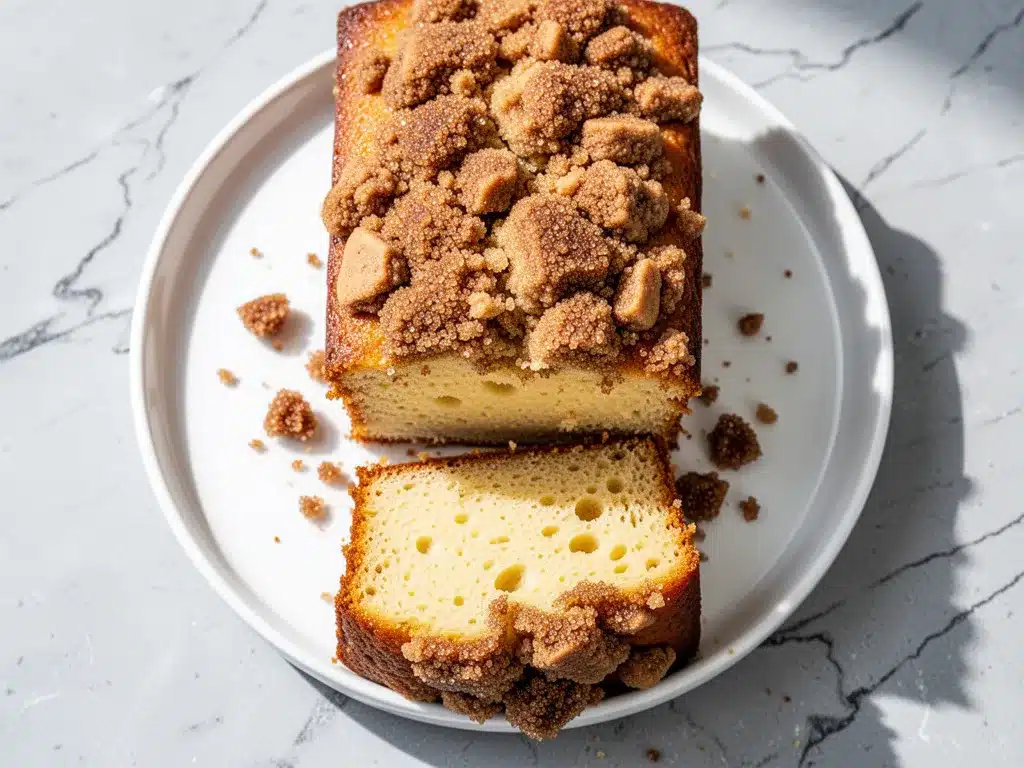
All-purpose flour (½ cup / 60g) — Just a little flour to bind the crumbs.
Brown sugar (½ cup / 100g, packed) — This gives the streusel its chewiness and deep flavor. Light or dark brown sugar both work.
Cinnamon (2 teaspoons) — Use ground cinnamon. Freshly ground is best, but pre-ground is fine. Don’t use too little; you want that cinnamon punch.
Unsalted butter (¼ cup / 55g, cold and cubed) — Cold butter is crucial here. Rub it into the flour and sugar to create chunks. If the butter is warm, it’ll melt into the mixture, and you’ll lose the crumb texture. Keep it in the fridge until the last minute.
Optional: Pecans or Walnuts (½ cup, chopped) — I add nuts for crunch and flavor. Toast them first in a dry pan for 2 minutes for extra aroma. If you’re allergic or just don’t like nuts, skip them. The streusel is still great without them.
For the Simple Glaze (Optional but Recommended)
Powdered sugar (½ cup / 60g) — Sifted to remove lumps.
Milk (1-2 tablespoons) — Add gradually to reach your desired consistency.
Vanilla extract (½ teaspoon) — For flavor.
This list looks long, but it’s mostly pantry staples. I keep these on hand specifically so I can whip up this ultra-moist coffee cake on a whim. It’s my go-to when I want to treat myself or my family.
Equipment You’ll Need
You don’t need a fancy kitchen for this. Here’s what I actually use, along with alternatives if you don’t have the exact same gear.
9-inch Springform Pan — This is my preferred pan because the sides come off, making it easy to get the cake out without breaking it. It also helps the cake bake evenly. If you don’t have one, a 9-inch round cake pan with parchment paper works. Just grease it well.
Large Mixing Bowl — For the dry ingredients. I use a ceramic bowl because it’s heavy and doesn’t slide around.
Medium Mixing Bowl — For the wet ingredients. A glass bowl is nice because you can see the mixture.
Whisk — For combining the dry ingredients and beating the wet mixture. A balloon whisk is best for incorporating air.
Fork or Pastry Cutter — For making the streusel. I use a fork to cut the cold butter into the flour and sugar. It’s simple and effective.
Measuring Cups and Spoons — I prefer metal measuring cups for dry ingredients. They’re accurate and durable. For liquids, I use a glass measuring cup with a spout.
Offset Spatula — For spreading the batter and the streusel. It makes leveling the cake super easy. A regular spatula works too, just be gentle.
Cooling Rack — Essential for cooling the cake evenly. If you leave it in the pan, the bottom can get soggy. I have a small wire rack that fits perfectly on my counter.
Knife — For chopping nuts (if using) and slicing the cake. A serrated knife is best for clean cuts.
I’m not obsessed with brand names, but I do have favorites. My whisk is from OXO, and my springform pan is from Nordic Ware. They’ve lasted me years. But honestly, your basic tools from the dollar store will work fine. It’s the technique, not the tools, that makes the cake.
How to Make It: Step-by-Step Guide
Alright, let’s make this! I’m walking you through exactly how I do it, including the little tricks I’ve picked up over the years. This process is straightforward, but attention to detail matters.
Step 1: Prep Your Pan and Oven (5 minutes)
Preheat your oven to 350°F (175°C). Grease your 9-inch springform pan with butter or non-stick spray. I also line the bottom with parchment paper for easy removal. This step is crucial—don’t skip it, or you’ll be scraping cake out of the pan for hours. Set your pan aside.
Step 2: Mix the Dry Ingredients (3 minutes)
In a large bowl, whisk together the flour, baking powder, and salt. Whisking ensures the leavening agent is evenly distributed, which prevents dense spots. Set this bowl aside. It’s easy to forget this step, but it’s the foundation of the cake’s texture.
Step 3: Cream the Butter and Sugar (3-4 minutes)
In a medium bowl, beat the softened butter and granulated sugar together until light and fluffy. This takes about 3 minutes with a hand mixer or 5 minutes by hand. You’ll see the mixture pale in color. This step incorporates air, which helps the cake rise. Don’t rush this; it’s the secret to a tender crumb.
Step 4: Add Eggs and Vanilla (2 minutes)
Add the eggs one at a time, beating well after each addition. Then stir in the vanilla extract. The mixture might look slightly curdled—that’s normal. It will come together in the next step. If it looks too separated, don’t worry; the buttermilk will fix it.
Step 5: Combine Wet and Dry Ingredients (2 minutes)
Alternately add the dry ingredients and the buttermilk-yogurt mixture to the butter mixture. Start and end with the dry ingredients. Mix on low speed or stir gently until just combined. Overmixing develops gluten, which makes the cake tough. Stop mixing as soon as you no longer see streaks of flour. The batter will be thick and sticky.
Step 6: Make the Streusel (3 minutes)
In a small bowl, combine the flour, brown sugar, and cinnamon. Add the cold, cubed butter. Use a fork or your fingers to rub the butter into the dry ingredients until you have coarse crumbs. Some pieces should be pea-sized, others larger. Don’t overmix; you want chunks, not a paste. If the butter melts, pop the bowl in the fridge for 5 minutes.
Step 7: Assemble the Cake (5 minutes)
Spread half of the batter into the prepared pan. Sprinkle half of the streusel on top. Then add the remaining batter and smooth it out. Top with the rest of the streusel. Make sure the streusel covers the entire surface. This creates that beautiful, crunchy layer everyone loves.
Step 8: Bake (40-45 minutes)
Place the pan in the preheated oven and bake for 40-45 minutes. The cake is done when a toothpick inserted into the center comes out clean or with a few moist crumbs (not wet batter). The top should be golden brown. If it’s browning too fast, cover it loosely with aluminum foil after 30 minutes.
Step 9: Cool and Glaze (20 minutes)
Let the cake cool in the pan for 10 minutes, then remove the springform ring. Transfer the cake to a cooling rack and let it cool completely. This is hard, I know, but slicing warm coffee cake can be messy. Once cool, mix the powdered sugar, milk, and vanilla for the glaze. Drizzle it over the top. It doesn’t have to be perfect; rustic looks better.
Total time is about 1 hour, but only 20 minutes of that is active work. The rest is hands-off baking. It’s perfect for a lazy Sunday.
Expert Tips for the Perfect Ultra-Moist Coffee Cake
Here’s everything I’ve learned from making this dozens of times. These tips will save you from my mistakes and ensure your cake is consistently moist and delicious.
Room Temperature Ingredients Are Non-Negotiable
I can’t stress this enough. Cold butter, cold eggs, cold buttermilk—it all leads to a dense, uneven cake. Take your butter and eggs out of the fridge at least 30 minutes before you start. If you forget, you can warm the eggs in a bowl of warm water for 5 minutes. It’s worth the wait.
Don’t Overmix the Batter
Once you add the flour, mix until just combined. Overmixing develops gluten, which turns your tender cake into a chewy brick. I know it’s tempting to stir a little more to get rid of lumps, but resist the urge. A few small lumps are fine; they’ll bake out.
Keep the Streusel Butter Cold
For the crumb topping, the butter must be cold. If it’s warm, it’ll coat the flour instead of creating chunks. I keep the butter in the fridge until the last second, then cube it and add it immediately. If your kitchen is hot, work quickly or chill the bowl for a few minutes.
Use a Springform Pan
I’ve tried regular round pans, and they’re harder to remove without breaking. The springform pan is worth the investment. It also helps the cake bake evenly because the sides conduct heat. If you don’t have one, use a regular pan with parchment paper, but be gentle when removing.
Check for Doneness Early
Ovens vary. Start checking at 40 minutes. If the toothpick comes out clean, it’s done. If it’s wet, give it 5 more minutes. Overbaking is the number one cause of dry coffee cake. It’s better to underbake slightly than overbake.
Let It Cool Completely
I know it’s tempting to cut into it right away, but the cake needs time to set. If you cut it warm, it’ll crumble. Let it cool on the rack for at least 20 minutes before glazing and slicing. Patience pays off.
Variations and Substitutions
Once you’ve nailed the basic version, here’s how you can mix it up. I’ve tried all of these, and they all work great.
Berry Swirl Version
After adding the first layer of batter, scatter 1 cup of fresh or frozen berries (blueberries, raspberries, or blackberries) on top. Then add the streusel. The berries burst during baking, creating juicy pockets of flavor. I love this with blueberries in the summer.
Maple Pecan Version
Add ½ cup chopped toasted pecans to the streusel. Drizzle the glaze with maple syrup instead of vanilla. It’s rich, nutty, and perfect for fall. This pairs beautifully with a cup of black coffee.
Cardamom Spice Version
Swap the cinnamon in the streusel for ground cardamom. It has a floral, citrusy flavor that’s unique and sophisticated. I make this for special brunches. It’s a great way to elevate the classic recipe.
Gluten-Free Option
Use a 1:1 gluten-free flour blend. The texture might be slightly denser, but it’s still moist and delicious. I’ve used Bob’s Red Mill 1-to-1, and it works well. Just make sure your baking powder is gluten-free.
Dairy-Free Option
Use dairy-free butter and coconut yogurt or almond yogurt. The cake will be slightly different in flavor but still moist. I’ve made this for friends with dairy allergies, and they loved it.
Mini Muffin Version
Divide the batter into a muffin tin and bake for 20-25 minutes. Great for portion control or individual servings. The streusel works perfectly on top. I make these for office parties.
These variations keep the recipe fresh and exciting. You can rotate them depending on the season or your mood. It’s a versatile base that adapts to whatever you have on hand.
Serving and Storage
This ultra-moist coffee cake is best served fresh, but it stores well if you need to make it ahead.
How to Serve
I usually serve this straight from the cooling rack, cut into wedges. It’s perfect with a cup of hot coffee or tea. For a fancy touch, add a dollop of whipped cream or a scoop of vanilla ice cream. It’s like a dessert for breakfast, and I’m here for it. I also like to serve it with fresh fruit on the side, like sliced strawberries or bananas.
Room Temperature Storage
Store the cake in an airtight container at room temperature for up to 2 days. It stays moist and delicious. If your kitchen is hot, refrigerate it to prevent spoilage.
Refrigerator Storage
If you need to keep it longer, store it in the fridge for up to 5 days. Let it come to room temperature before serving for the best texture. The glaze might harden in the fridge, so let it sit out for 15 minutes to soften.
Freezing
This cake freezes beautifully. Wrap it tightly in plastic wrap, then in aluminum foil. It’ll last for up to 3 months in the freezer. Thaw it overnight in the fridge or at room temperature. I often freeze half the batch for later. It thaws perfectly, and no one can tell the difference.
Reheating
If you want warm coffee cake, microwave a slice for 20-30 seconds. It’ll be soft and gooey. You can also warm it in a 300°F oven for 10 minutes. Avoid the microwave if you want a crisp streusel; the oven is better for that.
Pro tip: If the cake starts to dry out, brush it with a little milk before reheating. It brings back the moisture. I’ve saved stale cake this way more than once.
Nutrition Information
I’m not a nutritionist, but here’s the breakdown if you’re tracking. This is a treat, so enjoy it mindfully.
Per Serving (based on 10 slices):
- Calories: 320
- Protein: 4g
- Carbs: 45g
- Fiber: 1g
- Sugar: 28g
- Fat: 14g
- Saturated Fat: 8g
- Sodium: 180mg
What’s Good:
- Decent carbs for energy
- Quick breakfast option
- Can be made with whole wheat flour for more fiber
What to Know:
- Higher in sugar and fat from butter and sugar
- Contains gluten and dairy
- Use less sugar in the glaze to reduce calories
My Take:
Look, this is a sweet treat. It’s not health food. But it’s homemade, so you know what’s in it. I make it for special mornings, not every day. When I want to make it lighter, I reduce the sugar in the streusel and use less butter. But usually? I just enjoy a slice and move on. Balance is key.
Final Thoughts
So that’s my go-to ultra-moist coffee cake! I’ve probably talked your ear off at this point, but when you make a recipe this often, you have a lot to say about it. This cake has saved my weekends. It’s my answer to “What’s for breakfast?” when I want something special but don’t want to stress. My family loves it, my friends beg for it, and I love making it.
This recipe is forgiving and flexible. Make it yours! Try different fruits, swap the nuts, or experiment with spices. The best recipes are the ones you adapt to your tastes. And if you’re looking for other easy breakfast ideas, check out my crispy hash brown breakfast casserole for a savory option, or my cinnamon-spiced canned pears for a quick dessert.
If you make this, drop a comment and let me know what you think! I love hearing how recipes turn out in your kitchen. And if something doesn’t work, tell me that too—I’m here to help troubleshoot. Happy baking, and I hope your kitchen smells amazing!
Frequently Asked Questions
Q: Can I use milk instead of buttermilk?
A: You can, but the cake won’t be as moist or tender. If you must, add 1 tablespoon of lemon juice to 1 cup of milk and let it sit for 5 minutes. It’s not quite the same, but it works in a pinch. The acidity in buttermilk is key for the texture.
Q: Why did my coffee cake turn out dry?
A: Usually, this means it was overbaked or overmixed. Check your oven temperature with a thermometer; ovens can be inaccurate. Also, make sure you’re not overmixing the batter. Stop as soon as the flour is incorporated. And don’t bake it longer than necessary—check at 40 minutes.
Q: Can I make this ahead for a party?
A: Absolutely. Bake the cake a day ahead and store it at room temperature. It actually tastes better the next day as the flavors meld. Just add the glaze right before serving. I do this all the time for brunches.
Q: Why is my streusel soggy?
A: This usually happens if the butter was too warm or if the cake was covered while still warm. Make sure the butter is cold when making the streusel, and let the cake cool completely before covering it. Also, don’t add wet ingredients like fruit directly on top of the streusel; layer it correctly.
Q: Can I use a loaf pan instead?
A: Yes, but reduce the baking time to 35-40 minutes. Check with a toothpick at 35 minutes. The cake will be taller, so keep an eye on the top to prevent burning. Loaf pans are great for portion control.
Q: How do I reheat leftovers?
A: Microwave for 20-30 seconds for soft texture, or warm in a 300°F oven for 10 minutes for a crisp streusel. Avoid the microwave if you want crunch. Add a splash of milk if the cake seems dry.
Q: Can I double this recipe?
A: Yes, but use two pans or a larger pan. The baking time might increase slightly. I recommend making two small cakes instead of one big one for even baking. It’s easier to manage and serves more people.
Pin This Recipe!
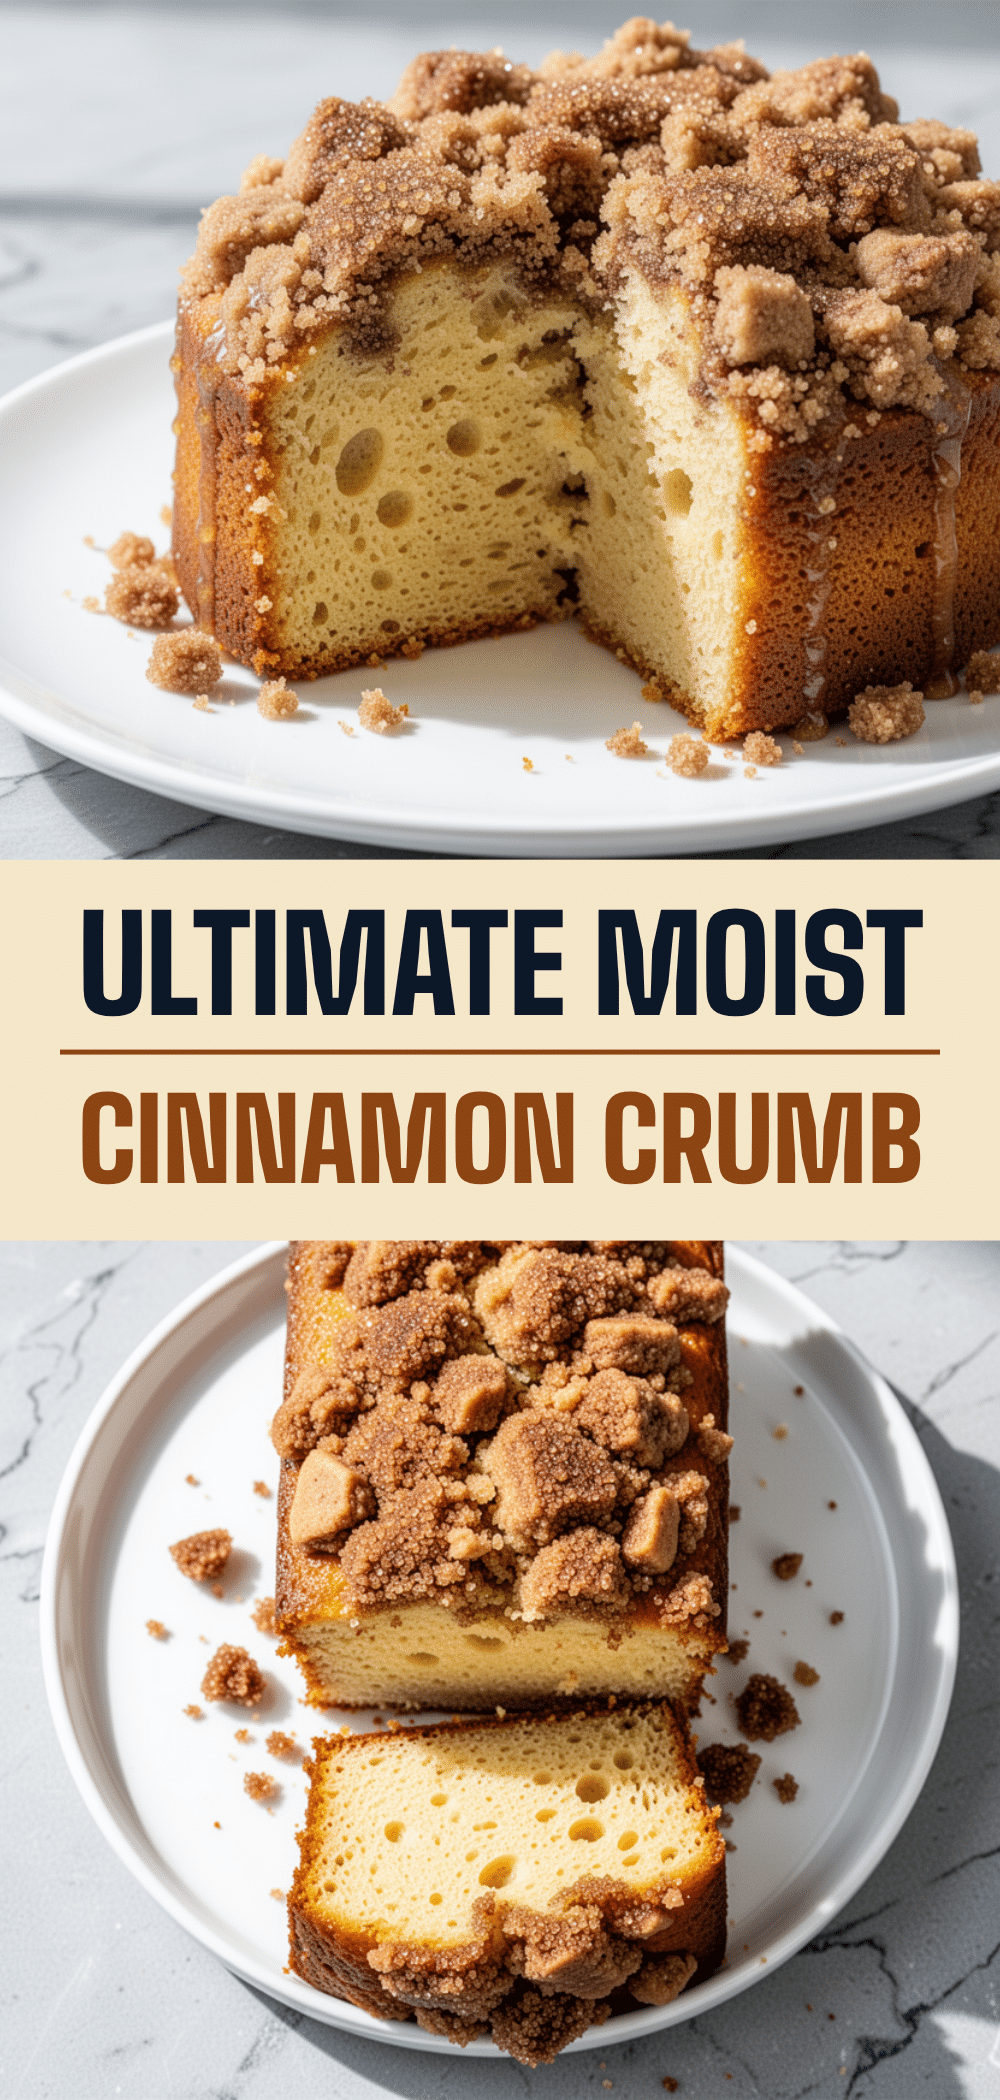
Ultra-Moist Coffee Cake: Best Easy Breakfast Recipe
- Total Time: 1 hour
- Yield: 10 servings 1x
Description
A tender, moist coffee cake with a crunchy cinnamon streusel topping, perfected through extensive testing to ensure it stays soft for days.
Ingredients
- 2 ½ cups all-purpose flour
- 1 cup granulated sugar
- 2 teaspoons baking powder
- ½ teaspoon salt
- ½ cup unsalted butter, softened
- 2 large eggs, room temperature
- 2 teaspoons vanilla extract
- 1 cup buttermilk
- ½ cup full-fat plain Greek yogurt
- ½ cup all-purpose flour (for streusel)
- ½ cup packed brown sugar (for streusel)
- 2 teaspoons ground cinnamon (for streusel)
- ¼ cup unsalted butter, cold and cubed (for streusel)
- ½ cup chopped pecans or walnuts, optional
- ½ cup powdered sugar (for glaze)
- 1–2 tablespoons milk (for glaze)
- ½ teaspoon vanilla extract (for glaze)
Instructions
- Preheat oven to 350°F (175°C). Grease a 9-inch springform pan and line the bottom with parchment paper.
- In a large bowl, whisk together 2 ½ cups flour, baking powder, and salt. Set aside.
- In a medium bowl, beat softened butter and granulated sugar until light and fluffy (about 3-5 minutes).
- Add eggs one at a time, beating well after each addition, then stir in vanilla extract.
- Alternately add the dry ingredients and the buttermilk-yogurt mixture to the butter mixture, starting and ending with dry ingredients. Mix until just combined.
- In a small bowl, combine ½ cup flour, brown sugar, and cinnamon. Rub in cold cubed butter until coarse crumbs form.
- Spread half the batter into the pan, sprinkle with half the streusel, add remaining batter, and top with remaining streusel.
- Bake for 40-45 minutes until a toothpick inserted in the center comes out clean.
- Cool in the pan for 10 minutes, then remove the ring and transfer to a cooling rack to cool completely.
- Whisk powdered sugar, milk, and vanilla for the glaze. Drizzle over the cooled cake before serving.
Notes
Ensure all ingredients are at room temperature for best results. Do not overmix the batter to avoid a dense texture. Keep streusel butter cold to maintain crumb texture. The cake can be stored at room temperature for 2 days, refrigerated for 5 days, or frozen for 3 months.
- Prep Time: 20 minutes
- Cook Time: 45 minutes
- Category: Breakfast
- Cuisine: American
Nutrition
- Serving Size: 1 slice
- Calories: 320
- Sugar: 28
- Sodium: 180
- Fat: 14
- Saturated Fat: 8
- Carbohydrates: 45
- Fiber: 1
- Protein: 4
Keywords: coffee cake, moist coffee cake, breakfast recipe, streusel topping, easy baking, brunch ideas


