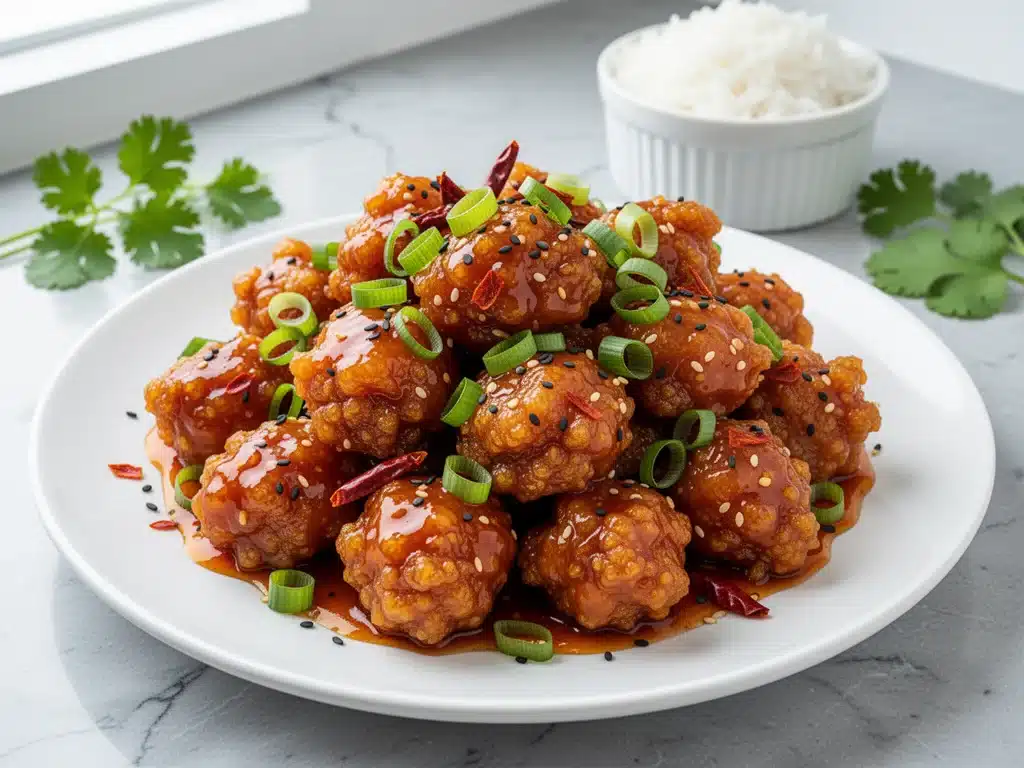
Last Friday night, my phone was in one hand and the delivery app in the other. It was 7:30 PM, I was exhausted from a week that felt like it lasted three weeks, and the craving hit me hard. You know the one. It’s not just hunger; it’s a specific, urgent need for something sweet, sticky, spicy, and fried. I was about to tap “Order” for my usual General Tso’s chicken when my husband walked in, tossed his keys on the counter, and said, “Hey, since we’re already ordering out, can you grab me a cola too?”
And that’s when it hit me. I was spending $28 on a box of food that would arrive lukewarm, with soggy noodles and chicken that tasted like it had been sitting under a heat lamp since Tuesday. I’ve been making homemade Chinese food for years, but I’d always convinced myself that the magic of dishes like this crispy garlic chicken was something you could only get from a restaurant with a high-volume fryer. I was wrong.
That night, I put the phone down, pulled out a bag of chicken thighs, and decided to tackle the holy grail of takeout: General Tso’s chicken. I’ve tested this recipe six times in the last two months. I’ve burned garlic. I’ve made sauce that was either too thin or a solid brick of sugar. I’ve debated whether cornstarch or potato starch is better (spoiler: it’s cornstarch, but let me explain why). But finally? I cracked the code.
This isn’t just “good homemade Chinese.” It’s better than the takeout version. The chicken is shatteringly crispy, the sauce clings to every piece without making it soggy, and the balance of sweet, spicy, and savory is dialed in perfectly. It’s the kind of dish that makes your family stop scrolling through their phones and look up at the table. If you’ve been afraid to make restaurant-style General Tso’s chicken at home, let me prove to you that it’s easier, faster, and infinitely tastier than you think.
Why You’ll Love This Homemade General Tso’s Chicken
There are a lot of reasons I keep coming back to this recipe, but they aren’t just about taste. It’s about the experience of cooking it and the result on the plate. Here’s what makes this version stand out from the dozens of other chicken recipes I’ve tried:
- Actually Crispy Chicken — Most homemade versions turn soggy within minutes. I use a double-dredge technique with cornstarch that keeps the coating crunchy even after tossing it in the sauce. I’ve left leftovers out for an hour before reheating, and they stayed crisp. That’s a win.
- Balance, Not Just Sugar — A lot of takeout is just sweet. This sauce has a real kick from dried chilies and a tang from rice vinegar that cuts through the richness. It’s complex. It’s got depth. My dad, who claims he “doesn’t like spicy food,” asks for seconds because he can’t put it down.
- Under 45 Minutes — From chopping to plating, this takes about 40 minutes. That’s faster than waiting for a delivery driver to find your apartment. I make this on busy weeknights when I’m too tired to cook but refuse to eat cereal for dinner.
- Customizable Heat — You control the spice. Want it mild? Remove the seeds from the chilies. Want it fiery? Leave them in and add a dash of chili oil. It’s your kitchen, your rules.
- Leftovers That Taste Better — I know, I know, takeout leftovers are usually gross. But this reheats beautifully in the oven or air fryer. In fact, I think it tastes even better the next day as the flavors meld together. I deliberately make extra for lunch on Saturday.
This is my go-to when I want to impress but don’t want to spend hours in the kitchen. It’s reliable, it’s delicious, and it’s going to change how you think about Chinese food.
Ingredients You’ll Need for General Tso’s Chicken
Here’s the thing about this recipe: the ingredients list looks long, but half of it is pantry staples you probably already have. The secret isn’t in exotic spices; it’s in the technique and the balance of flavors. Let’s break down what you need and why it matters.
For the Chicken
Chicken thighs (2 pounds / 900g) — Boneless, skinless. I swear by thighs over breasts. They stay juicy and don’t dry out when you fry them. If you must use breast, cut it into uniform pieces so they cook evenly.
Large egg (1) — This acts as the glue for your coating. Whisk it well. You want a smooth batter, not chunky egg whites.
Shaoxing wine (1 tablespoon) — This is Chinese cooking wine. It adds a depth of flavor that’s hard to replicate. If you can’t find it, dry sherry works in a pinch. Do not skip this; it removes the “gamey” taste from the chicken.
Cornstarch (1 cup / 120g) — The star of the show. Cornstarch creates that light, airy, shattering crispiness. All-purpose flour makes it bread-like. We want light. Use the cheap stuff; you don’t need fancy brand names here.
Salt and white pepper — White pepper is traditional in Chinese cooking and has a different, earthier heat than black pepper. It’s worth buying a small jar. Salt is for seasoning the chicken before it hits the batter.
For the Sauce
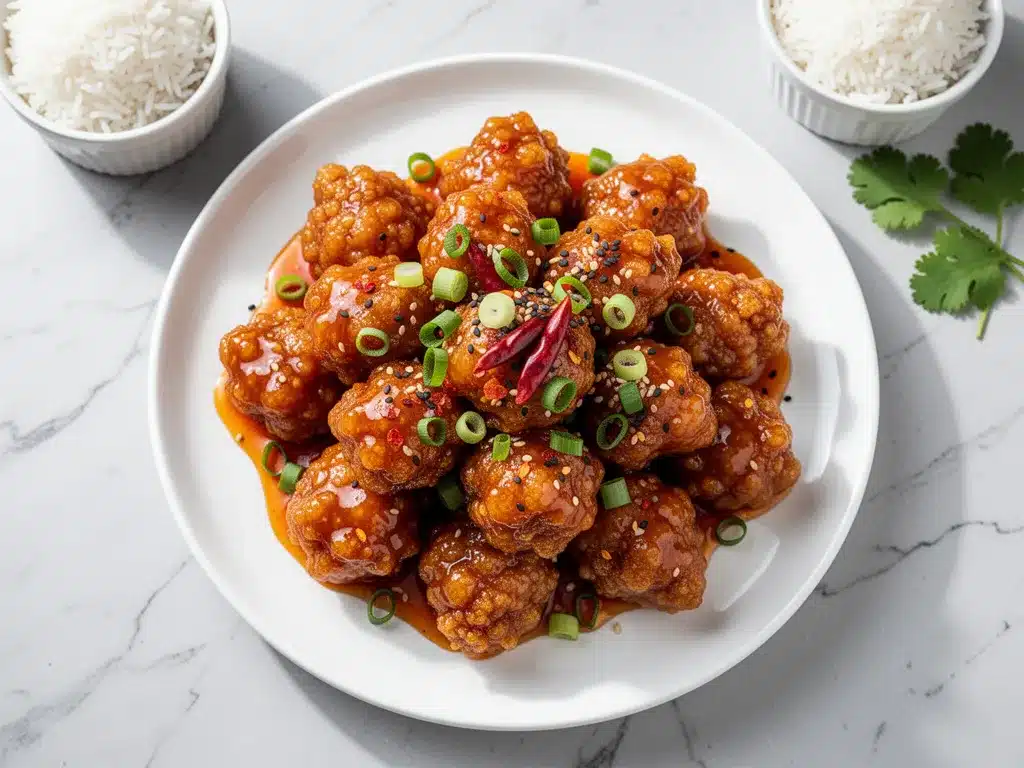
Rice vinegar (¼ cup / 60ml) — Essential for that tangy brightness. Use unseasoned rice vinegar, not the sweetened kind used for sushi. The acidity balances the sugar.
Soy sauce (3 tablespoons) — Low-sodium is best so you can control the saltiness. Regular works if you reduce added salt elsewhere.
Chicken broth (½ cup / 120ml) — Use low-sodium broth. This forms the liquid base of the sauce. Vegetable broth works for a vegetarian version.
Sugar (⅓ cup / 70g) — White granulated sugar is standard, but I sometimes mix in 1 tablespoon of brown sugar for a deeper molasses note. Don’t skimp on the sugar; this is a sweet-and-sour style dish.
Ketchup (1 tablespoon) — Hear me out. It adds color, tomato acidity, and sweetness. It’s a restaurant secret that makes the sauce look glossy and red. You won’t taste “ketchup,” I promise.
Garlic (4 cloves, minced) — Fresh garlic is non-negotiable. Jarred garlic tastes metallic in this context. Mince it finely so it distributes evenly.
Ginger (1 tablespoon, fresh, minced) — Fresh ginger adds a zesty warmth that powdered ginger can’t match. Grate it if you can’t mince it finely.
Dried red chilies (6-8 whole) — These infuse the oil with heat. They look scary, but they’re mostly about aroma and slow-burn heat. Remove seeds if you want it milder.
Equipment You’ll Need
You don’t need a professional wok or a deep fryer to make this. Here’s what I actually use in my home kitchen:
Large skillet or wok — I use a 12-inch stainless steel skillet. It needs to be wide enough to hold the chicken in a single layer for even frying. A wok is great if you have one, but a large skillet works perfectly.
Deep fry thermometer — This is the only “fancy” tool I recommend. Getting the oil to 350°F (175°C) is crucial. If it’s too cool, the chicken absorbs oil and gets greasy. If it’s too hot, it burns. I use an instant-read thermometer to check the oil temperature. It’s worth the $10 investment.
Wire rack and baking sheet — After frying, you need a place to drain the chicken. I line a baking sheet with foil and place a wire rack on top. This keeps the chicken crispy by letting air circulate underneath. If you don’t have a rack, paper towels work, but the chicken can get soggy from steam.
Small bowls — You’ll need a few for prepping your sauce ingredients. This is called “mise en place,” and it’s the secret to not burning your garlic while you’re scrambling to find the soy sauce.
Slotted spoon or spider strainer — For lifting the chicken out of the oil. A regular slotted spoon works if you’re careful.
How to Make Restaurant-Style General Tso’s Chicken
Alright, let’s get cooking. This process has three main parts: prepping the chicken, frying it, and making the sauce. I walk you through exactly how I do it, including the little tricks that keep the chicken crispy.
Step 1: Prep the Chicken (10 minutes)
Cut your chicken thighs into 1.5-inch bite-sized pieces. Try to keep them uniform so they cook at the same rate. Pat them very dry with paper towels. This is important—wet chicken won’t stick to the batter.
In a bowl, combine the chicken pieces with the egg, Shaoxing wine, 1 teaspoon of salt, and ½ teaspoon of white pepper. Toss to coat. Let this marinate for 10-15 minutes while you prep the rest. This infuses the chicken with flavor and helps the coating adhere.
Step 2: Dredge the Chicken (5 minutes)
Place the cornstarch in a large, shallow bowl or a zip-top bag. Remove the chicken from the egg mixture, letting excess drip off, then toss each piece in the cornstarch. Press the cornstarch onto the chicken gently. You want a thick, even coating. Shake off any excess.
Pro Tip: For extra crispiness, I let the coated chicken sit on a wire rack for 5 minutes before frying. This allows the cornstarch to hydrate slightly and form a crust that sticks better. It’s an optional step, but it makes a difference.
Step 3: Fry the Chicken (10-12 minutes)
Heat 2 inches of neutral oil (like vegetable or canola) in your skillet or wok to 350°F (175°C). Use your thermometer. Don’t guess.
Fry the chicken in batches. Do not overcrowd the pan! If you crowd it, the oil temperature drops, and the chicken becomes greasy. Fry for about 3-4 minutes per batch, turning occasionally, until golden brown and cooked through. The internal temperature should reach 165°F (74°C).
Remove the chicken with a slotted spoon and place it on the wire rack. Keep the oil hot. If you’re frying all the chicken at once, you might need to add more oil or use two pans.
Step 4: Make the Sauce (5 minutes)
In a small bowl, whisk together the rice vinegar, soy sauce, chicken broth, sugar, ketchup, and 1 teaspoon of cornstarch. Set this aside. The cornstarch here will thicken the sauce later.
Heat 1 tablespoon of oil in a clean wok or large skillet over medium heat. Add the dried red chilies and stir-fry for 30 seconds until fragrant. Be careful not to burn them. Add the minced garlic and ginger and cook for another 30 seconds. The aroma should be incredible—if it smells like burnt garlic, start over with lower heat.
Step 5: Combine and Toss (2 minutes)
Pour the sauce mixture into the wok. It will bubble and thicken quickly. Stir constantly for about 1-2 minutes until the sauce is glossy and coats the back of a spoon.
Immediately add the fried chicken to the wok. Toss vigorously to coat every piece in the sauce. The chicken should be shiny and sticky, not swimming in sauce. If there’s excess sauce, let it reduce for another 30 seconds. Serve immediately.
Expert Tips for Perfect General Tso’s Chicken
Here’s everything I’ve learned from making this dozens of times. These tips will save you from my mistakes.
The Double Fry Method (Optional but Recommended) — For restaurant-level crunch, fry the chicken at 325°F for 3 minutes, remove it, let it rest for 5 minutes, then fry again at 375°F for 1-2 minutes. This ensures the inside is cooked and the outside is shatteringly crisp. I do this when I’m feeling fancy.
Don’t Skip the Dredge Rest — I mentioned this earlier, but it’s worth repeating. Letting the coated chicken sit for 5 minutes prevents the cornstarch from falling off in the oil. It creates a uniform crust.
Control the Heat — Garlic burns fast. Once you add the garlic and ginger to the sauce, keep the heat at medium or medium-low. You want to toast them, not char them. Burnt garlic tastes bitter and ruins the whole dish.
Sauce Consistency — The sauce should be thick enough to cling to the chicken, not thin enough to pool at the bottom of the plate. If it’s too thin, mix 1 teaspoon of cornstarch with 1 tablespoon of water and stir it in. If it’s too thick, add a splash of broth.
Serve Immediately — General Tso’s chicken is best eaten right away. The longer it sits in the sauce, the softer the crust gets. If you’re serving a crowd, toss the chicken in the sauce just before bringing it to the table.
Variations and Substitutions
Once you’ve nailed the basic version, here’s how you can mix it up. I’ve tried all of these:
Baked Version — For a lighter option, toss the coated chicken in a little oil and bake at 400°F (200°C) for 20-25 minutes, flipping halfway. It won’t be as crispy as fried, but it’s much healthier. I use this version when I’m trying to cut back on oil.
Spicier Kick — Add 1 teaspoon of chili crisp or ½ teaspoon of cayenne pepper to the sauce. Or, leave the seeds in the dried chilies. My friend who loves heat adds a dash of Sriracha to the sauce.
Veggie-Loaded — Toss in steamed broccoli or sautéed bell peppers with the chicken in Step 5. It adds color and nutrition. I often do this when I have veggies in the fridge that need using up.
Dairy-Free/Vegan — This recipe is naturally dairy-free. For vegan, use vegetable broth and swap the chicken for extra-firm tofu (pressed and cubed) or seitan. Tofu works well if you press it thoroughly and fry it until crisp.
Gluten-Free — Use tamari instead of soy sauce. The cornstarch coating is naturally gluten-free, so just ensure your soy sauce is GF.
Serving and Storage
How to Serve: I usually serve this straight from the wok over a bed of steamed jasmine rice. The rice soaks up the extra sauce, which is delicious. Steamed broccoli or green beans make a great side dish to balance the richness. A simple cucumber salad with vinegar and sesame oil is also a perfect pairing.
Storage: Store leftovers in an airtight container in the refrigerator for up to 3 days. The chicken will soften in the sauce, which is normal.
Reheating: Do not microwave this if you want it to stay crispy. The microwave will make the coating soggy. Instead, reheat in an air fryer at 375°F for 3-4 minutes, or in a skillet over medium heat with a splash of water to steam it slightly while reheating. This brings back some of the crispiness.
Freezing: I don’t recommend freezing this dish. The texture of the fried chicken changes significantly after freezing and reheating. It’s best made fresh.
Nutrition Information
I’m not a nutritionist, but here’s the breakdown if you’re tracking. Keep in mind this is a rich, indulgent dish.
Per Serving (based on 4 servings):
- Calories: 650
- Protein: 35g
- Carbs: 65g
- Fat: 28g
- Sugar: 25g
- Sodium: 800mg
My Take: Look, this is comfort food. It’s fried chicken in a sweet sauce. It’s not a diet recipe. But it’s way better than takeout, costs less, and you control the ingredients. When I want to make it lighter, I use the baked version and reduce the sugar in the sauce by half. But usually? I just enjoy a reasonable portion and pair it with lots of veggies.
Frequently Asked Questions
Q: Can I use chicken breast instead of thighs?
A: You can, but thighs are juicier and more forgiving. If you use breast, cut it into smaller pieces and watch the cooking time closely so it doesn’t dry out. Breast will cook faster than thighs.
Q: Why is my chicken soggy?
A: This usually happens if the oil wasn’t hot enough when you started frying, or if you crowded the pan. Also, don’t let the chicken sit in the sauce too long before serving. Toss it in right before eating.
Q: Can I make the sauce ahead of time?
A: Yes! You can whisk the sauce ingredients together and store them in the fridge for up to 2 days. Just give it a stir before using. This saves time on busy weeknights.
Q: What kind of oil should I use for frying?
A: Use a neutral oil with a high smoke point. Vegetable, canola, or peanut oil are all good choices. Avoid olive oil or butter, as they burn at high temperatures.
Q: Is Shaoxing wine necessary?
A: It adds a unique flavor that’s hard to replace. Dry sherry is the best substitute. If you can’t find either, you can skip it, but the flavor won’t be as authentic.
Q: How spicy is this recipe?
A: It’s moderately spicy. The dried chilies provide a slow-burn heat. If you’re sensitive to spice, remove the seeds from the chilies before adding them to the oil. You can also reduce the number of chilies to 2-3.
Final Thoughts
So that’s my take on restaurant-style General Tso’s chicken. I’ve probably talked your ear off at this point, but when you make a recipe this often, you have a lot to say about it. This has saved weeknight dinners more times than I can count. It’s my answer to “what’s for dinner” when I’m tired, don’t want takeout, and still want something that tastes really good.
Make it yours! Try different add-ins, swap in your favorite vegetables, adjust the garlic (though more is always better in my opinion). The best recipes are the ones you adapt to your family’s tastes.
If you make this, drop a comment and let me know what you think! I love hearing how recipes turn out in your kitchen. And if something doesn’t work, tell me that too—I’m here to help troubleshoot. Happy cooking! And I hope your kitchen smells half as good as mine does right now.
Pin This Recipe!
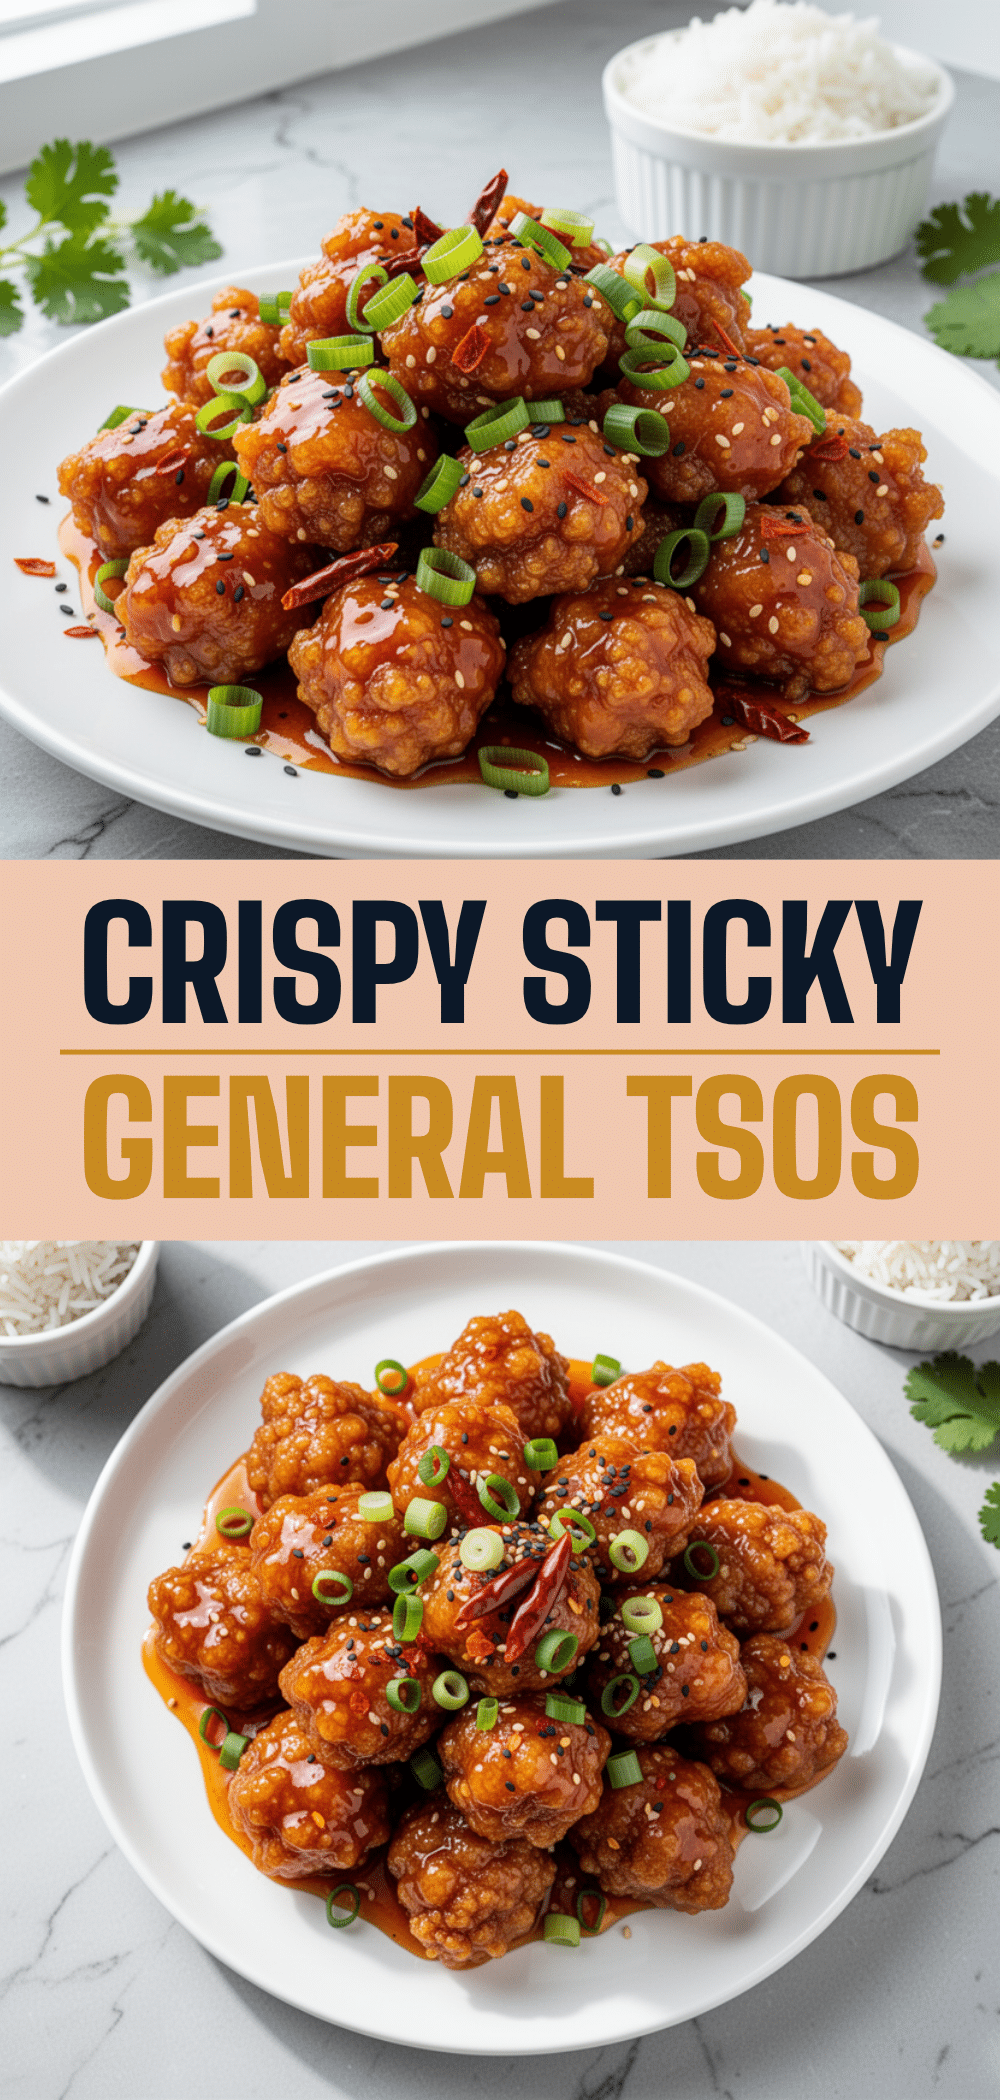
Restaurant-Style General Tsos Chicken: The Best Homemade Recipe
- Total Time: 40 minutes
- Yield: 4 servings 1x
Description
A homemade version of General Tso’s chicken that is shatteringly crispy, perfectly balanced with sweet, spicy, and savory flavors, and ready in under 45 minutes. This recipe uses a double-dredge technique to ensure the coating stays crunchy even after tossing in the sauce.
Ingredients
- 2 pounds boneless, skinless chicken thighs
- 1 large egg
- 1 tablespoon Shaoxing wine (or dry sherry)
- 1 cup cornstarch
- 1 teaspoon salt
- 1/2 teaspoon white pepper
- Vegetable or canola oil for frying
- 1/4 cup unseasoned rice vinegar
- 3 tablespoons low-sodium soy sauce
- 1/2 cup low-sodium chicken broth
- 1/3 cup white granulated sugar
- 1 tablespoon ketchup
- 4 cloves garlic, minced
- 1 tablespoon fresh ginger, minced
- 6–8 whole dried red chilies
- 1 tablespoon cornstarch (for sauce thickening)
Instructions
- Cut chicken thighs into 1.5-inch bite-sized pieces and pat dry with paper towels.
- In a bowl, combine chicken with egg, Shaoxing wine, 1 teaspoon salt, and 1/2 teaspoon white pepper. Toss to coat and marinate for 10-15 minutes.
- Place cornstarch in a shallow bowl. Remove chicken from egg mixture, letting excess drip off, then toss each piece in cornstarch, pressing gently to coat. Shake off excess.
- Optional: Let coated chicken sit on a wire rack for 5 minutes to help the crust adhere.
- Heat 2 inches of neutral oil in a large skillet or wok to 350°F (175°F).
- Fry chicken in batches for 3-4 minutes per batch until golden brown and cooked through (internal temp 165°F). Do not overcrowd the pan.
- Remove chicken to a wire rack set over a baking sheet to drain.
- In a small bowl, whisk together rice vinegar, soy sauce, chicken broth, sugar, ketchup, and 1 teaspoon cornstarch.
- Heat 1 tablespoon oil in a clean wok or skillet over medium heat. Add dried chilies and stir-fry for 30 seconds until fragrant.
- Add minced garlic and ginger; cook for another 30 seconds until aromatic.
- Pour in the sauce mixture and stir constantly for 1-2 minutes until thickened and glossy.
- Add fried chicken to the wok and toss vigorously to coat evenly in the sauce.
- Serve immediately over steamed jasmine rice.
Notes
For extra crispiness, use the double fry method: fry at 325°F for 3 minutes, rest for 5 minutes, then fry again at 375°F for 1-2 minutes. Do not microwave leftovers as it makes the coating soggy; reheat in an air fryer or skillet. The sauce can be made ahead and stored in the fridge for up to 2 days.
- Prep Time: 15 minutes
- Cook Time: 25 minutes
- Category: Main Course
- Cuisine: Chinese
Nutrition
- Serving Size: 1 serving
- Calories: 650
- Sugar: 25
- Sodium: 800
- Fat: 28
- Carbohydrates: 65
- Protein: 35
Keywords: General Tso's chicken, homemade Chinese food, crispy chicken, spicy chicken, takeout copycat, weeknight dinner, Asian recipes


