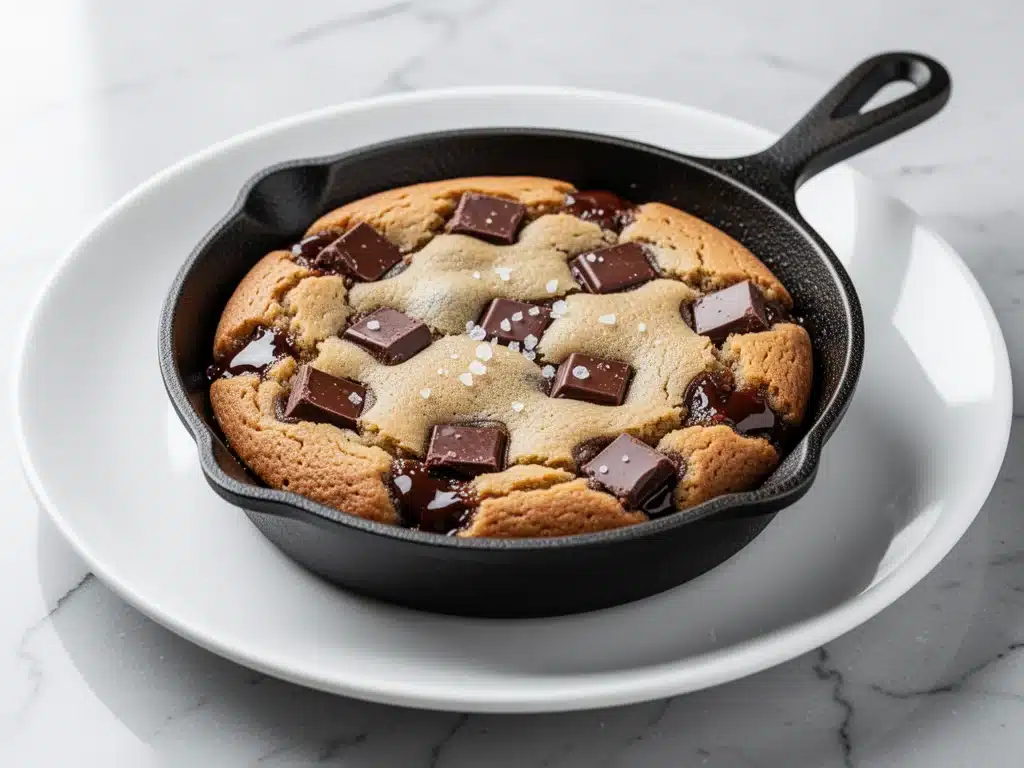
I have a confession to make. I used to think small-batch desserts were a joke. Like, who has time to measure out two tablespoons of butter and worry about whether their oven is actually hot enough for just two cookies? I was a “make a full sheet pan and freeze half” kind of girl. Until last Tuesday.
I was sitting on my couch, scrolling through my phone, craving something sweet but knowing I only had two chocolate chips and a stick of butter left in the house. I didn’t want to order takeout. I didn’t want to bake a full cake. I just wanted a warm, gooey, chocolatey bite that didn’t involve washing a dozen bowls.
So I threw together what I thought would be a sad, sad compromise. I mixed some flour, sugar, and that sad last chocolate chip into a tiny skillet. Five minutes later, the smell hit me. It wasn’t just a cookie. It was a warm, crispy-edged, gooey-centered masterpiece that tasted like it came from a high-end bakery. My partner walked in, saw it, and immediately asked for the recipe. I ate it with a spoon, standing over the stove, feeling like I’d unlocked a secret level of dessert happiness.
That was the moment I fell in love with the Small-Batch Chocolate Chip Skillet Cookie for Two. It’s not just about saving ingredients. It’s about getting that fresh-baked taste without the commitment of a full batch. It’s about having dessert ready in 15 minutes when the craving hits at 9 PM. And honestly? Once you try this method, you’ll never go back to individual cookies again.
I’ve made this skillet cookie at least a dozen times since that Tuesday. I’ve tweaked the butter ratio, tested different types of chocolate, and even tried adding a pinch of sea salt on top (game-changer, by the way). This recipe is my go-to for late-night cravings, romantic nights in, or just when I need a tiny treat that doesn’t leave me with a half-eaten container of cookies staring at me from the fridge for a week.
Why You’ll Love This Recipe
There are a million cookie recipes out there. So why this one? Why the skillet? Why for two? Because this recipe solves the biggest problem with home baking: the leftovers. Or rather, the lack of them when you want more, and the waste when you don’t.
Here’s why this Small-Batch Chocolate Chip Skillet Cookie for Two has taken over my kitchen:
- Zero Waste, Maximum Joy — Seriously. You make exactly what you can eat. No frozen cookies with freezer burn. No “oops, I made too many” guilt. It’s perfect for couples, roommates, or solo bakers who want a treat without the commitment.
- Ready in 15 Minutes — From mixing to eating, it takes less time than it takes to decide what to watch on Netflix. The batter comes together in one bowl, and the skillet goes straight into the oven. No chilling time, no rolling dough balls.
- Crispy Edges, Gooey Center — This is the holy grail of cookie texture. Because it bakes in a skillet, the edges get dangerously crispy and caramelized, while the center stays soft, chewy, and molten. It’s like a brownie and a cookie had a beautiful, delicious baby.
- One Bowl, One Pan — Minimal cleanup. I can’t stress this enough. Mix in a bowl, bake in the skillet, eat from the skillet (with a spoon, no judgment). If you hate doing dishes, this recipe is your new best friend.
- Customizable Any Way You Want — Want to add nuts? Go ahead. Want to swap chocolate chips for white chocolate chunks? Done. Want to add a scoop of ice cream right on top? Absolutely. This skillet cookie is a canvas for your cravings.
This isn’t just a cookie. It’s a mood. It’s comfort food in the truest sense. Warm, sweet, and made just for you (or you and one person). Once you taste it, you’ll understand why I’m making it on repeat.
Ingredients You’ll Need
Here’s the best part: you probably have most of these ingredients already. This isn’t a recipe that requires a special trip to the store. It’s pantry-friendly, simple, and straightforward. But I am particular about a few things, and I’ll tell you exactly why.
For the Dough:
Unsalted butter (2 tablespoons / 28g) — Melted. I use unsalted so I can control the saltiness. If you only have salted, reduce the added salt to a pinch. Don’t use margarine. It changes the texture completely, and we want rich, buttery cookies.
Granulated sugar (2 tablespoons / 25g) — This helps create those crispy edges. Don’t skip it for brown sugar only; the white sugar gives that crunch.
Brown sugar (2 tablespoons / 25g) — Packed. This is what makes the center chewy and soft. If you’re out of brown sugar, you can sub with more white sugar, but you’ll lose some of that molasses depth.
Egg yolk (1 large, about 1 tablespoon) — Just the yolk. The yolk adds richness and moisture without the extra water from the white, which can make cookies cakey. If you’re worried about wasting the white, save it for an omelet later.
Vanilla extract (½ teaspoon) — Pure vanilla, please. I know it’s expensive, but in a recipe this small, artificial vanilla tastes… well, artificial. It’ll ruin the flavor.
All-purpose flour (3 tablespoons / 25g) — Don’t overmeasure! Spoon it into the cup and level it off. Too much flour = dry, tough cookies. I use Gold Medal or King Arthur for consistent results.
Baking powder (⅛ teaspoon) — Just a tiny bit to help it rise slightly. Don’t use baking soda; it needs the chemical reaction from the powder.
Salt (¼ teaspoon) — Enhances the chocolate and balances the sweetness. Use fine sea salt or table salt.
For the Topping:
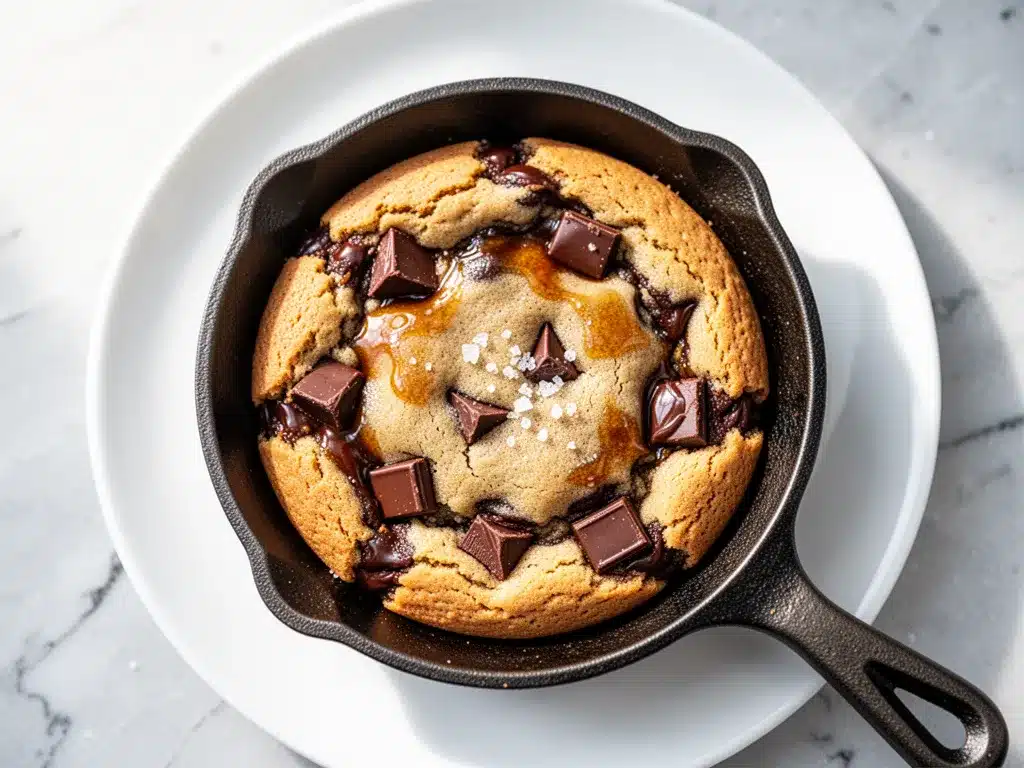
Chocolate chips (2 tablespoons / 30g) — Semi-sweet is my go-to. But feel free to use milk chocolate for sweeter cookies, or dark chocolate for a more intense flavor. I also love mixing chips with chopped chocolate bars for irregular, gooey chunks.
Flaky sea salt (optional, for topping) — A few crystals on top after baking. This sounds weird if you’re not used to it, but sweet + salty is addictive. Maldon salt is the best, but any flaky salt works.
Ice cream (optional, for serving) — Vanilla bean is classic. But chocolate, caramel, or even strawberry works great if you want to switch it up.
Equipment Needed
You don’t need fancy gadgets for this. Here’s what I actually use.
4-inch or 5-inch oven-safe skillet — Cast iron is ideal because it distributes heat evenly and gets those crispy edges. But a small stainless steel or ceramic skillet works too. Just make sure it fits in your oven. If you don’t have a small skillet, you can use a ramekin, but the cooking time might vary slightly.
Small mixing bowl — Any bowl that’s big enough to whisk the butter and sugars together. A 1-cup measuring cup works if you don’t have a bowl handy.
Fork or small whisk — For mixing the dough. You don’t need a mixer for this.
Measuring spoons — Accuracy matters in small-batch baking. A little extra flour goes a long way.
Parchment paper (optional) — I like to line my skillet with a small circle of parchment to prevent sticking and make cleanup even easier. But it’s not strictly necessary if your skillet is well-seasoned.
Spoon — For eating. Obviously. A sturdy spoon that can handle the heat.
How to Make It: Step-by-Step
Alright, let’s make this! I’m walking you through exactly how I do it, including the little tricks I’ve picked up.
Step 1: Preheat and Prep (2 minutes)
Preheat your oven to 375°F (190°C). While it heats, grab your oven-safe skillet. If you’re using parchment, cut a small circle to fit the bottom. This step is crucial because you want the oven hot before the dough goes in.
Step 2: Mix the Wet Ingredients (1 minute)
In your small bowl, melt the butter. I use the microwave in 15-second bursts so it doesn’t boil over. Let it cool for a minute so it doesn’t cook the egg yolk. Then, whisk in the granulated sugar, brown sugar, egg yolk, and vanilla extract. Whisk vigorously for about 30 seconds. The mixture should look glossy and slightly thickened. This step emulsifies the fats and sugars, which helps with texture.
Step 3: Add the Dry Ingredients (1 minute)
Stir in the flour, baking powder, and salt. Mix gently until just combined. Don’t overmix! You want a soft, slightly sticky dough. If it looks too dry, add a teaspoon of milk. If it’s too wet, add a sprinkle more flour. It should hold together when pinched.
Step 4: Assemble in the Skillet (1 minute)
Transfer the dough into your prepared skillet. Use the back of a spoon to press it out evenly, reaching all the corners. It should be about ½ inch thick. Don’t worry if it’s not perfectly smooth; it’ll spread as it bakes.
Step 5: Add Chocolate and Bake (10-12 minutes)
Scatter the chocolate chips evenly over the top. Press them in slightly so they don’t float off. Place the skillet in the preheated oven. Bake for 10-12 minutes. You’ll know it’s done when the edges are golden brown and crispy, and the center looks slightly underbaked (it will continue to cook from residual heat). The center should still be soft and gooey.
Step 6: Cool and Serve (2 minutes)
Remove from the oven and let it cool in the skillet for 2 minutes. This allows it to set slightly so it’s easier to eat. Sprinkle with flaky sea salt if using. Serve warm, directly from the skillet, with a scoop of vanilla ice cream on top if you’re feeling fancy.
Total time: About 15 minutes.
Expert Tips & Tricks
Here’s everything I’ve learned from making this dozens of times. These tips will save you from my mistakes.
Don’t Overbake — This is the #1 mistake. The center should look soft and slightly raw when you take it out. It will firm up as it cools. If you bake it until the center is firm, you’ll get a cakey cookie, not a chewy one. Err on the side of underbaked.
Use Room Temperature Egg Yolk — If your egg yolk is cold, it can seize up the butter. Let it sit out for 10 minutes before using, or gently warm it in your hands.
Chill the Dough (Optional) — If you have time, chill the dough in the fridge for 15 minutes before baking. This helps the flavors meld and prevents the cookie from spreading too thin. But it’s not necessary.
Customize Your Chocolate — Don’t just use chips. Chop up a chocolate bar for irregular chunks. Or mix chips with white chocolate and butterscotch chips for a fun twist. The more variety, the better.
Watch Your Skillet Size — If your skillet is too big, the dough will spread too thin and bake too fast. If it’s too small, it might overflow. A 4-5 inch skillet is perfect for this ratio.
Make it a Dessert Bar — When I have guests, I make two or three of these and set them out with different toppings: caramel sauce, crushed nuts, whipped cream, fresh berries. Everyone picks their favorite.
Variations & Substitutions
Once you’ve nailed the basic version, here’s how you can mix it up. I’ve tried all of these.
Peanut Butter Skillet Cookie — Swap half the butter for creamy peanut butter. Add a drizzle of peanut butter on top before baking. My partner loves this version.
Double Chocolate — Add 1 tablespoon of cocoa powder to the dry ingredients. Use dark chocolate chips. It’s intense and rich.
Maple Walnut — Substitute the vanilla with maple extract. Add 1 tablespoon of chopped walnuts to the dough. Perfect for fall.
Cinnamon Roll Skillet Cookie — Add ½ teaspoon of cinnamon to the dry ingredients. Drizzle with a simple glaze (powdered sugar + milk) after baking. Tastes like a warm cinnamon roll.
Gluten-Free — Use a 1:1 gluten-free flour blend. The texture might be slightly different, but it still works great.
Dairy-Free — Use coconut oil instead of butter, and dairy-free chocolate chips. It’s surprisingly good, though the flavor is slightly different.
Serving & Storage
How to Serve:
I usually serve this straight from the skillet. It looks rustic and stays warm. But here are other ways I’ve enjoyed it:
- With Ice Cream — Vanilla bean is classic. But try cookie dough ice cream for extra cookie flavor.
- With Whipped Cream — Homemade whipped cream is best, but canned works in a pinch.
- With Coffee or Milk — Perfect for dipping. I like dark coffee to balance the sweetness.
Storage:
This cookie is best eaten fresh. If you have leftovers (unlikely, but possible), store them in an airtight container at room temperature for up to 2 days. Reheat in the microwave for 10-15 seconds to soften it up. It won’t be quite as crispy as day one, but it’s still good.
Freezing:
You can freeze the unbaked dough. Scoop it into the skillet, cover tightly with plastic wrap, and freeze. When you’re ready to bake, let it thaw in the fridge overnight, then bake as directed. You might need to add 1-2 minutes to the baking time.
Nutrition Information
I’m not a nutritionist, but here’s the breakdown if you’re tracking. Keep in mind, this is for the whole skillet, divided by two servings.
Per Serving (approximate):
- Calories: 380
- Protein: 5g
- Carbs: 42g
- Fiber: 1g
- Sugar: 28g
- Fat: 22g
- Saturated Fat: 13g
Look, this is a dessert. It’s sweet, it’s rich, and it’s made with butter and sugar. It’s not a health food. But it’s made with simple ingredients, and it’s portion-controlled. When I make this, I savor it. I don’t wolf it down. I enjoy every bite. And that’s what matters.
Final Thoughts
So that’s my Small-Batch Chocolate Chip Skillet Cookie for Two! I’ve probably talked your ear off at this point, but when you make a recipe this often, you have a lot to say about it.
This has saved late-night cravings more times than I can count. It’s my answer to “I want something sweet” when I don’t want to order delivery and don’t want to bake a whole cake. It’s quick, it’s easy, and it tastes incredible. My partner loves it, my friends love it, and I love it because it’s stress-free.
Make it yours! Try different chocolates, add nuts, or top it with ice cream. The best recipes are the ones you adapt to your tastes. If you make this, drop a comment and let me know what you think! I love hearing how recipes turn out in your kitchen. And if something doesn’t work, tell me that too—I’m here to help troubleshoot.
Happy baking! And I hope your kitchen smells half as good as mine does right now.
Frequently Asked Questions
Can I use a different size skillet?
You can, but the baking time will change. If you use a larger skillet, the dough will spread thinner and bake faster (check at 8 minutes). If you use a smaller skillet, it might overflow or take longer. A 4-5 inch skillet is ideal for this ratio.
Why did my cookie turn out cakey?
Usually, this means you overbaked it or added too much flour. Remember, the center should look soft when you take it out. Also, make sure you’re spooning the flour into the measuring cup, not scooping directly from the bag, which packs it down.
Can I make this ahead of time?
You can prep the dough ahead and store it in the fridge for up to 2 days. Just let it come to room temperature before baking, or bake it cold (it might take an extra minute or two). I sometimes prep the dough in the morning and bake it in the evening.
Can I use egg white instead of egg yolk?
I wouldn’t recommend it. The yolk adds richness and moisture. The white adds water and protein, which can make the cookie tougher. If you’re worried about waste, save the white for an omelet or meringue.
What if I don’t have baking powder?
You can skip it, but the cookie won’t rise as much. It’ll be denser, which some people actually prefer. Just know the texture will be slightly different.
Can I double this recipe?
Yes! Just double the ingredients and use a larger skillet (6-8 inch). The baking time will increase by 2-3 minutes. Keep an eye on it.
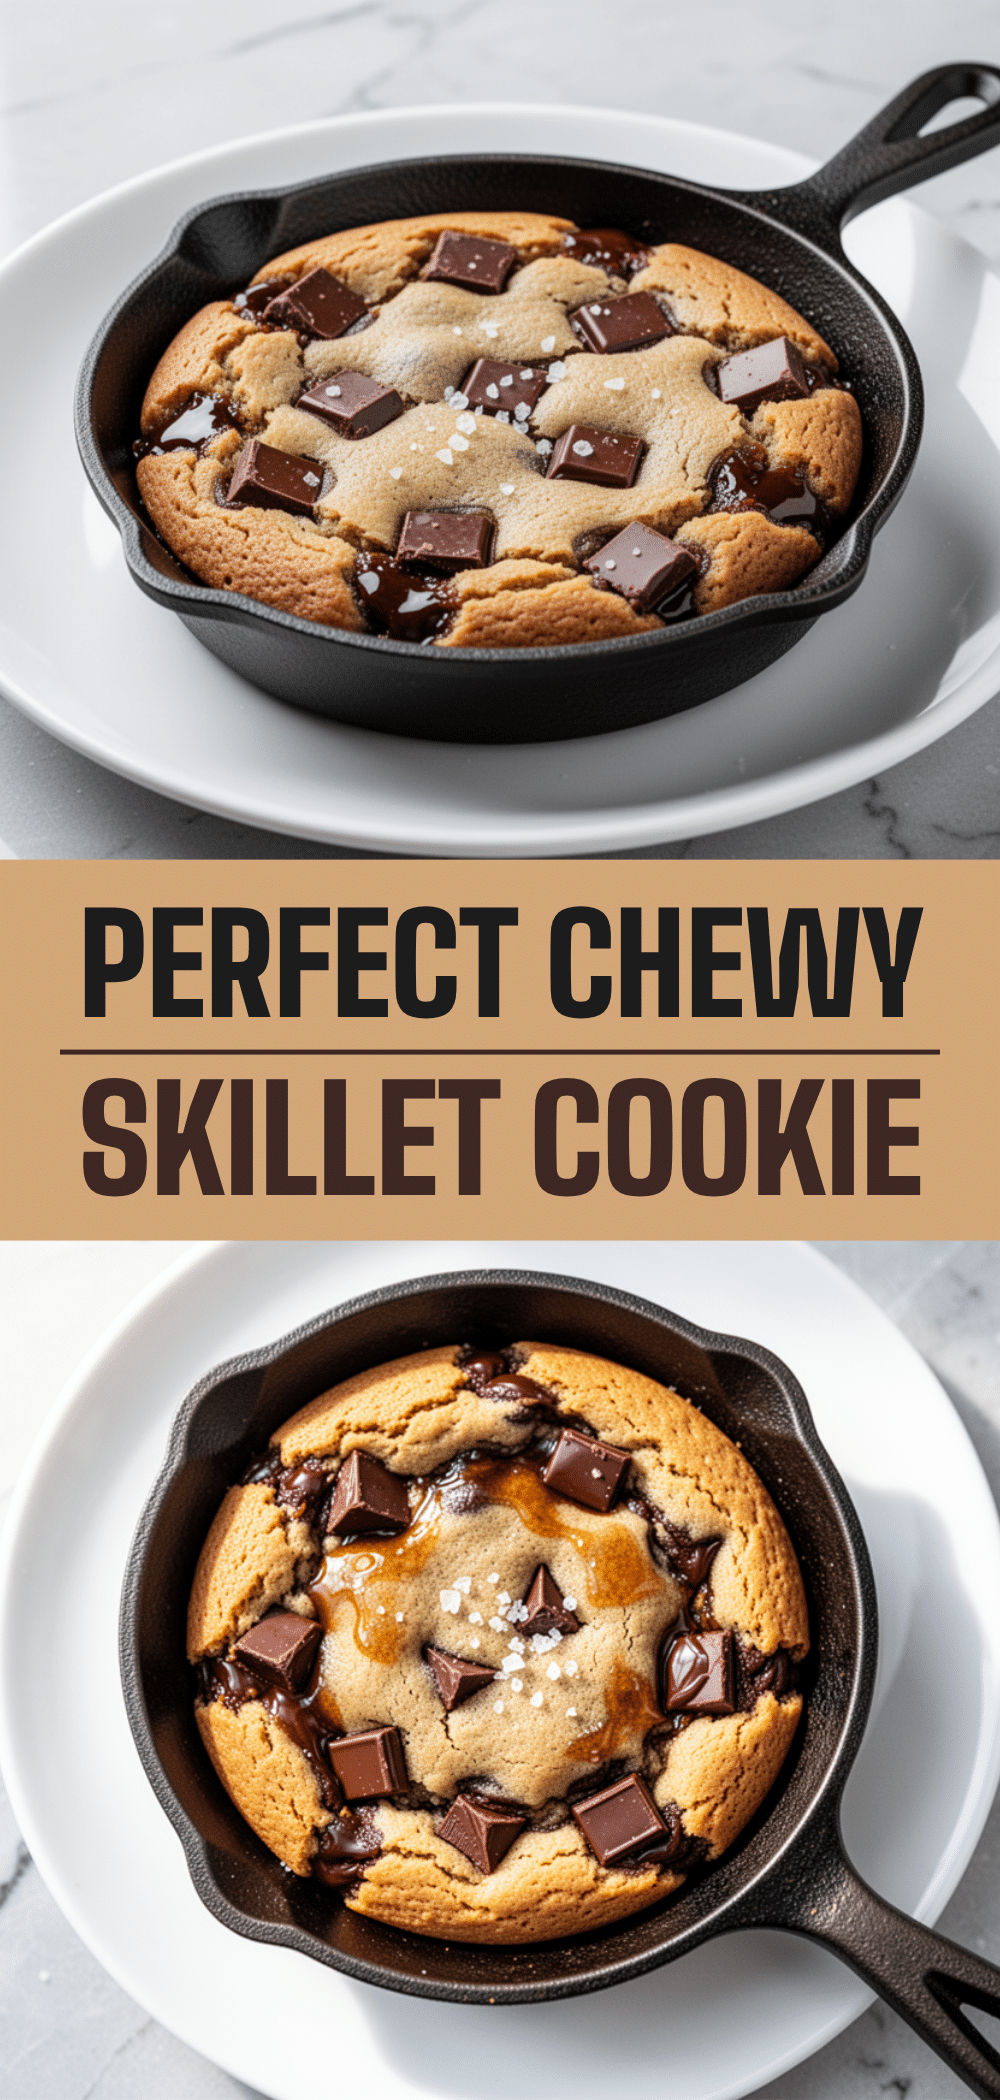
Pin This Recipe!
Small-Batch Chocolate Chip Skillet Cookie for Two
- Total Time: 15 minutes
- Yield: 2 servings 1x
Description
A quick, easy dessert that yields a warm, gooey, chocolate chip skillet cookie perfect for two people, ready in just 15 minutes with minimal cleanup.
Ingredients
- 2 tablespoons (28g) unsalted butter, melted
- 2 tablespoons (25g) granulated sugar
- 2 tablespoons (25g) packed brown sugar
- 1 large egg yolk
- 1/2 teaspoon vanilla extract
- 3 tablespoons (25g) all-purpose flour
- 1/8 teaspoon baking powder
- 1/4 teaspoon salt
- 2 tablespoons (30g) semi-sweet chocolate chips
- Flaky sea salt, optional for topping
- Vanilla ice cream, optional for serving
Instructions
- Preheat oven to 375°F (190°C). If using parchment paper, cut a small circle to fit the bottom of a 4-5 inch oven-safe skillet.
- In a small bowl, melt the butter (microwave in 15-second bursts). Let it cool slightly, then whisk in granulated sugar, brown sugar, egg yolk, and vanilla extract until glossy and thickened.
- Stir in flour, baking powder, and salt until just combined. The dough should be soft and slightly sticky.
- Transfer dough to the prepared skillet and press evenly to about 1/2 inch thickness.
- Scatter chocolate chips over the top and press in slightly.
- Bake for 10-12 minutes until edges are golden brown and crispy, but the center looks slightly underbaked.
- Cool in the skillet for 2 minutes to set. Sprinkle with flaky sea salt if desired.
- Serve warm directly from the skillet, optionally with ice cream.
Notes
Do not overbake; the center should look soft when removed from the oven as it will firm up while cooling. Use room temperature egg yolk to prevent seizing. For gluten-free, use a 1:1 gluten-free flour blend. For dairy-free, substitute butter with coconut oil and use dairy-free chocolate chips.
- Prep Time: 5 minutes
- Cook Time: 10-12 minutes
- Category: Dessert
- Cuisine: American
Nutrition
- Serving Size: 1/2 of the skillet c
- Calories: 380
- Sugar: 28
- Fat: 22
- Saturated Fat: 13
- Carbohydrates: 42
- Fiber: 1
- Protein: 5
Keywords: small batch dessert, skillet cookie, chocolate chip cookie, easy dessert, quick recipes, baking for two, gluten-free option


