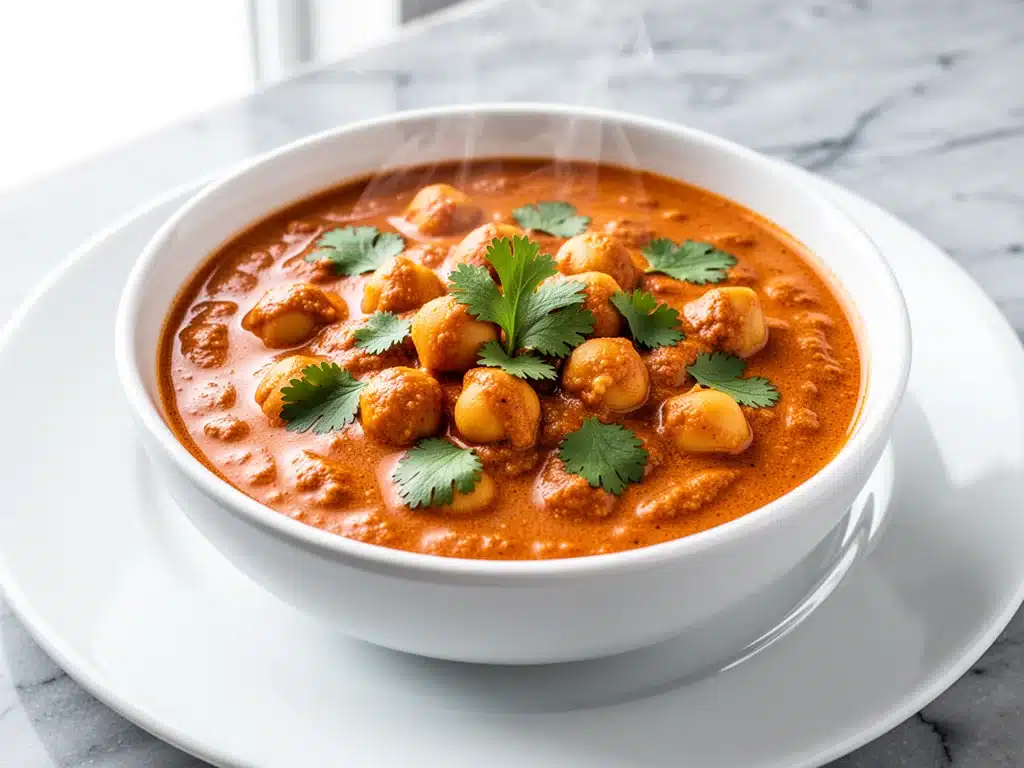
It was 7:15 PM on a Tuesday, and I was staring into the abyss of my pantry. The kind of abyss where you find a half-empty bag of quinoa, three sad carrots, and a can of chickpeas that’s been sitting there since the last time I had the motivation to cook something other than cereal. My husband had just walked in, exhausted from work, and asked the dreaded question: “What’s for dinner?”
I wanted to order takeout. I really did. But we had been trying to eat more plant-based meals lately, and the last thing I wanted was to spend $25 on a takeout container that would be in the trash by morning. So, I did what I always do when I’m desperate: I threw together what I had.
I had chickpeas. I had canned tomatoes. I had some coconut milk in the freezer (leftover from a curry I made months ago). And I had a jar of tikka masala paste. I figured, why not? I dumped it all into a pot, let it simmer, and honestly? I expected mediocrity. Maybe a decent pasta sauce at best.
Thirty minutes later, the smell of cumin, garam masala, and caramelized onions filled the house. It smelled like a restaurant. My husband took one bite, put his phone down, and said, “Okay, this is the new rotation.” That was three months ago. Since then, I’ve made this vegan chickpea tikka masala at least a dozen times. It’s become my secret weapon for busy weeknights when I have zero energy but still want something that tastes like I spent hours on it.
Here’s the thing about restaurant tikka masala: it’s usually loaded with heavy cream, butter, and enough sodium to fill a swimming pool. This version? It’s creamy, rich, and deeply spiced, but it’s made with simple pantry staples. No fancy ingredients you have to drive to three different stores to find. Just real, honest-to-goodness flavor that feeds four people for under $10.
Why You’ll Love This Vegan Chickpea Tikka Masala
I know, I know. “Another chickpea curry?” But hear me out. This isn’t just another recipe. This is the one that finally convinced my non-vegan friends that plant-based food can be indulgent, satisfying, and completely addictive. There are about ten reasons I keep making this, but here are the big ones that matter most.
Stupid Simple
Seriously, if you can chop an onion and open a can, you can make this. I’ve walked my teenage son through it over FaceTime while he was at college. He messaged me an hour later saying, “It actually worked. And it’s good.” That’s the bar I set for easy.
Lightning Fast
From the moment I start chopping to the moment we’re eating, it’s about 30 minutes. Only 10 of those are active cooking. The rest is just simmering. I make this on weeknights when I get home at 7pm, and it’s ready before I’ve even changed out of my work clothes.
Pantry-Friendly
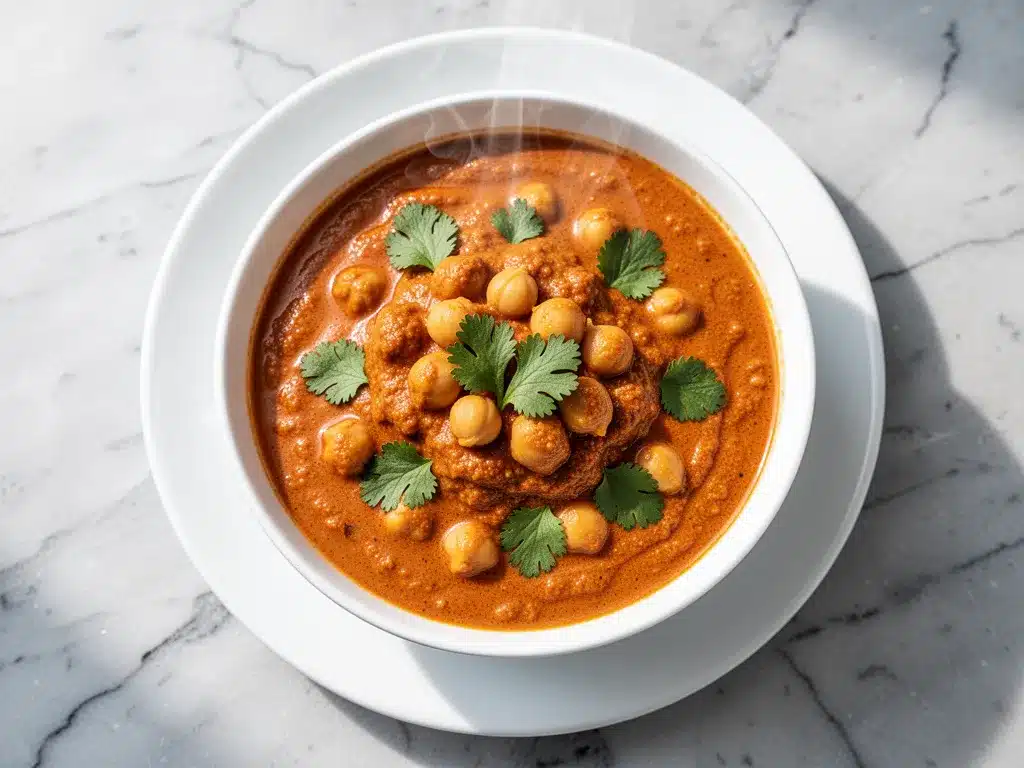
You probably have 80% of these ingredients already. I keep canned chickpeas, coconut milk, and tomato sauce stocked specifically so I can make this on a whim. It’s my “I have nothing else to eat” savior.
Crowd-Pleaser
I’ve served this to my vegetarian sister, my gluten-free neighbor, and my I-only-eat-chicken dad (who didn’t even know it was vegan until I told him). Everyone loved it. The spice level is mild enough for kids but flavorful enough for spice lovers.
Makes Amazing Leftovers
Actually tastes better the next day. The flavors meld together overnight, and the chickpeas soak up all that sauce. I deliberately make extra for lunch throughout the week. It reheats beautifully in the microwave.
Budget-Smart
Feeds 4-6 people for under $15. That’s less than one meal at a fast-food place. Plus, chickpeas are one of the cheapest proteins you can buy. It’s cheap comfort food that doesn’t feel cheap.
This is my go-to when I need dinner to just work. No complicated techniques, no weird ingredients, just reliable, delicious food that makes everyone happy.
Ingredients You’ll Need
Here’s the best part: you probably have most of this already. This looks like a long list, but most of it is pantry basics. I’m particular about three ingredients here, and I’ll tell you exactly why.
For the Base
Olive oil (3 tablespoons / 45ml) — Use good quality here—it makes a difference. I keep both regular and extra virgin; use extra virgin for this because you want that fruity depth.
Yellow onion (1 medium, diced / about 200g) — Sweet onions work too, but yellow gives better depth. White onions are too sharp for this. You want them to caramelize a bit.
Garlic (6 cloves, minced / about 2 tablespoons) — Yes, six cloves. Don’t skimp. Fresh only—no jarred garlic in this recipe. The flavor is just too different.
Ginger (1 tablespoon, freshly grated) — Fresh ginger is non-negotiable. It adds that bright, zesty kick that makes tikka masala taste like tikka masala. Grated ginger from a jar is okay in a pinch, but fresh is better.
For the Flavor
Tikka Masala Paste (3 tablespoons) — I use a store-bought paste like Patak’s or a generic brand. It’s a blend of spices, tomatoes, and aromatics. It saves so much time compared to mixing ten different spices from scratch. If you can’t find it, see the variations section for a DIY spice mix.
Tomato Sauce (1 can, 14.5 oz / 411g) — I use plain crushed tomatoes or tomato passata. Avoid canned tomatoes with added herbs or garlic—keep it plain so you control the flavor.
Coconut Milk (1 can, 13.5 oz / 385g) — Full-fat is crucial here. Light coconut milk won’t give you that rich, creamy texture. Shake the can well before opening. Don’t use coconut water or sweetened coconut milk.
Vegetable Broth (½ cup / 120ml) — I use low-sodium so I can control salt. Homemade broth is great, but store-bought works fine.
Lemon Juice (1 tablespoon) — Just a splash to brighten everything up. It cuts through the richness of the coconut milk.
For the Star
Chickpeas (2 cans, 15 oz each / 850g total) — Drain and rinse them well. I like to keep them whole for texture, but you can mash half of them if you want a thicker sauce. Garbanzo beans are the same thing, just in case you’re confused.
Spinach (2 cups, fresh) — Wilts right in. Easy way to add vegetables. I throw it in at the very end. If you don’t like spinach, kale or Swiss chard work too.
Fresh Cilantro (¼ cup, chopped) — For garnish. It adds a fresh, herbal note that balances the spices. If you hate cilantro (genetic curse, I know), parsley works as a substitute.
Salt and Black Pepper — To taste. Always taste and adjust at the end.
Personal Tips
- Brand recommendations: I always use Goya chickpeas—they’re consistent and easy to find.
- Shopping shortcuts: I buy pre-minced garlic when I’m being lazy, but fresh tastes way better. For ginger, I grate a big batch and freeze it in ice cube trays.
- Substitutions: No coconut milk? Cashew cream works well, but it’s more work. Almond milk is too thin—don’t use it.
- Storage: Chickpeas keep for weeks in the fridge once opened. Store them in a glass jar with water to keep them fresh.
Equipment Needed
You don’t need fancy equipment for this. Here’s what I actually use.
Large Skillet or Dutch Oven — I use a 12-inch skillet. It needs to fit all the ingredients comfortably. My ancient stainless steel pan from college still works fine. A Dutch oven is great if you want to simmer it longer.
Sharp Knife — For chopping onions and garlic. Dull knives make you cry more—learned this the hard way.
Cutting Board — Any size works. I use plastic for easier cleanup.
Wooden Spoon — For stirring. Silicone works too. Don’t use metal on non-stick.
Can Opener — Pretty standard stuff. Dollar store versions work fine.
Measuring Spoons — For the spices. If you eyeball it, that’s fine too, but measuring is more consistent.
Colander — For draining chickpeas. Or just use the lid to drain—I do this when I’m lazy.
Optional but nice:
- Microplane — For grating ginger and garlic quickly. It’s like $3 and makes life easier.
- Lime Squeezer — Makes getting juice from a lime less painful.
How to Make It: Step-by-Step
Alright, let’s make this! I’m walking you through exactly how I do it, including the little tricks I’ve picked up.
Step 1: Prep Your Ingredients (5-8 minutes)
Before you start cooking, chop your onion, mince your garlic, and grate your ginger. I know it seems fussy, but it makes the actual cooking way less stressful. Drain and rinse the chickpeas. Set them aside. Once you start cooking, things move fast.
Step 2: Sauté the Aromatics (5-7 minutes)
Heat olive oil in a large skillet over medium heat. Add the diced onion and cook for 5-6 minutes until it starts to soften and turn translucent. Add the minced garlic and grated ginger. Cook for 1 minute, stirring constantly. The garlic should smell amazing but not brown—browned garlic tastes bitter.
Step 3: Bloom the Spices (1-2 minutes)
Add the tikka masala paste to the pan. Stir it into the onions and garlic for 1-2 minutes. This step is crucial—it “blooms” the spices, releasing their oils and deepening the flavor. If your paste is thick, add a splash of water to help it spread.
Step 4: Build the Sauce (5-6 minutes)
Pour in the tomato sauce and vegetable broth. Stir well to combine with the spice paste. Let it simmer for 5-6 minutes until the sauce thickens slightly. The sauce should coat the back of a spoon. If it’s too thick, add a splash more broth.
Step 5: Add the Chickpeas and Coconut Milk (5 minutes)
Add the drained chickpeas and the entire can of coconut milk. Stir everything together. Let it simmer for 5 minutes on low heat. The chickpeas will heat through and start to absorb the flavors. The sauce will become creamy and glossy.
Step 6: Finish with Greens and Acid (2 minutes)
Stir in the fresh spinach. It will wilt in about 30 seconds. Once wilted, remove the pan from heat. Stir in the lemon juice and taste. Add salt and pepper to taste. The lemon juice is key—it brightens the whole dish.
Step 7: Serve
Serve immediately topped with fresh cilantro and a dollop of vegan yogurt or coconut cream. I usually serve this with basmati rice or naan bread.
Total Time: About 30 minutes (10 minutes active, 20 minutes mostly hands-off)
Built-in Troubleshooting
- Sauce too thick? Add broth or water a little at a time.
- Sauce too thin? Let it simmer longer, or mash some chickpeas against the side of the pan to thicken it.
- Too spicy? Add a splash of coconut milk or a teaspoon of sugar to balance the heat.
- Not spicy enough? Add red pepper flakes or a dash of cayenne.
Expert Tips & Tricks
Here’s everything I’ve learned from making this dozens of times. These tips will save you from my mistakes.
Don’t Skimp on Salt
Your sauce should taste seasoned, not bland. I use about 1 teaspoon salt per can of chickpeas, plus more to taste. Undersalted food tastes flat no matter how good your spices are.
Use Full-Fat Coconut Milk
Light coconut milk will make your sauce watery and thin. Full-fat gives you that rich, restaurant-quality texture. If you’re worried about calories, use half-and-half, but the flavor won’t be as deep.
Blend It for Smoothness
For a smoother, more authentic restaurant texture, blend half the sauce with an immersion blender before adding the chickpeas. This creates a creamy base while keeping some whole chickpeas for texture. I do this about half the time.
Toast Your Spices (If Making from Scratch)
If you make your own spice mix, toast the cumin, coriander, and garam masala in a dry pan for 1 minute before adding oil. It releases more flavor.
Common Mistakes (and how to avoid them)
- Mistake: Sauce is too watery
Fix: Let it simmer longer, or mash some chickpeas. Also, make sure you’re using full-fat coconut milk. - Mistake: Spices taste raw or dusty
Fix: You didn’t bloom them enough. Cook the paste with the onions for a full 2 minutes. - Mistake: Chickpeas are mushy
Fix: Don’t overcook them. Add them in the last 5 minutes just to heat through.
Pro Tricks I’ve Learned
- For Restaurant-Quality Finish: Add a teaspoon of vegan butter at the very end and swirl it in. Makes the sauce glossy and rich.
- For Extra Flavor: Add a pinch of sugar. Tomato sauce can be acidic, and a little sugar balances it perfectly.
- For Better Texture: Let the chickpeas sit in the sauce for 10 minutes after cooking. They absorb more flavor.
Variations & Substitutions
Once you’ve nailed the basic version, here’s how you can mix it up. I’ve tried all of these.
Chicken Tikka Masala Style
Add 2 cups diced cooked chicken when you add the chickpeas. Cook for 5-7 minutes until heated through. My husband prefers this version—makes it more filling.
Vegetable-Loaded
Toss in 1 cup diced sweet potato or cauliflower florets when you add the tomatoes. Simmer for 15-20 minutes until veggies are tender. This is how I get my kids to eat vegetables.
Spicy Version
Add 1 teaspoon red pepper flakes or ½ teaspoon cayenne pepper with the spice paste. Totally different vibe—spicy and bold.
Lighter Version
Use light coconut milk and reduce the oil to 1 tablespoon. It’s thinner but still good. I make this when I’m trying to be “healthy.”
Dietary Modifications
- Gluten-Free: Naturally gluten-free! Just check your tikka masala paste label to be sure.
- Dairy-Free: Naturally dairy-free. This recipe is already vegan.
- Low-Carb: Skip the rice and serve over cauliflower rice. Reduce chickpeas to 1 can.
Different Proteins:
- Paneer (cubed and pan-fried first)
- Lentils (cooked red lentils work great)
- Firm tofu (pressed and cubed)
- Jackfruit (shredded, for a pulled “pork” vibe)
Serving & Storage
How to Serve:
I usually serve this straight from the skillet at the dinner table—it looks rustic and stays warm. But here are other ways I’ve enjoyed it:
Side Dishes:
- Basmati rice (obviously)
- Warm naan bread or pita
- Simple green salad with lemon vinaigrette
- Roasted cauliflower or broccoli
Toppings Bar:
When I have guests, I put out: vegan yogurt, fresh cilantro, red pepper flakes, lime wedges, crispy onions. Everyone customizes their bowl.
Wine Pairing:
Not a wine expert, but my wine-snob friend says Riesling or Pinot Grigio works great with this. The acidity cuts through the richness.
Storage Instructions:
Refrigerator: Store in an airtight container for up to 4 days. The sauce will thicken in the fridge—totally normal.
Reheating: Best method: Add to a skillet with a splash of water or coconut milk over low heat. Stir until heated through and creamy again. Microwave method: Heat in 30-second intervals, stirring between. Add a splash of liquid if it’s too thick.
Freezing: Yes, this freezes well! Store in freezer-safe containers for up to 3 months. Thaw in the fridge overnight and reheat gently. The texture might change slightly, but it’s still delicious.
Pro tip: If leftovers are drying out, stir in a tablespoon of coconut milk when reheating. Brings back that creamy texture.
Nutrition Information
I’m not a nutritionist, but here’s the breakdown if you’re tracking.
Per Serving (based on 6 servings):
- Calories: 320
- Protein: 12g
- Carbs: 42g
- Fiber: 10g
- Sugar: 8g
- Fat: 12g
- Sodium: 450mg
What’s Good:
- High in fiber from chickpeas and spinach
- Good plant-based protein
- Rich in iron and folate
- More filling than it looks
What to Know:
- Higher in calories from coconut milk
- Contains no gluten or dairy
- Moderate sodium (use low-sodium broth to reduce)
My Take:
Look, this is comfort food with coconut milk and spices. It’s not a diet recipe. But it’s way better than takeout, costs less, and I know exactly what’s in it. When I want to make it lighter, I use light coconut milk and load up on vegetables. But usually? I just eat a reasonable portion and enjoy it.
Final Thoughts
So that’s my go-to vegan chickpea tikka masala! I’ve probably talked your ear off at this point, but when you make a recipe this often, you have a lot to say about it.
This has saved weeknight dinners more times than I can count. It’s my answer to “what’s for dinner” when I’m tired, don’t want takeout, and still want something that tastes really good. My family is happy, my guests are happy, and I’m happy because I’m not stressed about cooking.
Make it yours! Try different add-ins, swap in your favorite vegetables, adjust the spice level. The best recipes are the ones you adapt to your family’s tastes.
If you make this, drop a comment and let me know what you think! I love hearing how recipes turn out in your kitchen. And if something doesn’t work, tell me that too—I’m here to help troubleshoot.
Happy cooking! And I hope your kitchen smells half as good as mine does right now.
Frequently Asked Questions
Can I use coconut cream instead of coconut milk?
You can, but it will be much richer and thicker. If you use coconut cream, I recommend adding a splash of water or broth to thin it out. Coconut cream is very concentrated. I’ve used it when I ran out of milk—it works, but you’ll need less of it.
My sauce came out watery—what happened?
Usually means you didn’t let it simmer long enough to thicken, or you used light coconut milk. Let the sauce simmer for a full 10 minutes before adding the chickpeas. If it’s already watery, turn up the heat and let it reduce for another few minutes. Mashing some chickpeas also helps thicken it.
Can I make this ahead for a dinner party?
Absolutely. Make the sauce up to 2 days ahead and store in the fridge. Reheat gently and add the chickpeas and spinach at the end. It actually tastes better the next day because the flavors have melded. I do this all the time for parties.
Why did my sauce get separated?
The heat was too high when you added the coconut milk, which caused the fats to separate. Coconut milk can split if boiled vigorously. Keep the heat low once you add the dairy. If it’s already separated, whisk it vigorously or use an immersion blender to bring it back together.
Can I use jarred garlic and ginger?
You can, but fresh tastes so much better in this recipe. Jarred garlic has a weird metallic taste that really shows up in creamy sauces. If you must use it, use half the amount because it’s stronger. But honestly, mincing 6 cloves and grating a thumb of ginger takes like 2 minutes. Buy pre-peeled garlic cloves if you want to save time.
How do I reheat leftovers without it getting dry?
Add a splash of water or coconut milk to a skillet, add your leftover curry, and heat gently over low heat, stirring frequently. The extra liquid brings back the creamy texture. Microwave sort of works but tends to dry it out. If you do microwave, definitely add a splash of liquid first and heat in short bursts, stirring between.
Can I double this recipe?
Yes! Double everything and use your biggest pot. The cooking times stay mostly the same, but you might need an extra 5 minutes to simmer. I do this when I’m meal-prepping or feeding a crowd. Just make sure your pan is big enough for the sauce—you might need to use two pans or a very large pot.
Pin This Recipe!
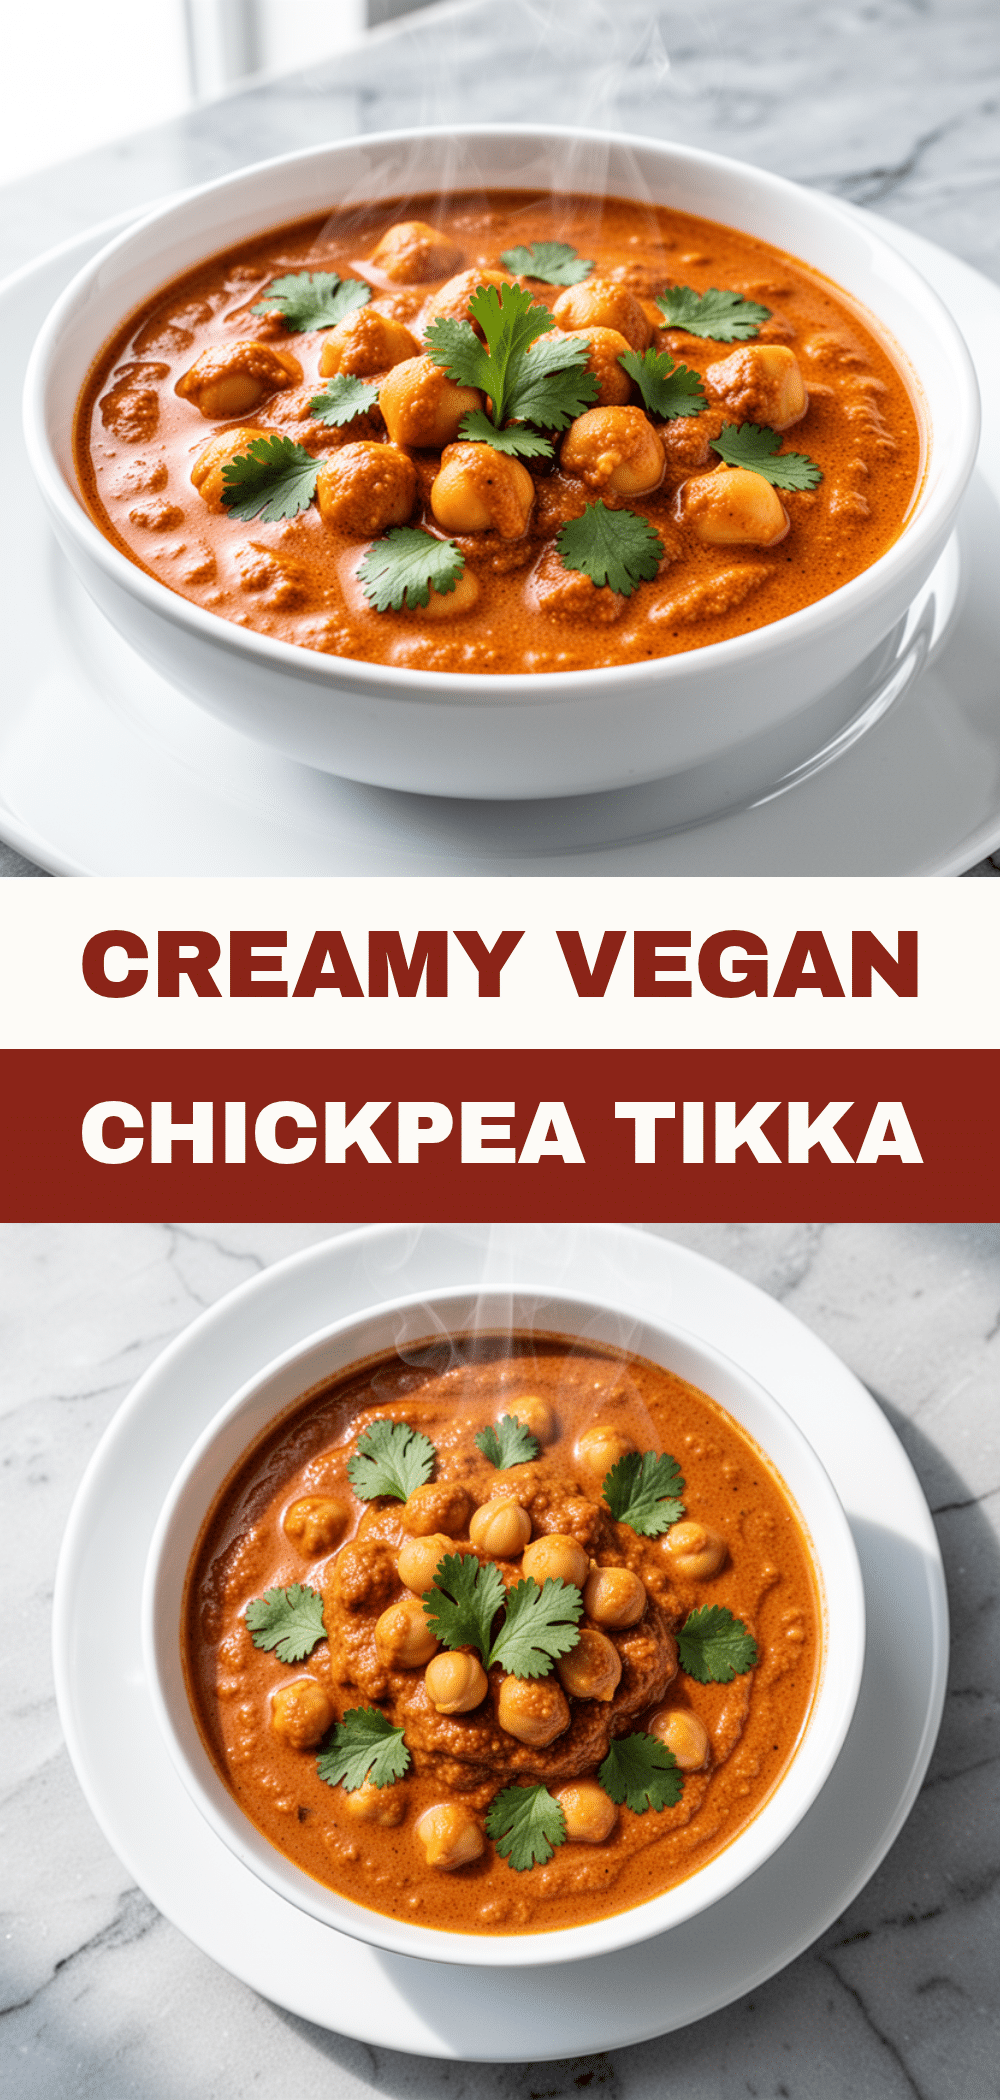
Vegan Chickpea Tikka Masala: Best Easy Weeknight Dinner
- Total Time: 30 minutes
- Yield: 4-6 servings 1x
Description
A creamy, rich, and deeply spiced vegan chickpea tikka masala made with simple pantry staples. This easy weeknight dinner is ready in 30 minutes, feeds 4-6 people, and tastes like restaurant-quality food without the heavy cream or high cost.
Ingredients
- 3 tablespoons olive oil (extra virgin recommended)
- 1 medium yellow onion, diced
- 6 cloves garlic, minced
- 1 tablespoon fresh ginger, grated
- 3 tablespoons tikka masala paste
- 1 can (14.5 oz) plain crushed tomatoes or tomato passata
- 1 can (13.5 oz) full-fat coconut milk, shaken well
- 1/2 cup low-sodium vegetable broth
- 2 cans (15 oz each) chickpeas, drained and rinsed
- 2 cups fresh spinach
- 1 tablespoon lemon juice
- Salt and black pepper to taste
- Fresh cilantro for garnish
Instructions
- Prep ingredients: Chop onion, mince garlic, grate ginger, and drain/rinse chickpeas.
- Heat olive oil in a large skillet over medium heat. Add diced onion and cook for 5-6 minutes until softened and translucent.
- Add minced garlic and grated ginger; cook for 1 minute, stirring constantly, until fragrant but not browned.
- Add tikka masala paste and stir into the aromatics for 1-2 minutes to bloom the spices. Add a splash of water if the paste is thick.
- Pour in tomato sauce and vegetable broth. Stir to combine and simmer for 5-6 minutes until the sauce thickens slightly.
- Add drained chickpeas and the entire can of coconut milk. Stir and simmer on low heat for 5 minutes until chickpeas are heated through and sauce is creamy.
- Stir in fresh spinach and cook until wilted (about 30 seconds). Remove from heat.
- Stir in lemon juice and season with salt and pepper to taste.
- Serve immediately topped with fresh cilantro, vegan yogurt, or coconut cream. Pair with basmati rice or naan bread.
Notes
[‘Use full-fat coconut milk for a rich, creamy texture; light coconut milk will result in a watery sauce.’, ‘Fresh garlic and ginger are preferred over jarred versions for better flavor.’, ‘For a smoother sauce, blend half the mixture with an immersion blender before adding chickpeas.’, ‘The dish tastes better the next day as flavors meld. Reheat gently with a splash of water or coconut milk to maintain creaminess.’, ‘Can be frozen for up to 3 months.’]
- Prep Time: 10 minutes
- Cook Time: 20 minutes
- Category: Main Course
- Cuisine: Indian
Nutrition
- Serving Size: Approximately 1.5 to
- Calories: 320
- Sugar: 8
- Sodium: 450
- Fat: 12
- Saturated Fat: 8
- Carbohydrates: 42
- Fiber: 10
- Protein: 12
Keywords: vegan, chickpea tikka masala, easy weeknight dinner, plant-based, gluten-free, dairy-free, curry, budget-friendly, meal prep


