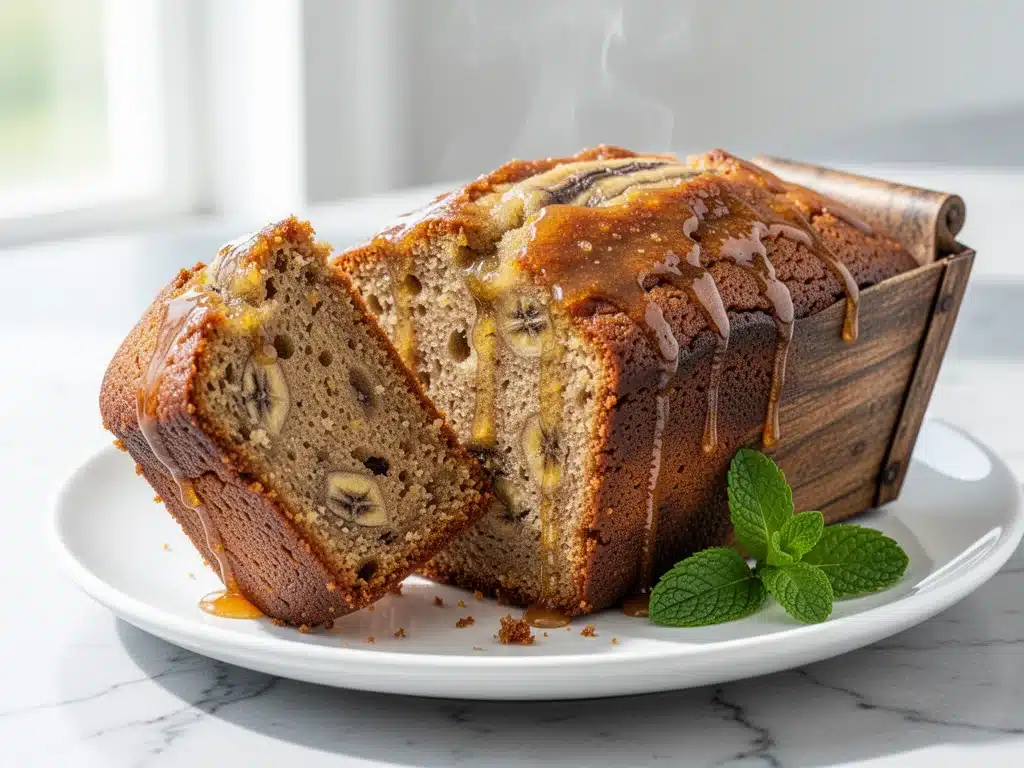
There was a period in my life—roughly three years ago—when I was convinced that baking was a scam. You buy the ingredients, you spend an hour mixing, you wait for it to bake, and then you eat it. It’s fine. It’s okay. But it never quite matched the memory of that dense, dark, impossibly moist loaf my aunt made on rainy Sundays. You know the kind. The kind that sticks to the roof of your mouth in the best way possible and tastes like comfort wrapped in a sugar-coated hug.
So, I tried every recipe online. I bought the fancy vanilla extract. I weighed my flour like a scientist. I even bought a fancy thermometer for my oven. And what did I get? Dry, crumbly disappointment. Every. Single. Time. I was ready to throw in the towel. I was ready to just buy the plastic-wrapped loaf from the grocery store, even though I knew it tasted like cardboard and preservatives.
Then, I made one tiny change. Just one. I stopped treating the butter like a background character and started treating it like the star. I browned it. I let it sizzle until it smelled like toasted nuts and caramel. And when I mixed that into the batter, something magical happened. The flavor deepened. The moisture increased. The texture became something I’d never achieved before.
That was the day I discovered that Ultra-Moist Banana Bread with Brown Butter Glaze isn’t just a recipe. It’s a revelation. I’ve made this loaf at least twenty times since then. I’ve made it for potlucks where people asked for the secret. I’ve made it when I was sad and needed something sweet. I’ve made it when I had three overripe bananas staring at me from the counter, daring me to use them. And every single time, it comes out perfect. Dense, tender, and absolutely dripping with that nutty, golden glaze.
If you’ve been struggling with dry banana bread, or if you just want to impress your neighbors with the smell of a bakery coming from your kitchen, you need to try this. It’s not complicated. It doesn’t require fancy skills. But it does require patience with the butter. And trust me, that patience pays off in every single bite.
Why You’ll Love This Banana Bread Recipe
I’ve been making banana bread for over a decade, and I’ve learned that most recipes skip the details that actually matter. They tell you to mix it and bake it, but they don’t tell you why yours turns out dry while theirs stays moist for days. Here’s why this Ultra-Moist Banana Bread with Brown Butter Glaze is the only one you’ll ever need to make again.
- It Actually Stays Moist — Seriously. I’ve eaten this bread on day four, and it was still tender. Most banana breads turn into bricks by day two. This one? It stays soft because of the brown butter and the extra yolk. It’s a game-changer.
- The Glaze is Non-Negotiable — I know, I know. You can skip the glaze if you want. But don’t. That brown butter glaze isn’t just sugar and butter. It’s toasted nutty goodness that soaks into the top crust and creates this amazing contrast between crisp and soft. It’s the best part.
- Uses Those Ugly Bananas — We’ve all been there. You buy bananas for smoothies, they turn black, and you toss them. Not anymore. This recipe thrives on overripe, spotted, almost-black bananas. The riper, the better. It’s the perfect way to stop food waste.
- It’s Foolproof — I’ve made this for my novice sister, my college-age nephew, and my friend who burns water. Everyone nailed it. The instructions are clear, the timing is reliable, and the margin for error is huge. You can’t mess this up.
- Smells Incredible — Your house will smell like a high-end bakery. The brown butter smells nutty and rich, and when the bananas bake into it, the whole neighborhood knows. I’ve had people stop by uninvited because they smelled it through the window. (Just kidding. But not really.)
- Great for Gifting — Wrapped in foil and tied with a ribbon, this loaf makes an amazing gift. It keeps well, it looks beautiful, and it tastes better than anything you can buy at a store. I’ve given it as housewarming gifts, birthday presents, and just-because treats. Everyone loves it.
This is my go-to when I need to feel like a good baker, or when I need to cheer someone up. It’s reliable, delicious, and makes everyone happy. No stress, no fuss, just amazing bread.
Ingredients You’ll Need for Ultra-Moist Banana Bread
Here’s the best part: you probably have most of these ingredients already. This isn’t a recipe that requires a special trip to the store for obscure items. It’s built on pantry staples that you likely already love.
For the Bread
Unsalted butter (½ cup / 113g) — This is the star. You’re going to brown it, so start with good quality butter. If you use salted butter, reduce the added salt in the recipe. I use European-style butter when I can find it because it has a higher fat content, which makes the brown butter even richer.
Overripe bananas (3 large, about 1½ cups mashed / ~340g) — Look for bananas that are mostly black on the peel. They should be soft to the touch. If they’re not ripe enough, bake them in the oven at 300°F for 15 minutes until the skins turn black. The riper they are, the sweeter and more flavorful the bread will be.
Granulated sugar (½ cup / 100g) — This adds sweetness and helps with the moisture. I’ve tried using all brown sugar, but it makes the bread too dense. Half white, half brown is the sweet spot, but I stick to all white for this specific texture.
Light brown sugar (½ cup / 110g) — This adds a deeper, molasses-like flavor that pairs perfectly with the banana. Don’t skip this. It’s what gives the bread its rich color.
Large egg (1) — Standard large egg. Room temperature is best, but cold works if you’re in a hurry. Just make sure it’s well-beaten before adding.
Extra egg yolk (1) — This is the secret weapon. The extra yolk adds fat and richness, which contributes to that ultra-moist texture. It makes the crumb tender and dense, not airy.
Vanilla extract (1 teaspoon) — Use real vanilla, not imitation. It makes a noticeable difference in flavor. I keep a bottle of Nielsen-Massey on hand because it’s consistent.
All-purpose flour (1¾ cups / 220g) — Don’t use cake flour or bread flour. All-purpose is perfect here. Spoon it into the measuring cup and level it off. Don’t scoop directly from the bag, or you’ll pack it down and get dry bread.
Baking soda (1 teaspoon) — This is what makes the bread rise. Make sure it’s fresh. If it’s old, it won’t work, and you’ll end up with a flat brick.
Salt (½ teaspoon) — Even though you’re making sweet bread, salt is crucial. It balances the sweetness and enhances the banana flavor. Don’t skip it.
Walnuts or pecans (½ cup, chopped / optional) — I love adding nuts for crunch. Walnuts are traditional, but pecans are delicious too. If you’re not a nut person, you can skip them, but I highly recommend keeping them in.
For the Brown Butter Glaze
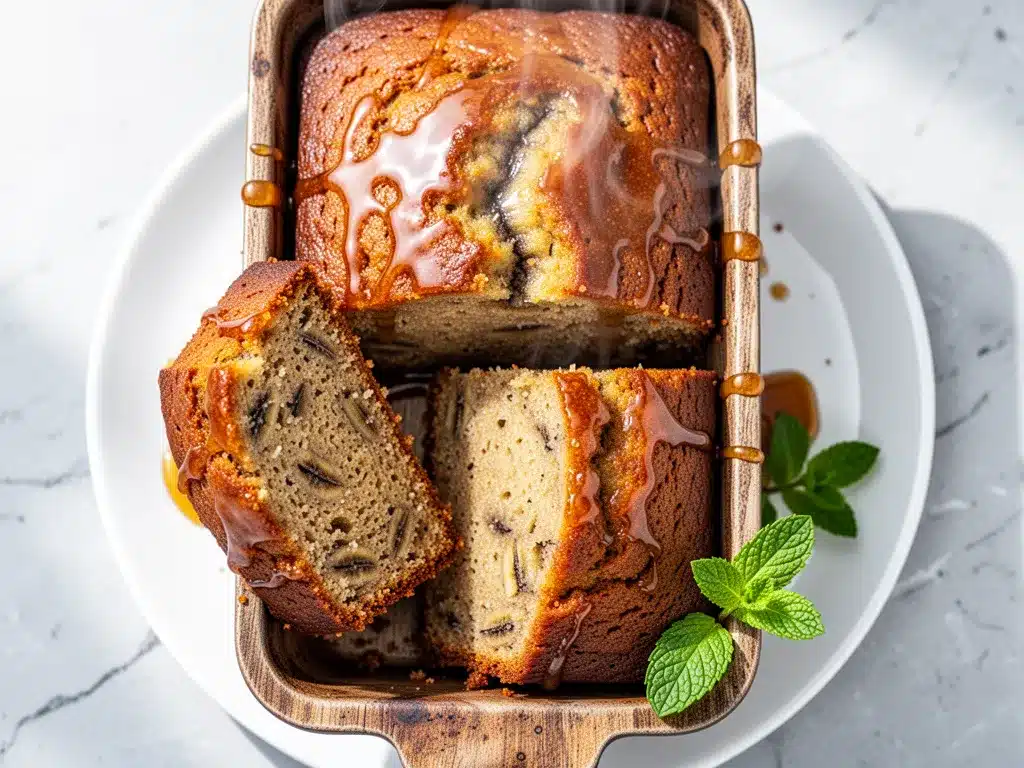
Unsalted butter (¼ cup / 57g) — Again, good quality butter. You’ll brown this separately for the glaze.
Powdered sugar (1 cup / 120g) — Sifted. This prevents lumps in your glaze. If you don’t sift, you’ll get gritty sugar chunks, and that’s no fun.
Milk or heavy cream (1-2 tablespoons) — Use enough to get the consistency you want. I prefer a thick glaze that sits on top, so I usually use 1 tablespoon. If you like a thinner glaze that soaks in, use 2 tablespoons.
Vanilla extract (½ teaspoon) — For flavor. Keep it simple.
Salt (a pinch) — Just a tiny pinch to balance the sweetness.
Equipment Needed
You don’t need fancy equipment for this. Here’s what I actually use in my kitchen.
9×5 inch loaf pan — This is the standard size. Make sure it’s a light-colored metal pan. Dark pans absorb more heat and can burn the bottom. Glass or ceramic pans work too, but you’ll need to lower the oven temperature by 25°F.
Mixing bowls — One large bowl for the wet ingredients, one medium for the dry. I use glass bowls because I can see how much I’ve mixed.
Whisk — For beating the eggs and sugars. A wire whisk is best because it incorporates air.
Fork or potato masher — To mash the bananas. I prefer a fork because it gives me better control over the texture. I like some small chunks, not completely smooth.
Small saucepan — For browning the butter. A light-colored pan is best so you can see the color change. Stainless steel or aluminum works great.
Spatula — A silicone spatula is essential for scraping the bowl and folding in the flour. It ensures you don’t overmix.
Wire cooling rack — Let the bread cool completely before glazing. If you glaze it while it’s warm, the glaze will melt and slide off.
Pastry brush — Optional, but nice for brushing any excess glaze over the top for a shiny finish.
How to Make It: Step-by-Step
Alright, let’s make this! I’m walking you through exactly how I do it, including the little tricks I’ve picked up over the years. This process is straightforward, but each step matters.
Step 1: Prep Your Pan and Oven (5 minutes)
Preheat your oven to 350°F (175°C). Grease your 9×5 inch loaf pan generously with butter or non-stick spray. I like to line the bottom with parchment paper for easy removal, but it’s not strictly necessary. Just make sure the sides are well-greased so the bread doesn’t stick.
Step 2: Brown the Butter (5-7 minutes)
This is the most important step. Melt the ½ cup of butter in a small saucepan over medium heat. Stir constantly. You’ll see it foam up. Then, the foam will subside, and you’ll start to see little brown bits at the bottom. The smell will change from melted butter to toasted nuts. This takes about 5-7 minutes. Once it smells nutty and looks like amber, remove it from the heat immediately and pour it into a heatproof bowl. This stops the cooking. Let it cool for 10 minutes. It should be warm, not hot.
Step 3: Mash the Bananas (2 minutes)
In a large bowl, mash the ripe bananas with a fork. You want them mostly smooth, but a few small chunks are fine. Stir in the melted brown butter. It will look a bit separated, but that’s okay. Add the granulated sugar, brown sugar, egg, egg yolk, and vanilla. Whisk everything together until it’s well combined. The mixture will be thick and fragrant.
Step 4: Mix the Dry Ingredients (2 minutes)
In a separate medium bowl, whisk together the flour, baking soda, and salt. Make sure there are no clumps. This ensures even distribution of the leavening agent.
Step 5: Combine Wet and Dry (3 minutes)
Pour the dry ingredients into the wet ingredients. Gently fold them together with a spatula. Stop as soon as you no longer see streaks of flour. Overmixing is the enemy of moist banana bread. If you mix too much, you develop gluten, and the bread becomes tough. I usually do about 10-12 folds. If there are a few tiny lumps, leave them. It’s fine.
Step 6: Add Nuts and Bake (55-60 minutes)
If you’re using nuts, fold them in now. Pour the batter into your prepared loaf pan. Smooth the top with a spatula. Bake for 55-60 minutes. Check it at 50 minutes. If the top is browning too quickly, tent it with aluminum foil. The bread is done when a toothpick inserted into the center comes out clean or with just a few moist crumbs. It should not be wet batter.
Step 7: Cool Completely (1 hour)
Let the bread cool in the pan for 10 minutes, then turn it out onto a wire rack. Let it cool completely. This is crucial. If you glaze it while it’s warm, the glaze will melt and run off. Patience is key here.
Step 8: Make the Glaze (5 minutes)
While the bread cools, make the glaze. Melt the ¼ cup of butter in a small saucepan over medium heat, just like before. Brown it until it smells nutty. Remove from heat and let it cool slightly. In a small bowl, whisk the powdered sugar, milk, vanilla, and salt. Add the browned butter gradually, whisking until smooth. The glaze should be thick but pourable.
Step 9: Glaze and Serve
Drizzle the glaze over the cooled bread. Let it set for 10 minutes before slicing. Slice thickly for the best experience. Serve with a cup of coffee or tea.
Expert Tips & Tricks
Here’s everything I’ve learned from making this dozens of times. These tips will save you from my mistakes.
Don’t Skimp on the Bananas
The riper, the better. Black peels are ideal. If your bananas are only yellow with a few spots, they won’t be sweet enough. You’ll end up with bland bread. I keep a bag of ripe bananas in the fridge once they’re perfect. The skins turn black, but the fruit inside stays firm and sweet.
Listen to the Butter
When browning butter, listen for the crackling sound to stop. That’s when the milk solids are browning. If you hear a loud sizzle, it’s still foaming. If it’s quiet, it’s browning. And if it starts to smoke, you’ve gone too far. It will taste bitter. Start early so you’re not rushing at the end.
Don’t Overmix
I can’t stress this enough. Overmixing leads to tough bread. Mix until just combined. It’s okay if there are a few lumps. The bread will even out during baking.
Test for Doneness
The toothpick test is your friend. But also, look at the edges. They should pull away from the sides of the pan. And the top should spring back when you press it lightly.
Cool Completely
I know it’s hard to wait. But warm bread + glaze = mess. Let it cool on a rack for at least an hour. The structure sets as it cools, and the glaze adheres better.
Storage is Key
Store leftover bread in an airtight container at room temperature for up to 3 days. For longer storage, wrap it tightly in plastic wrap and freeze it for up to 3 months. Thaw at room temperature before eating.
Variations & Substitutions
Once you’ve nailed the basic version, here’s how you can mix it up. I’ve tried all of these.
Chocolate Chip Banana Bread
Add 1 cup of semi-sweet chocolate chips to the batter. Fold them in gently. This is a crowd-pleaser, especially with kids.
Spiced Banana Bread
Add 1 teaspoon of cinnamon, ½ teaspoon of nutmeg, and a pinch of ginger to the dry ingredients. It adds a warm, cozy flavor that’s perfect for fall.
Gluten-Free Version
Use a 1:1 gluten-free flour blend. Make sure it contains xanthan gum, or add ½ teaspoon yourself. The texture will be slightly different, but still moist and delicious.
Dairy-Free Option
Replace the butter with coconut oil or vegan butter. For the glaze, use vegan butter and coconut cream. It won’t taste exactly like the original, but it’s still good.
Whole Wheat Variation
Substitute half of the all-purpose flour with whole wheat flour. This adds fiber and a nuttier flavor. Don’t use 100% whole wheat, or it will be too dense.
Maple Glaze
Replace the milk in the glaze with pure maple syrup. It adds a rich, autumnal flavor that pairs beautifully with the banana.
Serving & Storage
How to serve and store your Ultra-Moist Banana Bread with Brown Butter Glaze for maximum enjoyment.
How to Serve
I usually serve this bread thickly sliced, about ¾ inch thick. It’s substantial enough to be a snack or a light breakfast. Pair it with a hot cup of coffee, tea, or hot chocolate. It’s also great with a dollop of whipped cream or a scoop of vanilla ice cream for dessert.
Side Dishes
This bread is rich on its own, so it doesn’t need much else. But if you want sides, try:
- Fresh fruit salad (berries, melon, etc.)
- A simple green salad with vinaigrette
- Yogurt with honey and granola
Storage Instructions
Room Temperature: Store in an airtight container for up to 3 days. The glaze will soften, but the bread stays moist.
Refrigerator: I don’t recommend refrigerating banana bread. It tends to dry out faster in the fridge. But if you live in a hot, humid climate, you can refrigerate it for up to 5 days. Let it come to room temperature before eating.
Freezer: Wrap the whole loaf or individual slices tightly in plastic wrap, then in aluminum foil. Freeze for up to 3 months. Thaw at room temperature for 2-3 hours. You can also warm slices in the microwave for 30 seconds.
Reheating
If you’re eating cold bread from the fridge, warm it up! Microwave for 20-30 seconds, or toast it lightly in a toaster oven. It brings back the freshness and makes the glaze slightly gooey.
Nutrition Information
I’m not a nutritionist, but here’s the breakdown if you’re tracking. This is per slice (1/10 of the loaf).
| Nutrient | Amount |
|---|---|
| Calories | 280 |
| Total Fat | 12g |
| Saturated Fat | 7g |
| Cholesterol | 55mg |
| Sodium | 220mg |
| Total Carbs | 40g |
| Dietary Fiber | 2g |
| Sugars | 26g |
| Protein | 3g |
Look, this is a treat. It’s sweet, it’s rich, and it’s delicious. It’s not a health food. But it’s better than store-bought, and it’s made with real ingredients. When I make it, I enjoy a slice or two and move on. It’s about balance and enjoyment.
Final Thoughts
So that’s my Ultra-Moist Banana Bread with Brown Butter Glaze! I’ve probably talked your ear off at this point, but when you make a recipe this often, you have a lot to say about it.
This bread has saved my breakfasts, my afternoons, and my social life. It’s my answer to “what can I bring to the party?” or “what can I give as a gift?” It’s reliable, it’s delicious, and it makes everyone happy. My family begs for it. My friends ask for the recipe. And I love every minute of making it.
Make it yours! Try different nuts, add chocolate chips, or swap the glaze for a maple drizzle. The best recipes are the ones you adapt to your tastes. And if you make this, drop a comment and let me know what you think! I love hearing how recipes turn out in your kitchen. And if something doesn’t work, tell me that too—I’m here to help troubleshoot.
Happy baking! And I hope your kitchen smells half as good as mine does right now.
Frequently Asked Questions
Can I use frozen bananas?
Yes! Frozen bananas work great. Just thaw them completely and drain any excess liquid before mashing. The texture will be even softer, which is perfect for this recipe. I actually prefer frozen bananas because they’re always ripe.
Why did my banana bread turn out dense?
This usually happens for two reasons: overmixing the batter or using old baking soda. Make sure you mix until just combined. Also, check the expiration date on your baking soda. If it’s old, it won’t leaven properly. Another reason could be too much flour. Always spoon and level your flour, don’t scoop.
Can I make this ahead of time?
Absolutely. Bake the bread a day ahead and store it in an airtight container. Glaze it right before serving. This actually helps the flavors meld together. I often bake it on Sunday and serve it for breakfast all week.
How do I know when the brown butter is done?
It smells like toasted nuts. Visually, the milk solids will turn golden brown at the bottom of the pan. The foam will subside. If it smells like burnt popcorn, you’ve gone too far. Remove it from the heat immediately when you smell the nuts.
Can I use honey instead of sugar?
You can, but it will change the texture. Honey is liquid, so you’ll need to reduce the other liquids slightly. Also, honey browns faster, so keep an eye on the oven. I prefer granulated sugar for this specific recipe because it creates a better crust.
Why is my glaze too runny?
You probably added too much milk. Add more powdered sugar, one tablespoon at a time, until it reaches your desired consistency. If it’s too thick, add a few more drops of milk.
Can I bake this in a muffin tin?
Yes! Reduce the baking time to 18-22 minutes. Check them at 15 minutes. They’ll bake faster because of the smaller size. This is a great way to make individual portions for gifts or lunches.
Pin This Recipe!
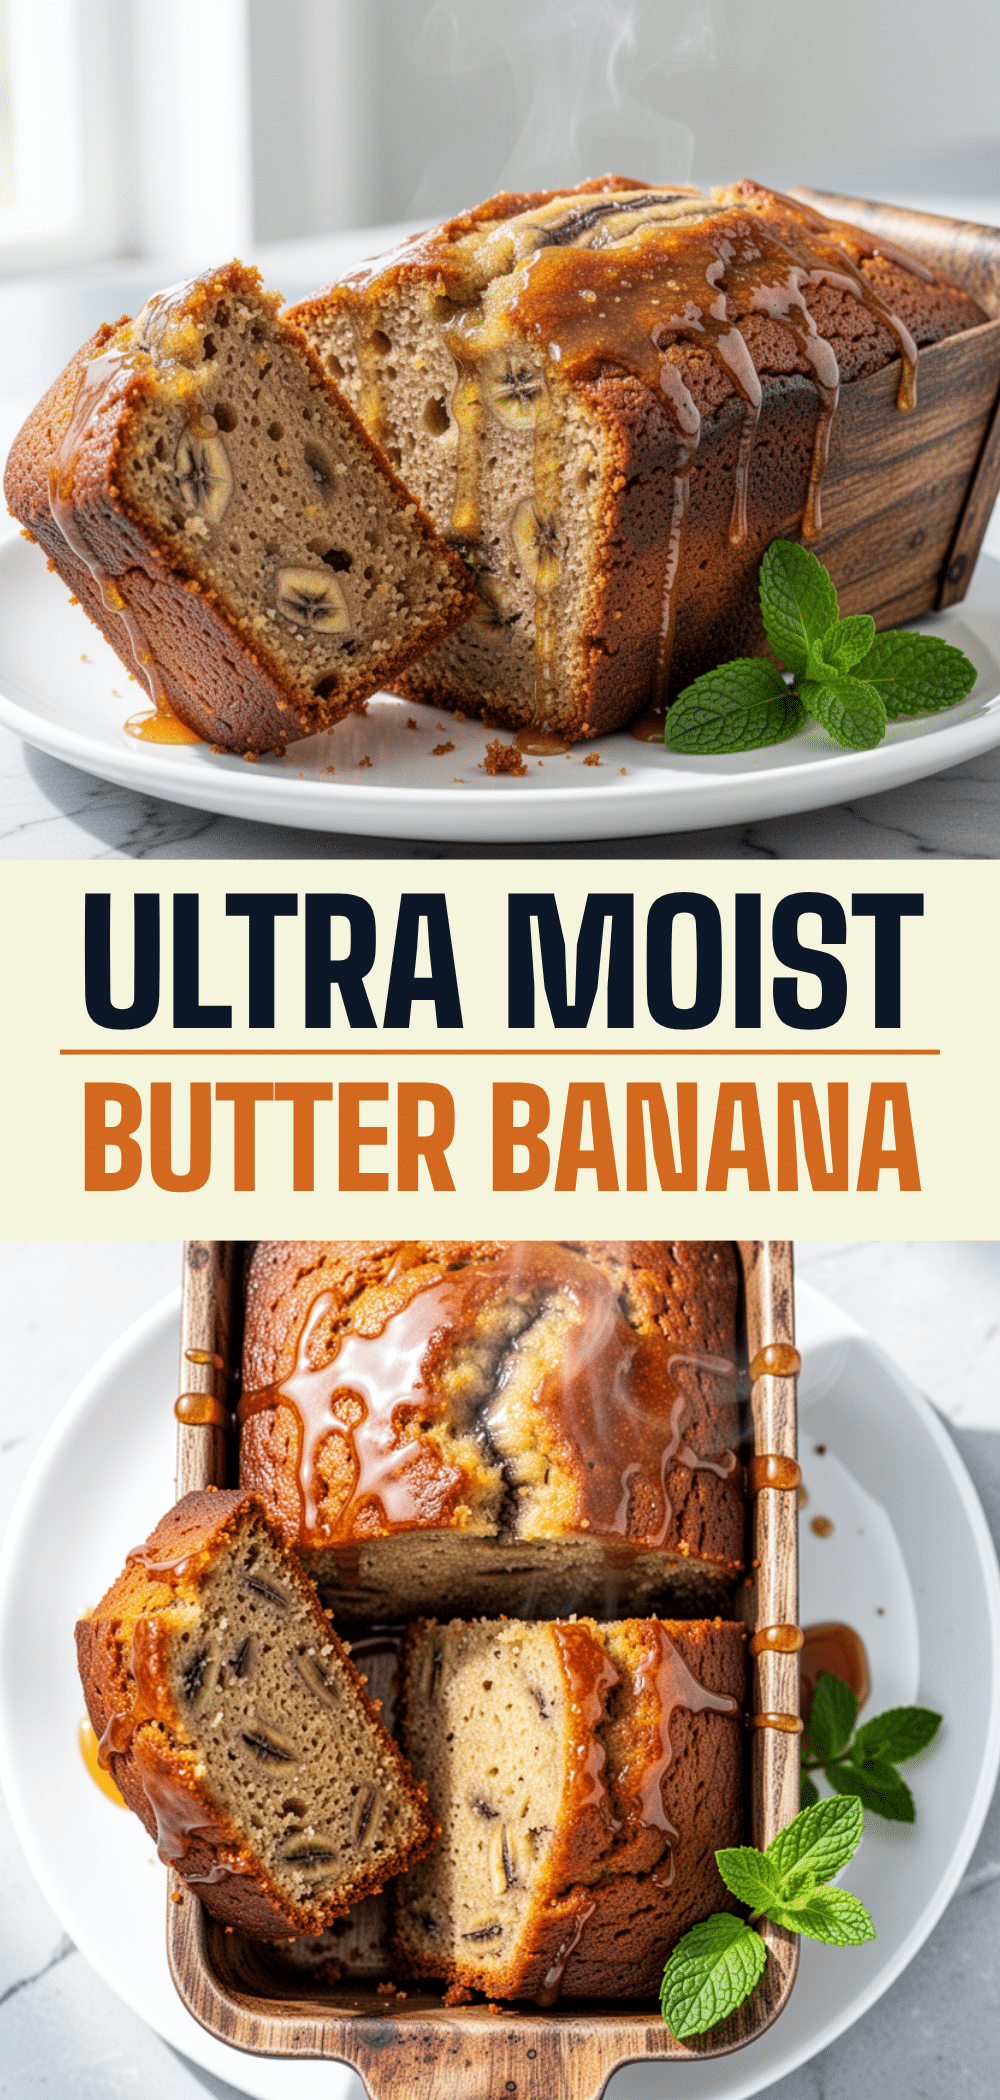
Ultra-Moist Banana Bread with Brown Butter Glaze
- Total Time: 1 hour 15 minutes
- Yield: 10 servings 1x
Description
A dense, tender, and incredibly moist banana bread featuring a rich brown butter glaze. This foolproof recipe uses overripe bananas and an extra egg yolk to ensure the bread stays soft for days.
Ingredients
- 1/2 cup (113g) unsalted butter (for bread)
- 3 large overripe bananas, mashed (about 1 1/2 cups / ~340g)
- 1/2 cup (100g) granulated sugar
- 1/2 cup (110g) light brown sugar
- 1 large egg, room temperature
- 1 extra egg yolk
- 1 teaspoon vanilla extract
- 1 3/4 cups (220g) all-purpose flour
- 1 teaspoon baking soda
- 1/2 teaspoon salt
- 1/2 cup chopped walnuts or pecans (optional)
- 1/4 cup (57g) unsalted butter (for glaze)
- 1 cup (120g) powdered sugar, sifted
- 1–2 tablespoons milk or heavy cream
- 1/2 teaspoon vanilla extract (for glaze)
- Pinch of salt (for glaze)
Instructions
- Preheat oven to 350°F (175°C). Grease a 9×5 inch loaf pan generously and line the bottom with parchment paper if desired.
- Melt 1/2 cup butter in a small saucepan over medium heat. Stir constantly until it foams, subsides, and smells like toasted nuts with amber-colored bits at the bottom (5-7 minutes). Remove from heat and let cool for 10 minutes.
- In a large bowl, mash bananas with a fork. Stir in the cooled brown butter. Add granulated sugar, brown sugar, egg, egg yolk, and vanilla. Whisk until well combined.
- In a separate medium bowl, whisk together flour, baking soda, and salt.
- Pour dry ingredients into wet ingredients. Gently fold with a spatula until just combined (10-12 folds). Do not overmix. Fold in nuts if using.
- Pour batter into prepared pan. Bake for 55-60 minutes, tenting with foil if browning too quickly. Test with a toothpick; it should come out clean or with moist crumbs.
- Cool in pan for 10 minutes, then turn out onto a wire rack to cool completely.
- While bread cools, brown the 1/4 cup butter for the glaze. Whisk powdered sugar, milk, vanilla, and salt in a bowl. Gradually whisk in the browned butter until smooth.
- Drizzle glaze over completely cooled bread. Let set for 10 minutes before slicing.
Notes
Ensure bananas are very ripe (black peels) for maximum sweetness and moisture. Do not overmix the batter to avoid tough bread. Cool the bread completely before glazing to prevent the glaze from melting. Store in an airtight container at room temperature for up to 3 days or freeze for up to 3 months.
- Prep Time: 15 minutes
- Cook Time: 60 minutes
- Category: Dessert
- Cuisine: American
Nutrition
- Serving Size: 1 slice (1/10 of loa
- Calories: 280
- Sugar: 26
- Sodium: 220
- Fat: 12
- Saturated Fat: 7
- Carbohydrates: 40
- Fiber: 2
- Protein: 3
Keywords: banana bread, brown butter, moist banana bread, glaze, baking, breakfast, snack, easy recipe


