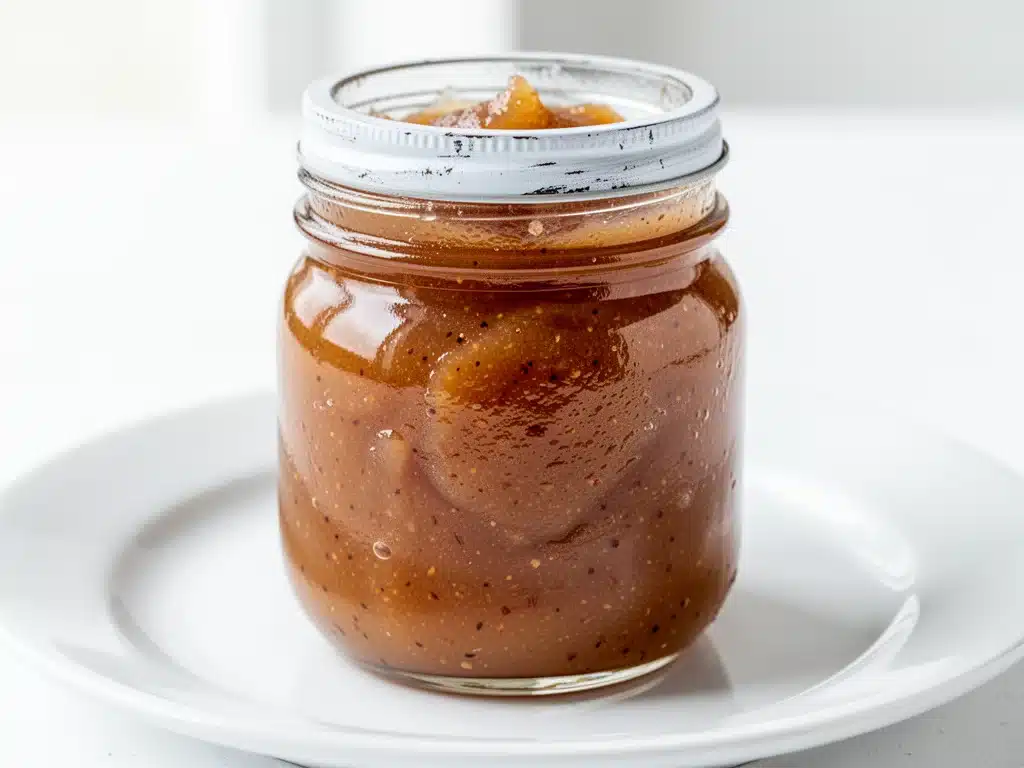
It’s early October, and the air outside smells like woodsmoke and damp leaves. Inside my kitchen, it smells like cinnamon, nutmeg, and slow-cooked fruit. I’ve been making this small-batch canned pear butter for three years now, and every single autumn, I find myself standing over the stove, stirring the same thick, amber-colored jam, feeling exactly like I did the first time I made it.
I remember that first attempt vividly. I had bought a bag of overripe pears from a farmer’s market, thinking I’d make a quick pie. But the pie crusts kept getting soggy, and the pears kept getting mushier. So, in a moment of desperate creativity, I threw them all into a slow cooker with a stick of cinnamon and a pinch of nutmeg, intending to just make a compote for yogurt. What came out of that slow cooker an hour later wasn’t compote. It was magic. Thick, spreadable, deeply caramelized pear butter that tasted like autumn in a jar.
That accidental discovery led to a lot of testing. I tried it on the stovetop, in the oven, and in the pressure cooker. I experimented with different spice blends, different pears, and different sugar ratios. This recipe? This is the one that stuck. It’s a small-batch recipe because let’s be honest, most of us don’t have the industrial space to can 50 jars at once. We want enough to spread on our morning toast, to dollop onto yogurt, or to slather onto warm biscuits. We want something that feels homemade and luxurious but doesn’t require a full-time commitment.
This small-batch canned pear butter with cinnamon and nutmeg is that perfect balance. It’s sweet but not cloying, spiced but not overpowering. It’s the kind of preserve that makes your house smell like a bakery for days. And the best part? It’s incredibly forgiving. If your pears are a little too soft, it works. If you’re out of nutmeg, it still works. But when you get it right—when that cinnamon and nutmeg hit just the right note—you’ll wonder why you ever bought jarred preserves from the store again.
Why You’ll Love This Small-Batch Pear Butter
There are a dozen reasons I keep coming back to this recipe, but here are the ones that matter most to my weekly routine.
It’s a Flavor Time Capsule — This pear butter tastes like a crisp October morning. The cinnamon and nutmeg don’t just add spice; they add warmth. When I open a jar in the middle of a gray January day, it’s like a hug in a spoonful. It’s comforting, nostalgic, and deeply satisfying.
Small-Batch Friendly — I don’t have a huge kitchen, and I certainly don’t have the energy to manage a massive canning project. This recipe makes just enough to fill three to four half-pint jars. It’s manageable. It’s doable. It fits into a weekend afternoon without taking over my entire life.
Uses Imperfect Fruit — This is my secret weapon. I buy pears that are slightly bruised, slightly overripe, or just past their prime for eating raw. They’re cheaper, and they break down faster. The slow cooking process turns those flaws into a rich, caramelized depth of flavor that perfect, firm pears just can’t achieve. It’s zero-waste cooking at its finest.
Versatile Beyond Toast — Sure, it’s amazing on toast. But it’s also incredible stirred into oatmeal, swirled into yogurt, glazed on pork chops, or served alongside sharp cheddar cheese. It’s a pantry staple that elevates savory and sweet dishes alike.
Stays Fresh for Months — Because this small-batch canned pear butter is properly processed in the water bath, it keeps for up to a year in a cool, dark pantry. That means I can make it once in October and enjoy it all winter long. It’s my way of preserving the season.
This isn’t just a recipe; it’s a way to slow down. It’s about taking a few hours, filling your kitchen with the smell of spices, and creating something that will last. It’s my go-to when I want to feel productive and cozy at the same time.
Ingredients You’ll Need
Here’s the thing about pear butter: it’s simple. Really simple. You don’t need a pantry full of exotic ingredients. Just a few good pears, some sugar, and the right spices. But quality matters here. Since there are so few ingredients, each one plays a big role.
Ripe Pears (6-7 pounds / about 2.7 kg) — This is the star. Look for pears that are soft to the touch but not mushy. Bosc or Anjou pears are my top choices because they hold their shape well before breaking down. Bartlett pears work too, but they get very watery, so you’ll need to cook them longer. The riper, the better. Brown spots are okay—they mean more sugar content.
Lemons (2 medium / about 1/3 cup juice) — Fresh lemon juice is non-negotiable. It adds brightness to balance the sweetness and helps keep the pears from browning too much during prep. It also helps with the pectin activation, which is crucial for a good set. Don’t skip it.
Granulated Sugar (2 to 2.5 cups / 400-500g) — This is where you can adjust to your taste. I start with 2 cups because the pears are naturally sweet. If you’re using very tart pears, go up to 2.5 cups. Sugar isn’t just for sweetness; it’s a preservative. It helps the butter set and keeps it safe for canning.
Cinnamon Sticks (2 large sticks / or 1 teaspoon ground cinnamon) — I prefer using whole cinnamon sticks because they infuse the flavor slowly without making the butter gritty. If you use ground cinnamon, add it at the end so it doesn’t burn. Whole sticks are easier to remove and give a more subtle, aromatic heat.
Ground Nutmeg (1/2 teaspoon) — Nutmeg adds that warm, nutty depth that pairs perfectly with cinnamon. Don’t use pre-ground nutmeg if you can help it; it loses flavor quickly. Grate a fresh nutmeg seed if you have one. It makes a noticeable difference in the complexity of the flavor.
Ground Cloves (1/4 teaspoon) — Just a pinch. Cloves are strong, so you only need a little. They add a warm, spicy note that ties everything together. If you’re sensitive to cloves, you can omit them, but I think they add a nice finish.
Optional: Allspice (1/4 teaspoon) — If you like a more complex spice profile, add a pinch of allspice. It has notes of cinnamon, nutmeg, and cloves, so it blends seamlessly.
Water (1/4 cup / 60ml) — Only needed if your pears are very firm and need a little liquid to start the cooking process. Most of the time, the pears will release enough juice on their own.
Equipment Needed
You don’t need fancy gadgets for this. Here’s what I actually use in my kitchen.
Large Heavy-Bottomed Pot or Dutch Oven — I use a 6-quart Dutch oven. The heavy bottom prevents scorching, which is critical when you’re cooking fruit down for a long time. A regular pot works, but you’ll need to stir more frequently.
Food Mill or Immersion Blender — To get that smooth, silky texture, you need to remove the seeds and any tough bits. A food mill is my favorite because it separates the skins and seeds effortlessly. An immersion blender works too, but you might catch small pieces of skin. A potato masher is the least desirable option—it leaves a chunkier texture.
Canning Jars and Lids — Half-pint jars are perfect for this small batch. Use new lids if you can; they ensure a good seal. Wash the jars and keep them warm until you’re ready to fill them.
Water Bath Canner — A large pot with a rack at the bottom. It doesn’t have to be a fancy canner; any large pot that can hold your jars submerged in water works. Just make sure the water can cover the jars by at least an inch.
Ladle and Funnel — A wide-mouth funnel makes filling the jars much less messy. A ladle helps you get the butter into the jars without spilling.
Knife and Cutting Board — For prepping the pears. A sharp knife makes this step much faster.
How to Make It: Step-by-Step
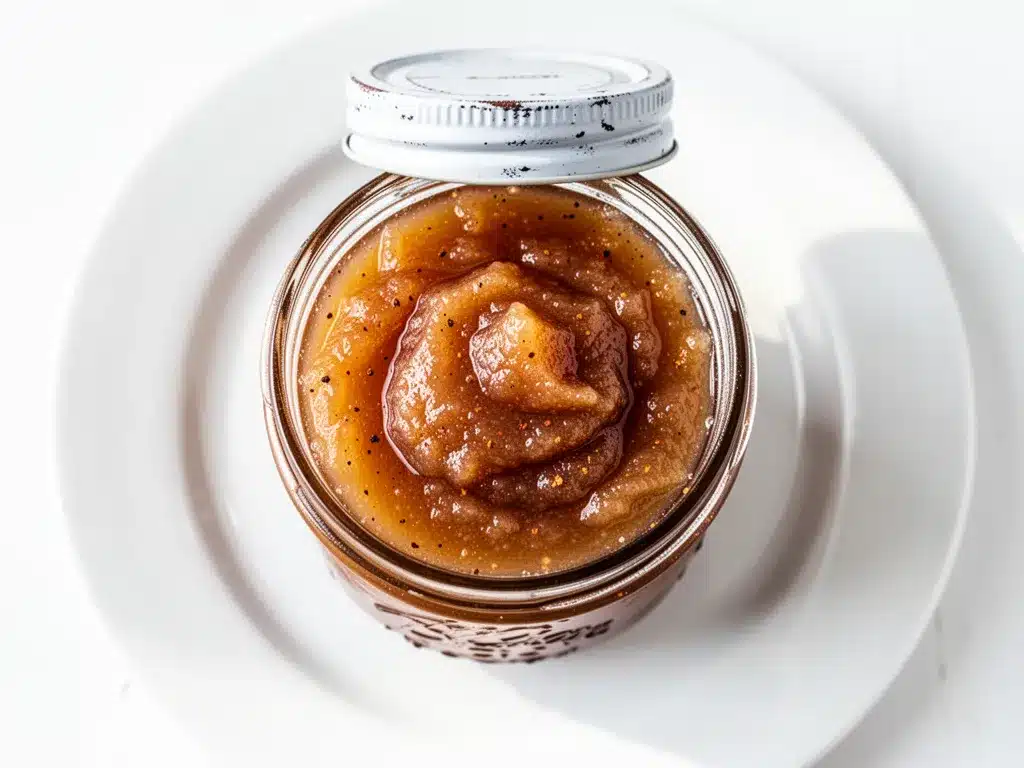
Alright, let’s make this! It’s not complicated, but it does require some time. I’m walking you through exactly how I do it, including the little tricks I’ve picked up along the way.
Step 1: Prep Your Pears (20 minutes)
Wash your pears thoroughly. You don’t need to peel them—the skins add color and nutrients, and the food mill will remove them anyway. Cut them into quarters and remove the cores. If there are any brown spots, cut those out. Chop the pears into rough chunks. The size doesn’t matter too much because they’ll break down, but smaller chunks cook faster.
Step 2: Cook the Pears (30-45 minutes)
Place the chopped pears in your large pot. Add the lemon juice, water (if using), cinnamon sticks, and cloves. Bring to a boil over medium-high heat, then reduce the heat to low. Cover and simmer for 30-45 minutes, stirring occasionally, until the pears are very soft and falling apart. They should be mushy. If the pot looks dry, add a splash more water. The goal is to break them down completely.
Step 3: Remove Spices and Puree (10 minutes)
Once the pears are soft, remove the pot from the heat. Take out the cinnamon sticks and cloves—you don’t want to bite into a sharp spice stick later. Now, it’s time to puree. If you’re using a food mill, set it over a clean bowl and press the pears through. This will leave the skins and seeds behind. If you’re using an immersion blender, blend until smooth. You want a silky, uniform texture. No lumps.
Step 4: Add Sugar and Spice (15-20 minutes)
Return the pureed pears to the pot. Add the sugar and ground nutmeg. Stir well to combine. Place the pot over medium heat and bring to a gentle simmer. This is the most important step: you need to cook the butter down to evaporate the excess water. Stir frequently to prevent scorching. The mixture will thicken and darken in color. It’s ready when it leaves a clear path when you run a spoon through it. This can take 15-20 minutes, depending on how watery your pears were.
Step 5: Jar the Butter (10 minutes)
While the butter is cooking, prepare your jars. Wash them in hot soapy water and rinse. Keep them warm in a low oven (200°F / 95°C) or in a pot of hot water. Once the pear butter reaches the right consistency, remove it from the heat. Ladle the hot butter into the warm jars, leaving 1/2 inch of headspace. Wipe the rims with a clean, damp cloth to remove any sticky residue. This is crucial for a good seal.
Step 6: Process in Water Bath (10 minutes)
Place the filled jars on the rack in your water bath canner. Add enough hot water to cover the jars by at least 1 inch. Bring the water to a boil. Once boiling, start the timer. Process half-pint jars for 10 minutes. Adjust for altitude if you live above 1,000 feet (add 1 minute for every 1,000 feet). After processing, turn off the heat and let the jars sit in the water for 5 minutes before removing them. This prevents siphoning.
Step 7: Cool and Store
Lift the jars out and place them on a towel-lined counter. Do not touch them for 12-24 hours. You’ll hear the “ping” as they seal. Check the seals by pressing the center of the lid—it shouldn’t flex up and down. Store unsealed jars in the fridge and use within a month. Sealed jars can be stored in a cool, dark pantry for up to a year.
Expert Tips & Tricks
Here’s everything I’ve learned from making this dozens of times. These tips will save you from my mistakes.
Don’t Rush the Cooking Down
The biggest mistake people make is stopping too early. The butter needs to thicken properly. If it’s too runny, it won’t keep well and will spoil. The spoon test is your friend. If the spoon leaves a clean trail that doesn’t fill in, it’s ready.
Use a Heavy-Bottomed Pot
Pear butter burns easily. A thin pot will create hot spots and scorch the bottom, giving your butter a bitter taste. A Dutch oven or enameled cast iron pot is ideal because it distributes heat evenly.
Stir Frequently
As the butter thickens, it becomes more prone to sticking. Stir it often, especially towards the end of the cooking process. This also helps it cook evenly and develop that deep caramel color.
Wipe the Rims
I can’t stress this enough. Any sugar residue on the rim of the jar will prevent the lid from sealing properly. Use a clean, damp cloth to wipe the rim before putting the lid on. It’s a small step that makes a huge difference in shelf life.
Adjust Spices to Taste
Everyone’s palate is different. If you love cinnamon, add more. If you’re sensitive to nutmeg, use less. Taste the mixture before you jar it. If it needs more brightness, add a squeeze more lemon juice.
Variations & Substitutions
Once you’ve mastered the basic version, here’s how you can mix it up. I’ve tried all of these.
Apple-Pear Butter
Swap half the pears for apples. Apples have more pectin, so the butter will set firmer. This is a great way to use up extra apples from the orchard.
Spicy Pear Butter
Add a pinch of cayenne pepper or a sliced jalapeño while cooking. The heat contrasts beautifully with the sweet fruit. It’s amazing on cheese boards.
Bourbon Pear Butter
Replace 1/4 cup of the water with bourbon. Add it at the end of cooking. The alcohol cooks off, leaving a rich, oaky flavor. Perfect for holiday gifts.
Low-Sugar Version
You can reduce the sugar, but it affects the preservation. Use a pectin alternative like Ball RealFruit Low or No-Sugar Needed Pectin if you’re reducing sugar by more than half. Note that low-sugar butter has a shorter shelf life and should be refrigerated or frozen.
No-Canner Version
If you don’t have a water bath canner, you can make this as a refrigerator jam. Cook it down to the same consistency, jar it, and store it in the fridge for up to 3 weeks. You can also freeze it in freezer-safe containers for up to 6 months.
Serving & Storage
How do I serve this? And how long does it last?
How to Serve
I serve this warm or at room temperature. It’s incredible on buttered toast, toasted bagels, or English muffins. I also love it swirled into plain yogurt or oatmeal. For a savory twist, try it as a glaze for roasted pork or chicken. It’s also delicious alongside sharp cheddar cheese on a charcuterie board.
Storage Instructions
Refrigerator: If you didn’t can it, store in an airtight container in the fridge for up to 3 weeks.
Freezer: Freeze in freezer-safe containers or bags for up to 6 months. Leave headspace for expansion.
Pantry: Properly canned jars can be stored in a cool, dark pantry for up to 1 year. Check the seals regularly.
Reheating
If the butter separates or looks grainy after storage, just stir it well. If it’s too thick, add a splash of water or lemon juice. There’s no need to reheat it unless you want to serve it warm.
Nutrition Information
I’m not a nutritionist, but here’s the breakdown if you’re tracking. This is per 2-tablespoon serving.
Calories: 50
Protein: 0g
Carbs: 13g
Fiber: 1g
Sugar: 11g
Fat: 0g
Sodium: 0mg
It’s naturally fat-free and vegan. The sugar content is moderate, but it’s much lower than most commercial jams because you control the amount. It’s a great way to enjoy fruit without the additives found in store-bought preserves.
Final Thoughts
So that’s my go-to small-batch canned pear butter with cinnamon and nutmeg! I’ve probably talked your ear off at this point, but when you make a recipe this often, you have a lot to say about it.
This has saved my autumn mornings more times than I can count. It’s my answer to “what’s for breakfast” when I want something special but don’t have time to bake. My family is obsessed with it, and I’m obsessed with the smell it leaves in my kitchen. It’s my way of slowing down and enjoying the season.
Make it yours! Try different spices, different pears, or different sweetness levels. The best recipes are the ones you adapt to your family’s tastes. If you make this, drop a comment and let me know what you think! I love hearing how recipes turn out in your kitchen. And if something doesn’t work, tell me that too—I’m here to help troubleshoot.
Happy preserving! And I hope your kitchen smells half as good as mine does right now.
Frequently Asked Questions
Can I use frozen pears?
Yes, you can use frozen pears. Thaw them completely and drain any excess liquid before cooking. Frozen pears are often softer, so they may cook down faster. Just be sure to taste the mixture before jarring, as freezing can sometimes alter the sweetness.
Why didn’t my pear butter set?
There are a few reasons. First, you might not have cooked it down long enough. Second, your pears might have been very watery. Third, you might not have added enough sugar, which helps with setting. Try cooking it down longer on low heat, stirring frequently, until it passes the spoon test.
Can I use honey instead of sugar?
You can, but it will change the flavor and texture. Honey is sweeter than sugar, so use less. It also has more moisture, so you’ll need to cook it longer to evaporate the water. The butter may not keep as long as it would with sugar. I recommend sticking to sugar for safety and shelf stability.
How do I know if my jars sealed?
After the jars have cooled for 12-24 hours, press the center of the lid. If it doesn’t flex up and down, it’s sealed. You can also listen for the “ping” sound as they cool. If a jar didn’t seal, refrigerate it and use it within a month.
Can I add other fruits?
Absolutely! Apples, peaches, and plums all work well with pears. Just be aware that different fruits have different pectin levels and water content, so you may need to adjust the cooking time. Apple pear butter is a classic combination.
Is it safe to eat if the lid bulges?
No. If the lid is bulging or the jar is leaking, do not eat it. Discard it safely. This could indicate spoilage or a failed seal. When in doubt, throw it out.
Pin This Recipe!
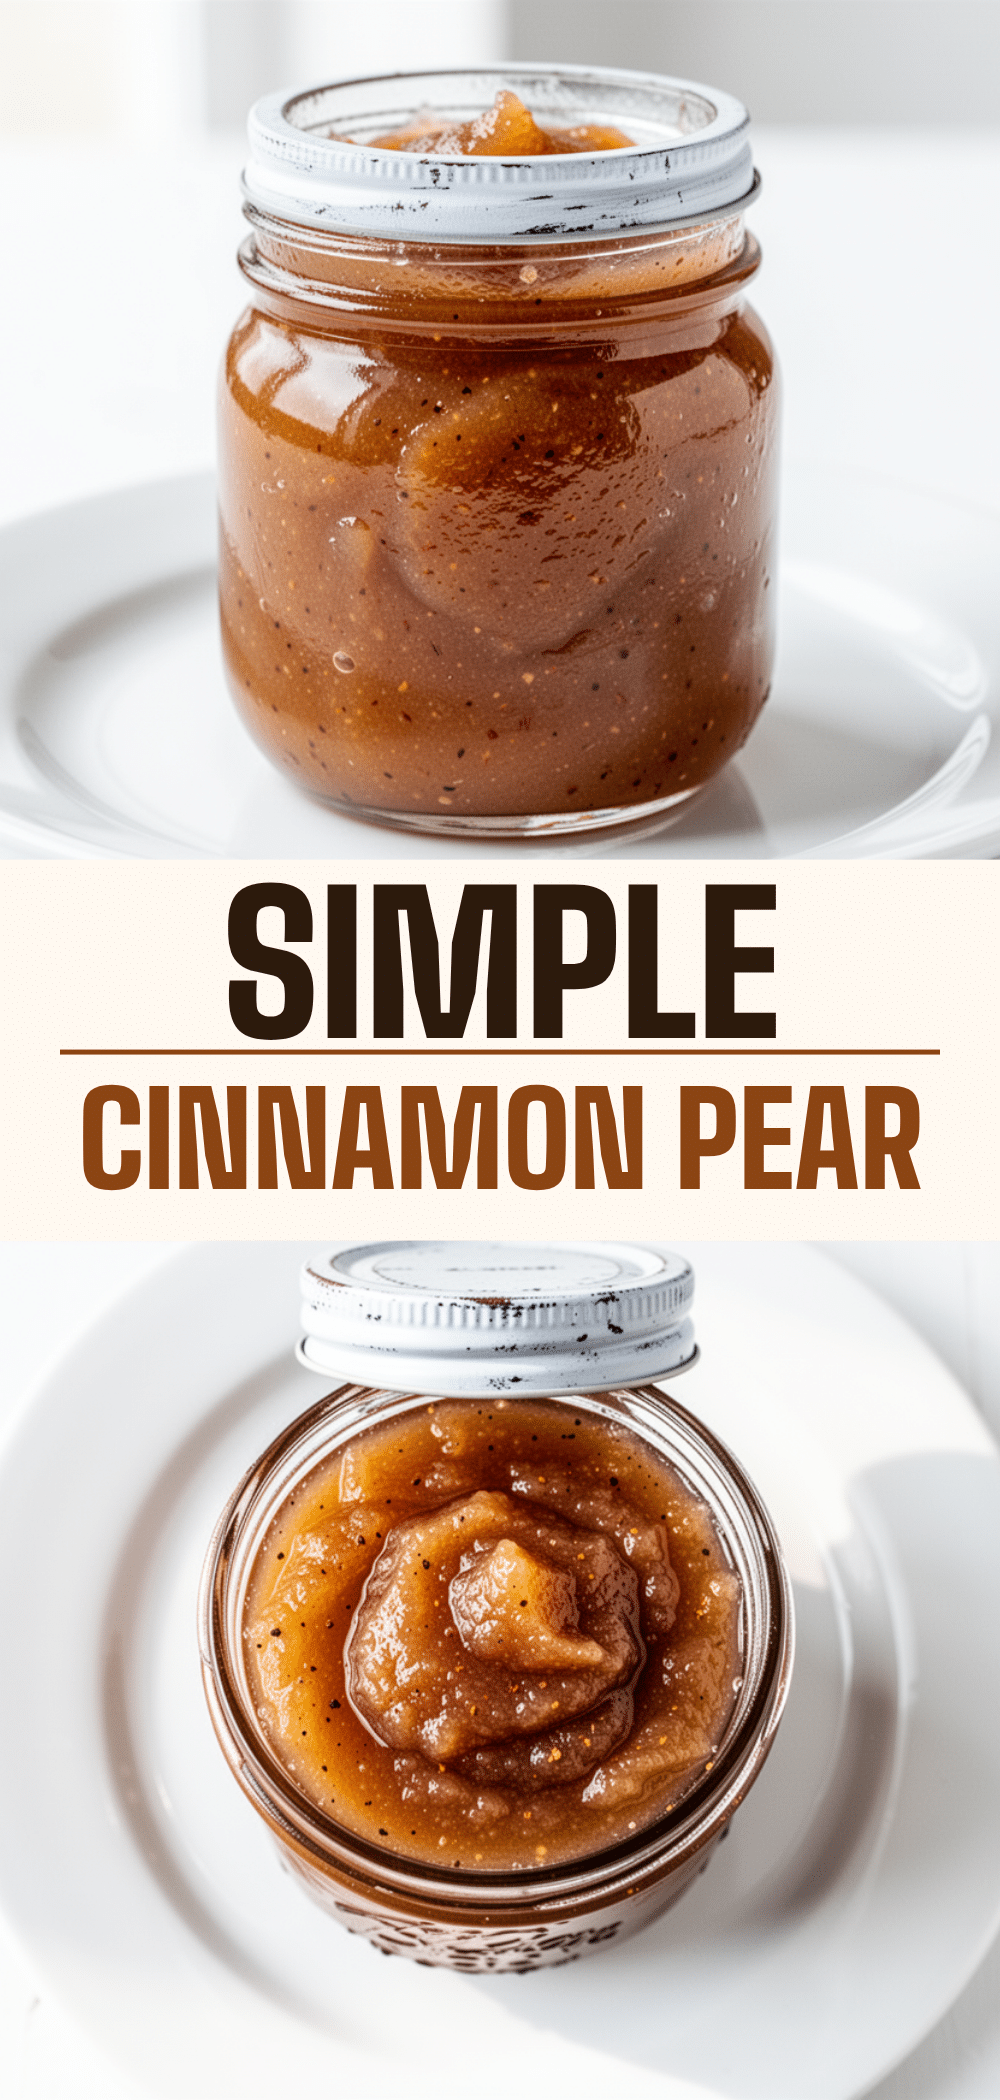
Small-Batch Pear Butter: Easy Homemade Recipe
- Total Time: 1 hour 35 minutes
- Yield: 3-4 half-pint jars 1x
Description
A cozy, small-batch canned pear butter infused with cinnamon and nutmeg. This forgiving recipe uses imperfect fruit to create a thick, caramelized spread perfect for toast, yogurt, or savory glazes.
Ingredients
- 6–7 pounds ripe pears (Bosc, Anjou, or Bartlett), quartered and cored
- 2 medium lemons (about 1/3 cup fresh juice)
- 2 to 2.5 cups granulated sugar
- 2 large cinnamon sticks (or 1 teaspoon ground cinnamon)
- 1/2 teaspoon ground nutmeg
- 1/4 teaspoon ground cloves
- 1/4 teaspoon ground allspice (optional)
- 1/4 cup water (only if pears are very firm)
Instructions
- Wash pears thoroughly. Do not peel. Cut into quarters, remove cores, and chop into rough chunks.
- Place chopped pears in a large heavy-bottomed pot or Dutch oven. Add lemon juice, water (if using), cinnamon sticks, and cloves.
- Bring to a boil over medium-high heat, then reduce heat to low. Cover and simmer for 30-45 minutes, stirring occasionally, until pears are very soft and falling apart.
- Remove pot from heat. Remove cinnamon sticks and cloves.
- Puree the pears using a food mill (to remove skins/seeds) or an immersion blender until smooth and silky.
- Return pureed pears to the pot. Add sugar and ground nutmeg. Stir to combine.
- Place pot over medium heat and bring to a gentle simmer. Cook down for 15-20 minutes, stirring frequently to prevent scorching, until the mixture thickens and leaves a clear path when a spoon is run through it.
- While butter cooks, prepare half-pint canning jars by washing and keeping them warm.
- Ladle hot pear butter into warm jars, leaving 1/2 inch of headspace. Wipe rims clean with a damp cloth.
- Place jars in a water bath canner with a rack. Add hot water to cover jars by at least 1 inch.
- Bring water to a boil. Process half-pint jars for 10 minutes (adjust for altitude if above 1,000 feet).
- Turn off heat and let jars sit in water for 5 minutes before removing.
- Place jars on a towel-lined counter and do not touch for 12-24 hours. Check seals by pressing the center of the lid.
- Store sealed jars in a cool, dark pantry for up to a year. Refrigerate unsealed jars and use within a month.
Notes
Use ripe, slightly bruised pears for best flavor and easier breakdown. Ensure jars are wiped clean before sealing to guarantee a proper seal. If you do not have a canner, this can be stored in the refrigerator for up to 3 weeks or frozen for up to 6 months.
- Prep Time: 20 minutes
- Cook Time: 1 hour 15 minutes
- Category: Preserves
- Cuisine: American
Nutrition
- Serving Size: 2 tablespoons
- Calories: 50
- Sugar: 11
- Carbohydrates: 13
- Fiber: 1
Keywords: pear butter, canned pear butter, small batch preserves, autumn recipes, cinnamon nutmeg, homemade jam, vegan preserves, fall cooking


