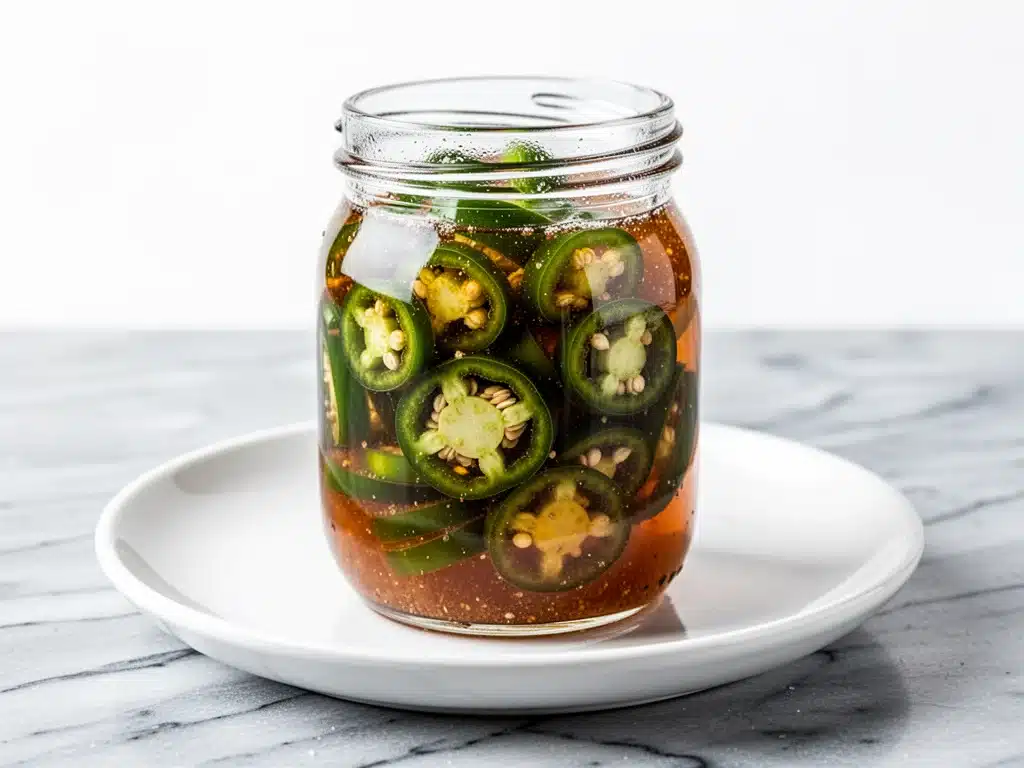
I still remember the first time I made cowboy candy. It was late November, the kind of cold that seeps right through your wool sweater, and I was standing in my kitchen staring at a bag of jalapeños that had gone soft in the crisper drawer. I didn’t want to waste them, but I also didn’t want to make another batch of salsa. So, I threw them into a pot with brown sugar, vinegar, and a handful of spices I had lying around. I was half-asleep, half-hoping it wouldn’t burn my house down.
When I tasted it ten minutes later, I nearly dropped the spoon. It was sweet, spicy, tangy, and completely addictive. I ate it straight off the spoon. Then I ate it on toast. Then I realized I had made way too much for just me.
So, I grabbed some jars. I cleaned out the empty pasta sauce jars from dinner and boiled them until they were sterile. I filled them with these fiery-sweet peppers, sealed them up, and gave them to my neighbor, Mrs. Gable, who had just had knee surgery. I told her to put it on her crackers or mix it into her scrambled eggs. Two days later, she called me. She wasn’t just happy; she was obsessed. She asked if I could make her another batch for Christmas.
That was five years ago. Now, cowboy candy is my go-to housewarming gift, my Christmas present for teachers, and my way of saying “I appreciate you” to friends who’ve helped me move or watch my kids. It’s the gift that keeps on giving (and eating). Plus, it looks incredible on a plate. The glossy red peppers against the white jar lid? Pinterest gold. But more importantly, it’s a flavor bomb that turns boring snacks into something special.
I’ve tested this recipe dozens of times—adjusting the sugar, tweaking the vinegar ratio, experimenting with different peppers—to get it exactly right. This isn’t just a pickling recipe; it’s a confidence builder. You’ll walk away with jars of beautiful, shelf-stable magic that tastes like summer, even in the dead of winter. And the best part? It’s surprisingly easy. If you can chop a jalapeño and boil water, you can make this.
Why You’ll Love This Pickled Jalapeño Gift
There are a hundred reasons to keep this recipe in your back pocket, but here are the ones that matter most to me (and my taste buds).
It’s the Ultimate Crowd-Pleaser — I’ve given these to spice lovers who live for habaneros and to people who think jalapeños are “too hot.” Everyone loves cowboy candy. The brown sugar mellows the heat just enough to make it approachable, but it still has that kick. It’s the perfect balance. I’ve watched people eat these off crackers like they’re going out of style.
Gift-Giving Made Easy — Let’s be real: buying gifts is stressful. You have to think about what they like, how much it costs, and whether it’s too personal. With cowboy candy, you just need a jar and a ribbon. It’s personal because it’s homemade, but it’s safe because it’s food. Everyone eats. I wrap the lids with twine and a handwritten tag, and it looks like something you’d buy at a high-end boutique for $15. (Spoiler: It costs about $2.)
Stupid Simple Process — You don’t need fancy equipment or years of culinary school. You need a pot, some jars, and about 20 minutes of active time. The rest is waiting. I make these while watching Netflix on a lazy Sunday. It’s the perfect low-effort, high-reward project.
Shelf-Stable Magic — Once you’ve canned them, they last for months in the pantry. I keep a stash for myself, but I also know that if I give them away, they’ll be eaten quickly. If you’re not canning, they last in the fridge for up to 3 months. Either way, you’re set.
Uses Up Seasonal Produce — If you have a garden or hit up a farmers market when jalapeños are cheap, this is the way to preserve them. It’s a great way to stop waste and turn a cheap vegetable into a gourmet condiment.
This recipe has saved me more times than I can count during the holiday season. It’s my answer to “What should I bring?” or “What should I give Mom?” It’s reliable, delicious, and totally stress-free.
Ingredients You’ll Need
Here’s the thing about cowboy candy: the ingredient list is short, but the quality matters. You don’t need twenty different spices, but you do need good basics. Here’s what I use and why.
Jalapeño Peppers (2 pounds / 900g) — This is your star. Look for firm, bright green peppers with shiny skins. If you want less heat, remove the seeds and membranes. If you want more heat, keep them in. I usually keep about half the seeds for a nice kick. Pro tip: Wear gloves. I learned this the hard way when I touched my eye after chopping. Do not make that mistake.
Apple Cider Vinegar (2 cups / 480ml) — This gives the tangy backbone. I use Bragg’s or any unfiltered apple cider vinegar. It adds a subtle fruitiness that pairs perfectly with the brown sugar. White vinegar works too, but it’s harsher and lacks that depth.
Water (1 cup / 240ml) — Just plain old tap water. Dilutes the vinegar so it’s not overpowering.
Light Brown Sugar (1 cup / 200g) — This is non-negotiable. White sugar is too sweet and one-dimensional. Brown sugar adds molasses notes that make the syrup rich and glossy. I use light brown sugar because it’s milder; dark brown sugar is too intense for this specific balance.
Yellow Onion (1 medium / about 150g) — Diced finely. It adds sweetness and texture. You don’t want huge chunks, just little bits that integrate into the syrup. I usually use yellow onions because they’re sweetest.
Garlic (4 cloves / about 12g) — Minced. Fresh garlic only. Jarred garlic has a metallic taste that ruins the clean flavor of the pickles. Four cloves is the sweet spot—not too garlicky, but present.
Ground Cumin (1 teaspoon) — This is the secret ingredient. It adds that earthy, “candy” warmth that defines cowboy candy. Don’t skip it. It’s what separates this from regular pickled jalapeños.
Ground Turmeric (½ teaspoon) — Gives it that gorgeous orange-red color. It’s subtle in flavor, but visually essential. You want these jars to look vibrant.
Salt (1 teaspoon) — I use kosher salt. It dissolves better than table salt and doesn’t have that iodine aftertaste.
Optional: Dried Red Pepper Flakes (½ teaspoon) — If you want a visual pop and an extra heat boost, throw these in. I usually skip them because the cumin and turmeric are enough, but they look pretty in the jar.
Canning Jars (4-5 half-pint jars) — You’ll need clean, sterilized jars with new lids. I buy Ball or Kerr jars. They’re reliable and widely available.
Shopping Tips
- Jalapeños: Buy them in bulk if they’re on sale. They’re usually cheap in the fall. If you can’t find fresh ones, frozen jalapeños work in a pinch, but the texture will be softer.
- Vinegar: Make sure it’s at least 5% acidity if you’re water-bath canning. This is for safety.
- Jars: Check for chips or cracks in the glass. Even a tiny crack can cause a jar to break during processing.
Equipment Needed
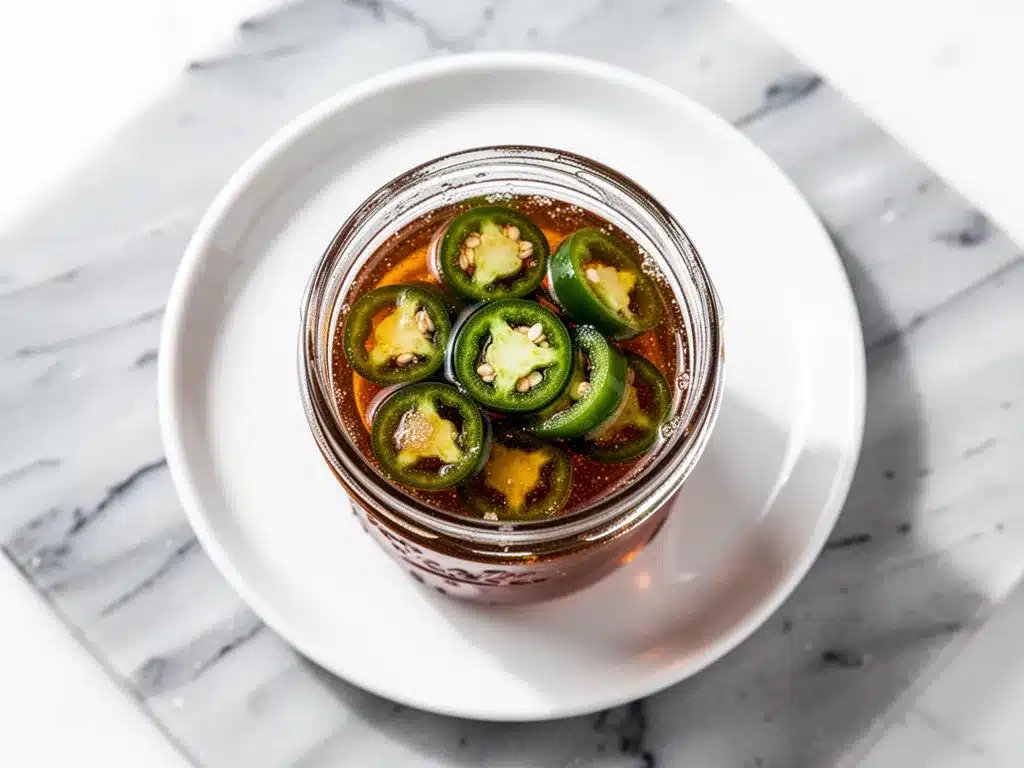
You don’t need a fancy kitchen to make this. Here’s what I actually use.
Large Stockpot — I use a 6-quart pot. It needs to be big enough to hold the peppers, vinegar, sugar, and water without boiling over. A Dutch oven works too.
Canning Pot or Large Stockpot — If you’re water-bath canning, you need a pot deep enough to submerge the jars by at least an inch of water. I use my big stockpot for this. If you’re just refrigerating, you don’t need this.
Jar Lifter — This is a cheap tool from the grocery store. It saves your fingers from burns when lifting hot jars out of the water bath. I’ve tried using tongs, but they slip. Don’t risk it.
Bubble Remover — A plastic knife or chopstick works. You need to remove air bubbles from the jars before sealing. Trapped air causes spoilage.
Lid Wand — A non-metal spoon or chopstick to handle the lids. Metal can damage the sealing compound. I use a silicone spatula.
Sharp Knife and Cutting Board — For slicing the peppers. A serrated knife works well for the jalapeños.
Measuring Cups and Spoons — Accuracy matters in canning. Don’t eyeball the vinegar and sugar. Use real measuring tools.
Optional but Nice
- Funnel: Keeps the syrup from spilling on the rim of the jar. Spills cause bad seals.
- Cleaning Cloth: To wipe the rims of the jars before adding lids. Any residue on the rim will prevent a proper seal.
How to Make Cowboy Candy: Step-by-Step
Alright, let’s get cooking. I’m walking you through exactly how I do it, including the little tricks I’ve picked up over the years.
Step 1: Prep Your Jars (10 minutes)
If you’re canning, start by washing your jars and lids in hot soapy water. Rinse well. Place the jars in your large canning pot and fill with water. Bring to a boil and let them simmer for 10 minutes. This sterilizes them. Keep them hot until you’re ready to fill them. Cold jars + hot syrup = cracked glass. Never do that.
Step 2: Slice the Peppers (5 minutes)
Wear gloves! Slice the jalapeños into thin rings. About ¼-inch thick is ideal. If you want less heat, slice them in half lengthwise and scrape out the seeds with a spoon before slicing. If you like it hot, leave the seeds in. I usually do a mix—half with seeds, half without. Place the slices in a large bowl.
Step 3: Make the Syrup (5 minutes)
In your large stockpot, combine the apple cider vinegar, water, brown sugar, salt, cumin, and turmeric. Bring to a boil over medium-high heat, stirring constantly until the sugar is completely dissolved. This should take about 3-4 minutes. Once it boils, reduce heat to medium-low.
Step 4: Cook the Peppers (5 minutes)
Add the sliced jalapeños and diced onion to the syrup. Stir well. Let it simmer for about 5 minutes. The peppers will start to soften and turn a brighter green. The onion should become translucent. Don’t overcook them here; they’ll soften more in the jar.
Step 5: Jar the Candy (5 minutes)
Using your jar lifter, remove the hot jars from the water and place them on a towel-lined counter. Ladle the hot peppers and syrup into the jars, leaving ½-inch headspace at the top. Use your bubble remover or a plastic knife to slide down the sides and release any air bubbles. Wipe the rim of each jar with a clean, damp cloth. This is crucial for a good seal.
Step 6: Seal and Process (15 minutes)
Place the lids on the jars and screw on the bands until fingertip-tight. Don’t overtighten; you don’t need to crush your hand. Place the jars back into the canning pot, ensuring they’re covered by at least an inch of water. Bring to a boil and process for 10 minutes (for altitudes under 1,000 feet). If you’re higher up, add 1 minute for every 1,000 feet.
Step 7: Cool and Store
After 10 minutes, turn off the heat and let the jars sit in the water for 5 minutes. Then, remove them and place on a towel to cool undisturbed for 24 hours. You’ll hear a “ping” as they seal. Check the seals by pressing the center of the lid; it shouldn’t flex. Store in a cool, dark pantry for up to 1 year. Once opened, refrigerate and use within 3 months.
Expert Tips & Tricks
Here’s everything I’ve learned from making this dozens of times. These tips will save you from my mistakes.
Wear Gloves
I can’t stress this enough. Capsaicin is oil-based and sticks to everything. If you touch your face, eyes, or nose after handling jalapeños, it will burn. I keep a pair of disposable nitrile gloves by my cutting board. If you forget, wash your hands with soap and water, then wipe them with rubbing alcohol to remove the oils.
Don’t Skimp on Acid
If you’re water-bath canning, you must use at least 5% acidity vinegar. Do not reduce the vinegar or substitute with lemon juice unless you have a tested recipe for it. Safety first. The acid preserves the peppers and prevents botulism.
Wipe the Rims
Any syrup left on the rim will prevent the lid from sealing. I keep a small bowl of warm water and a cloth right next to my filling station. Wipe, seal, move on.
Test the Seal
After cooling, press the center of each lid. If it pops back up, it didn’t seal. Refrigerate these and eat them first. They’re safe, just not shelf-stable.
Let Them Age
The flavor improves after 2-4 weeks. I know, it’s hard to wait. But let them sit. The flavors meld and the heat mellows out just a bit.
Variations & Substitutions
Once you’ve nailed the basic version, here’s how you can mix it up. I’ve tried all of these.
Sweet Heat
Add ½ cup of diced carrots to the pot. They add natural sweetness and color. My kids love the orange chunks.
Spicy Kick
Swap half the jalapeños for serrano peppers. They’re hotter and have a brighter flavor. Great for people who really like spice.
Smoky Version
Add ½ teaspoon of smoked paprika to the syrup. It gives a BBQ-like depth. Pairs well with grilled meats.
Gluten-Free
This recipe is naturally gluten-free. Just make sure your vinegar and spices are certified GF.
Dairy-Free
Naturally dairy-free. Perfect for any diet.
No-Cook Fridge Version
Skip the canning process. Just cook the peppers in the syrup, pack into clean jars, and refrigerate. They’ll last 3 months. Great for quick gifts.
Serving & Storage
How to enjoy your cowboy candy:
On Crackers
Serve on water crackers with cream cheese. It’s the ultimate appetizer. I serve this at every party I host.
With Cheese
Top a grilled cheese sandwich with these peppers. The sweet-spicy contrast is incredible.
In Eggs
Stir into scrambled eggs or omelets. Adds a nice kick to breakfast.
On Pizza
Add to pizza after it comes out of the oven. The heat wilts them slightly.
Storage
Unopened jars last 1 year in the pantry. Opened jars last 3 months in the fridge. Always use a clean utensil to remove peppers to prevent contamination.
Nutrition Information
I’m not a nutritionist, but here’s the breakdown if you’re tracking. Note that these are estimates per 1-tablespoon serving.
Per Serving (1 tbsp):
- Calories: 15
- Protein: 0g
- Carbs: 3g
- Fiber: 0g
- Sugar: 3g
- Fat: 0g
- Sodium: 50mg
It’s low-calorie and low-fat, but high in sugar due to the brown sugar syrup. Use in moderation if you’re watching sugar intake. But honestly? A little goes a long way.
Final Thoughts
So that’s my cowboy candy! It’s simple, delicious, and the perfect gift. I’ve made this for teachers, neighbors, friends, and family, and it’s never failed to make someone smile. It’s a labor of love, but a small one. And the joy it brings? Priceless.
Make it yours. Adjust the heat, try different peppers, or add your own spices. The best recipes are the ones you adapt to your taste. If you make this, drop a comment and let me know how it turned out. I love hearing your stories.
Happy canning! And I hope your kitchen smells half as good as mine does right now.
Frequently Asked Questions
Can I use white vinegar instead of apple cider vinegar?
You can, but the flavor will be sharper and less complex. Apple cider vinegar adds a nice fruity note that balances the sugar. If you must use white vinegar, make sure it’s 5% acidity. The color will also be less vibrant.
Why did my lids not seal?
Usually, this means the rim wasn’t clean, or the jars weren’t hot enough when filled. Wipe the rims thoroughly with hot water before sealing. Also, make sure you processed them in the water bath for the full time. If they don’t seal, refrigerate and eat them within a few weeks.
Can I freeze cowboy candy?
I don’t recommend it. The texture of the peppers will become mushy when thawed. Canning is the best way to preserve them. If you want to freeze, freeze the peppers without the syrup, but the quality won’t be the same.
How spicy is this?
It’s moderate. The brown sugar mellows the heat significantly. If you remove all seeds, it’s mild. If you keep all seeds, it’s medium-hot. It’s approachable for most people.
Can I make this without canning?
Yes! Just cook the peppers, pack into clean jars, and refrigerate. They’ll last 3 months in the fridge. Great for quick gifts or personal use.
What kind of jars should I use?
Use standard half-pint canning jars with new lids. Ball and Kerr are the most reliable. Avoid repurposed food jars unless they’re designed for canning, as they may not withstand the heat.
Pin This Recipe!
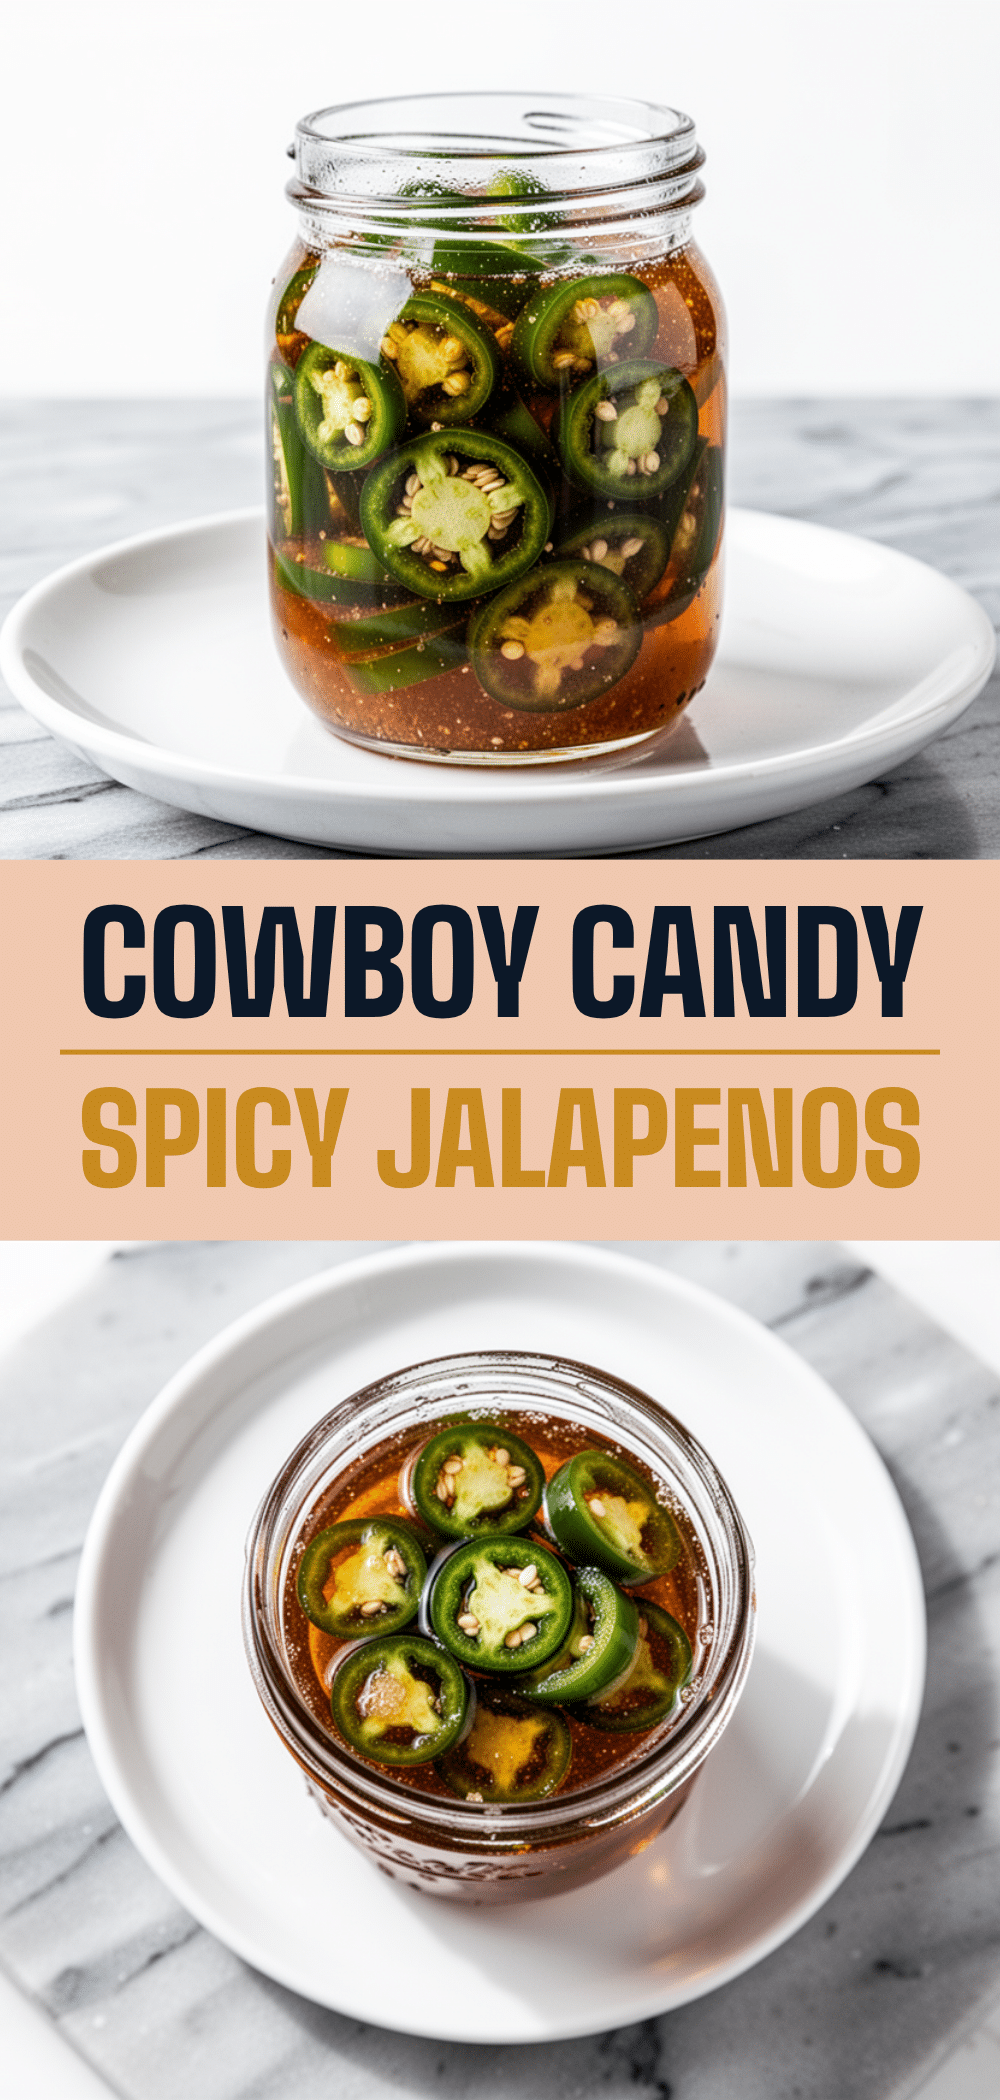
Cowboy Candy Jalapenos: 5 Easy Pickled Gifts
- Total Time: 50 minutes
- Yield: 4-5 half-pint jars 1x
Description
A sweet, spicy, and tangy pickled jalapeño recipe that makes the perfect shelf-stable gift or condiment. This easy-to-make ‘cowboy candy’ balances heat with brown sugar and apple cider vinegar for a flavor bomb that pairs well with crackers, cheese, and eggs.
Ingredients
- 2 pounds (900g) firm, bright green jalapeño peppers
- 2 cups (480ml) apple cider vinegar (at least 5% acidity)
- 1 cup (240ml) water
- 1 cup (200g) light brown sugar
- 1 medium yellow onion (about 150g), diced finely
- 4 cloves garlic (about 12g), minced
- 1 teaspoon ground cumin
- ½ teaspoon ground turmeric
- 1 teaspoon kosher salt
- ½ teaspoon dried red pepper flakes (optional)
- 4–5 half-pint canning jars with new lids
Instructions
- Sterilize jars and lids by washing in hot soapy water, then simmering in a large pot of water for 10 minutes. Keep hot until ready to use.
- Wear gloves and slice jalapeños into ¼-inch thick rings. Remove seeds for less heat or keep them for more heat.
- In a large stockpot, combine apple cider vinegar, water, brown sugar, salt, cumin, and turmeric. Bring to a boil over medium-high heat, stirring until sugar dissolves (3-4 minutes). Reduce heat to medium-low.
- Add sliced jalapeños and diced onion to the syrup. Simmer for 5 minutes until peppers soften and onion becomes translucent.
- Ladle hot peppers and syrup into hot jars, leaving ½-inch headspace. Remove air bubbles with a plastic knife or bubble remover.
- Wipe jar rims clean with a damp cloth. Place lids on jars and screw bands on fingertip-tight.
- Place jars in a canning pot, ensuring they are covered by at least an inch of water. Bring to a boil and process for 10 minutes (adjust for altitude).
- Remove jars from water and let cool undisturbed for 24 hours. Check seals by pressing the center of the lid; it should not flex. Store in a cool, dark pantry for up to 1 year.
Notes
Wear gloves when handling jalapeños to avoid capsaicin burns. Ensure vinegar is at least 5% acidity for safe water-bath canning. Wipe jar rims thoroughly to ensure a proper seal. Flavor improves after 2-4 weeks of aging. If lids do not seal after cooling, refrigerate and consume within 3 months.
- Prep Time: 20 minutes
- Cook Time: 30 minutes
- Category: Condiments
- Cuisine: American
Nutrition
- Serving Size: 1 tablespoon
- Calories: 15
- Sugar: 3
- Sodium: 50
- Carbohydrates: 3
Keywords: cowboy candy, pickled jalapeños, jalapeno recipe, homemade gifts, canning, sweet spicy peppers, preserved jalapeños, holiday gifts


